맵에 거품형 계층 추가
이 문서에서는 맵에 거품형 계층으로 데이터 원본에서 지점 데이터를 렌더링할 수 있는 방법을 보여줍니다. 거품형 계층은 고정된 픽셀 반경을 사용하여 지점을 맵에 원형으로 렌더링합니다.
팁
기본적으로 거품형 계층은 데이터 원본에 있는 모든 도형의 좌표를 렌더링합니다. 포인트 기하 도형 기능만 렌더링하도록 계층을 제한하려면 계층의 filter 속성을 ['==', ['geometry-type'], 'Point']로 설정하거나 MultiPoint 기능을 포함하려는 경우에는 ['any', ['==', ['geometry-type'], 'Point'], ['==', ['geometry-type'], 'MultiPoint']]으로 설정합니다.
거품 계층 추가
다음 코드는 지점 배열을 데이터 원본에 로드합니다. 그러면 데이터 요소가 거품형 계층에 연결됩니다. 거품형 계층은 반지름이 6픽셀이고 스트로크 너비가 3픽셀인 각 거품을 렌더링합니다.
/*Ensure that the map is fully loaded*/
map.events.add("load", function () {

  /*Add point locations*/
  var points = [
    new atlas.data.Point([-73.985708, 40.75773]),
    new atlas.data.Point([-73.985600, 40.76542]),
    new atlas.data.Point([-73.985550, 40.77900]),
    new atlas.data.Point([-73.975550, 40.74859]),
    new atlas.data.Point([-73.968900, 40.78859])]

  /*Create a data source and add it to the map*/
  var dataSource = new atlas.source.DataSource();
  map.sources.add(dataSource);
  /*Add the points to the data source*/
  dataSource.add(points);

  //Create a bubble layer to render the filled in area of the circle, and add it to the map.*/
  map.layers.add(new atlas.layer.BubbleLayer(dataSource, null, {
    radius: 6,
    strokeColor: "LightSteelBlue",
    strokeWidth: 3,
    color: "DodgerBlue",
    blur: 0.5
  }));
});

거품형 계층을 사용하여 레이블 표시
이 코드에서는 거품형 계층을 사용하여 맵의 점을 렌더링하고 기호 계층을 사용하여 레이블을 렌더링하는 방법을 보여 줍니다. 기호 계층의 아이콘을 숨기려면 아이콘 옵션의 image 속성을 none로 설정합니다.
//Create an instance of the map control and set some options.
 function InitMap() {

    var map = new atlas.Map('myMap', {
    center: [-122.336641, 47.627631],
    zoom: 16,
    view: "Auto",
        authOptions: {
            authType: 'subscriptionKey',
            subscriptionKey: '{Your-Azure-Maps-Subscription-key}'
        }
    });

    /*Ensure that the map is fully loaded*/
    map.events.add("load", function () {

        /*Create point object*/
        var point =  new atlas.data.Point([-122.336641,47.627631]);

        /*Create a data source and add it to the map*/
        var dataSource = new atlas.source.DataSource();
        map.sources.add(dataSource);
        dataSource.add(point);

        map.layers.add(new atlas.layer.BubbleLayer(dataSource, null, {
            radius: 5,
            strokeColor: "#4288f7",
            strokeWidth: 6,
            color: "white"
        }));

        //Add a layer for rendering point data.
        map.layers.add(new atlas.layer.SymbolLayer(dataSource, null, {
            iconOptions: {
                //Hide the icon image.
                image: "none"
            },

            textOptions: {
                textField: "Museum of History & Industry (MOHAI)",
                color: "#005995",
                offset: [0, -2.2]
            },
        }));
    });
}

거품형 계층 사용자 지정
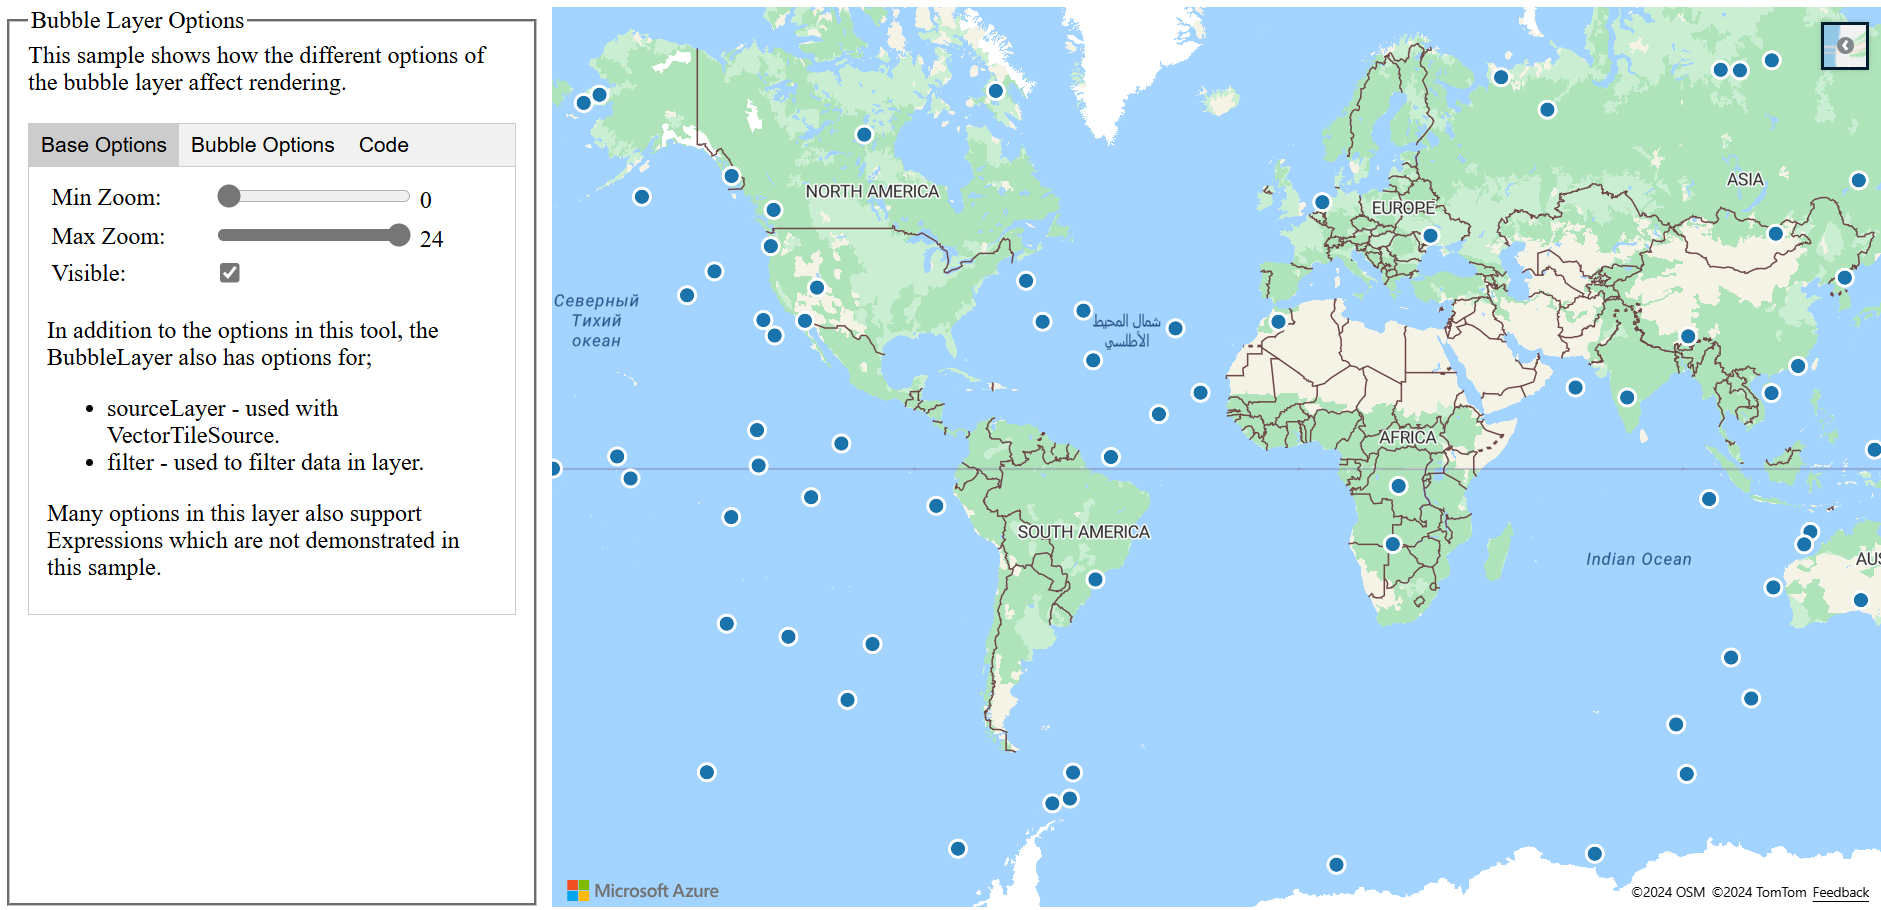
거품형 계층에는 몇 가지 스타일 지정 옵션만 있습니다. 거품형 계층 옵션 샘플을 사용하여 시도해 보세요. 이 샘플의 소스 코드는 거품형 계층 옵션 소스 코드를 참조하세요.

다음 단계
이 문서에서 사용된 클래스 및 메서드에 대해 자세히 알아봅니다.
맵에 추가할 더 많은 코드 예제를 보려면 다음 문서를 참조하세요.