지도에 검색 결과 표시
이 문서에서는 관심 있는 위치를 검색하고 지도에 검색 결과를 표시하는 방법을 보여줍니다.
원하는 위치를 검색하는 방법은 두 가지가 있습니다. 한 가지 방법은 TypeScript REST SDK, @azure-rest/maps-search를 사용하여 검색 요청을 만드는 것입니다. 다른 방법은 Fetch API를 통해 Azure Maps Fuzzy search API에 검색 요청을 하는 것입니다. 두 가지 방법은 모두 이 문서에서 설명하고 있습니다.
REST SDK를 통해 검색 요청 만들기
import * as atlas from "azure-maps-control";
import MapsSearch from "@azure-rest/maps-search";
import "azure-maps-control/dist/atlas.min.css";

const onload = () => {
  // Initialize a map instance.
  const map = new atlas.Map("map", {
    view: "Auto",
    // Add authentication details for connecting to Azure Maps.
    authOptions: {
      // Use Azure Active Directory authentication.
      authType: "aad",
      clientId: "<Your Azure Maps Client Id>",
      aadAppId: "<Your Azure Active Directory Client Id>",
      aadTenant: "<Your Azure Active Directory Tenant Id>"
    }
  });

  map.events.add("load", async () => {
    // Use the access token from the map and create an object that implements the TokenCredential interface.
    const credential = {
      getToken: () => {
        return {
          token: map.authentication.getToken()
        };
      }
    };

    // Create a Search client.
    const client = MapsSearch(credential, "<Your Azure Maps Client Id>");

    // Create a data source and add it to the map.
    const datasource = new atlas.source.DataSource();
    map.sources.add(datasource);

    // Add a layer for rendering point data.
    const resultLayer = new atlas.layer.SymbolLayer(datasource);
    map.layers.add(resultLayer);

    // Search for gas stations near Seattle.
    const response = await client.path("/search/fuzzy/{format}", "json").get({
      queryParameters: {
        query: "gasoline station",
        lat: 47.6101,
        lon: -122.34255
      }
    });

    // Arrays to store bounds for results.
    const bounds = [];

    // Convert the response into Feature and add it to the data source.
    const searchPins = response.body.results.map((result) => {
      const position = [result.position.lon, result.position.lat];
      bounds.push(position);
      return new atlas.data.Feature(new atlas.data.Point(position), {
        position: result.position.lat + ", " + result.position.lon
      });
    });

     // Add the pins to the data source.
    datasource.add(searchPins);

    // Set the camera to the bounds of the pins
    map.setCamera({
      bounds: new atlas.data.BoundingBox.fromLatLngs(bounds),
      padding: 40
    });
  });
};

document.body.onload = onload;
이전 코드 예제에서 첫 번째 블록은 맵 개체를 생성하고 Microsoft Entra ID를 사용하도록 인증 메커니즘을 설정합니다. 자세한 내용은 맵 만들기를 참조하세요.
두 번째 코드 블록은 액세스 토큰을 사용하여 Azure Maps에 대한 HTTP 요청을 인증하도록 TokenCredential 인터페이스를 구현하는 개체를 만듭니다. 그런 다음, 자격 증명 개체를 MapsSearch에 전달하고 클라이언트의 인스턴스를 만듭니다.
세 번째 코드 블록에서는DataSource 클래스를 사용하여 데이터 원본 개체를 만들고 검색 결과를 추가합니다. 기호 계층은 텍스트 또는 아이콘을 사용하여 DataSource에 래핑된 점 기반 데이터를 지도에 기호로 렌더링합니다. 그러면 기호 계층이 만들어집니다. 데이터 원본이 기호 계층에 추가된 다음, 맵에 추가됩니다.
네 번째 코드 블록은 MapsSearch 클라이언트에서 GET 요청을 수행합니다. 이를 사용하면 Get Search Fuzzy rest API를 통해 자유 형식 텍스트 검색을 수행하여 관심 지점을 검색할 수 있습니다. Search Fuzzy API에 대한 Get 요청은 모든 조합의 유사 항목 입력을 처리할 수 있습니다. 그러면 응답이 Feature 개체로 변환되어 데이터 원본에 추가되고, 기호 계층을 통해 데이터의 결과가 자동으로 맵에 렌더링됩니다.
마지막 코드 블록은 맵의 setCamera 속성을 사용하여 맵에 대한 카메라 범위를 조정합니다.
검색 요청, 데이터 원본, 기호 계층 및 카메라 범위는 맵의 이벤트 수신기 내에 있습니다. 맵이 완전히 로드된 후 결과가 표시되도록 하려고 합니다.
Fetch API를 통해 검색 요청 만들기
import * as atlas from "azure-maps-control";
import "azure-maps-control/dist/atlas.min.css";

const onload = () => {
  // Initialize a map instance.
  const map = new atlas.Map("map", {
    view: "Auto",
    // Add authentication details for connecting to Azure Maps.
    authOptions: {
      // Use Azure Active Directory authentication.
      authType: "aad",
      clientId: "<Your Azure Maps Client Id>",
      aadAppId: "<Your Azure Active Directory Client Id>",
      aadTenant: "<Your Azure Active Directory Tenant Id>"
    }
  });

  map.events.add("load", () => {
    // Create a data source and add it to the map.
    const datasource = new atlas.source.DataSource();
    map.sources.add(datasource);

    // Add a layer for rendering point data.
    const resultLayer = new atlas.layer.SymbolLayer(datasource);
    map.layers.add(resultLayer);

    // Send a request to Azure Maps search API
    let url = "https://atlas.microsoft.com/search/fuzzy/json?";
    url += "&api-version=1";
    url += "&query=gasoline%20station";
    url += "&lat=47.6101";
    url += "&lon=-122.34255";
    url += "&radius=100000";

    // Parse the API response and create a pin on the map for each result
    fetch(url, {
      headers: {
        Authorization: "Bearer " + map.authentication.getToken(),
        "x-ms-client-id": "<Your Azure Maps Client Id>"
      }
    })
      .then((response) => response.json())
      .then((response) => {
        // Arrays to store bounds for results.
        const bounds = [];

        // Convert the response into Feature and add it to the data source.
        const searchPins = response.results.map((result) => {
          const position = [result.position.lon, result.position.lat];
          bounds.push(position);
          return new atlas.data.Feature(new atlas.data.Point(position), {
            position: result.position.lat + ", " + result.position.lon
          });
        });

        // Add the pins to the data source.
        datasource.add(searchPins);

        // Set the camera to the bounds of the pins
        map.setCamera({
          bounds: new atlas.data.BoundingBox.fromLatLngs(bounds),
          padding: 40
        });
      });
  });
};

document.body.onload = onload;
이전 코드 예제에서 코드의 첫 번째 블록은 맵 개체를 생성합니다. Microsoft Entra ID를 사용하도록 인증 메커니즘을 설정합니다. 자세한 내용은 맵 만들기를 참조하세요.
두 번째 코드 블록에서는DataSource 클래스를 사용하여 데이터 원본 개체를 만들고 검색 결과를 추가합니다. 기호 계층은 텍스트 또는 아이콘을 사용하여 DataSource에 래핑된 점 기반 데이터를 지도에 기호로 렌더링합니다. 그러면 기호 계층이 만들어집니다. 데이터 원본이 기호 계층에 추가된 다음, 맵에 추가됩니다.
세 번째 코드 블록은 검색 요청을 수행할 URL을 만듭니다.
네 번째 코드 블록은 Fetch API를 사용합니다. Fetch API를 사용하여 관심 지점을 검색하는 Azure Maps Fuzzy search API에 대한 요청을 수행합니다. 유사 항목 검색 API는 모든 조합의 유사 항목 입력을 처리할 수 있습니다. 그런 다음, 검색 응답을 처리하고 구문 분석하여 searchPins 배열에 결과 핀을 추가합니다.
마지막 코드 블록은 BoundingBox 개체를 만듭니다. 결과 배열을 사용한 다음, 맵의 setCamera를 사용하여 맵의 카메라 경계를 조정합니다. 그런 다음, 결과 핀을 렌더링합니다.
맵이 완전히 로드된 후 결과가 표시되도록 검색 요청, 데이터 원본, 기호 계층 및 카메라 범위가 맵의 이벤트 수신기 내에 설정됩니다.
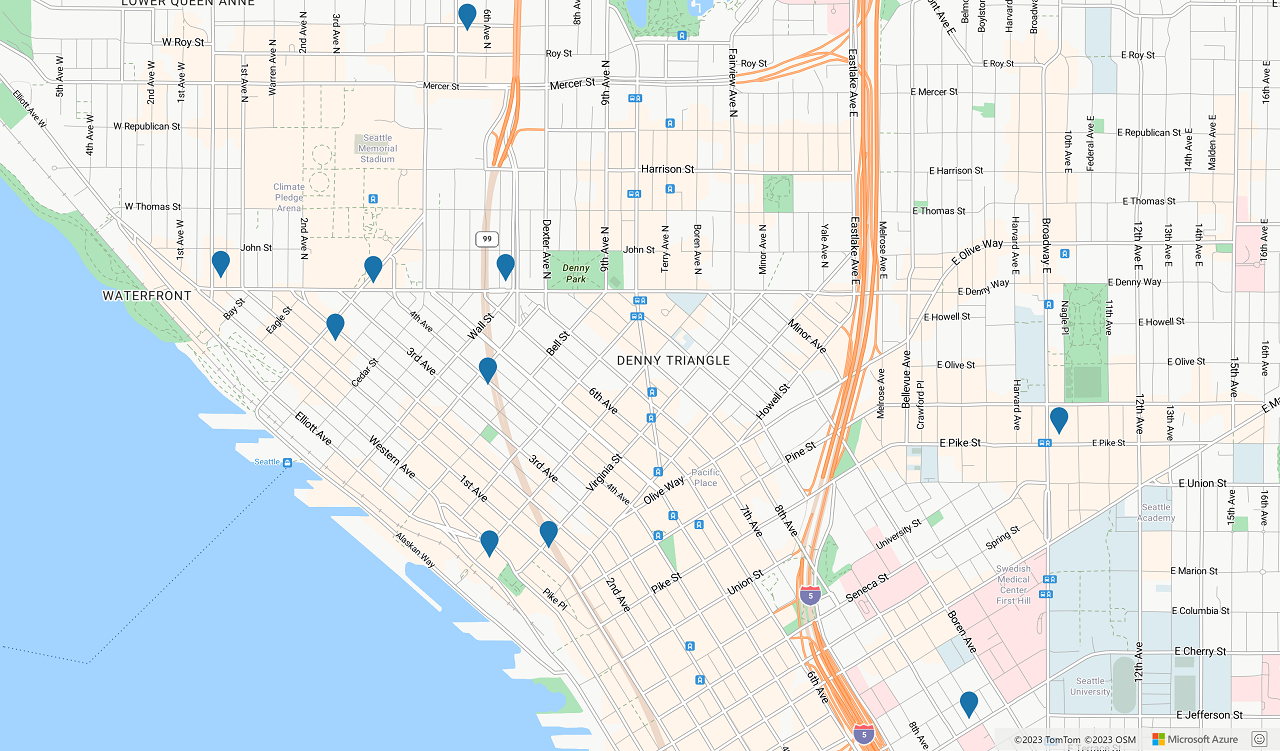
다음 이미지는 두 코드 샘플의 결과를 보여 주는 스크린샷입니다.
다음 단계
유상 항목 검색에 대해 자세히 알아봅니다.
이 문서에서 사용된 클래스 및 메서드에 대해 자세히 알아봅니다.
전체 코드 예제는 다음 문서를 참조하세요.