Azure Stack Edge Pro GPU에서 업로드할 인증서 준비
적용 대상: Azure Stack Edge Pro - GPUAzure Stack Edge Pro 2Azure Stack Edge Pro RAzure Stack Edge Mini R
이 문서에서는 Azure Stack Edge 디바이스에 업로드하기 위해 인증서를 적절한 형식으로 변환하는 방법을 설명합니다. 이 절차는 일반적으로 사용자 고유의 인증서를 가져올 때 필요합니다.
해당 인증서를 만드는 방법에 대한 자세한 내용은 Azure PowerShell을 사용하여 인증서 만들기를 참조하세요.
인증서 준비
고유한 인증서를 사용하는 경우 기본적으로 디바이스용으로 만든 인증서는 클라이언트의 개인 저장소에 있습니다. 이러한 인증서는 클라이언트에서 적절한 형식의 파일로 내보내야 합니다. 그러면 디바이스에 업로드할 수 있습니다.
루트 인증서 준비: 루트 인증서는 확장자가
.cer인 DER 형식으로 내보내야 합니다. 자세한 단계는 DER 형식으로 인증서 내보내기를 참조하세요.엔드포인트 인증서 준비: 엔드포인트 인증서는 비공개 키가 있는 .pfx 파일로 내보내야 합니다. 자세한 단계는 프라이빗 키와 함께 .pfx 파일로 인증서 내보내기를 참조하세요.
DER 형식으로 인증서 내보내기
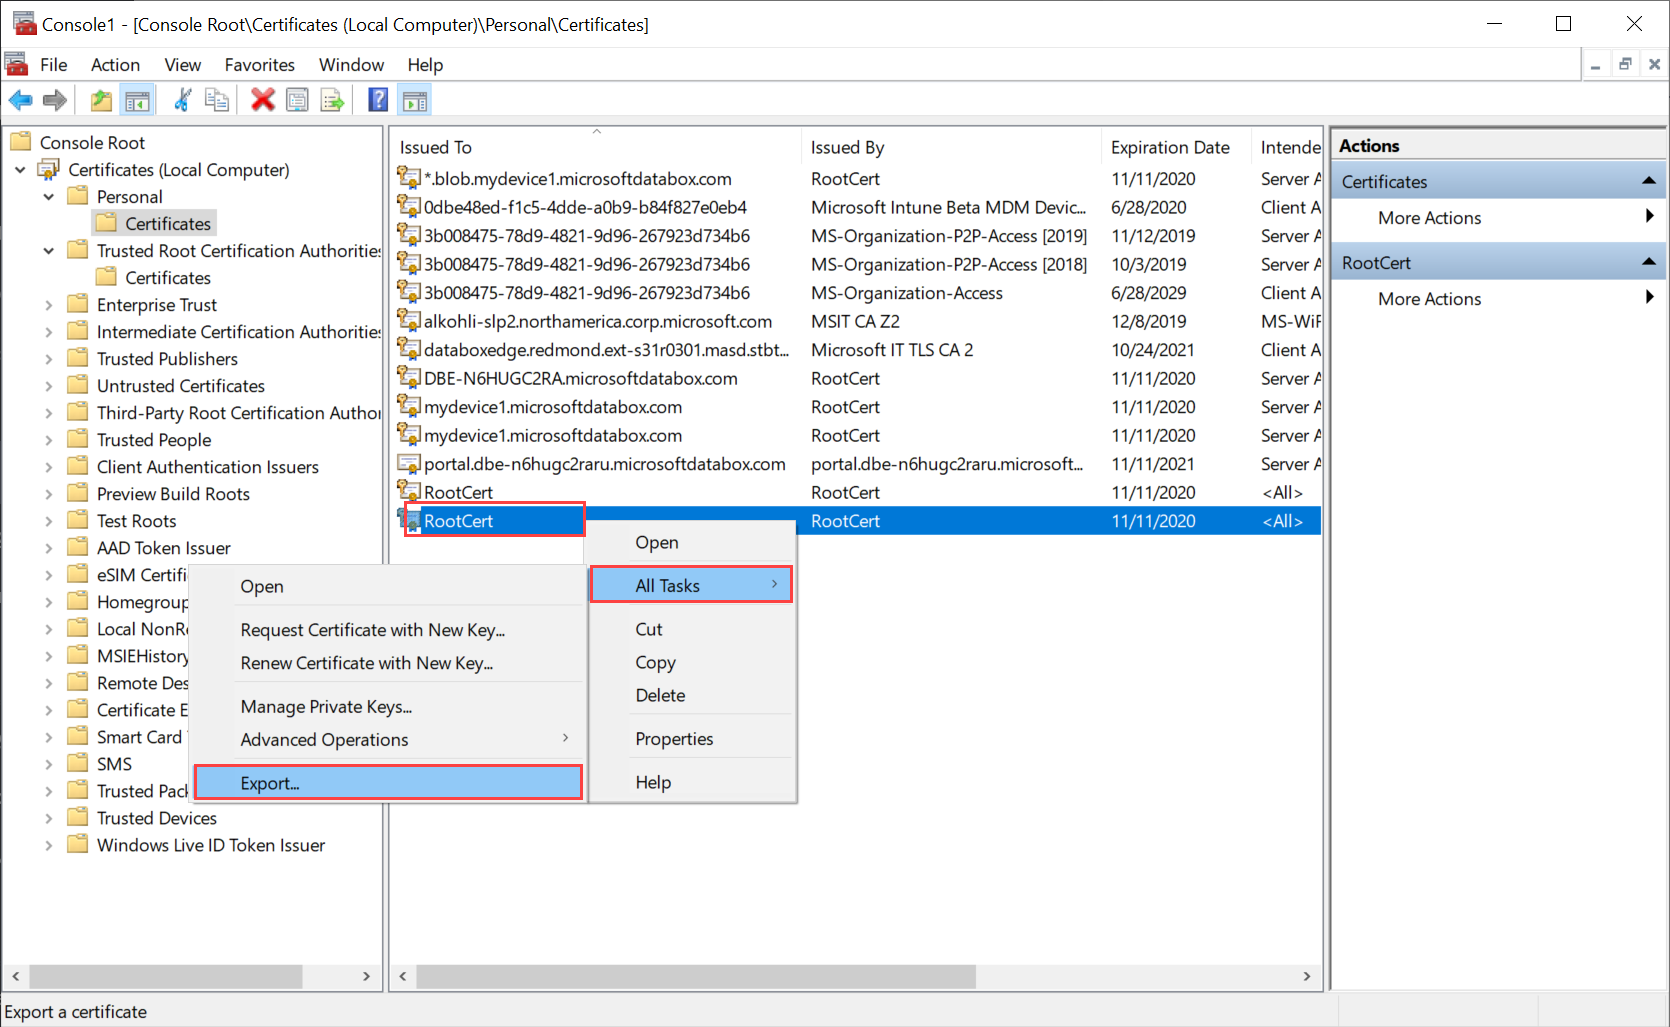
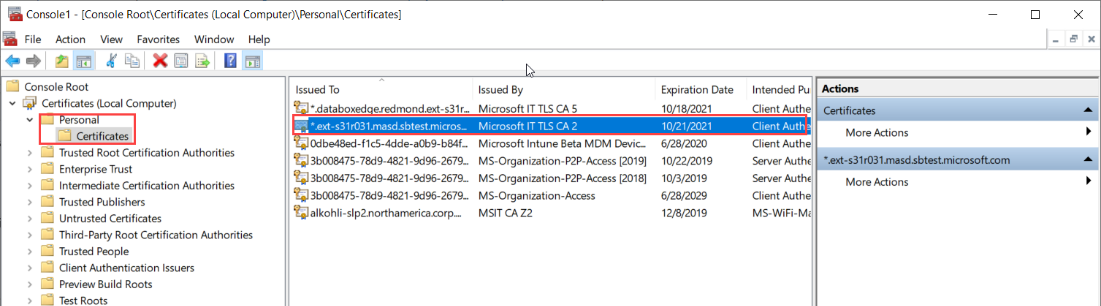
certlm.msc를 실행하여 로컬 컴퓨터 인증서 저장소를 시작합니다.
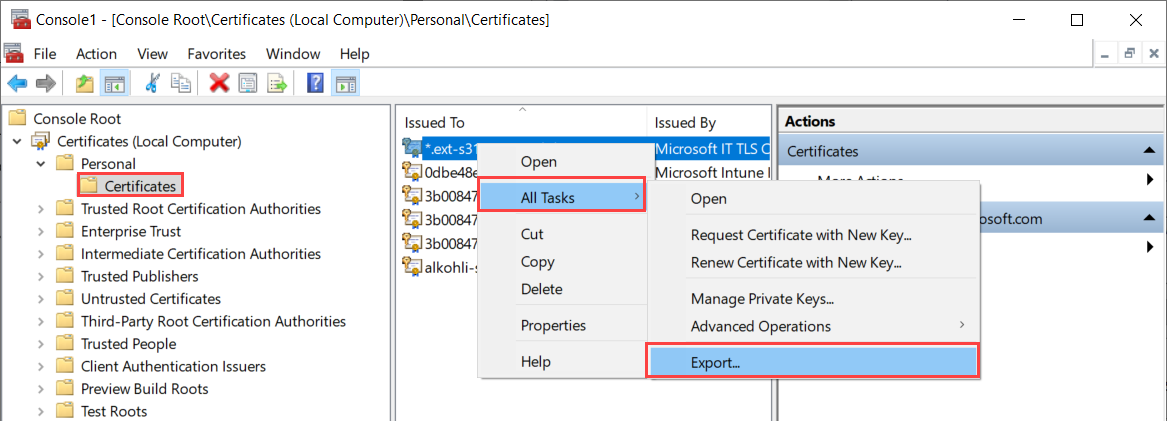
개인 인증서 저장소에서 루트 인증서를 선택합니다. 마우스 오른쪽 단추를 클릭하고 모든 작업 > 내보내기...를 선택합니다.
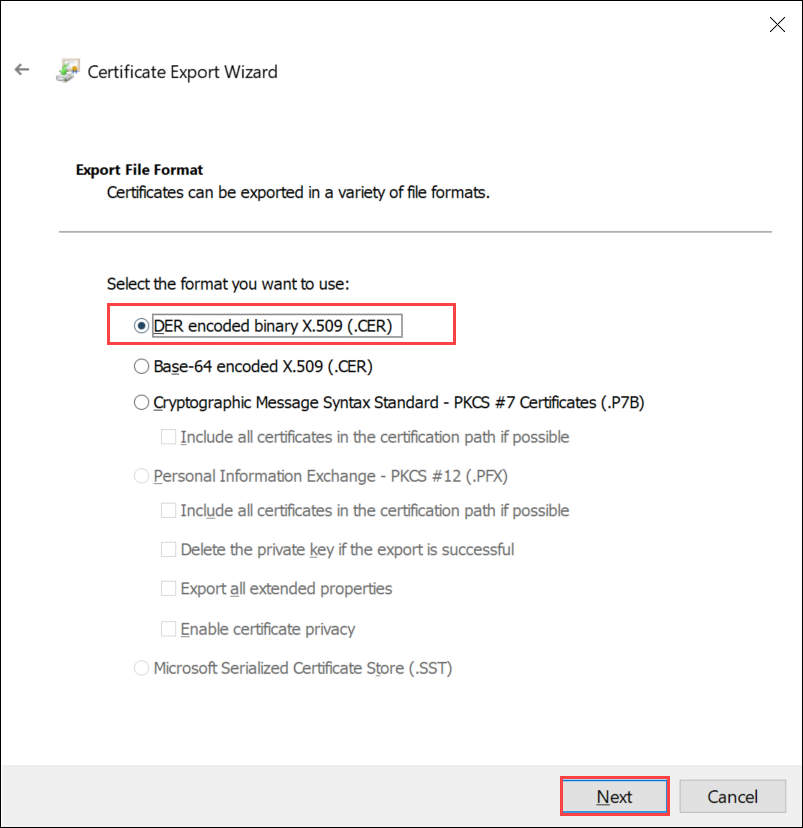
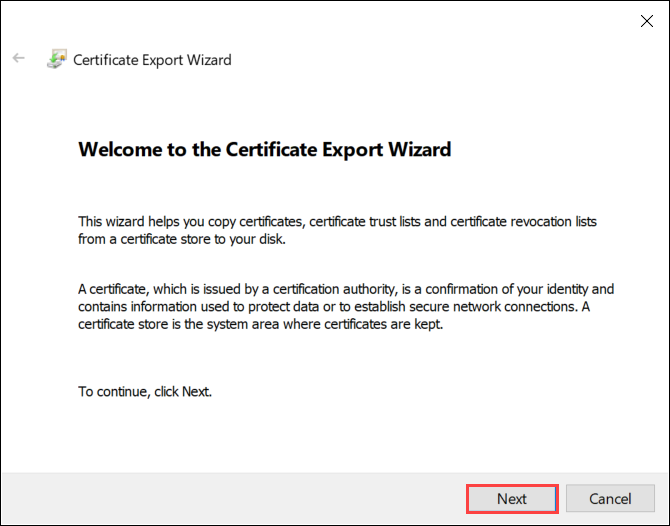
인증서 마법사가 열립니다. DER로 인코딩된 바이너리 x.509(.cer) 형식을 선택합니다. 다음을 선택합니다.
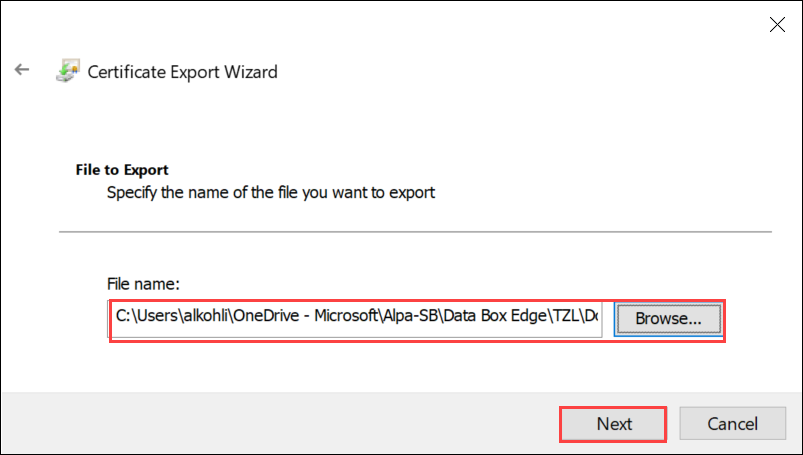
.cer 형식 파일을 내보낼 위치를 찾아서 선택합니다.
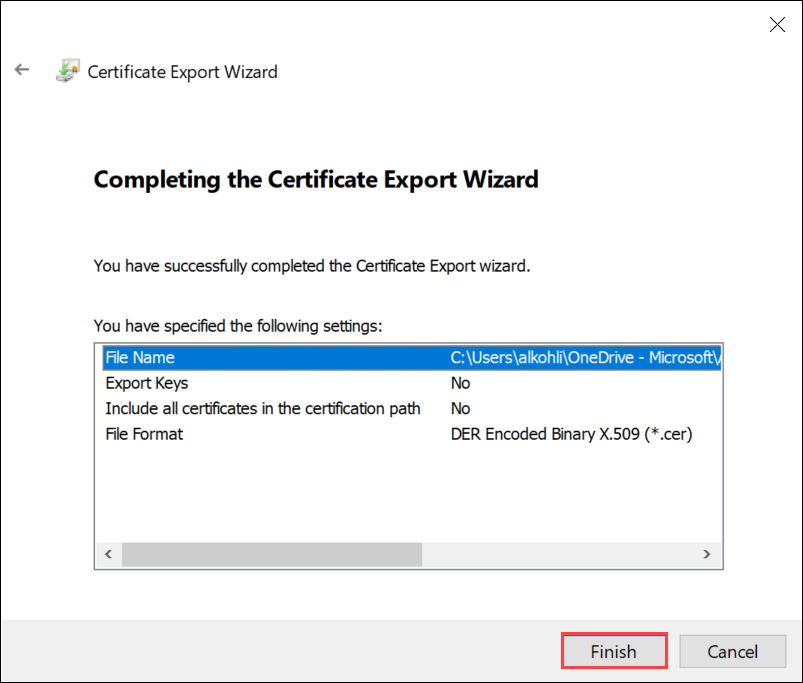
마침을 선택합니다.
프라이빗 키와 함께 .pfx 형식으로 인증서 내보내기
다음 단계를 수행하여 Windows 컴퓨터에서 프라이빗 키가 포함된 SSL 인증서를 내보냅니다.
Important
다음 단계는 인증서를 만드는 데 사용한 것과 동일한 컴퓨터에서 수행합니다.
certlm.msc를 실행하여 로컬 컴퓨터 인증서 저장소를 시작합니다.
개인 폴더를 두 번 클릭한 다음, 인증서를 클릭합니다.
마우스 오른쪽 단추로 백업하려는 인증서를 클릭하고 모든 작업 > 내보내기...를 차례로 선택합니다.
인증서 내보내기 마법사에 따라 인증서를 .pfx 파일에 백업합니다.
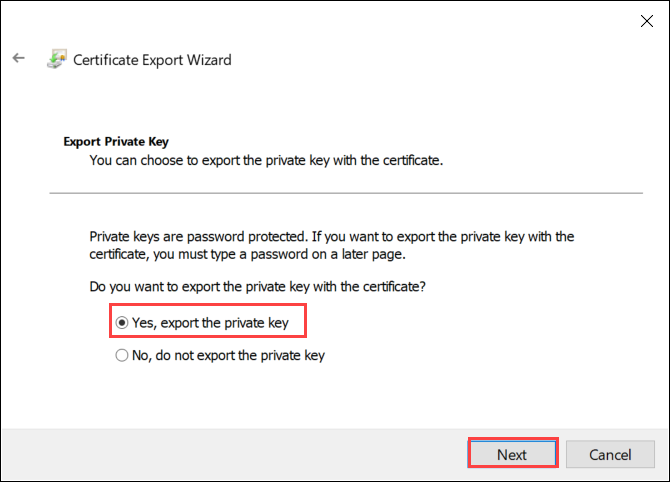
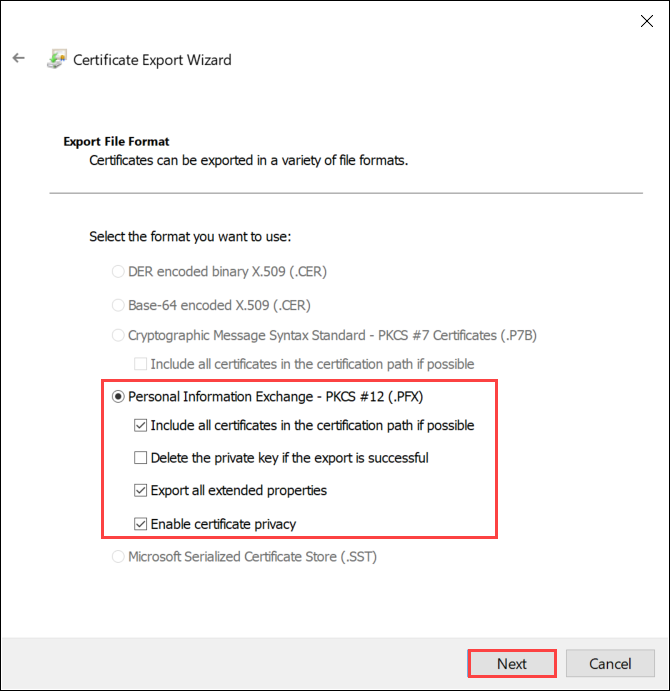
예, 프라이빗 키를 내보냅니다.를 선택합니다.
가능한 경우 인증 경로에 있는 인증서 모두 포함, 확장 속성 모두 내보내기 및 인증서 개인 정보 사용을 선택합니다.
내보내기에서 모든 인증서를 포함하는 경우 로컬 웹 UI를 사용하여 인증서를 구성할 때 해당 인증서를 추가하기 전에 서명 체인을 별도로 추가할 필요가 없습니다. 자세한 내용은 사용자 고유의 인증서 가져오기를 참조하세요.
Important
내보내기가 완료되면 프라이빗 키 삭제 옵션을 선택하지 마세요.
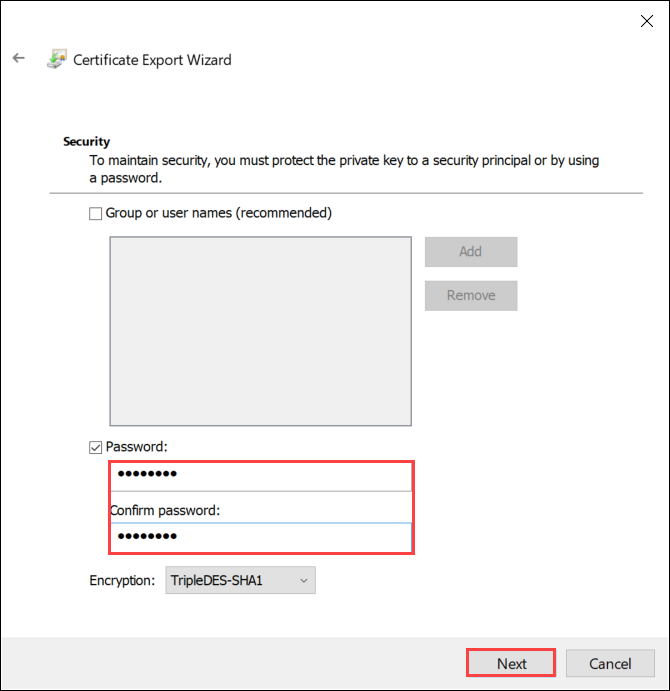
기억할 수 있는 암호를 입력합니다. 암호를 확인합니다. 암호는 프라이빗 키를 보호합니다.
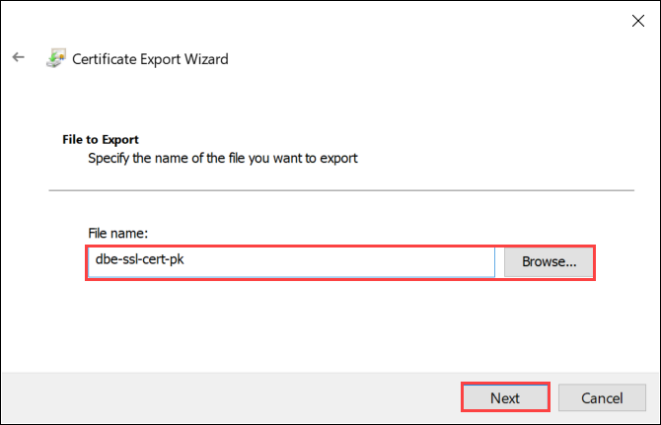
파일을 설정한 위치에 저장하도록 선택합니다.
마침을 선택합니다.
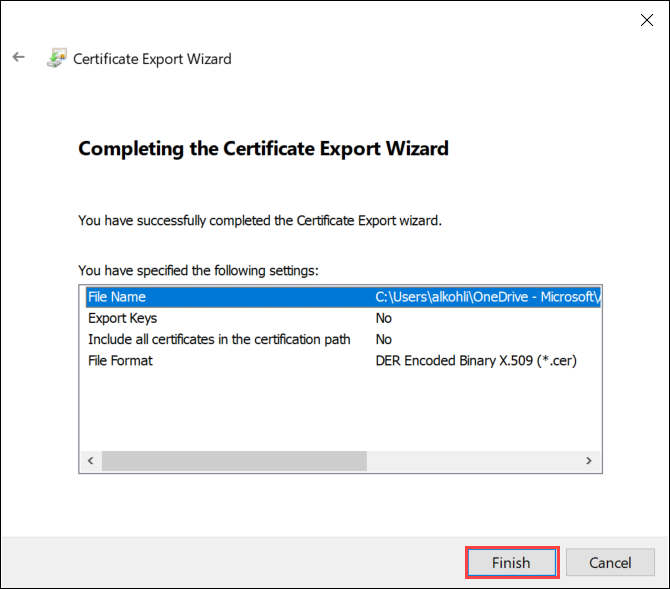
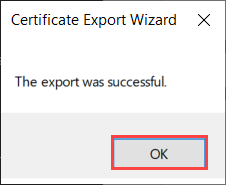
내보내기가 성공했다는 메시지가 표시됩니다. 확인을 선택합니다.
이제 .pfx 파일 백업이 선택한 위치에 저장되며 안전한 보관을 위해 이동하거나 저장할 수 있습니다.
다음 단계
디바이스에 인증서를 업로드하는 방법을 알아봅니다.