적용 대상:  외부 테넌트(자세한 정보)
이 빠른 시작에서는 샘플 SPA(단일 페이지 앱)를 사용하여 PKCE(Proof Key for Code Exchange)와 함께 인증 코드 흐름 사용하여 사용자를 로그인하고 Microsoft Graph API를 호출하는 방법을 보여 줍니다. 이 샘플에서는 Microsoft 인증 라이브러리 사용하여 인증을 처리합니다.
필수 구성 요소
- 활성 구독이 있는 Azure 계정입니다. 계정이 없으면 무료 계정을 만드세요.
- 이 Azure 계정에는 애플리케이션을 관리할 수 있는 권한이 있어야 합니다. 다음 Microsoft Entra 역할에는 필요한 권한이 포함됩니다.
- 애플리케이션 관리자
- 애플리케이션 개발자
- 인력 임차인입니다. 기본 디렉터리를 사용하거나 새 테넌트을(를) 설정할 수 있습니다.
- Visual Studio Code 또는 다른 코드 편집기.
- 새 앱을 Microsoft Entra 관리 센터에 등록하고, 해당 조직 디렉터리의 계정만을 위해 구성합니다. 자세한 내용은 Register an application을 참조하십시오. 응용 프로그램 개요 페이지에서 다음 값을 나중에 사용할 수 있도록 기록하십시오.
- 애플리케이션(클라이언트) ID
- 디렉터리(테넌트) ID
-
단일 페이지 애플리케이션 플랫폼 구성을 사용하여 다음 리디렉션 URI를 추가합니다. 자세한 내용은 애플리케이션에서 리디렉션 URI를 추가하는 방법을 참조하세요 .
-
리디렉션 URI:
http://localhost:3000/
-
리디렉션 URI:
- Node.js
샘플 애플리케이션 복제 또는 다운로드
샘플 애플리케이션을 가져오려면 GitHub에서 복제하거나 .zip 파일로 다운로드할 수 있습니다.
샘플을 복제하려면 명령 프롬프트를 열고 프로젝트를 만들 위치로 이동하고 다음 명령을 입력합니다.
git clone https://github.com/Azure-Samples/ms-identity-docs-code-javascript.git.zip 파일다운로드합니다. 이름 길이가 260자 미만인 파일 경로로 추출합니다.
프로젝트 구성
IDE에서 샘플이 포함된 ms-identity-docs-code-javascript 프로젝트 폴더를 엽니다.
vanillajs-spa/App/public/authConfig.js 열고 관리 센터에 기록된 정보로 다음 값을 업데이트합니다.
/** * Configuration object to be passed to MSAL instance on creation. * For a full list of MSAL.js configuration parameters, visit: * https://github.com/AzureAD/microsoft-authentication-library-for-js/blob/dev/lib/msal-browser/docs/configuration.md */ const msalConfig = { auth: { clientId: "Enter_the_Application_Id_Here", // WORKFORCE TENANT authority: "https://login.microsoftonline.com/Enter_the_Tenant_Info_Here", // Replace the placeholder with your tenant info // EXTERNAL TENANT // authority: "https://Enter_the_Tenant_Subdomain_Here.ciamlogin.com/", // Replace the placeholder with your tenant subdomain redirectUri: '/', // You must register this URI on App Registration. Defaults to window.location.href e.g. http://localhost:3000/ navigateToLoginRequestUrl: true, // If "true", will navigate back to the original request location before processing the auth code response. }, cache: { cacheLocation: 'sessionStorage', // Configures cache location. "sessionStorage" is more secure, but "localStorage" gives you SSO. storeAuthStateInCookie: false, // set this to true if you have to support IE }, system: { loggerOptions: { loggerCallback: (level, message, containsPii) => { if (containsPii) { return; } switch (level) { case msal.LogLevel.Error: console.error(message); return; case msal.LogLevel.Info: console.info(message); return; case msal.LogLevel.Verbose: console.debug(message); return; case msal.LogLevel.Warning: console.warn(message); return; } }, }, }, }; /** * Scopes you add here will be prompted for user consent during sign-in. * By default, MSAL.js will add OIDC scopes (openid, profile, email) to any login request. * For more information about OIDC scopes, visit: * https://learn.microsoft.com/en-us/entra/identity-platform/permissions-consent-overview#openid-connect-scopes */ const loginRequest = { scopes: ["User.Read"], }; /** * An optional silentRequest object can be used to achieve silent SSO * between applications by providing a "login_hint" property. */ // const silentRequest = { // scopes: ["openid", "profile"], // loginHint: "example@domain.net" // }; // exporting config object for jest if (typeof exports !== 'undefined') { module.exports = { msalConfig: msalConfig, loginRequest: loginRequest, }; }-
clientId- 클라이언트라고도 하는 애플리케이션의 식별자입니다. 따옴표의 텍스트를 이전에 기록된 애플리케이션(클라이언트) ID 값으로 바꿉니다. -
authority- 권한은 MSAL이 토큰을 요청할 수 있는 디렉터리를 나타내는 URL입니다. Enter_the_Tenant_Info_Here 이전에 기록된 디렉터리(테넌트) ID 값으로 바꿉니다. -
redirectUri- 애플리케이션의 리디렉션 URI. 필요한 경우 따옴표로 된 텍스트를 이전에 기록된 리디렉션 URI로 바꿉니다.
-
애플리케이션 실행 및 로그인 및 로그아웃
Node.js사용하여 웹 서버에서 프로젝트를 실행합니다.
서버를 시작하려면 프로젝트 디렉터리 내에서 다음 명령을 실행합니다.
cd vanillajs-spa/App
npm install
npm start
터미널에 표시되는
httpsURL(예:https://localhost:3000)을 복사하여 브라우저에 붙여넣습니다. 프라이빗 또는 시크릿 브라우저 세션을 사용하는 것이 좋습니다.단계를 수행하고 필요한 세부 정보를 입력하여 Microsoft 계정으로 로그인합니다. 한 번 암호를 보낼 수 있도록 전자 메일 주소를 요청합니다. 메시지가 표시되면 코드를 입력합니다.
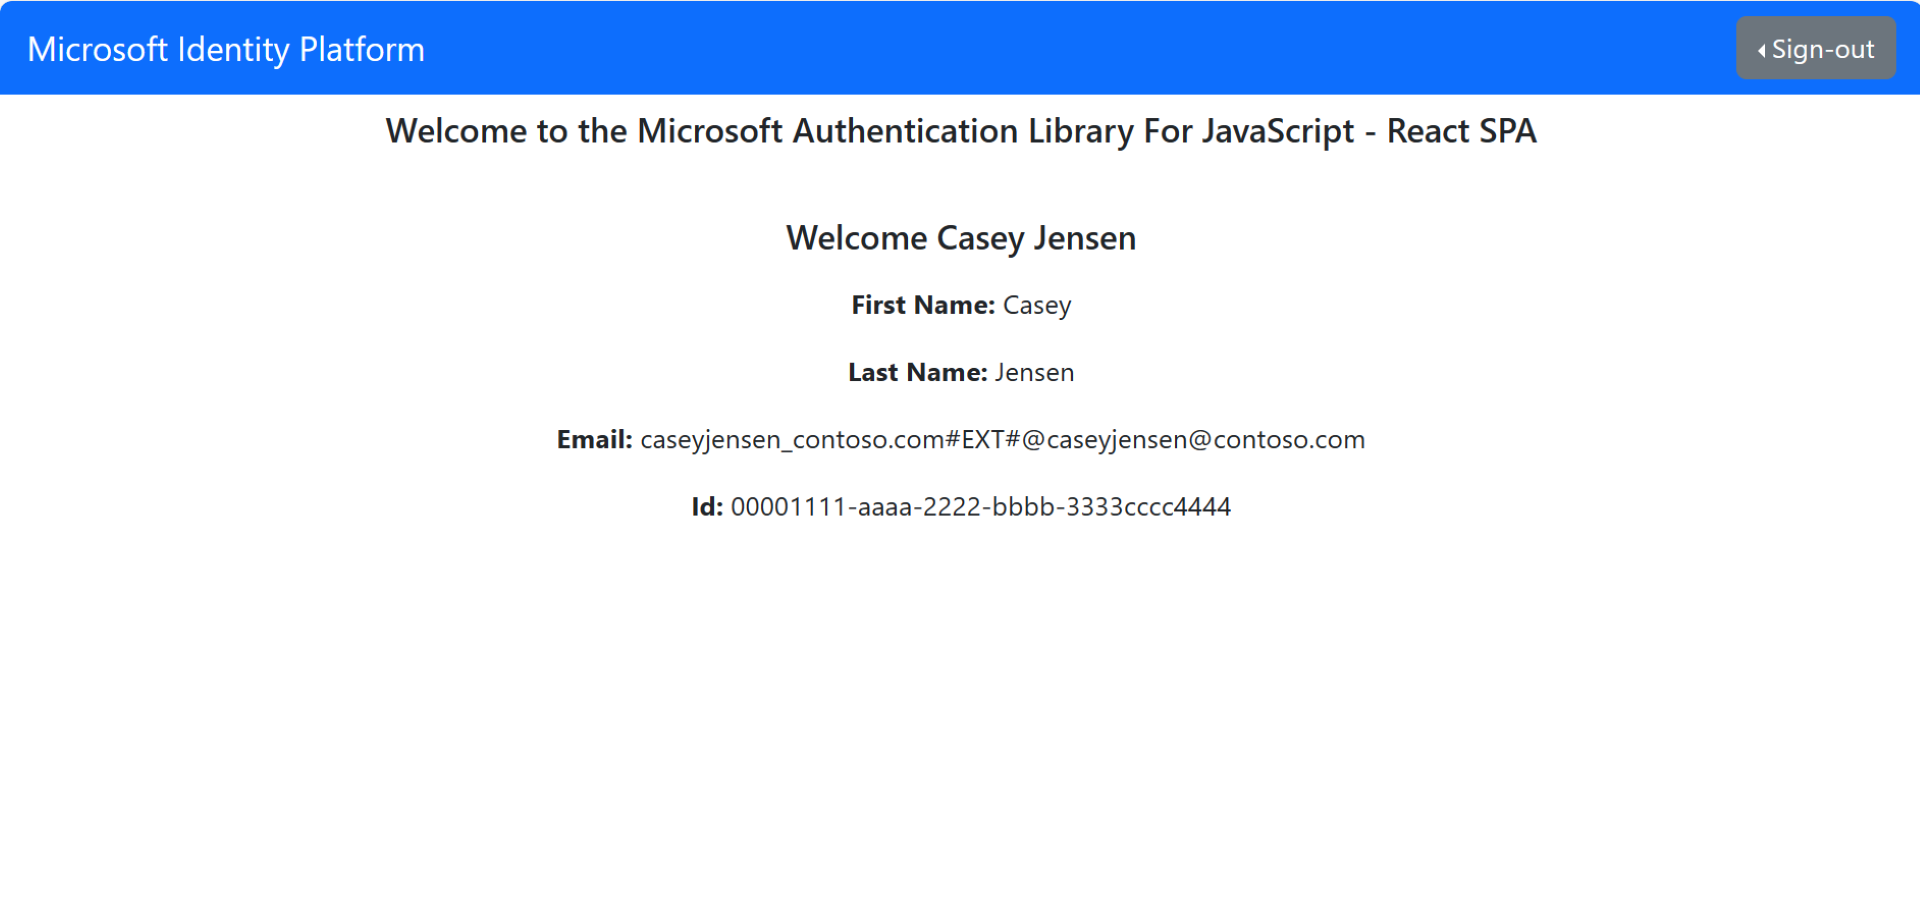
애플리케이션은 액세스 권한을 부여한 데이터에 대한 액세스를 유지하고 로그인하여 프로필을 읽을 수 있는 권한을 요청합니다. 수락선택합니다. 애플리케이션에 로그인하고 Microsoft Graph API에서 프로필 세부 정보에 액세스했음을 나타내는 다음 스크린샷이 나타납니다.


필수 구성 요소
- 활성 구독이 있는 Azure 계정입니다. 계정이 없으면 무료 계정을 만드세요.
- 이 Azure 계정에는 애플리케이션을 관리할 수 있는 권한이 있어야 합니다. 다음 Microsoft Entra 역할에는 필요한 권한이 포함됩니다.
- 애플리케이션 관리자
- 애플리케이션 개발자
- 외부 테넌트입니다. 만들려면 다음 방법 중에서 선택합니다.
- Microsoft Entra 외부 ID 확장 사용하여 Visual Studio Code에서 직접 외부 테넌트를 설정합니다. (권장)
- Microsoft Entra 관리 센터에서 새 외부 테넌트 만듭니다.
- 사용자 흐름입니다. 자세한 내용은 외부 테넌트 앱에 대한 셀프 서비스 등록 사용자 흐름 만들기참조하세요. 이 사용자 흐름은 여러 애플리케이션에 사용할 수 있습니다.
- Visual Studio Code 또는 다른 코드 편집기.
- 새 앱을 Microsoft Entra 관리 센터에 등록하고, 해당 조직 디렉터리의 계정만을 위해 구성합니다. 자세한 내용은 Register an application을 참조하십시오. 응용 프로그램 개요 페이지에서 다음 값을 나중에 사용할 수 있도록 기록하십시오.
- 애플리케이션(클라이언트) ID
- 디렉터리(테넌트) ID
-
단일 페이지 애플리케이션 플랫폼 구성을 사용하여 다음 리디렉션 URI를 추가합니다. 자세한 내용은 애플리케이션에서 리디렉션 URI를 추가하는 방법을 참조하세요 .
-
리디렉션 URI:
http://localhost:3000/
-
리디렉션 URI:
- 사용자 흐름에 애플리케이션 추가
- Node.js
샘플 SPA 복제 또는 다운로드
샘플 애플리케이션을 가져오려면 GitHub에서 복제하거나 .zip 파일로 다운로드할 수 있습니다.
샘플을 복제하려면 명령 프롬프트를 열고 프로젝트를 만들 위치로 이동하고 다음 명령을 입력합니다.
git clone https://github.com/Azure-Samples/ms-identity-ciam-javascript-tutorial.git샘플다운로드합니다. 이름 길이가 260자 미만인 파일 경로로 추출합니다.
샘플 SPA 구성
App/public/authConfig.js열고 다음을 Microsoft Entra 관리 센터에서 가져온 값으로 바꿉다.-
Enter_the_Application_Id_Here이전에 등록한 앱의 애플리케이션(클라이언트) ID로 바꿉니다. -
Enter_the_Tenant_Subdomain_Here디렉터리(테넌트) 하위 도메인으로 바꿉니다. 예를 들어 테넌트 주 도메인이contoso.onmicrosoft.com경우contoso사용합니다. 테넌트 이름이 없는 경우 테넌트 세부 정보를 읽는 방법을배우세요.
-
파일을 저장합니다.
프로젝트 실행 및 로그인
서버를 시작하려면 프로젝트 디렉터리 내에서 다음 명령을 실행합니다.
cd 1-Authentication\0-sign-in-vanillajs\App
npm install
npm start
터미널에 표시되는
httpsURL(예:https://localhost:3000)을 복사하여 브라우저에 붙여넣습니다. 프라이빗 또는 시크릿 브라우저 세션을 사용하는 것이 좋습니다.테넌트에 등록된 계정으로 로그인합니다.
애플리케이션에 로그인하고 Microsoft Graph API에서 프로필 세부 정보에 액세스했음을 나타내는 다음 스크린샷이 나타납니다.

애플리케이션에서 로그아웃
- 페이지에서 로그아웃 단추를 찾아 선택합니다.
- 로그아웃할 계정을 선택하라는 메시지가 표시됩니다. 로그인하는 데 사용한 계정을 선택합니다.
로그아웃했음을 나타내는 메시지가 나타납니다. 이제 브라우저 창을 닫을 수 있습니다.