팁
권장: 지원되는 프로 코드 선언적 에이전트 및 플러그인 시나리오에 대한 Work IQ Dev 도구 로 시작하십시오. WIQD 빠른 시작을 참조하세요. 도구 키트 기반 지침은 이를 필요로 하는 기존 프로젝트 및 워크플로에 계속 사용할 수 있습니다. 도구를 선택하기 전에 기능 및 대상 환경 지원을 확인하세요. WIQD는 사용자 지정 엔진 에이전트를 대상으로 하지 않습니다.
기능 또는 사용자 지정 작업을 추가하여 에이전트의 기능을 향상시킬 수 있습니다. 이미지 생성기 또는 코드 인터프리터와 같은 기본 제공 기능을 활성화하거나 MCP 또는 API 플러그인을 사용자 지정 작업으로 추가하여 에이전트를 향상시킬 수 있습니다. 이 자습서에서는 API 플러그인을 추가합니다. MCP 서버를 추가하려면 MCP 서버 빌드 또는 재사용 및 MCP 서버에서 선언적 에이전트용 플러그인 빌드를 참조하세요.
중요
이 가이드에서는 Microsoft 365 에이전트 도구 키트 및 JSON을 사용하여 선언적 에이전트 만들기 자습서를 완료했다고 가정합니다.
에이전트에 이미지 생성기 추가
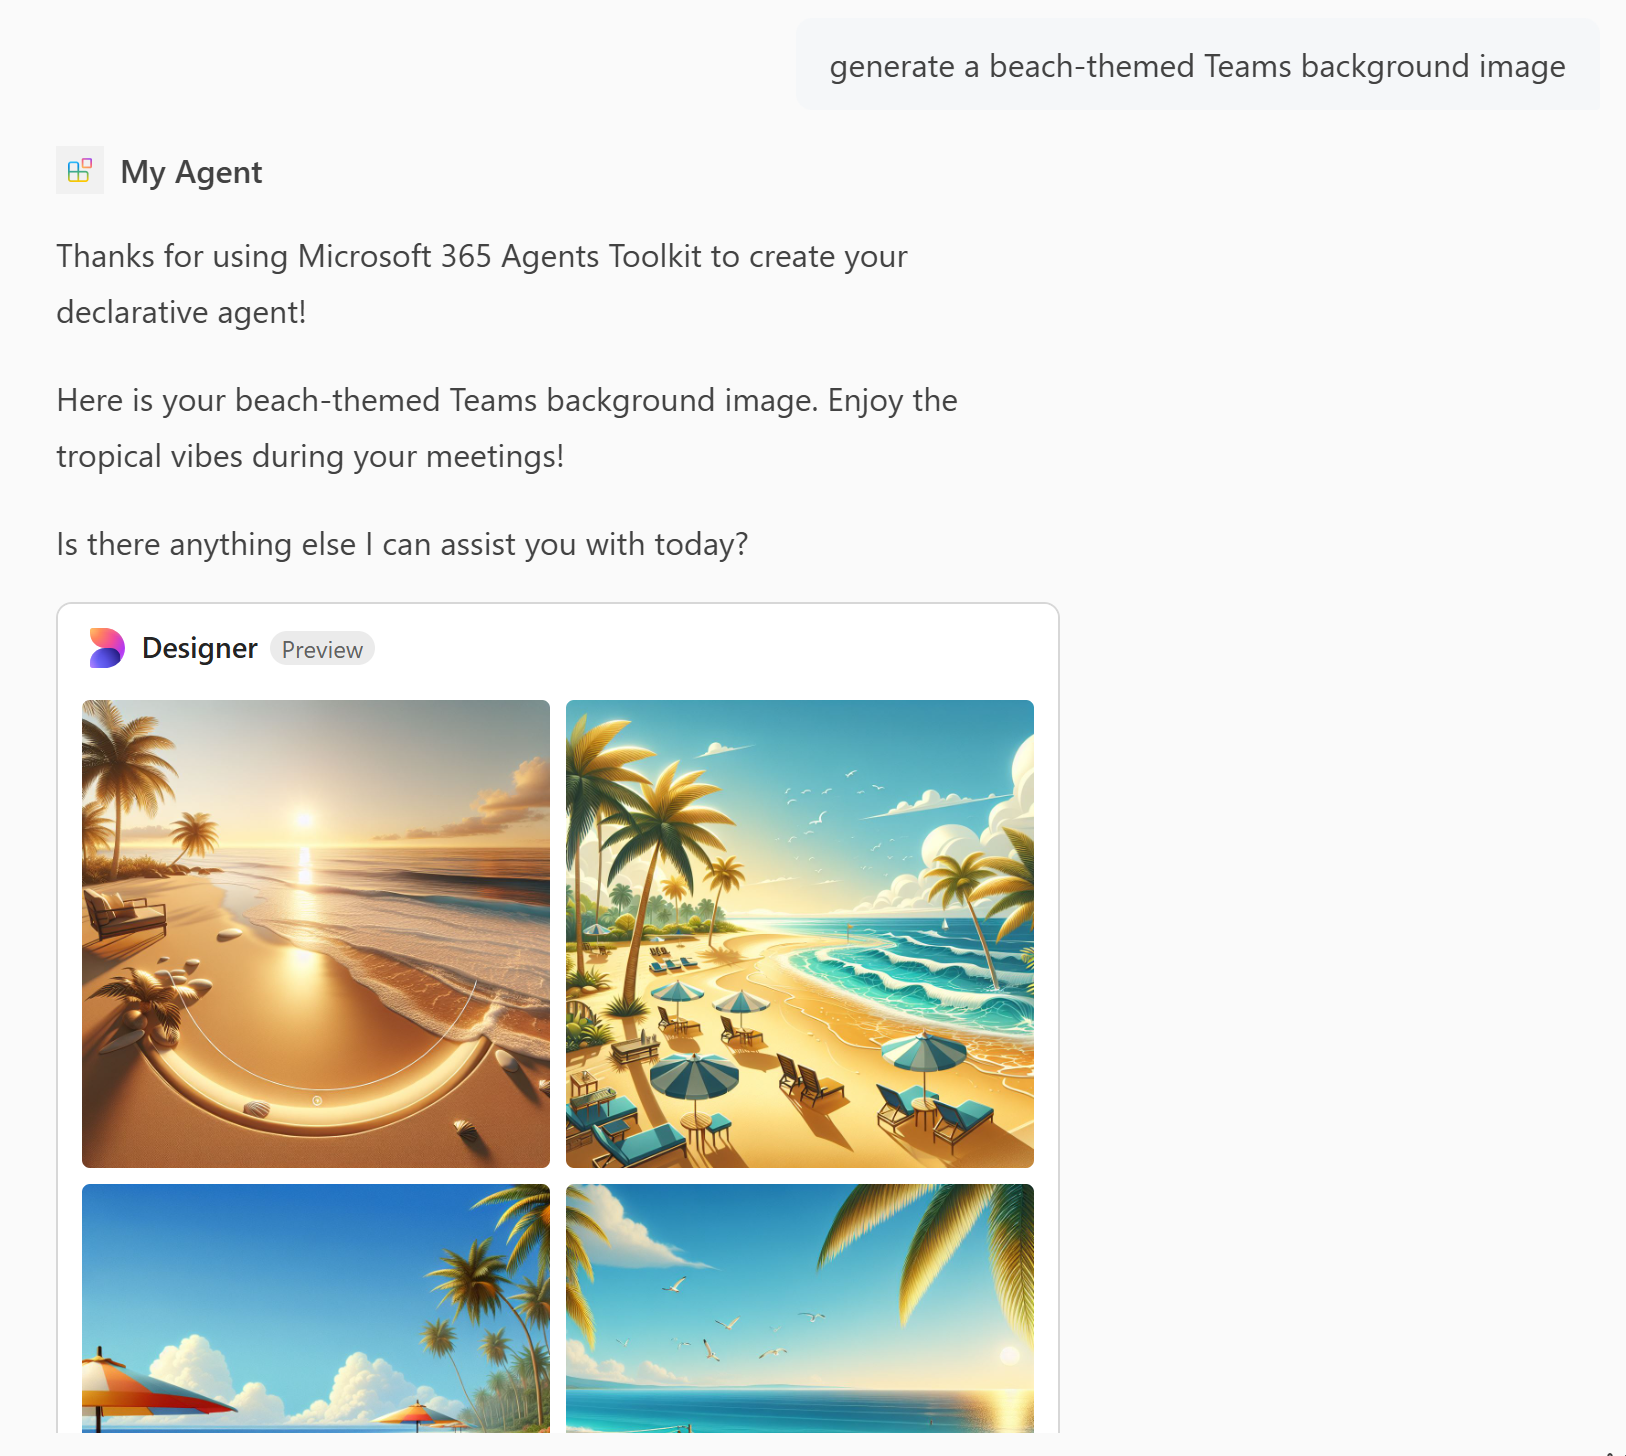
이미지 생성기 기능을 사용하면 에이전트가 사용자 프롬프트를 기반으로 이미지를 생성할 수 있습니다. 이미지 생성기를 추가하려면 다음을 수행합니다.
파일을 열고
appPackage/declarativeAgent.json배열에capabilities항목을 추가합니다GraphicArt. 자세한 내용은 그래픽 아트 개체를 참조하세요.{ "name": "GraphicArt" }Microsoft 365 에이전트 도구 키트의 수명 주기 창에서 프로비전을 선택합니다.
선언적 에이전트는 페이지를 다시 로드한 후 이미지를 생성할 수 있습니다.
참고
이미지 생성기는 Microsoft 365 GCCH(정부 커뮤니티 클라우드 High) 환경의 에이전트가 사용할 수 없습니다.
에이전트에 코드 인터프리터 추가
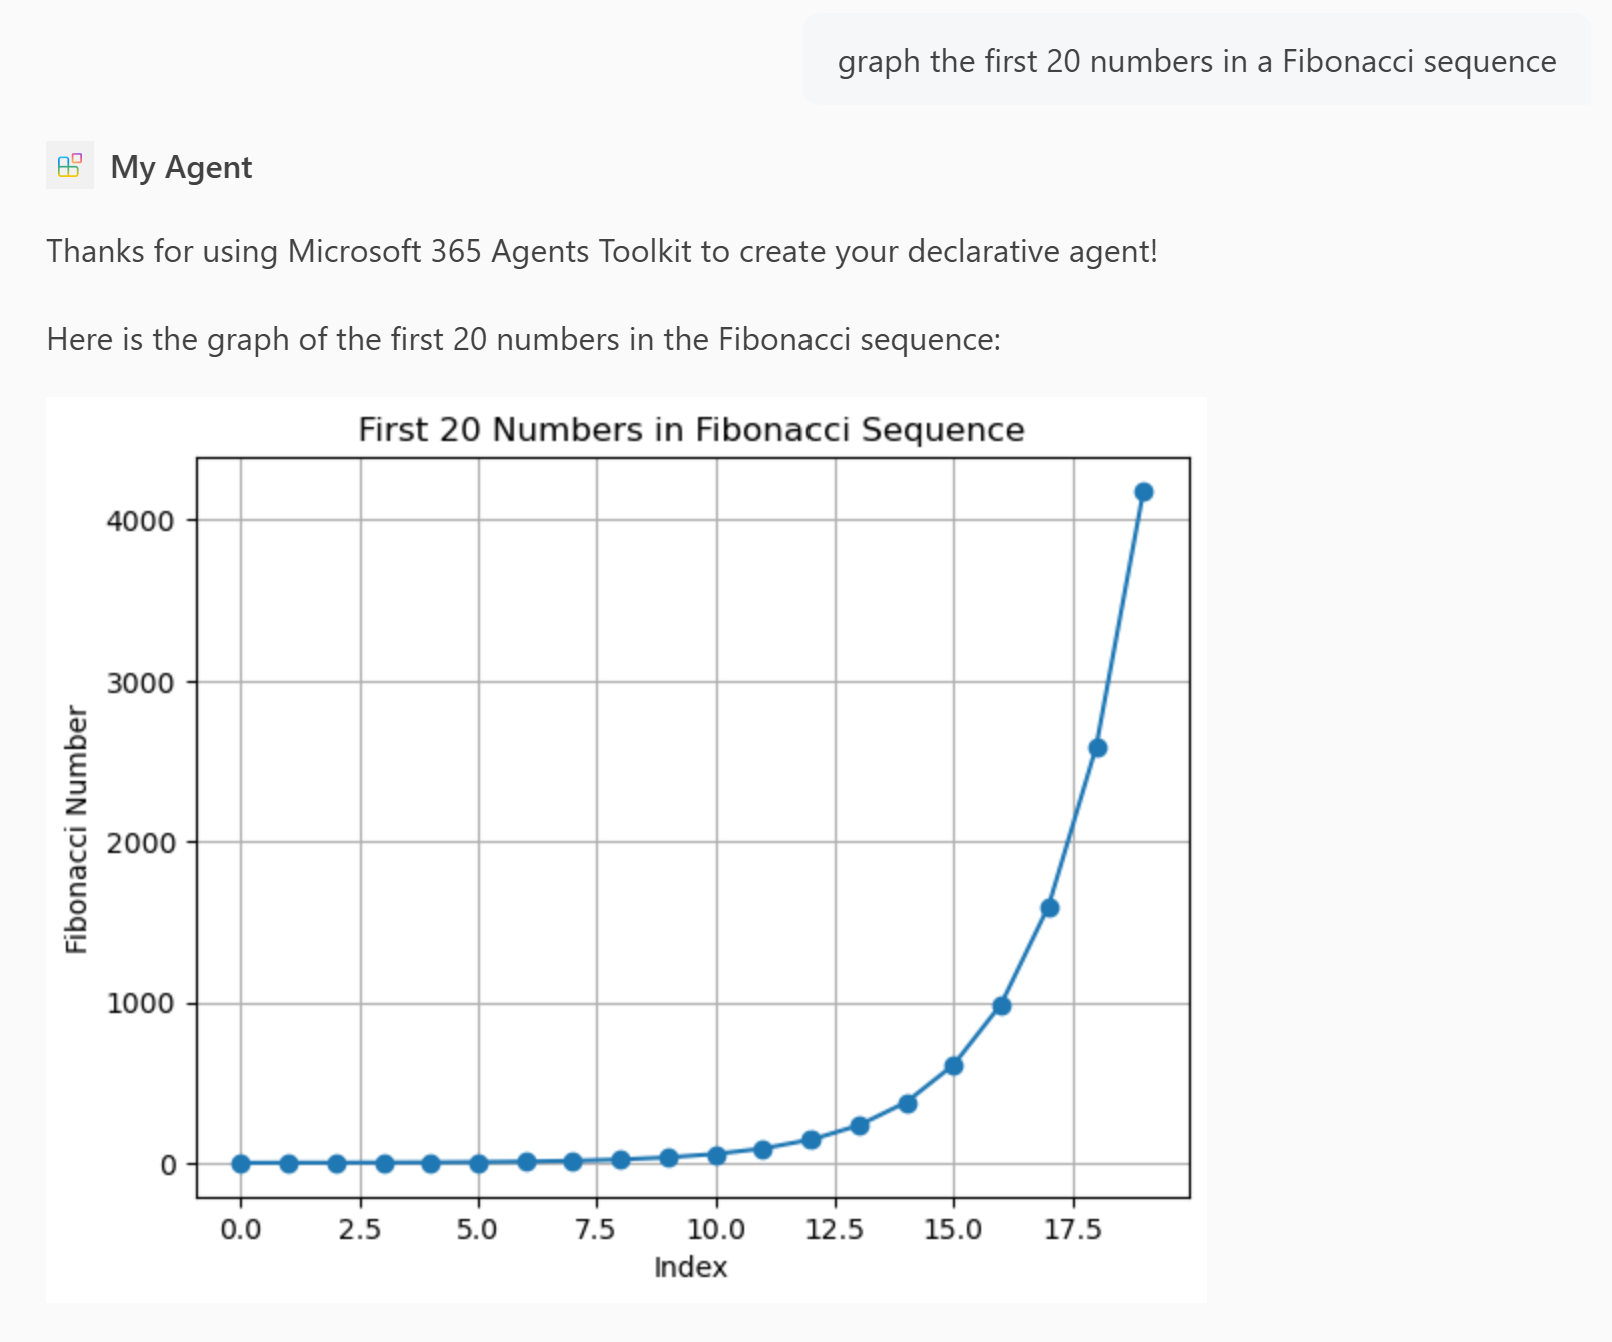
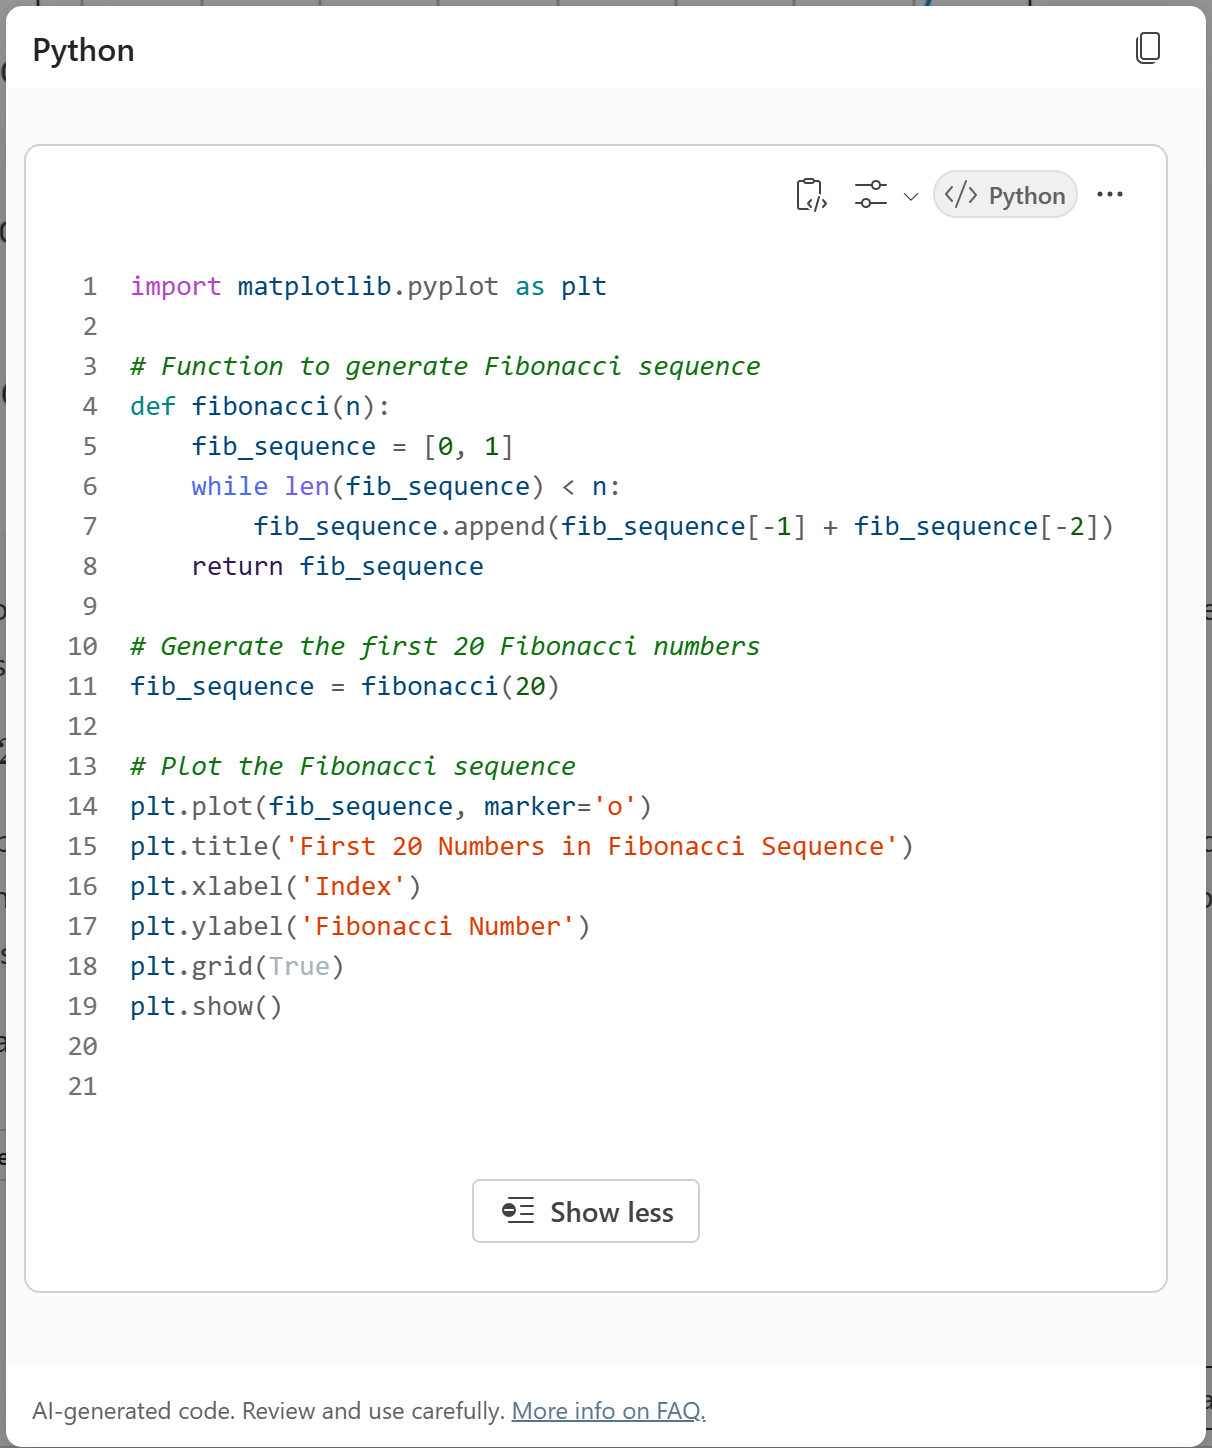
코드 인터프리터는 Python 코드를 통해 복잡한 작업을 해결하도록 설계된 고급 도구입니다.
참고
GCCH 환경에서 코드 인터프리터는 Microsoft 365 Copilot 추가 기능 라이선스가 있는 사용자만 사용할 수 있습니다.
파일을 열고
appPackage/declarativeAgent.json배열에capabilities항목을 추가합니다CodeInterpreter.{ "name": "CodeInterpreter" }자세한 내용은 코드 인터프리터 개체를 참조하세요.
에이전트 도구 키트의 수명 주기 창에서 프로비저닝을 선택합니다.
선언적 에이전트에는 페이지를 다시 로드한 후 코드 인터프리터 기능이 있습니다.
API 플러그인을 에이전트에 사용자 지정 작업으로 추가
API 플러그인은 에이전트가 REST API와 상호 작용할 수 있도록 하여 에이전트에 새로운 기능을 추가합니다.
참고
사용자 지정 작업은 GCCH 환경에서 지원되지 않습니다.
시작하기 전에 Posts API OpenAPI 설명 문서에서 이름의 파일을 posts-api.yml 만들고 코드를 추가합니다.
에이전트 도구 키트의 개발 창에서 작업 추가를 선택합니다.
OpenAPI 설명 문서로 시작을 선택합니다.
찾아보기를 선택하고 파일을 찾습니다
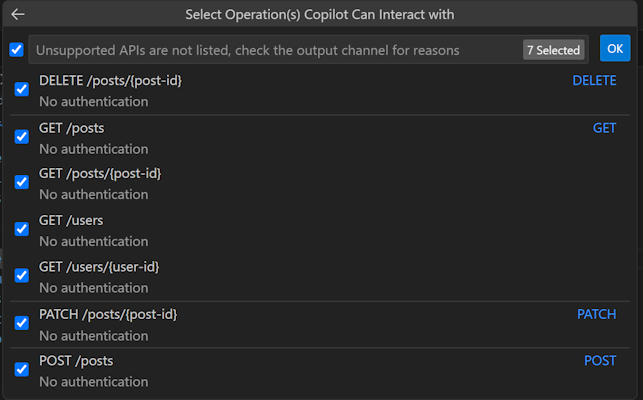
posts-api.yml.사용 가능한 모든 API를 선택한 다음 확인을 선택합니다.
manifest.json를 선택합니다.
대화 상자에서 경고를 검토합니다. 계속할 준비가 되면 추가를 선택합니다.
에이전트 도구 키트의 수명 주기 창에서 프로비저닝을 선택합니다.
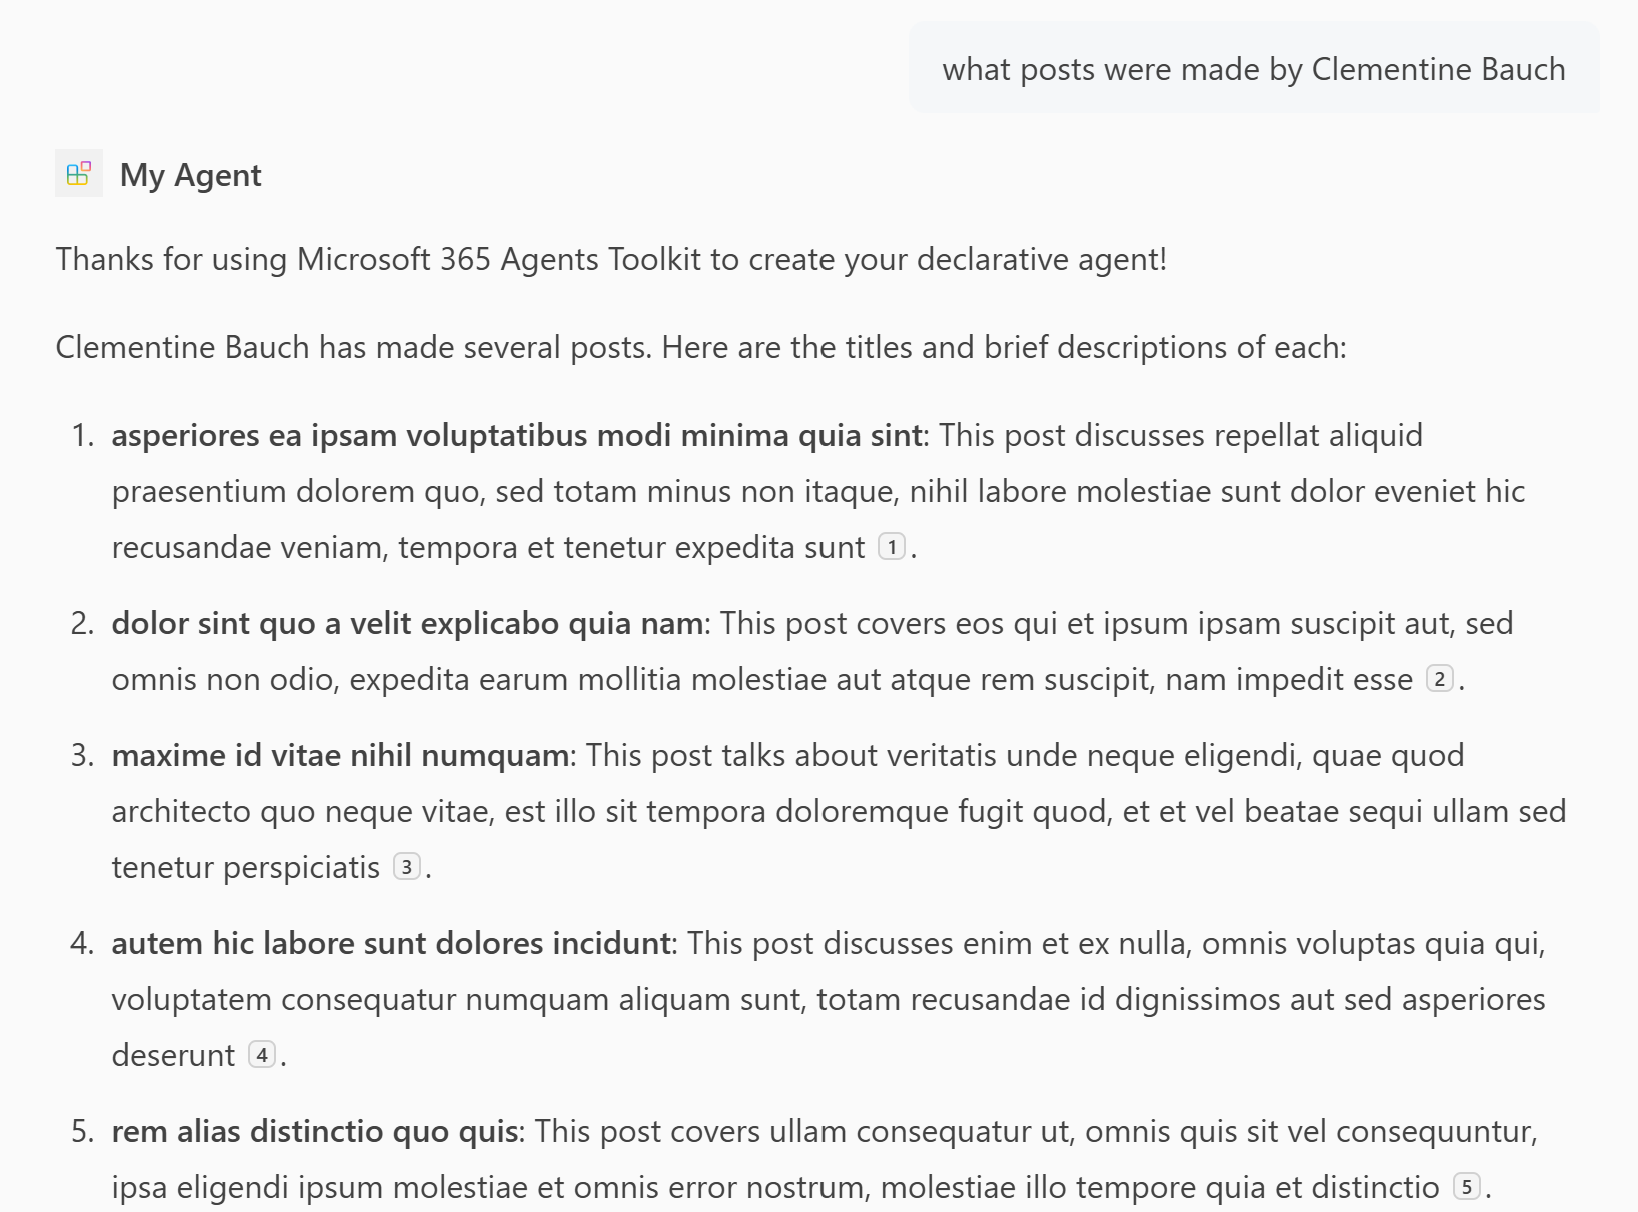
선언적 에이전트는 페이지를 다시 로드한 후 답변을 생성하기 위해 플러그인 콘텐츠에 액세스할 수 있습니다.
게시 API OpenAPI 설명 문서
다음 OpenAPI 설명은 가짜 데이터가 필요할 때마다 사용할 수 있는 무료 온라인 REST API인 JSONPlaceHolder API에 대한 것입니다.
openapi: '3.0.2'
info:
  title: Posts API
  version: '1.0'
servers:
- url: https://jsonplaceholder.typicode.com/

components:
  schemas:
    post:
      type: object
      properties:
        userId:
          type: integer
          description: The ID of the user that authored the post.
        id:
          type: integer
        title:
          type: string
        body:
          type: string
    user:
      type: object
      properties:
        id:
          type: integer
        name:
          type: string
        username:
          type: string
        email:
          type: string
        phone:
          type: string
        website:
          type: string
        address:
          $ref: '#/components/schemas/address'
        company:
          $ref: '#/components/schemas/company'
    address:
      type: object
      properties:
        street:
          type: string
        suite:
          type: string
        city:
          type: string
        zipcode:
          type: string
        geo:
          $ref: '#/components/schemas/coordinates'
    coordinates:
      type: object
      properties:
        lat:
          type: string
          description: The latitude of the location
        lng:
          type: string
          description: The longitude of the location
    company:
      type: object
      properties:
        name:
          type: string
        catchPhrase:
          type: string
        bs:
          type: string
  parameters:
    post-id:
      name: post-id
      in: path
      description: 'key: id of post'
      required: true
      style: simple
      schema:
        type: integer
    user-id:
      name: user-id
      in: path
      description: 'key: id of user'
      required: true
      style: simple
      schema:
        type: integer

paths:
  /posts:
    get:
      description: Get posts
      operationId: GetPosts
      parameters:
      - name: userId
        in: query
        description: Filter results by user ID
        required: false
        style: form
        schema:
          type: integer
          maxItems: 1
      - name: title
        in: query
        description: Filter results by title
        required: false
        style: form
        schema:
          type: string
          maxItems: 1
      responses:
        '200':
          description: OK
          content:
            application/json:
              schema:
                type: array
                items:
                  $ref: '#/components/schemas/post'
    post:
      description: 'Create post'
      operationId: CreatePost
      requestBody:
        required: true
        content:
          application/json:
            schema:
              $ref: '#/components/schemas/post'
      responses:
        '201':
          description: Created
          content:
            application/json:
              schema:
                $ref: '#/components/schemas/post'
  /posts/{post-id}:
    get:
      description: 'Get post by ID'
      operationId: GetPostById
      parameters:
      - $ref: '#/components/parameters/post-id'
      responses:
        '200':
          description: OK
          content:
            application/json:
              schema:
                $ref: '#/components/schemas/post'
    patch:
      description: 'Update post'
      operationId: UpdatePost
      requestBody:
        required: true
        content:
          application/json:
            schema:
              $ref: '#/components/schemas/post'
      parameters:
      - $ref: '#/components/parameters/post-id'
      responses:
        '200':
          description: OK
          content:
            application/json:
              schema:
                $ref: '#/components/schemas/post'
    delete:
      description: 'Delete post'
      operationId: DeletePost
      parameters:
      - $ref: '#/components/parameters/post-id'
      responses:
        '200':
          description: OK
  /users:
    get:
      summary: Get users
      description: Returns details about users
      operationId: GetUsers
      parameters:
      - name: name
        in: query
        description: The user's real name
        schema:
          type: string
      - name: username
        in: query
        description: The user's login name
        schema:
          type: string
      responses:
        '200':
          description: OK
          content:
            application/json:
              schema:
                type: array
                items:
                  $ref: '#/components/schemas/user'
  /users/{user-id}:
    get:
      description: 'Get user by ID'
      operationId: GetUserById
      parameters:
      - $ref: '#/components/parameters/user-id'
      responses:
        '200':
          description: OK
          content:
            application/json:
              schema:
                $ref: '#/components/schemas/user'
관련 콘텐츠
Microsoft 365 Copilot에 대한 선언적 에이전트 가이드를 완료했습니다. 이제 선언적 에이전트의 기능에 익숙해졌으므로 다음 문서에서 선언적 에이전트에 대해 자세히 알아볼 수 있습니다.
- Microsoft 365 에이전트 도구 키트 및 TypeSpec을 사용하여 선언적 에이전트 만들기
- 상담원에 대한 효과적인 지침을 작성 하는 방법을 알아보세요.
- 개발자 모드로 에이전트를 테스트하여 Copilot 오케스트레이터가 주어진 프롬프트에 응답하여 사용할 지식 원본을 선택하는지 여부와 방법을 확인합니다. 자세한 내용은 개발자 모드를 사용하여 Microsoft 365 에이전트 도구 키트에서 에이전트 테스트 및 디버그를 참조하세요.
- 자주 묻는 질문에 대한 답변을 확인하세요.
- Agent Builder의 no-code 또는 Copilot Studio의 low-code와 같은 선언적 에이전트를 빌드하는 다른 방법에 대해 알아봅니다.