Exercise - Upload user files
Here are the steps to add an upload feature to your app.
Display a browser input element and event handler for the upload
Open the index.html file.
Locate the line
<ul id="downloadLinks"></ul>and add the following markup immediately after it:<!-- Add for file upload --> <hr /> <input type="file" onchange="fileSelected(this);" /> <div id="uploadMessage"></div>The resulting
<div>content block should look like the following:<div id="content" style="display: none;"> <h4>Welcome <span id="userName"></span></h4> <!-- Add for file download --> <hr /> <label>Files in your OneDrive root folder:</label> <ul id="downloadLinks"></ul> <!-- Add for file upload --> <hr /> <input type="file" onchange="fileSelected(this);" /> <div id="uploadMessage"></div> </div>Now, open the ui.js file in your code editor, and add the following code to the end of the file:
function fileSelected(e) {
  displayUploadMessage(`Uploading ${e.files[0].name}...`);
  uploadFile(e.files[0])
  .then((response) => {
    displayUploadMessage(`File ${response.name} of ${response.size} bytes uploaded`);
    displayFiles();
  });
}

function displayUploadMessage(message) {
    const messageElement = document.getElementById('uploadMessage');
    messageElement.innerText = message;
}
Add a function to upload the file by using the Microsoft Graph SDK
Open the graph.js file in your code editor.
Add this function at the bottom of the file:
async function uploadFile(file) {
  try {
    ensureScope('files.readwrite');
    let options = {
        path: "/",
        fileName: file.name,
        rangeSize: 1024 * 1024 // must be a multiple of 320 KiB
    };
    const uploadTask = await MicrosoftGraph.OneDriveLargeFileUploadTask
        .create(graphClient, file, options);
    const response = await uploadTask.upload();
    console.log(`File ${response.name} of ${response.size} bytes uploaded`);
    return response;
  } catch (error) {
    console.error(error);
  }
}
Ensure you save the graph.js file before you continue.
Run the app
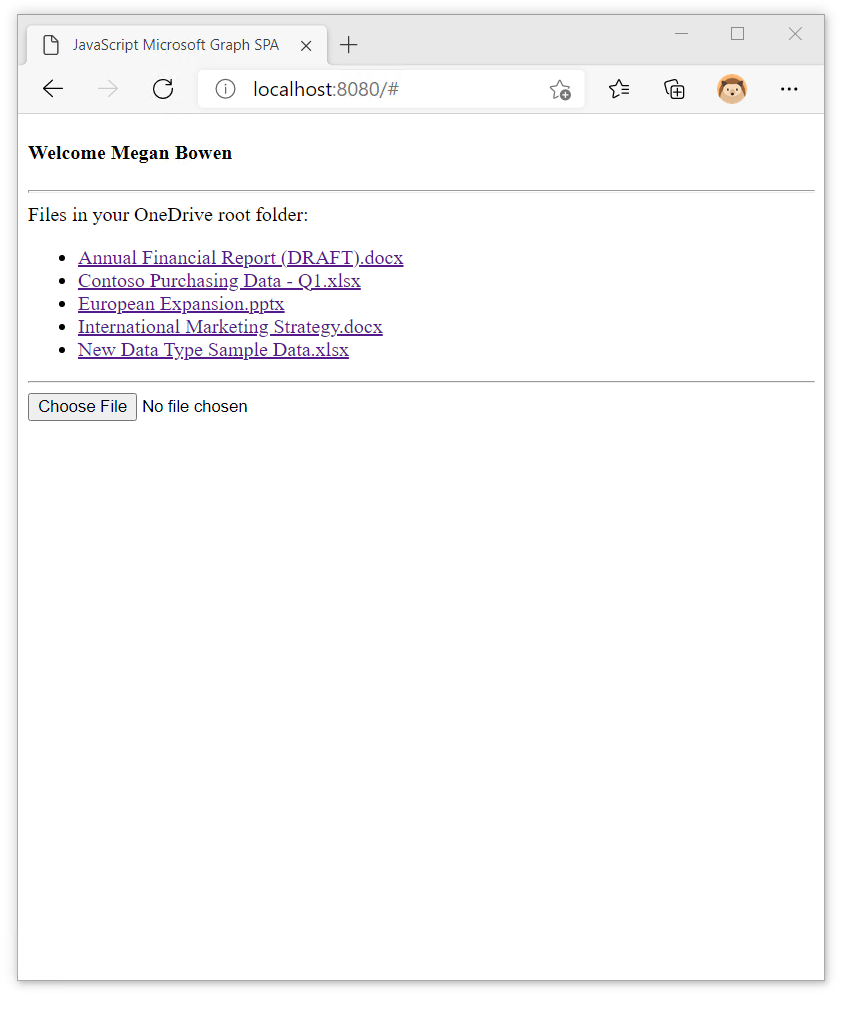
Refresh your browser. When you sign in, you should see an upload button.
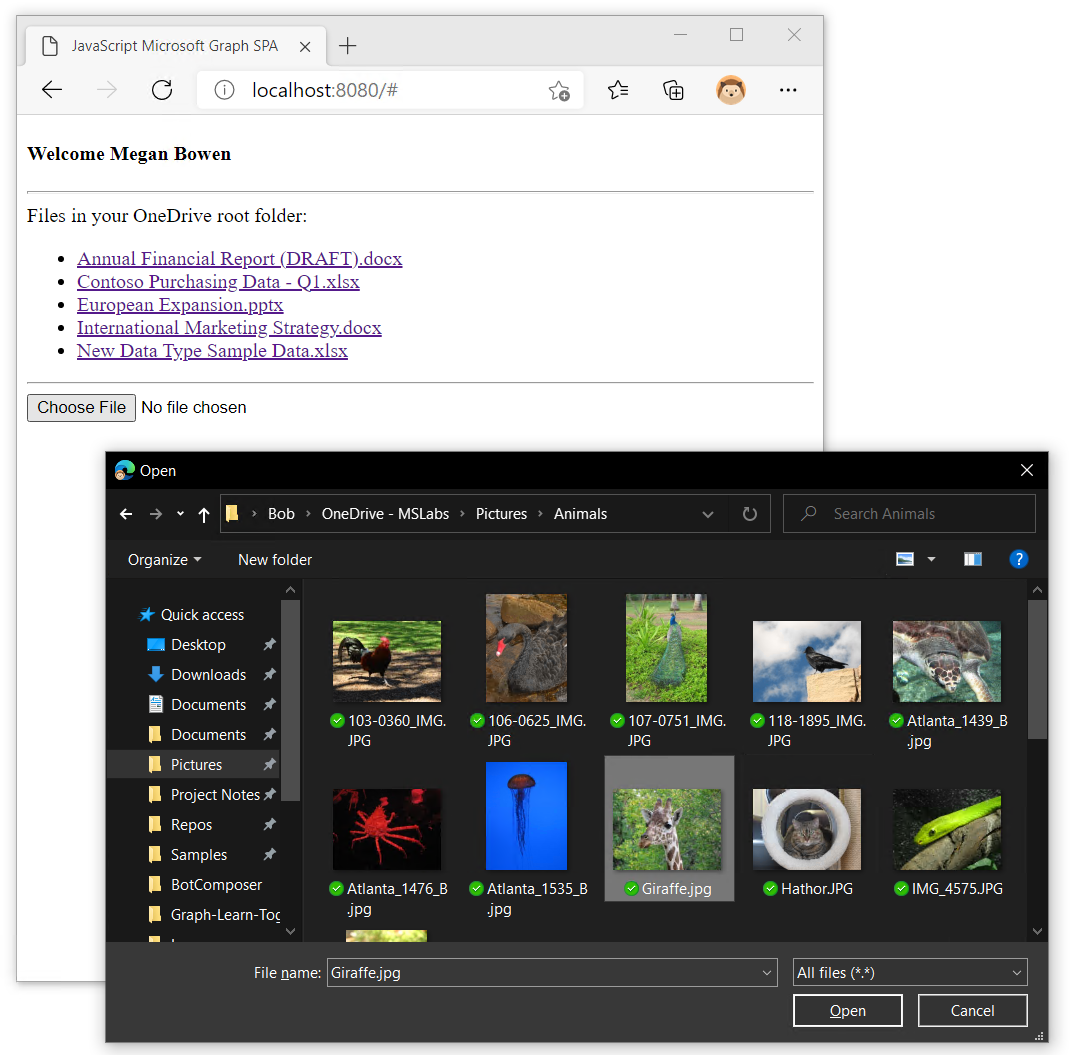
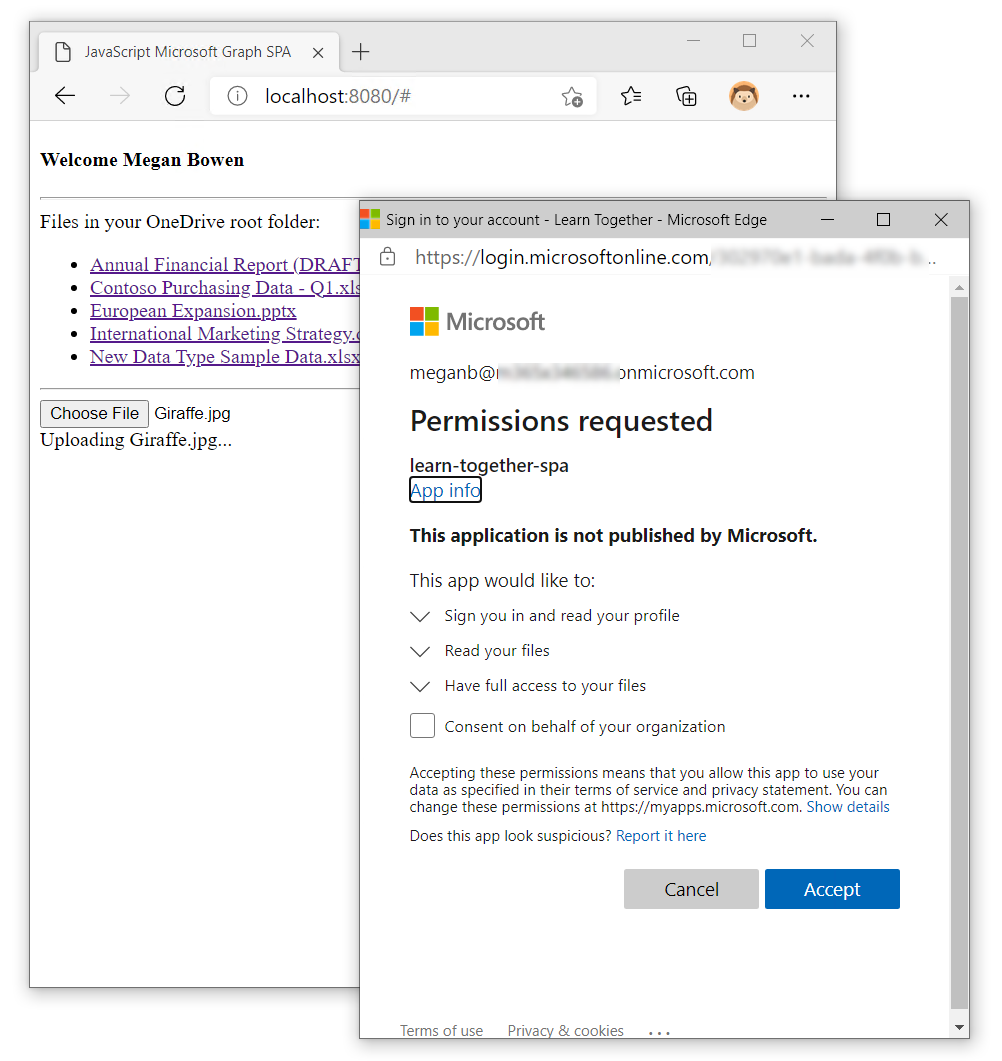
Select the button, and choose a file from your computer. You might notice that the first time you upload you see a new consent pop-up window requesting permission to write and read files. When the file begins uploading, a message appears.
The first time you do this, you'll see another consent pop-up window because now you're asking to write files.
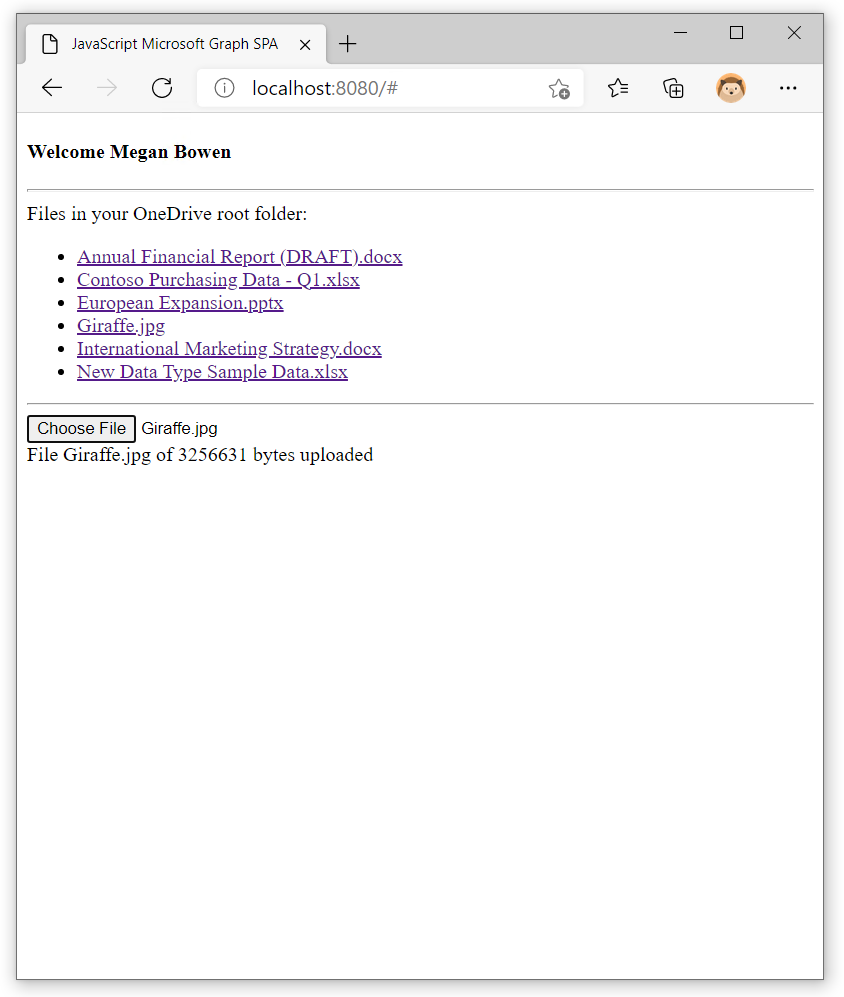
When the upload is complete, the message shows the number of bytes uploaded and the file appears in the files list.
Stop your Node.js server by selecting CTRL+C in your terminal window.