Microsoft Entra ID allows you to create several types of users in your tenant, which provides greater flexibility in how you manage your organization's users.
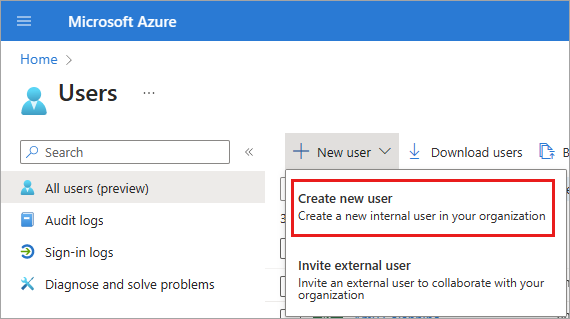
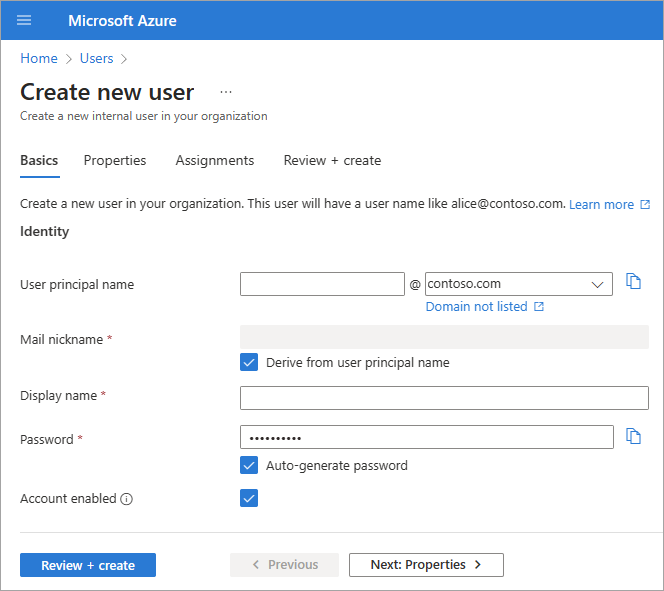
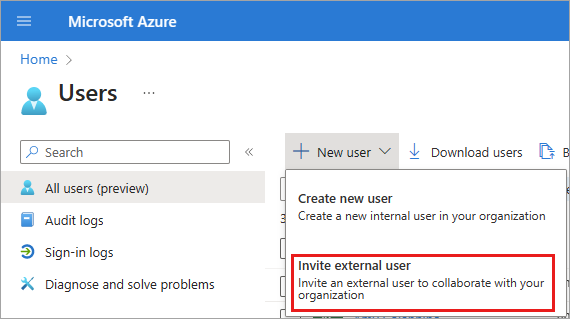
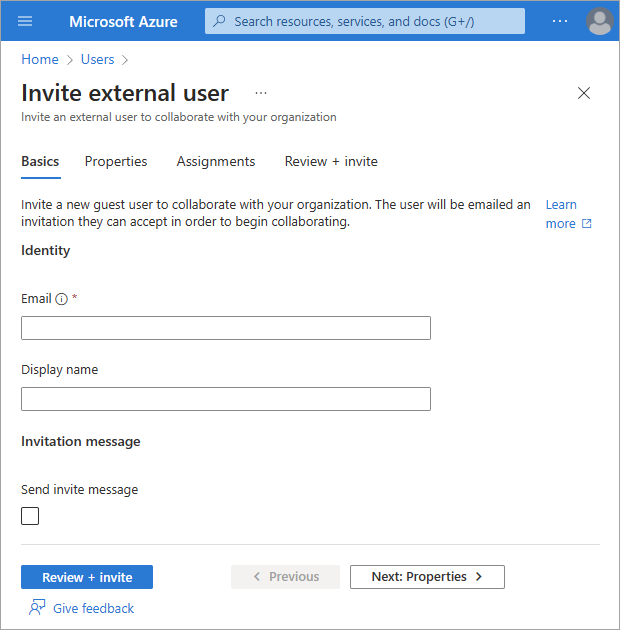
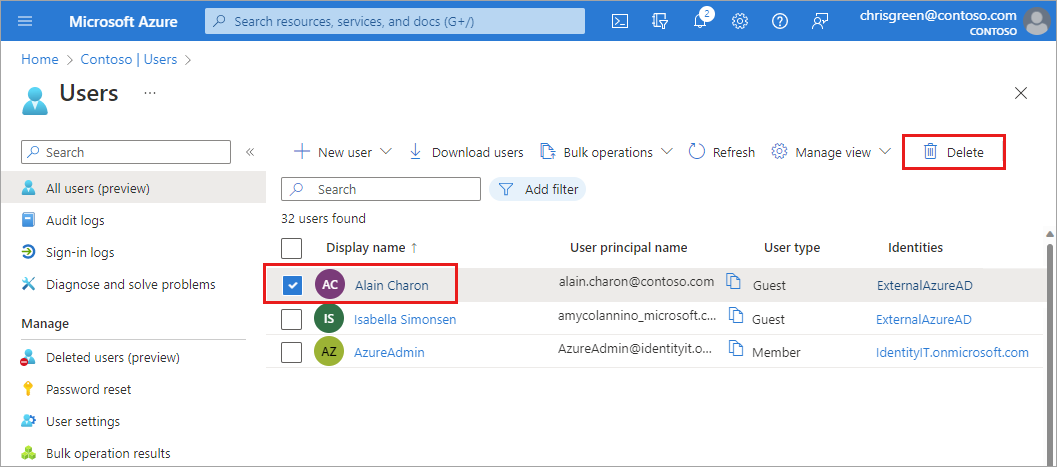
This article explains how to create a new user, invite an external guest, and delete a user in your workforce tenant. It also includes information about creating users in an external tenant for Microsoft Entra External ID scenarios.
Note
For information about viewing or deleting personal data, please review Microsoft's guidance on the Windows data subject requests for the GDPR site. For general information about GDPR, see the GDPR section of the Microsoft Trust Center and the GDPR section of the Service Trust portal.
Types of users
Before you create or invite a new user, take some time to review the types of users, their authentication methods, and their access within your Microsoft Entra workforce tenant. For example, do you need to create an internal guest, an internal user, or an external guest? Does your new user need guest or member privileges?
Users in workforce tenants
A Microsoft Entra workforce tenant has the following user types:
- Internal member: These users are most likely full-time employees in your organization.
- Internal guest: These users have an account in your tenant, but have guest-level privileges. It's possible they were created within your tenant prior to the availability of B2B collaboration.
- External member: These users authenticate using an external account, but have member access to your tenant. These types of users are common in multitenant organizations.
- External guest: These users are true guests of your tenant who authenticate using an external method and who have guest-level privileges.
For more information abut the differences between internal and external guests and members, see B2B collaboration properties.
Authentication methods vary based on the type of user you create. Internal guests and members have credentials in your Microsoft Entra tenant that can be managed by administrators. These users can also reset their own password. External members authenticate to their home Microsoft Entra tenant and your Microsoft Entra tenant authenticates the user through a federated sign-in with the external member's Microsoft Entra tenant. If external members forget their password, the administrator in their Microsoft Entra tenant can reset their password. External guests set up their own password using the link they receive in email when their account is created.
Reviewing the default user permissions may also help you determine the type of user you need to create. For more information, see Set default user permissions.
Users in external tenants
A Microsoft Entra tenant in an external configuration is used exclusively for Microsoft Entra External ID scenarios. An external tenant can include the following user types:
- Internal user: These users authenticate internally, and are typically admins with assigned Microsoft Entra roles in your external tenant.
- External user: These users are consumers and business customers of the apps registered in your external tenant. They have a local account with default user privileges, but authenticate externally. See how to create a new external user.
- External guest: These users sign in with their own external credentials and are typically admins with assigned Microsoft Entra roles in your external tenant.
For more information, see Default user permissions for external tenants.