How to block network traffic with Azure Virtual Network Manager - Azure portal
This article shows you how to create a security admin rule to block inbound network traffic on RDP port 3389 that you can add to a rule collection. For more information, see Security admin rules.
Prerequisites
Before you start to configure security admin rules, confirm that you've done the following steps:
- You understand each element in a Security admin rule.
- You've created an Azure Virtual Network Manager instance.
Create a SecurityAdmin configuration
Select Configurations under Settings and then select + Create.
Select Security configuration from the drop-down menu.
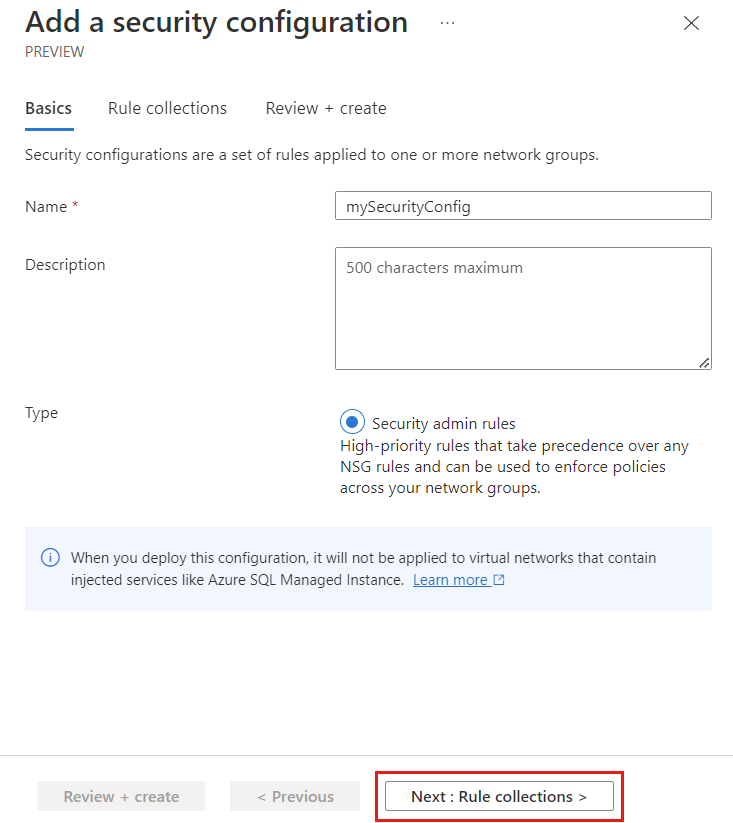
On the Basics tab, enter a Name to identify this security configuration and select Next: Rule collections.
Add a rule collection
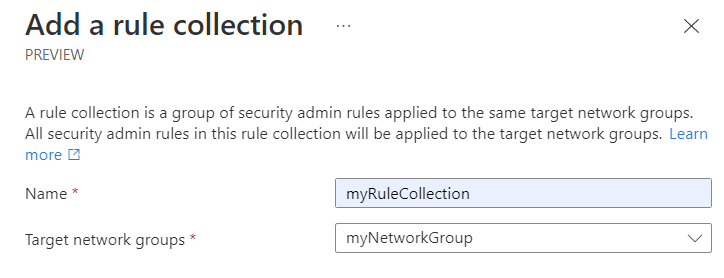
Enter a Name to identify this rule collection and then select the Target network groups you want to apply the set of rules to.
Add a security rule
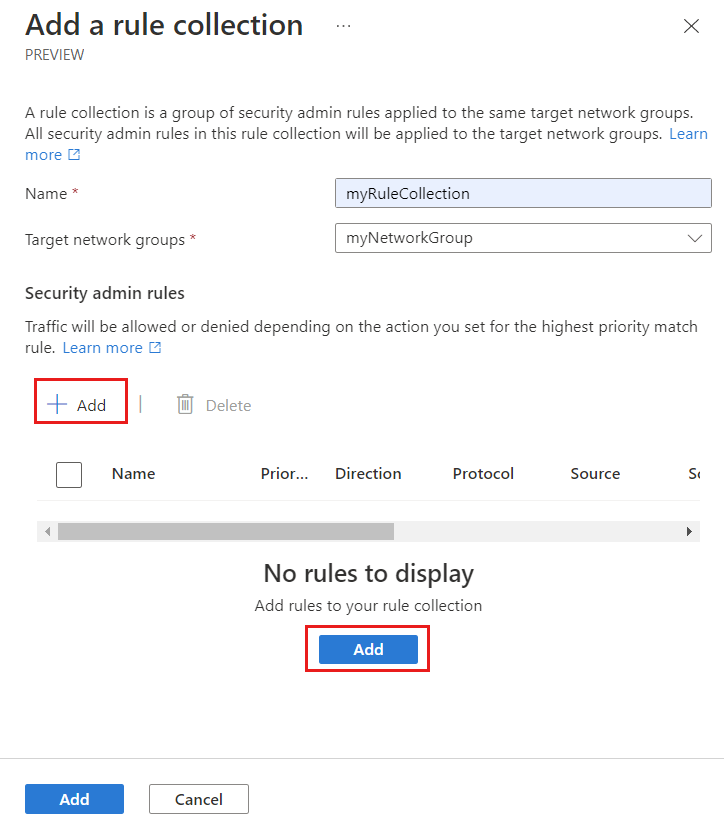
Select + Add from the Add a rule collection page.
Enter or select the following information, then select Add to add the rule to the rule collection.
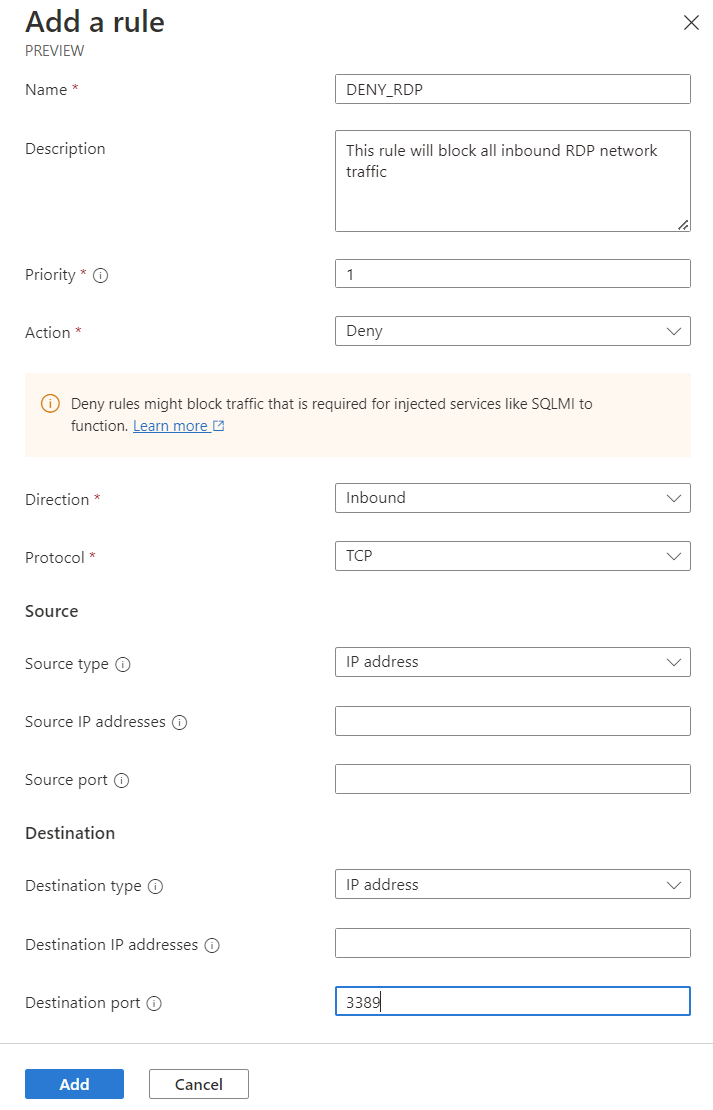
Setting Value Name Enter the name Deny_RDP for the rule name. Description Enter a description about the rule. Priority* Enter a value between 0 and 99 to determine the priority of the rule. The lower the value the higher the priority. Enter 1 for this example Action* Select Deny to block traffic. For more information, see Action Direction* Select Inbound as you want to deny inbound traffic with this rule. Protocol* Select the TCP protocol. HTTP and HTTPS are TCP ports. Source Source type Select the source type of either IP address or Service tags. Source IP addresses This field appears when you select the source type of IP address. Enter an IPv4 or IPv6 address or a range using CIDR notation. When defining more than one address or blocks of addresses separate using a comma. Leave blank for this example. Source service tag This field appears when you select the source type of Service tag. Select service tag(s) for services you want to specify as the source. See Available service tags, for the list of supported tags. Source port Enter a single port number or a port range such as (1024-65535). When defining more than one port or port ranges, separate them using a comma. To specify any port, enter *. Leave blank for this example. Destination Destination type Select the destination type of either IP address or Service tags. Destination IP addresses This field appears when you select the destination type of IP address. Enter an IPv4 or IPv6 address or a range using CIDR notation. When defining more than one address or blocks of addresses separate using a comma. Destination service tag This field appears when you select the destination type of Service tag. Select service tag(s) for services you want to specify as the destination. See Available service tags, for the list of supported tags. Destination port Enter a single port number or a port range such as (1024-65535). When defining more than one port or port ranges, separate them using a comma. To specify any port, enter *. Enter 3389 for this example. Repeat steps 1-3 again if you want to add more rules to the rule collection.
Once you're satisfied with all the rules you wanted to create, select Add to add the rule collection to the security admin configuration.
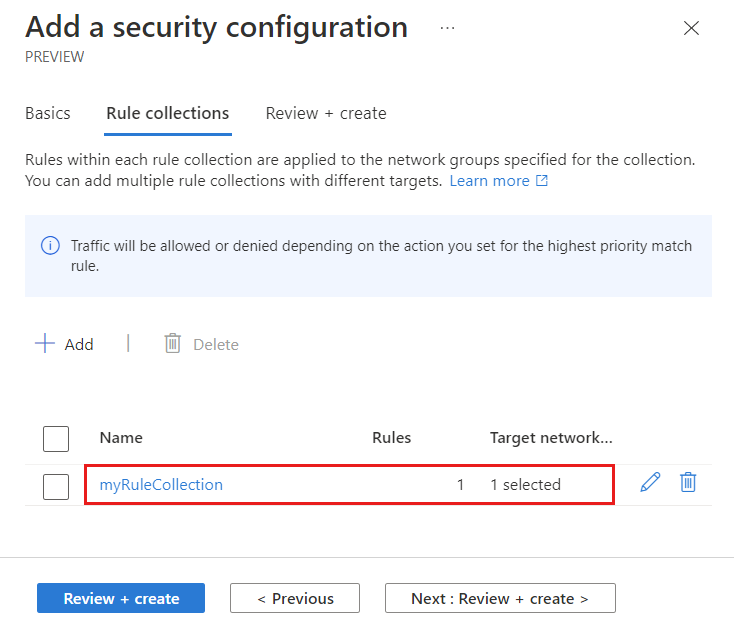
Then select Review + Create and Create to complete the security configuration.
Deploy the security admin configuration
If you just created a new security admin configuration, make sure to deploy this configuration to apply to virtual networks in the network group.
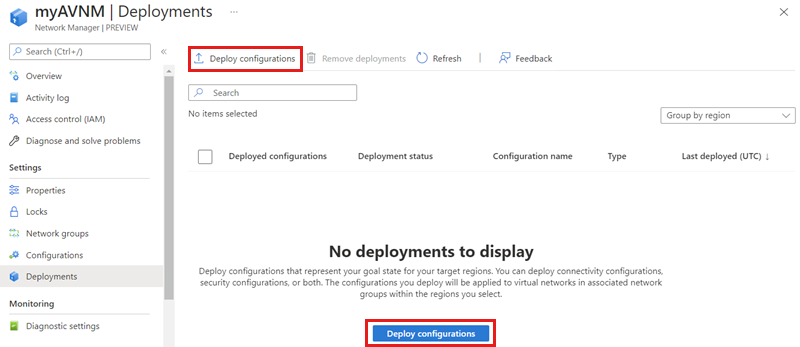
Select Deployments under Settings, then select Deploy configuration.
Select the Include security admin in your goal state checkbox and choose the security configuration you created in the last section from the dropdown menu. Then choose the region(s) you would like to deploy this configuration to.
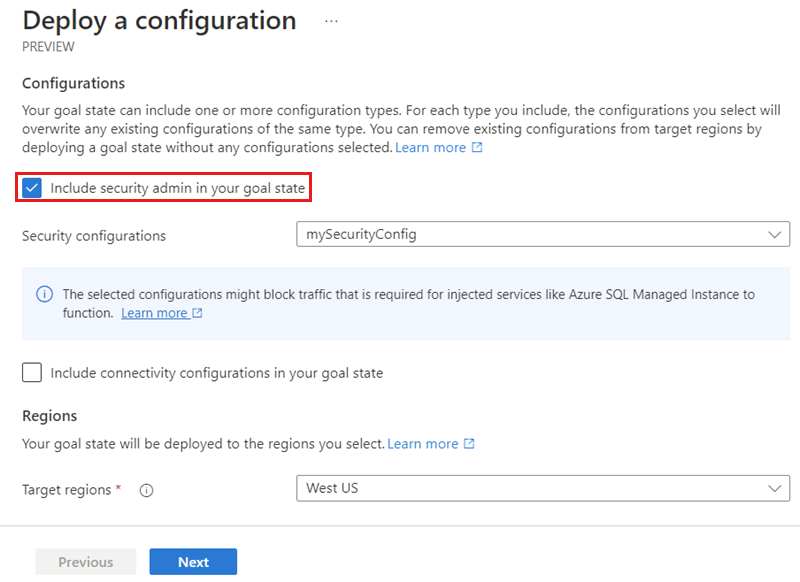
Select Next and Deploy to deploy the security admin configuration.
Update existing security admin configuration
- If the security admin configuration you're updating is applied to a network group containing static members, you need to deploy the configuration again to take effect.
- Security admin configurations are automatically applied to dynamic members in a network group.
Verify security admin rules
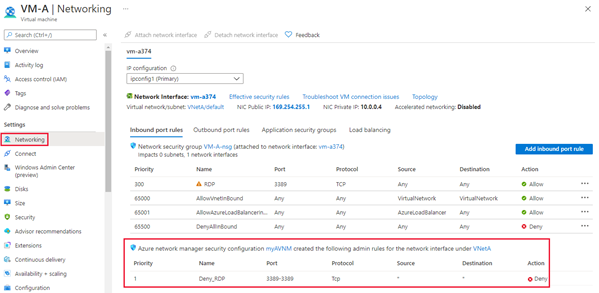
Go to the Networking settings for a virtual machine in the one of the virtual networks you applied the security admin rules to. If you don't have one, deploy a test virtual machine into one of the virtual networks. The virtual machine has a new section below the network security group rules including security rules applied by Azure Virtual Network Manager.
Next steps
Learn more about Security admin rules.
