Advanced hunting example for Microsoft Defender for Office 365
Applies to:
- Microsoft Defender XDR
Want to get started searching for email threats using advanced hunting? Try these steps:
The Microsoft Defender for Office 365 deployment guide explains how to jump right in and get configuration going on Day 1.
Depending on your preset security policy vs. custom policy choices, Zero-Hour auto purge (ZAP) settings are important to know if a malicious message was removed from a mailbox after delivery.
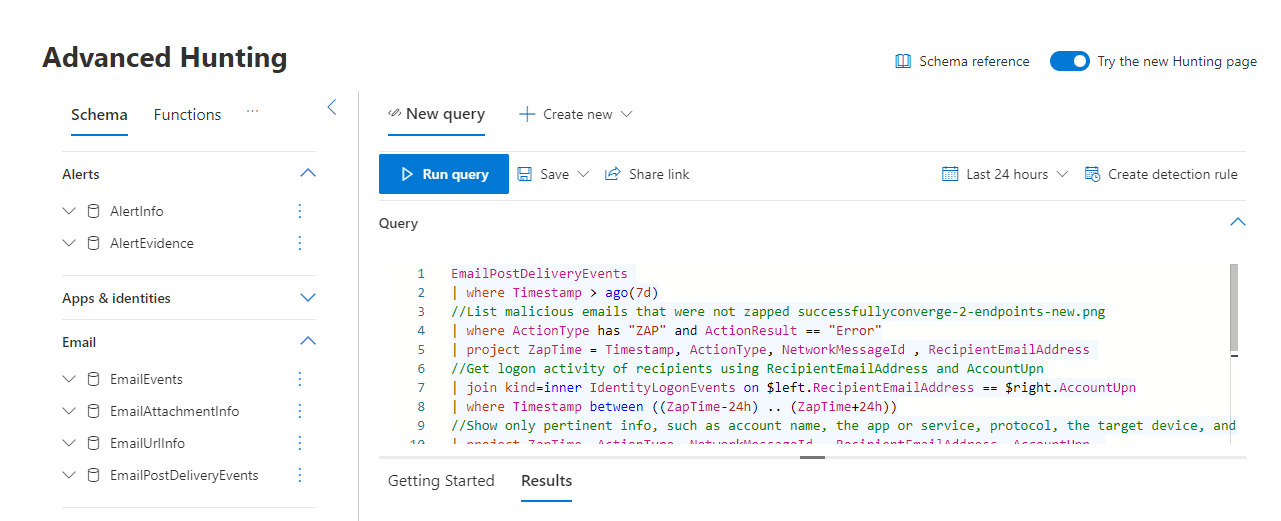
Quickly navigating to Kusto query language to hunt for issues is an advantage of converging these two security centers. Security teams can monitor ZAP misses by taking their next steps in the Microsoft Defender portal at https://security.microsoft.com > Hunting > Advanced Hunting.
On the Advanced Hunting page at https://security.microsoft.com/v2/advanced-hunting, verify the New Query tab is selected.
Copy the following query into the Query box:
EmailPostDeliveryEvents
| where Timestamp > ago(7d)
//List malicious emails that were not zapped successfully
| where ActionType has "ZAP" and ActionResult == "Error"
| project ZapTime = Timestamp, ActionType, NetworkMessageId , RecipientEmailAddress
//Get logon activity of recipients using RecipientEmailAddress and AccountUpn
| join kind=inner IdentityLogonEvents on $left.RecipientEmailAddress == $right.AccountUpn
| where Timestamp between ((ZapTime-24h) .. (ZapTime+24h))
//Show only pertinent info, such as account name, the app or service, protocol, the target device, and type of logon
| project ZapTime, ActionType, NetworkMessageId , RecipientEmailAddress, AccountUpn,
LogonTime = Timestamp, AccountDisplayName, Application, Protocol, DeviceName, LogonType
Select Run query.
The data from this query appears in the Results panel below the query itself. Results include information like
DeviceName,AccountDisplayName, andZapTimein a customizable result set. Results can also be exported for your records. To save the query for reuse, select Save > Save As to add the query to your list of queries, shared, or community queries.
Related information
Tip
Do you want to learn more? Engage with the Microsoft Security community in our Tech Community: Microsoft Defender XDR Tech Community.
