Nota
L-aċċess għal din il-paġna jeħtieġ l-awtorizzazzjoni. Tista’ tipprova tidħol jew tibdel id-direttorji.
L-aċċess għal din il-paġna jeħtieġ l-awtorizzazzjoni. Tista’ tipprova tibdel id-direttorji.
APPLIES TO:  Azure Data Factory
  Azure Synapse Analytics
Tip
Looking for an easy way to move data? Copy job in Microsoft Fabric provides a simple, scalable way to load data without building a pipeline. Learn how to create one.
In this quickstart, you use the Copy Data tool in Azure Data Factory Studio to create a pipeline that copies data from a source folder in Azure Blob Storage to a target folder.
Prerequisites
Azure subscription
If you don't have an Azure subscription, create a free account before you begin.
Prepare source data in Azure Blob Storage
To prepare source data by using a template:
Select the following button.

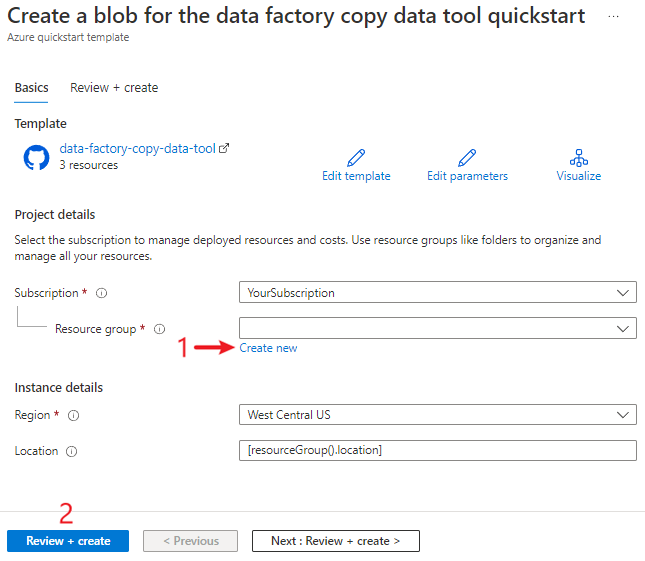
You're directed to the configuration page to deploy the template. On this page:
For Resource group, select Create new to create a resource group. You can leave all the other values with their defaults.
Select Review + create, and then select Create to deploy the resources.
Note
The user who deploys the template needs to assign a role to a managed identity. This step requires permissions that can be granted through the Owner, User Access Administrator, or Managed Identity Operator role.
A new Blob Storage account is created in the new resource group. The moviesDB2.csv file is stored in a folder called input in Blob Storage.
Create a data factory
You can use your existing data factory, or you can create a new one as described in Quickstart: Create a data factory.
Use the Copy Data tool to copy data
The Copy Data tool has five pages that walk you through the task of copying data. To start the tool:
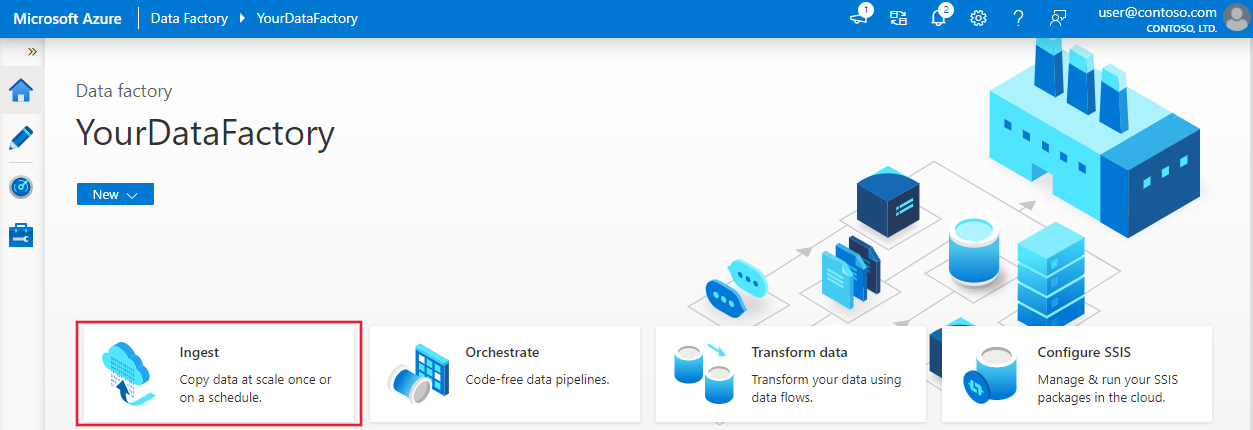
In Azure Data Factory Studio, go to your data factory.
Select the Ingest tile.
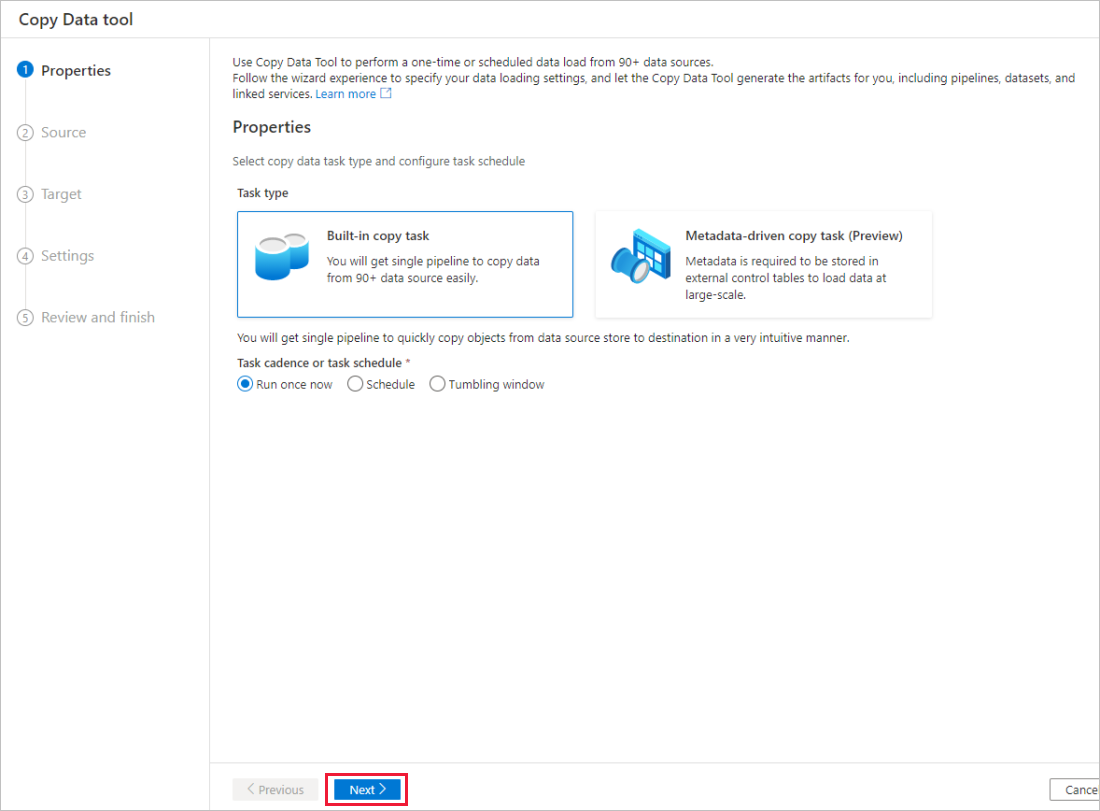
Step 1: Select the task type
On the Properties page of the Copy Data tool, choose Built-in copy task under Task type.
Select Next.
Step 2: Complete source configuration
On the Source page of the Copy Data tool, select + Create new connection to add a connection.
Select the linked service type that you want to create for the source connection. (The example in this quickstart uses Azure Blob Storage.) Then select Continue.

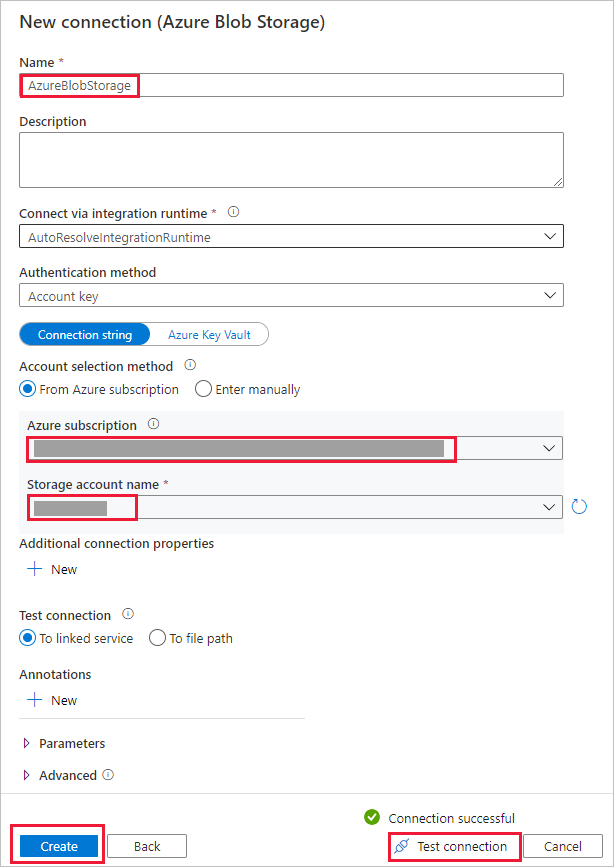
In the New connection (Azure Blob Storage) dialog:
- For Name, specify a name for your connection.
- Under Account selection method, select From Azure subscription.
- In the Azure subscription list, select your Azure subscription.
- In the Storage account name list, select your storage account.
- Select Test connection and confirm that the connection is successful.
- Select Create.
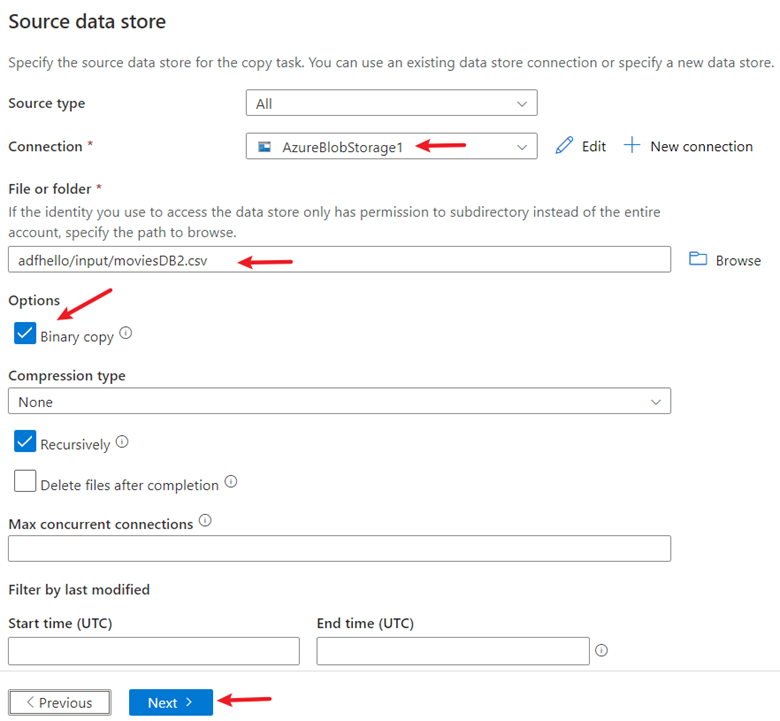
Under Source data store:
- For Connection, select the newly created connection.
- In the File or folder section, select Browse to go to the adftutorial/input folder. Select the moviesDB2.csv file, and then select OK.
- Select the Binary copy checkbox to copy the file as is.
- Select Next.
Step 3: Complete destination configuration
On the Target page of the Copy Data tool, for Connection, select the AzureBlobStorage connection that you created.
In the Folder path section, enter adftutorial/output.
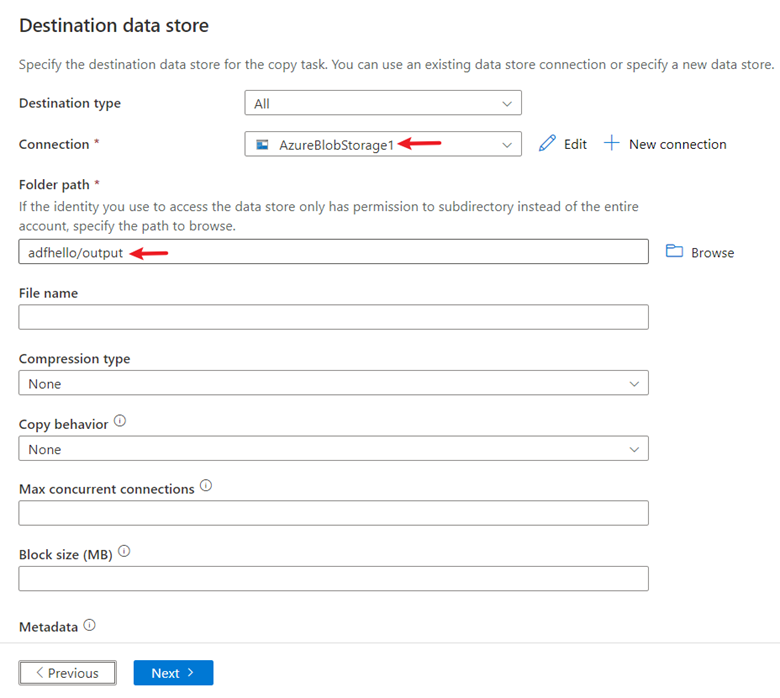
Leave other settings as default. Select Next.
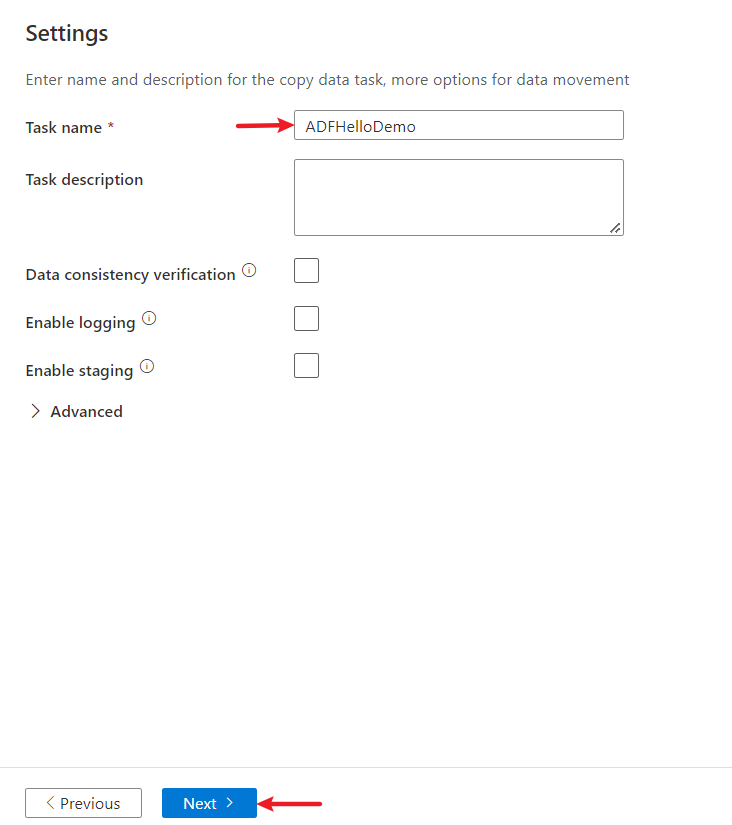
Step 4: Enter a name and description for the pipeline
On the Settings page of the Copy Data tool, specify a name for the pipeline and its description.
Select Next to use other default configurations.
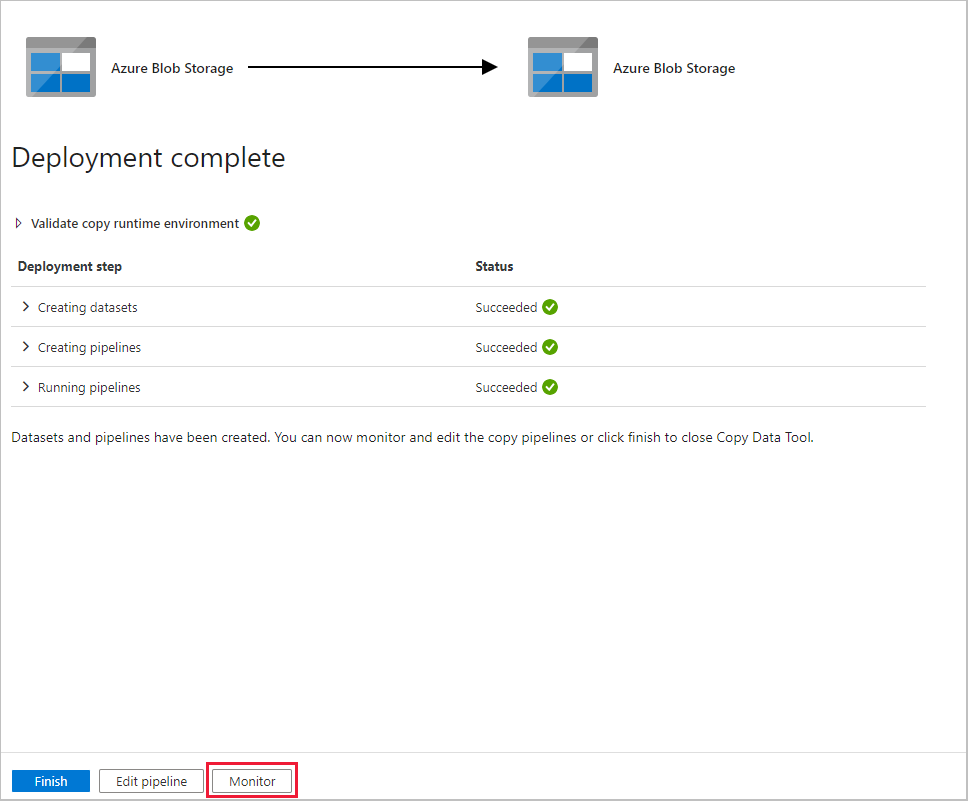
Step 5: Review settings and deploy
On the Review and finish page, review all settings.
Select Next.
The Deployment complete page shows whether the deployment is successful.
Monitor the running results
After you finish copying the data, you can monitor the pipeline that you created:
On the Deployment complete page, select Monitor.
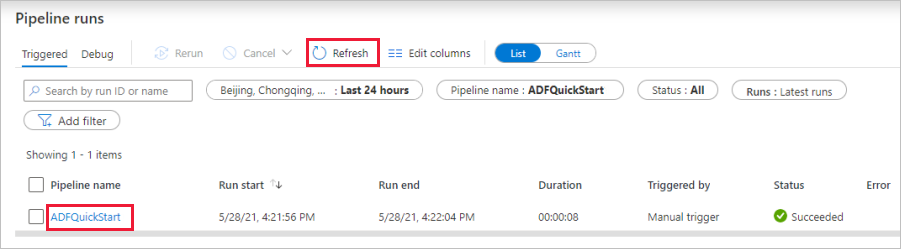
The application switches to the Monitor tab, which shows the status of the pipeline. Select Refresh to refresh the list of pipelines. Select the link under Pipeline name to view activity run details or to rerun the pipeline.
On the page that shows the details of the activity run, select the Details link (eyeglasses icon) in the Activity name column for more details about the copy operation. For information about the properties, see the overview article about the copy activity.
Related content
The pipeline in this sample copies data from one location to another location in Azure Blob Storage. To learn about using Data Factory in more scenarios, see the following tutorial: