Nota
L-aċċess għal din il-paġna jeħtieġ l-awtorizzazzjoni. Tista’ tipprova tidħol jew tibdel id-direttorji.
L-aċċess għal din il-paġna jeħtieġ l-awtorizzazzjoni. Tista’ tipprova tibdel id-direttorji.
Use the Create bacpac/dacpac wizard to save a database schema as a .dacpac file or save the schema with data as a .bacpac file. You can save the file to local disk or Azure Blob Storage.
Note
The Create bacpac/dacpac wizard is in preview.
For more information about the package formats, see Data-tier applications (DAC) overview.
Prerequisites
- SQL Server Management Studio (SSMS).
- Access to a source database on SQL Server, Azure SQL Database, or Azure SQL Managed Instance.
- Permissions to extract the schema or export schema and data. See Extract a DACPAC from a database and Export a BACPAC file.
- Write access to the destination folder or, for Azure Blob Storage, access to the storage account and container.
Launch the wizard
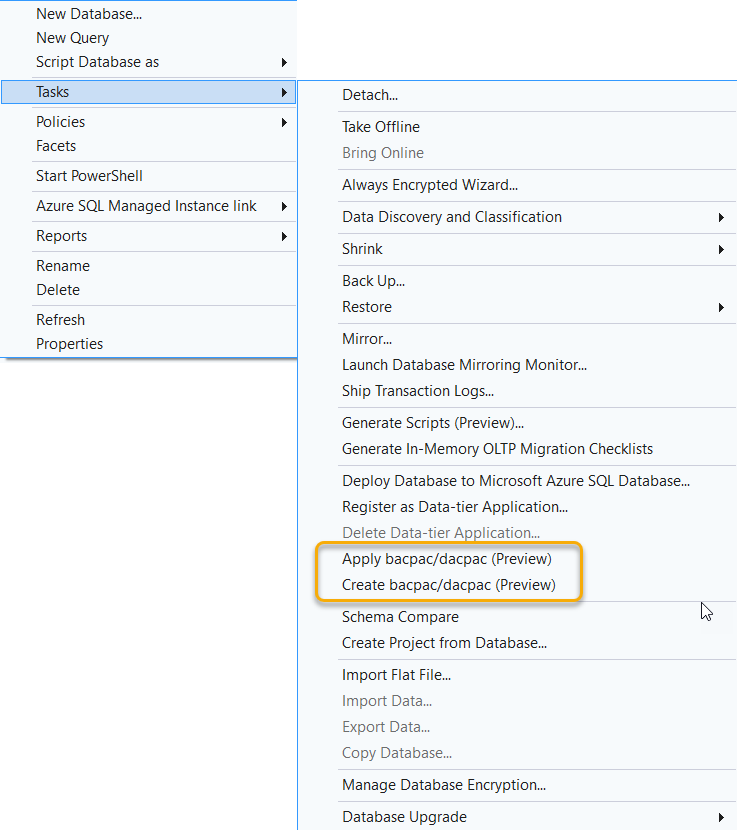
In Object Explorer, right-click the source database and select Tasks > Create bacpac/dacpac (Preview).
Select contents
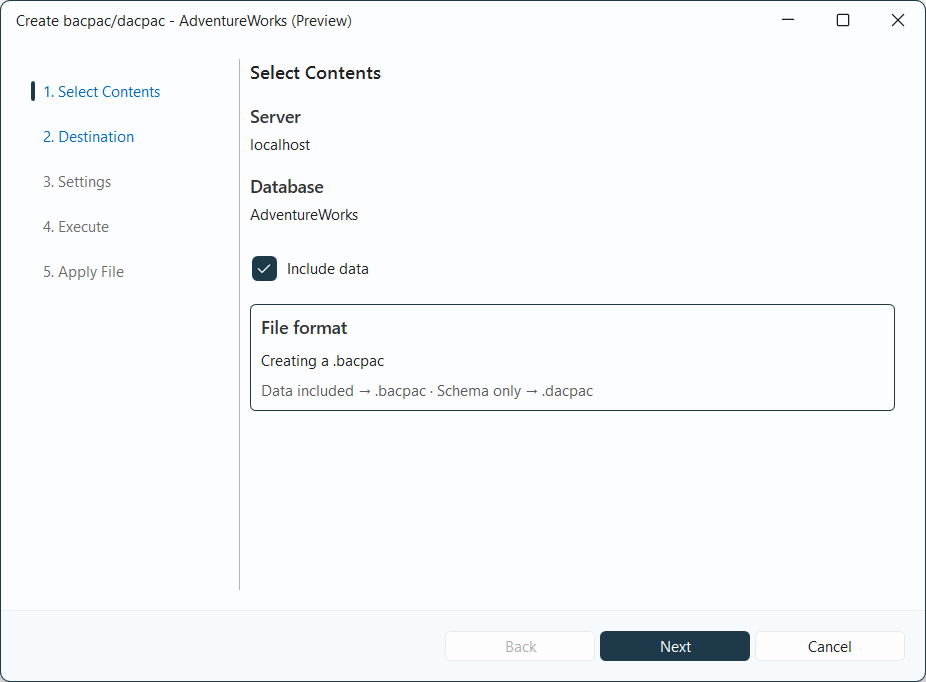
On Select Contents, confirm the source server and database.
- Select Include data to create a
.bacpaccontaining schema and data. - Clear Include data to create a schema-only
.dacpac.
The File format section shows the format that will be created. Select Next.
Choose a destination
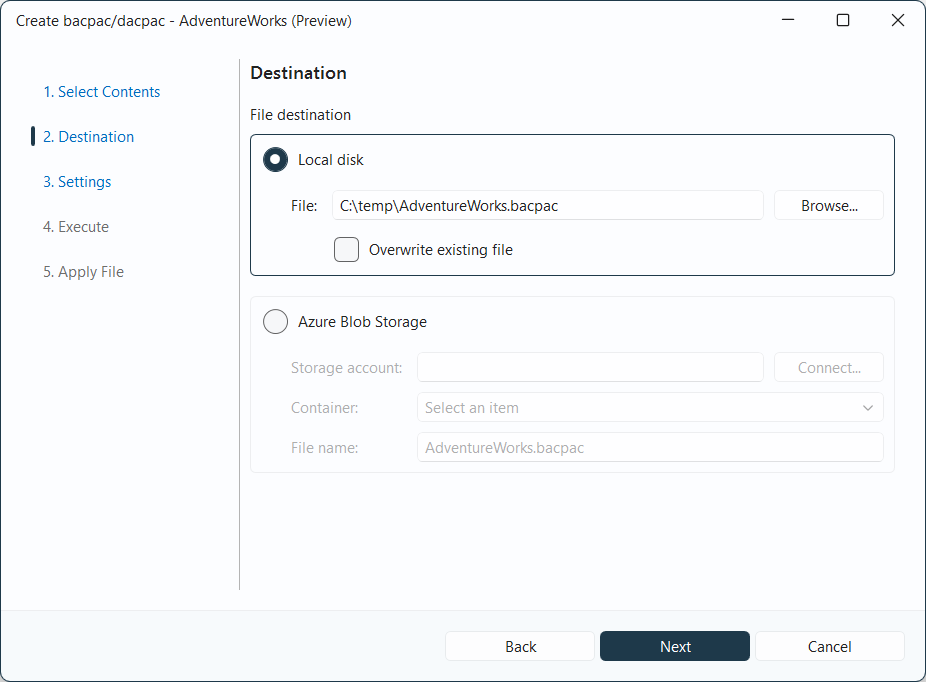
On Destination, choose where to save the file:
- Local disk: Enter a file path or select Browse. To replace a file at that path, select Overwrite existing file.
- Azure Blob Storage: Select Connect to connect to a storage account, select a Container, and enter a File name.
Select Next.
Important
DACPAC and BACPAC files aren't encrypted. Store them in a location with appropriate access controls.
Configure settings
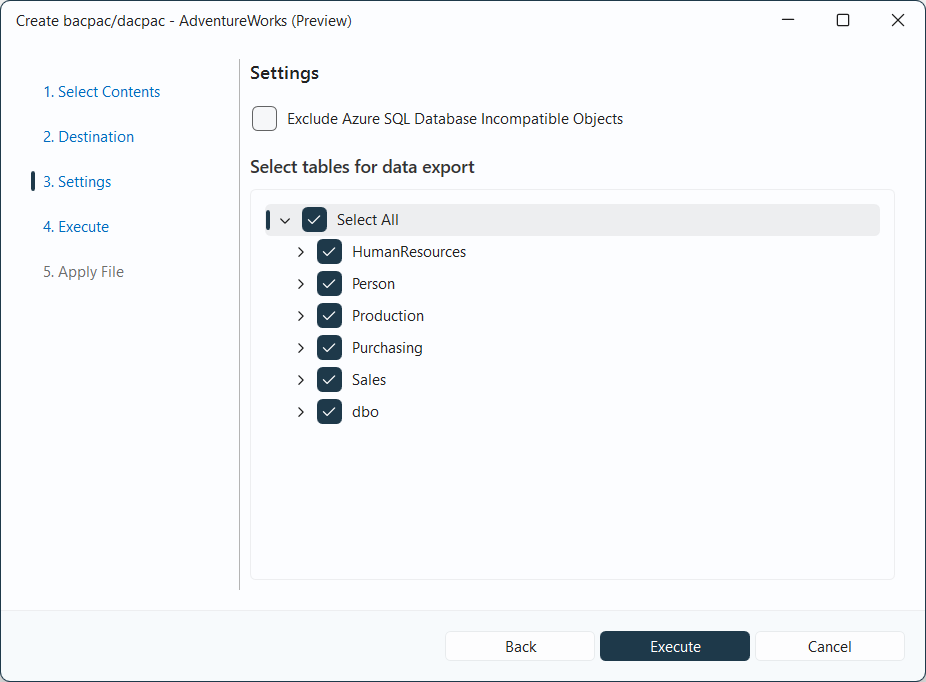
On Settings, select Exclude Azure SQL Database Incompatible Objects if you want to exclude objects that aren't compatible with Azure SQL Database.
For a BACPAC, use Select tables for data export to choose which tables' data to include. Expand a schema to select individual tables, or use Select All. Table selection isn't shown for a schema-only DACPAC.
Select Execute to create the file.
Review results
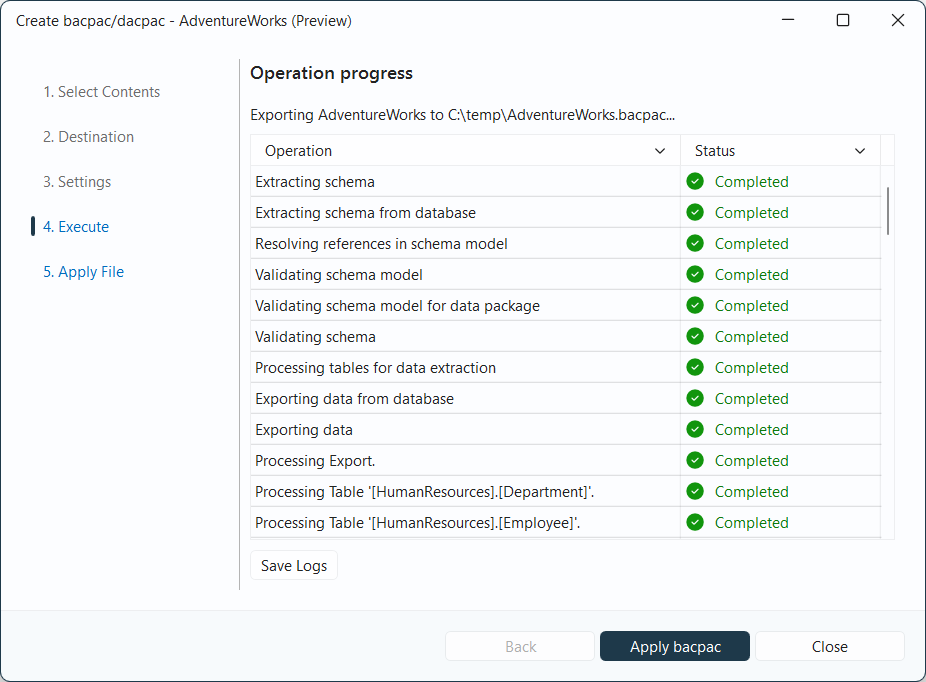
On Execute, check the status of each operation. Select Save Logs to save the operation output, including any errors.
After the operation completes, select Close to finish. You can optionally apply the file to another database.
Apply the created file
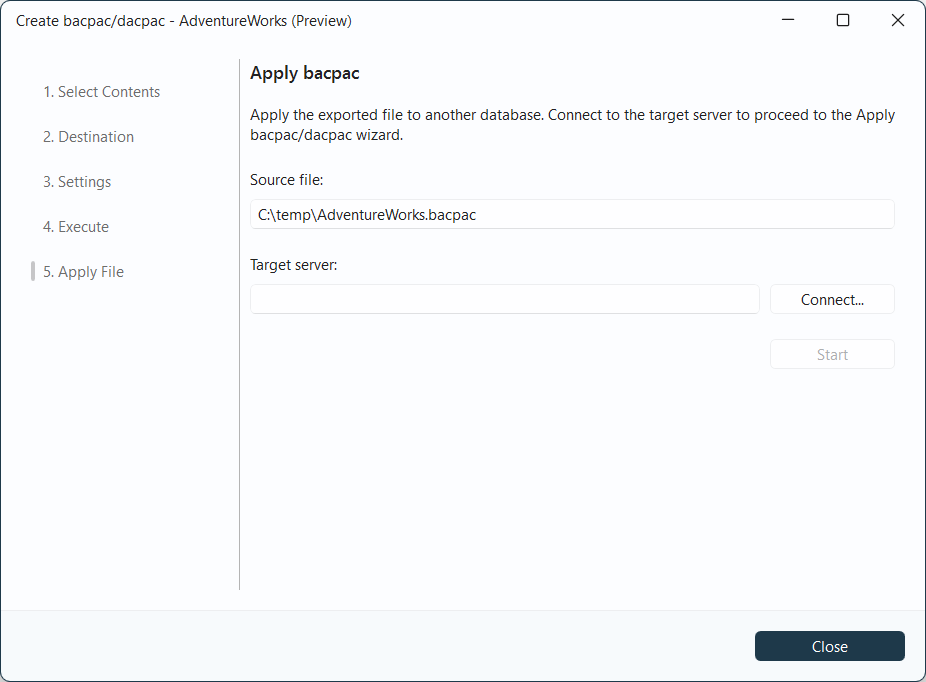
Applying the created file is optional. To apply it after a successful operation, select Apply bacpac or Apply dacpac, depending on the file format.
On Apply File, select Connect to connect to the target server and database, and then select Start. The Apply wizard opens with the created file selected.
Continue with Apply a DACPAC or BACPAC to an existing database. A BACPAC requires an empty target database.