Quickstart: Create a project and use the chat playground in Azure AI Studio
Important
Some of the features described in this article might only be available in preview. This preview is provided without a service-level agreement, and we don't recommend it for production workloads. Certain features might not be supported or might have constrained capabilities. For more information, see Supplemental Terms of Use for Microsoft Azure Previews.
In this Azure AI Studio quickstart, you create a project, deploy a chat model, and use it in the chat playground in Azure AI Studio.
The steps in this quickstart include:
- Create an Azure AI Studio project.
- Deploy an Azure OpenAI model.
- Chat in the playground without your data.
Prerequisites
An Azure subscription - Create one for free.
You need an Azure AI Studio hub or permissions to create one. Your user role must be Azure AI Developer, Contributor, or Owner on the hub. For more information, see hubs and Azure AI roles.
- If your role is Contributor or Owner, you can create a hub in this tutorial.
- If your role is Azure AI Developer, the hub must already be created.
Your subscription needs to be below your quota limit to deploy a new model in this tutorial. Otherwise you already need to have a deployed chat model.
Create a project in Azure AI Studio
Your project is used to organize your work and save state.
To create a project in Azure AI Studio, follow these steps:
Go to the Home page of Azure AI Studio.
Select + New project.
Enter a name for the project.
Select a hub from the dropdown to host your project. For information about the relationship between hubs and projects, see the hubs and projects overview documentation. If you don't yet have a hub, select Create a new hub.

Note
To create a hub, you must have Owner or Contributor permissions on the selected resource group. It's recommended to share a hub with your team. This lets you share configurations like data connections with all projects, and centrally manage security settings and spend. For more options to create a hub, see how to create and manage an Azure AI Studio hub. A project name must be unique between projects that share the same hub.
If you're creating a new hub, enter a name.
Select your Azure subscription from the Subscription dropdown. Choose a specific Azure subscription for your project for billing, access, or administrative reasons. For example, this grants users and service principals with subscription-level access to your project.
Leave the Resource group as the default to create a new resource group. Alternatively, you can select an existing resource group from the dropdown.
Tip
Especially for getting started it's recommended to create a new resource group for your project. This allows you to easily manage the project and all of its resources together. When you create a project, several resources are created in the resource group, including a hub, a container registry, and a storage account.
Enter the Location for the hub and then select Next. The location is the region where the hub is hosted. The location of the hub is also the location of the project. Azure AI services availability differs per region. For example, certain models might not be available in certain regions.
Select an existing Azure AI services resource (including Azure OpenAI) from the dropdown or create a new one.

On the Review and finish page, you see the Azure AI services resource name and other settings to review.

Review the project details and then select Create a project. You see progress of resource creation and the project is created when the process is complete.


Once a project is created, you can access the playground, tools, and other assets in the left navigation panel.
Deploy a chat model
Follow these steps to deploy an Azure OpenAI chat model for your copilot.
Sign in to Azure AI Studio and go to the Home page.
Go to your hub by selecting it from the list of hubs via Home > All hubs. If you don't have a hub, create one. For more information, see how to create a hub.
From the left pane, select Deployments > + Deploy model.

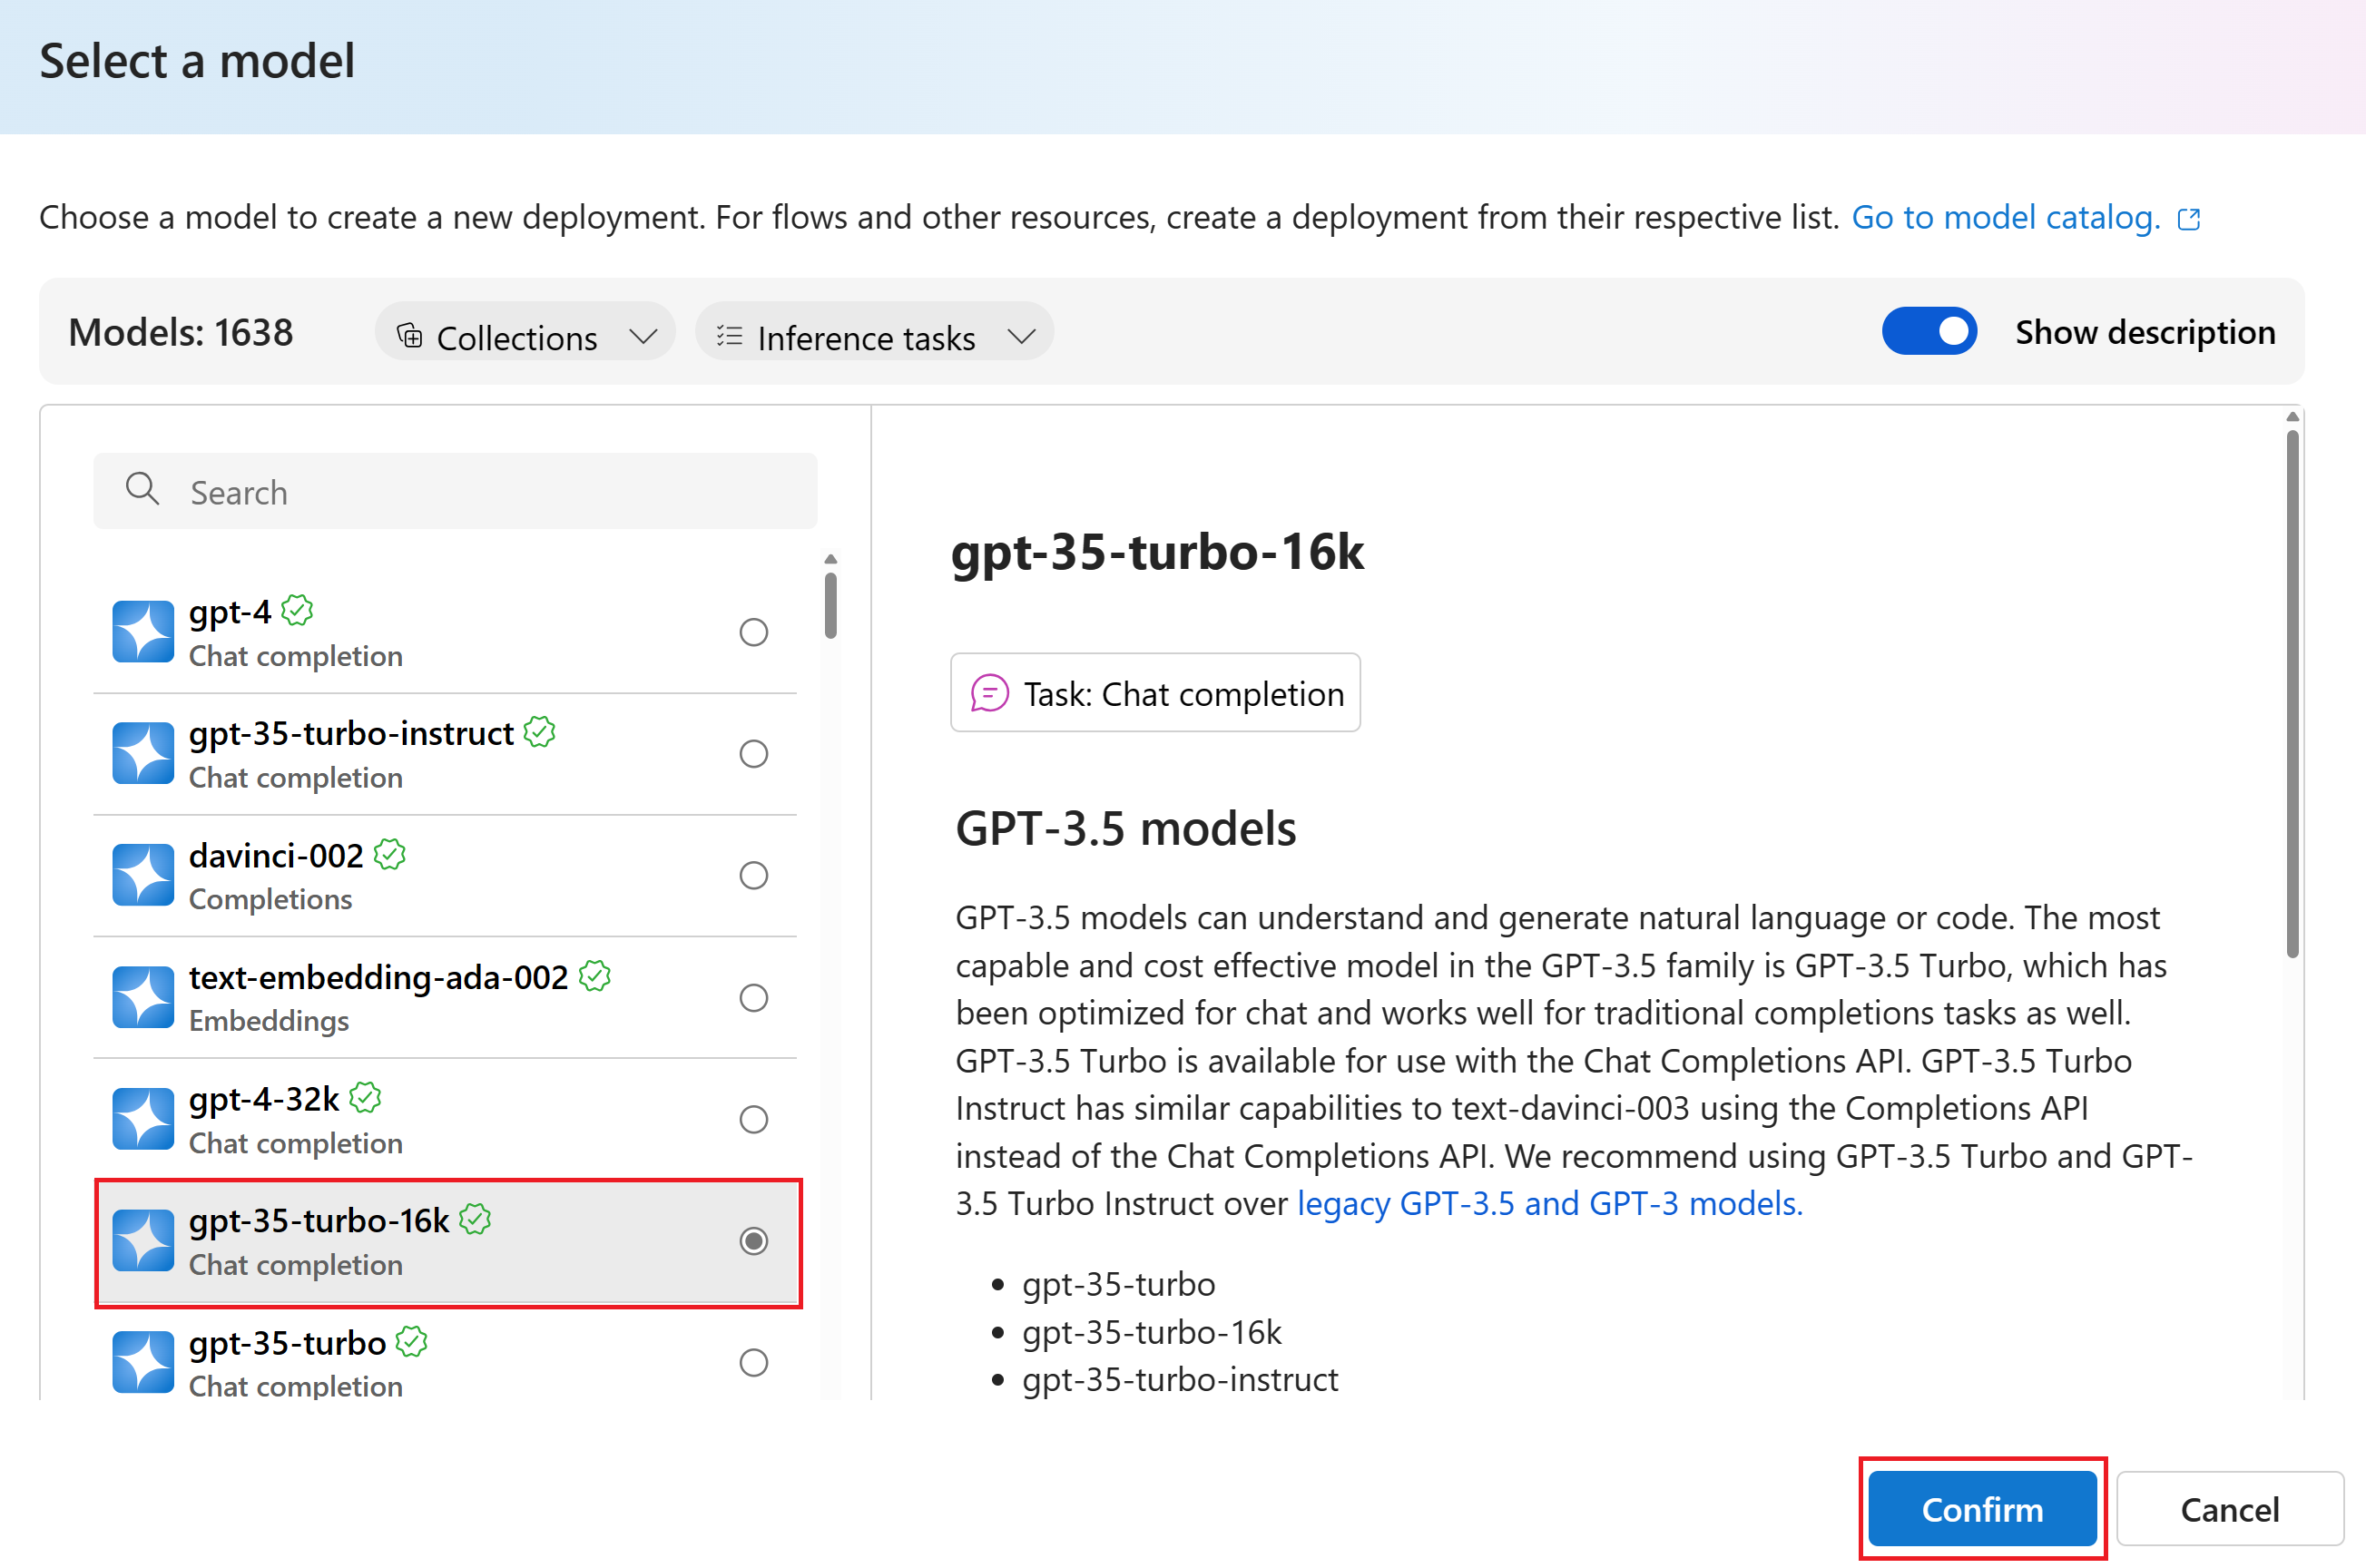
On the Select a model page, select the model you want to deploy from the list of models. For example, select gpt-35-turbo-16k. Then select Confirm.
On the Deploy model page, enter a name for your deployment, and then select Deploy. After the deployment is created, you see the deployment details page. Details include the date you created the deployment and the created date and version of the model you deployed.
On the deployment details page from the previous step, select Open in playground.


For more information about deploying models, see how to deploy models.
Chat in the playground without your data
In the Azure AI Studio playground you can observe how your model responds with and without your data. In this quickstart, you test your model without your data.
To chat with your deployed GPT model in the chat playground, follow these steps:
Go to your project in Azure AI Studio.
Select Playgrounds > Chat from the left pane.
Select your deployed chat model from the Deployment dropdown.

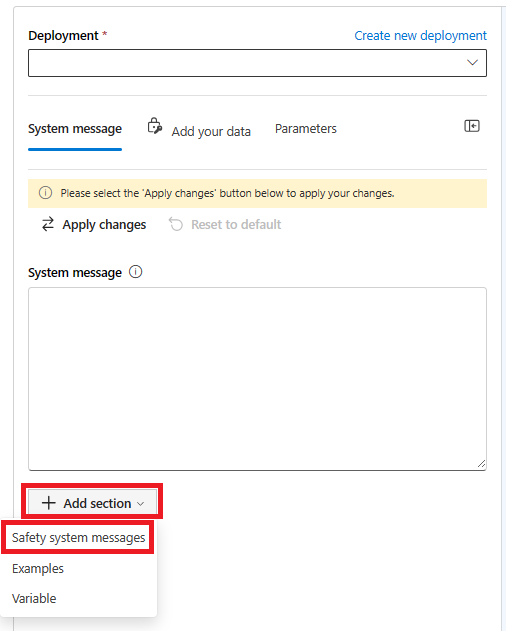
In the System message text box, provide this prompt to guide the assistant: "You are an AI assistant that helps people find information." You can tailor the prompt for your scenario. For more information, see the prompt catalog.
Optionally, add a safety system message by selecting the Add section button, then Safety system messages. Choose from the prebuilt messages, and then edit them to your needs.
Select Apply changes to save your changes, and when prompted to see if you want to update the system message, select Continue.
In the chat session pane, enter the following question: "How much do the TrailWalker hiking shoes cost", and then select the right arrow icon to send.

The assistant either replies that it doesn't know the answer or provides a generic response. For example, the assistant might say, "The price of TrailWalker hiking shoes can vary depending on the brand, model, and where you purchase them." The model doesn't have access to current product information about the TrailWalker hiking shoes.


Next, you can add your data to the model to help it answer questions about your products. Try the Deploy an enterprise chat web app tutorial to learn more.