Exercise – Create a canvas app with data from an Excel file
In this exercise, you’ll create a mobile application by using data from an Excel table. Download the RealEstateProperties.xlsx for use in this exercise.
Note
Microsoft Power Apps requires a Microsoft 365 license or a free trial. Learn more about your licensing options. Microsoft products include Power Apps and Power Automate.
Go to make.powerapps.com and sign in with your Power Apps credentials.
From the Power Apps home screen, select Start with data.
Select Upload an Excel file.
Select the Select from device option. Go to the location where you saved the RealEstateProperties.xlsx Excel file and then upload it. (The maximum file size limit is 5 GB.)
Power Apps generates a table that's based on the data from the RealEstateProperties.xlsx Excel file. Notice how Power Apps has named it Real Estate Property and has defined seven columns of data.
Select the Create app button in the lower-right corner of the screen.

When the app first loads, a dialog might appear stating Welcome to Power Apps Studio. If so, select the Skip button.
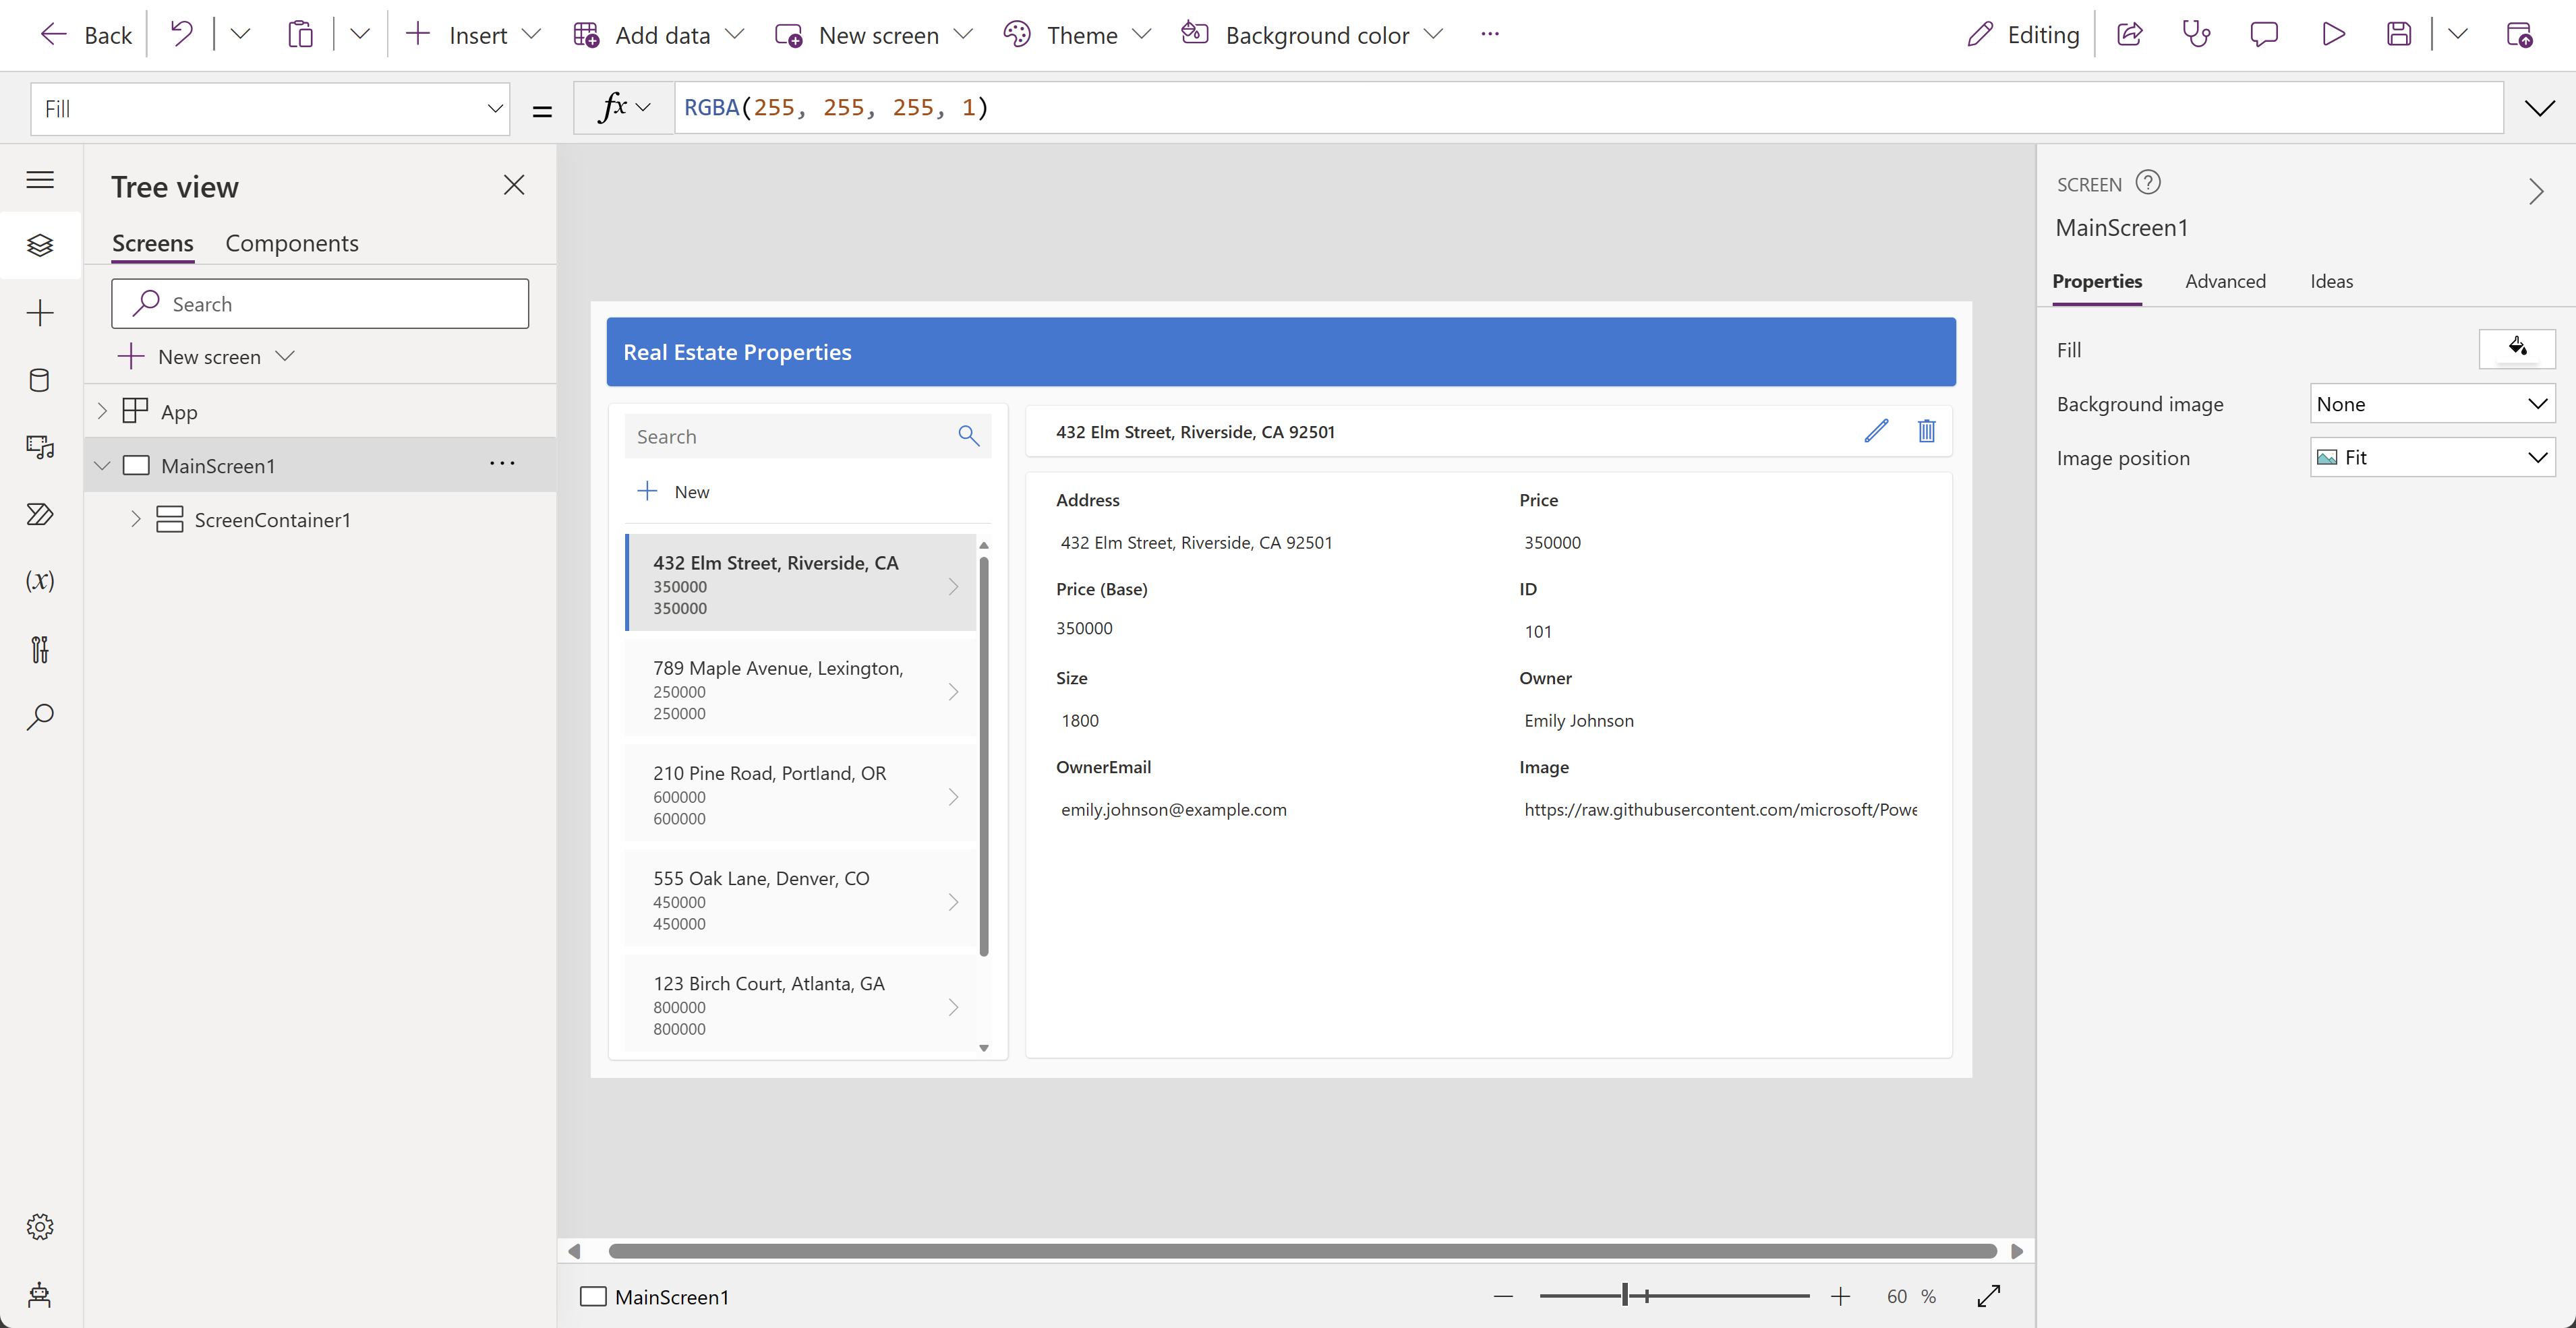
The generated app should display in Edit mode.
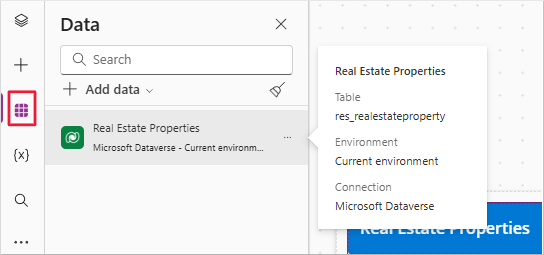
Select the Data icon from the left navigation bar. A Dataverse table is created based on the RealEstateProperties.xlsx Excel file.
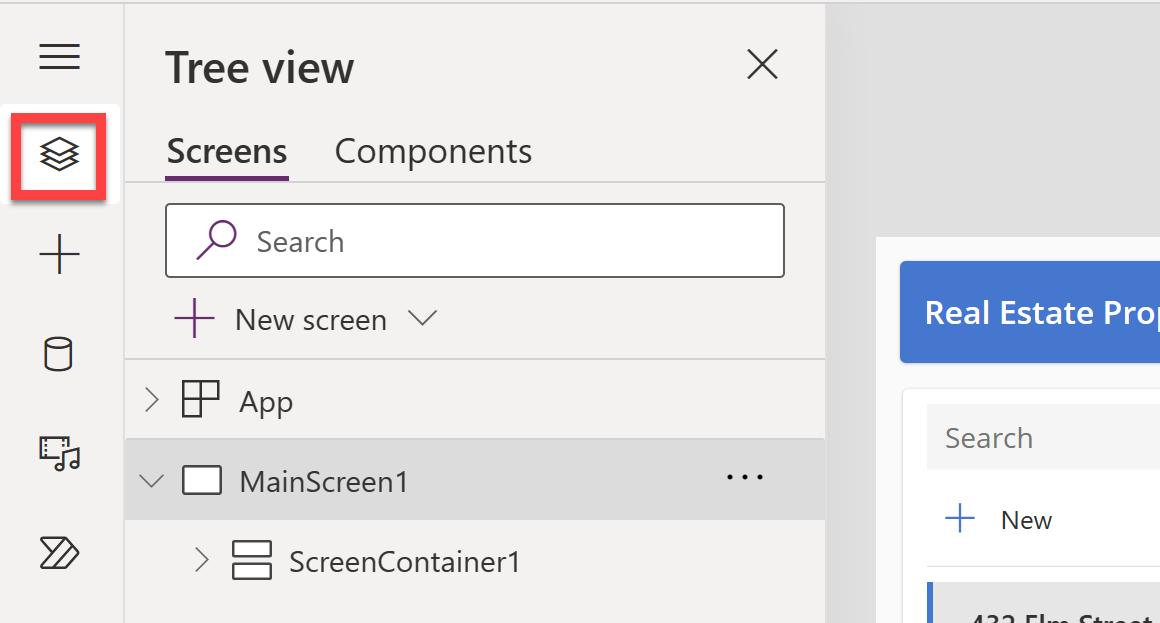
Select the Tree view icon to return to the Tree view.
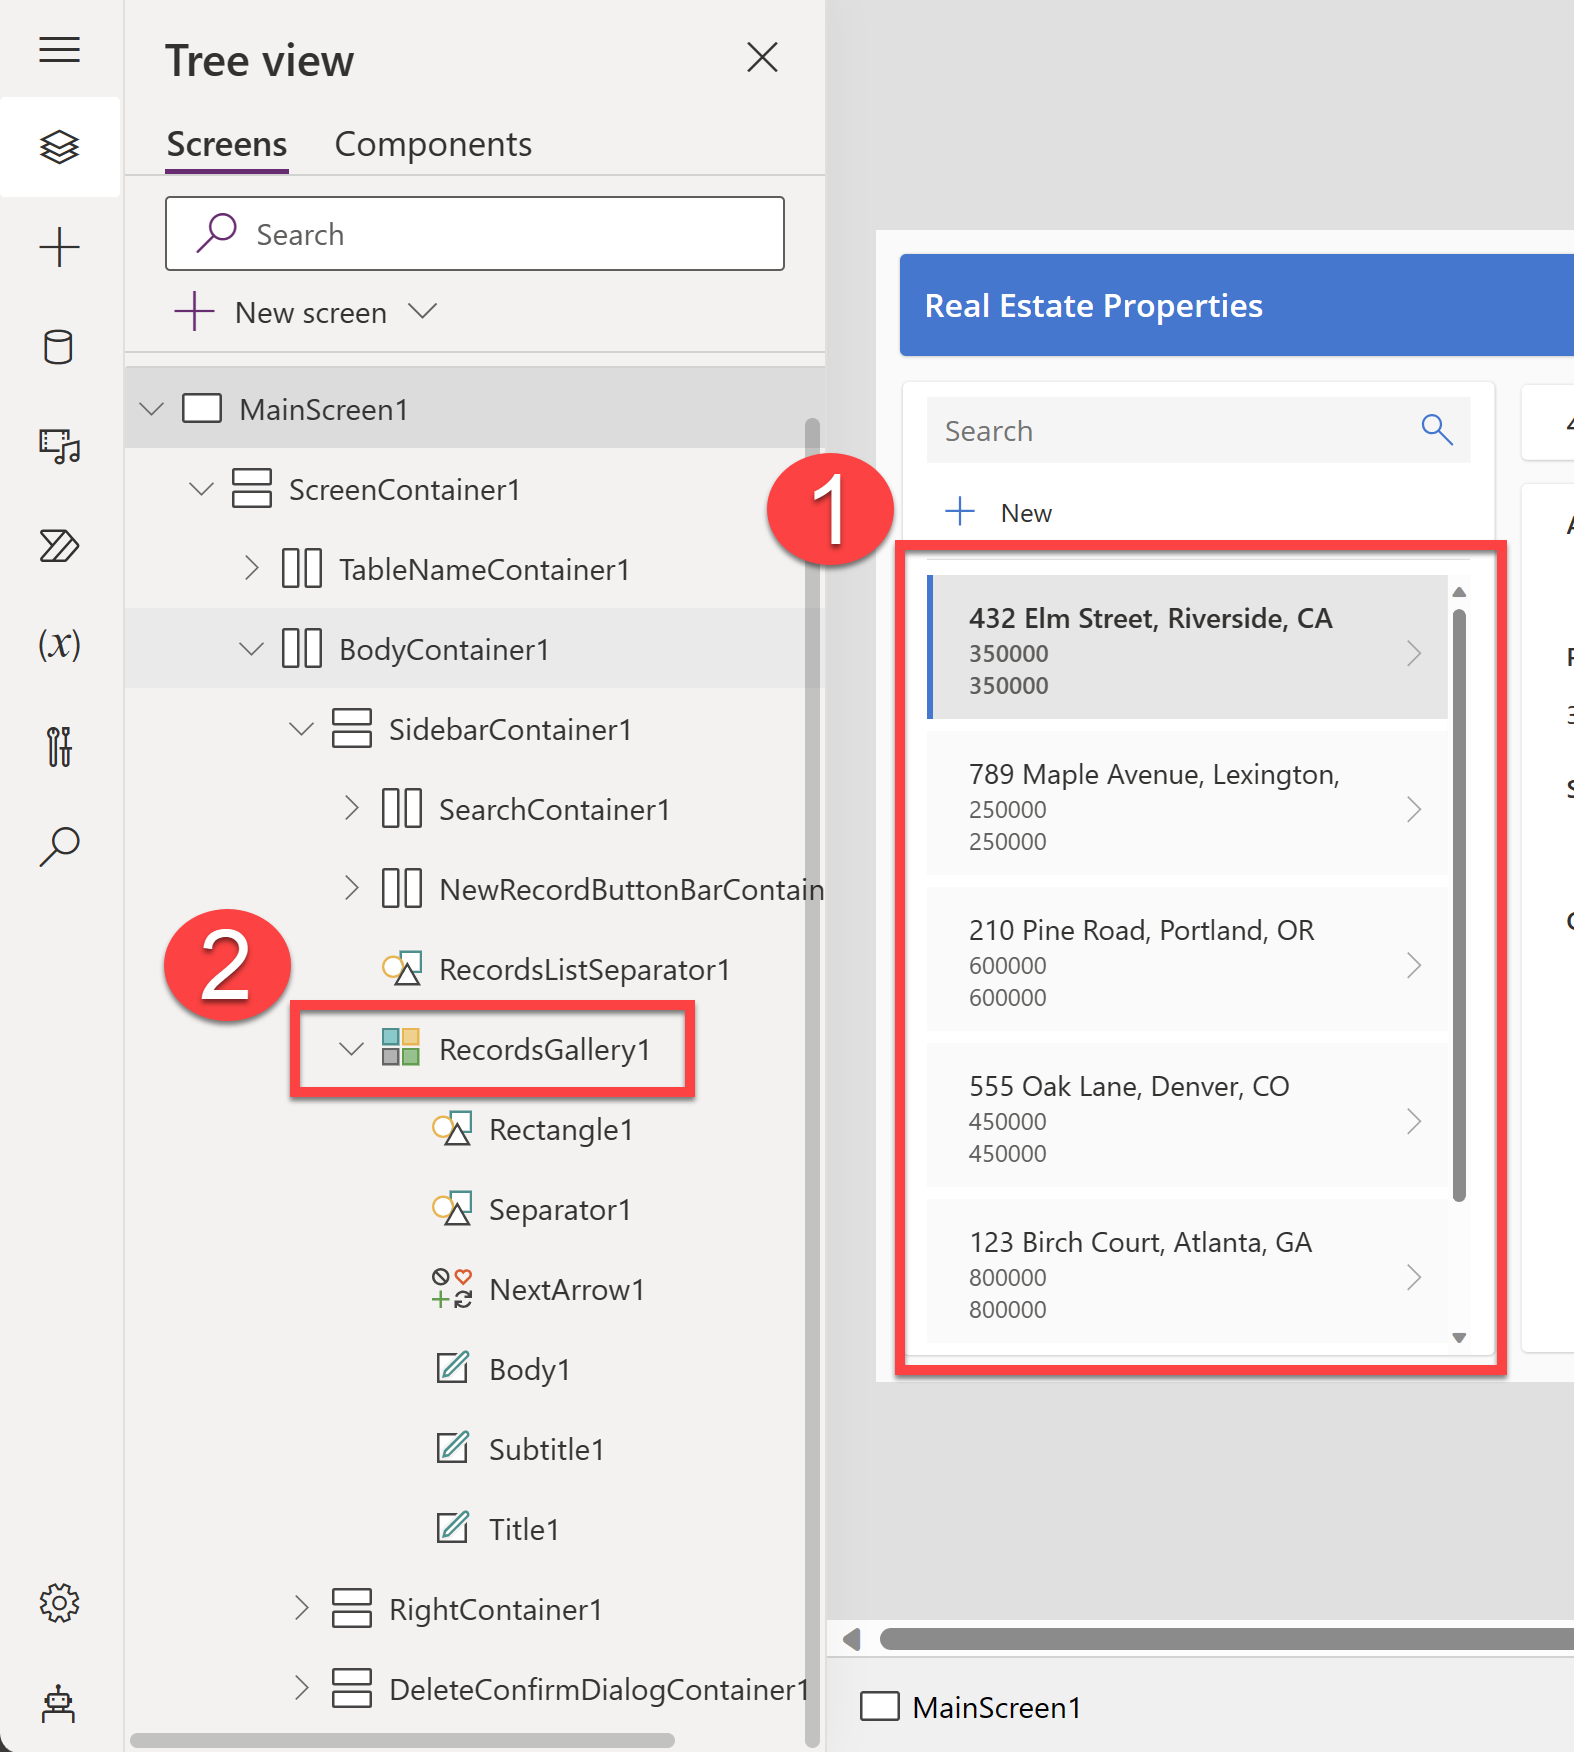
On the app's main screen, select the gallery that's displaying the Real Estate Properties details and then select RecordsGallery1 in the Tree view to expand it.
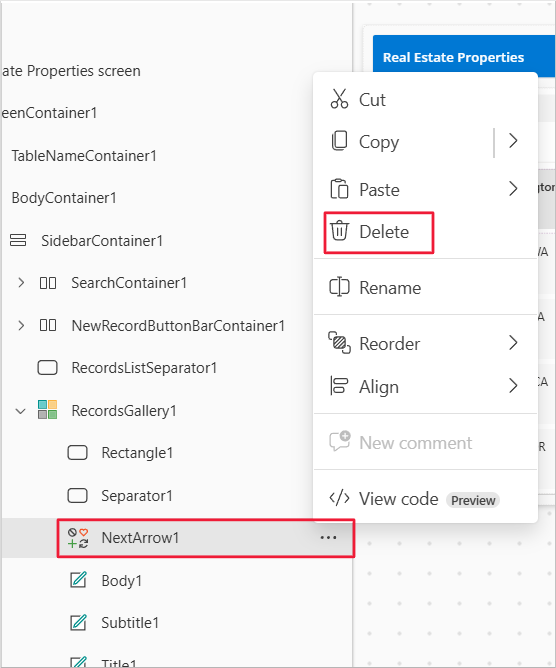
Select the ellipsis (...) next to the NextArrow option and then delete it.
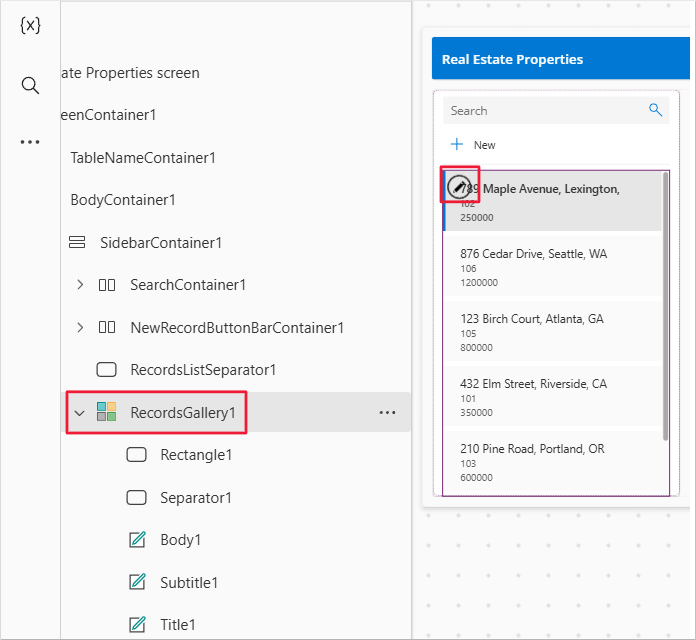
Select RecordsGallery1 and then select the edit button to put the gallery in edit mode.
Reduce the width and move the position of the Title component so that it's toward the right side of the template cell.
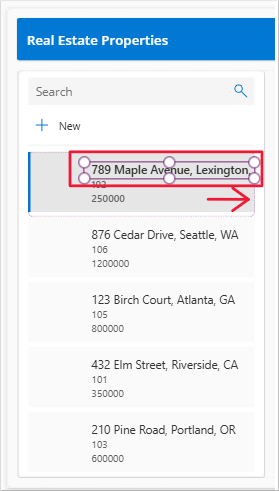
Other components should reposition alongside the Title component. If not, move them until they resemble the preceding screenshot.
Make sure that the gallery is still in edit mode. Select the Title.
Verify that the Text value of the Title component is set to the following formula:
ThisItem.Address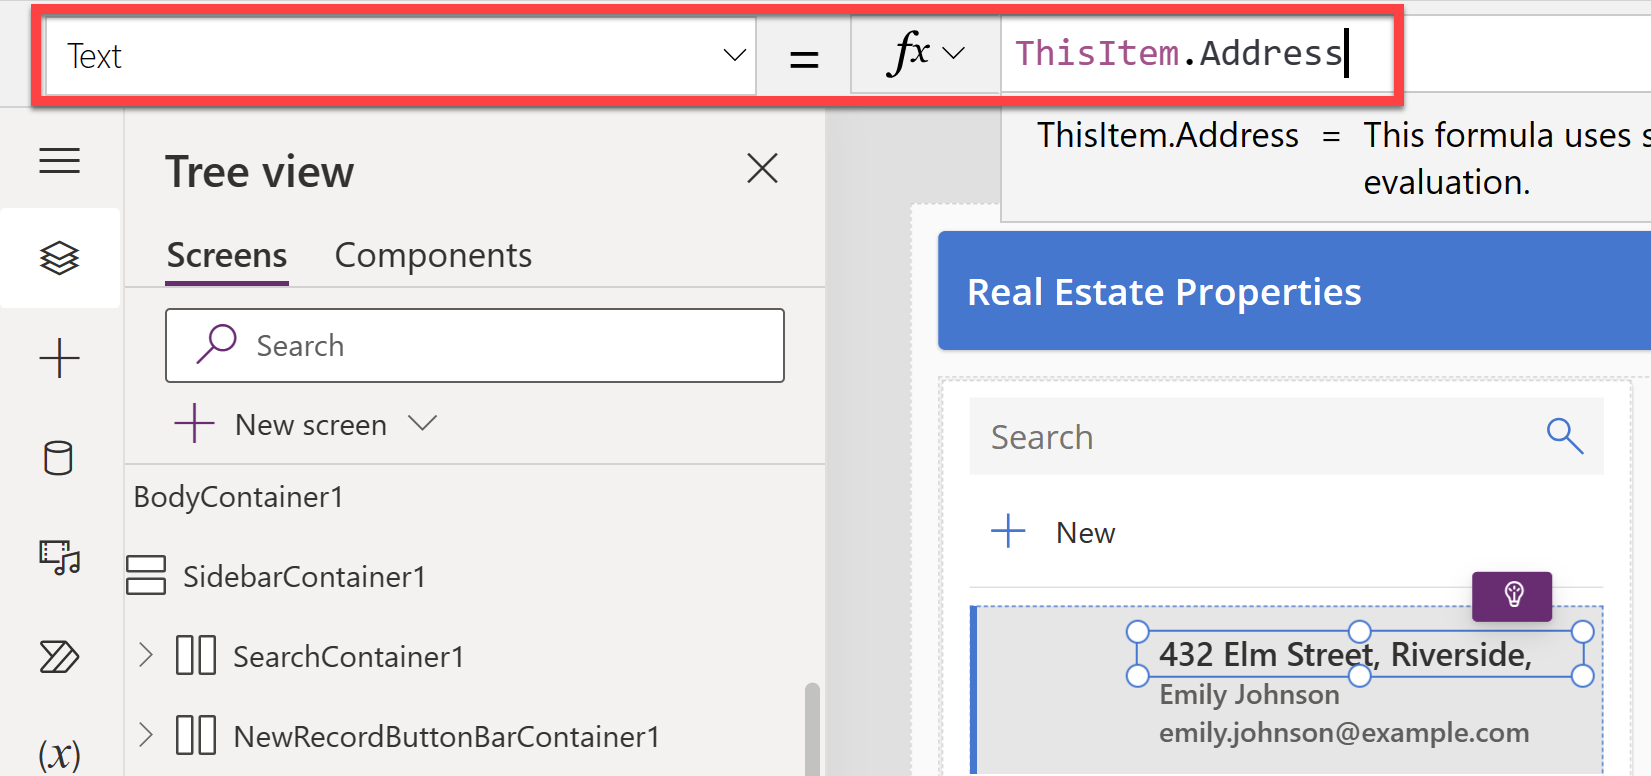
Select the Subtitle component in the gallery.
Set the Text value of the Subtitle to the following formula:
ThisItem.SizeUsing the tool bar in the upper part of the page, change the Size to 13.

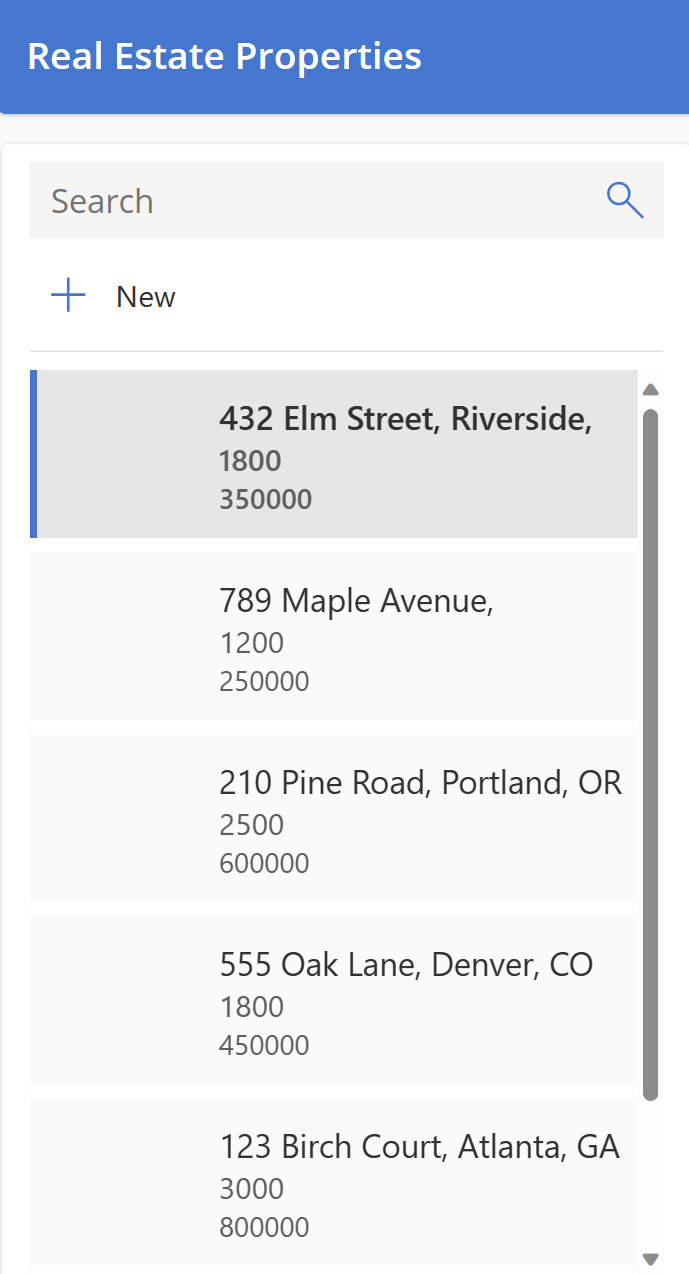
Select the Body component in the gallery.
Set the Text value of the Body to the following formula:
ThisItem.PriceYour gallery should now resemble the following screenshot.
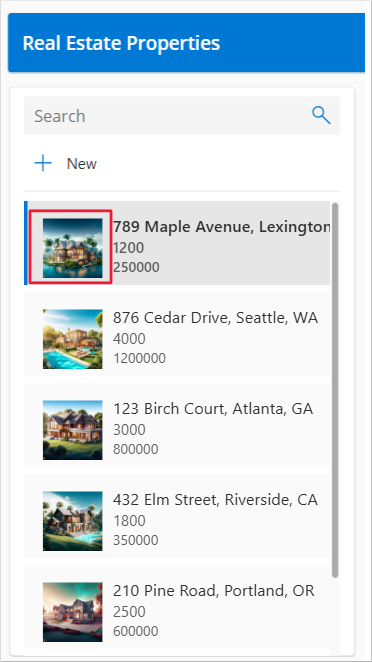
With the first item in RecordsGallery1 selected, select Insert, search for Image, and then select the Image component. This will add an image to the gallery.
The image should show as being added to your gallery. Reposition and resize the image so that it's in the center of each gallery cell.
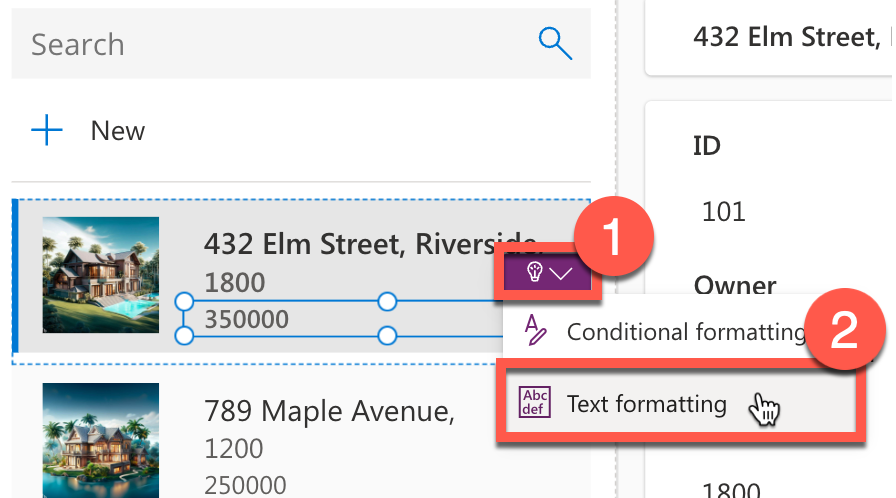
To use Microsoft Power Apps Ideas, make sure that the gallery is still in edit mode. Select the gallery body that contains the price. Select the arrow next to the copilot icon that appears above the price component. Select Text formatting.
Enter the following value for Desired format and press enter from your keyboard.
$350,000Select the generated formula and then select Apply.
Note
With copilot's help, the example ($350,000) value that you entered generated the following formula, which now shows in the formula bar for the price gallery control:
(Text(ThisItem.Price, "$#,##0", "en-US"))Complete the same steps for the Size control in the gallery subtitle. Make sure that the gallery is in edit mode. Select the subtitle that contains the size. Select the arrow next to the Copilot icon that appears above the size component. Select Text formatting.
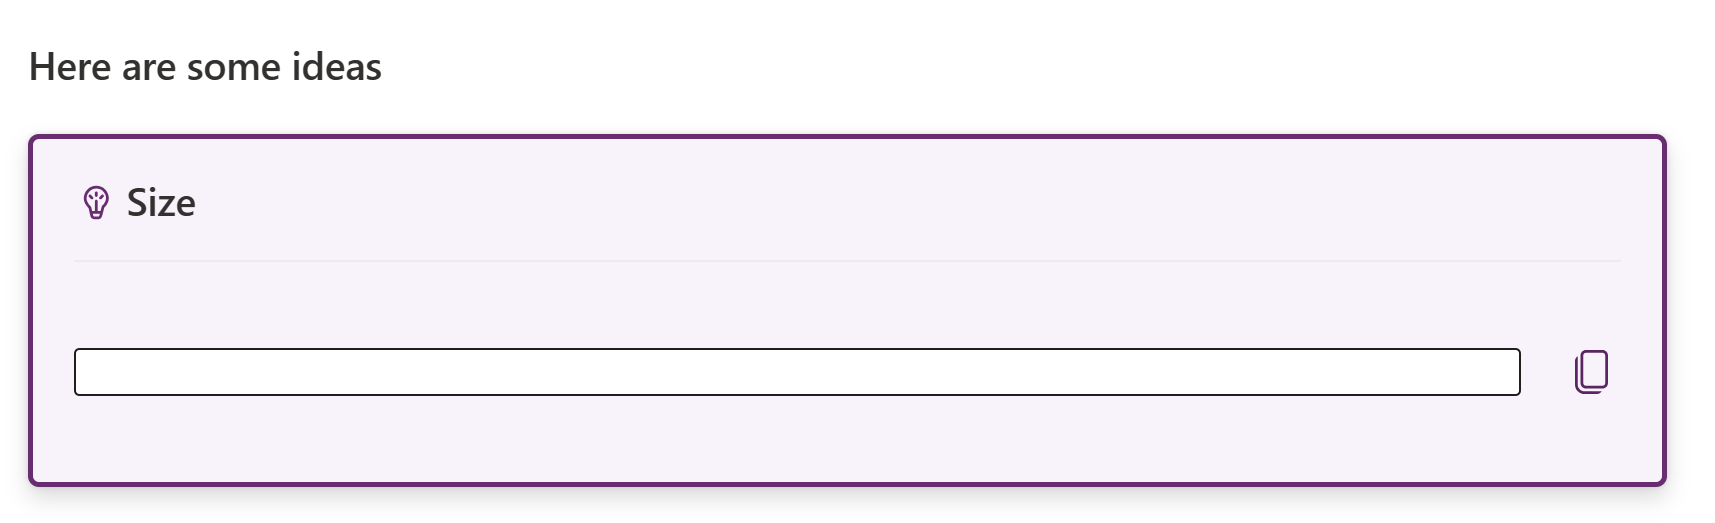
Enter the following value for Desired format:
Size: 1,800 sq ftPress the Enter key on your keyboard.
You might notice that the ideas section is empty. The cause might be a lack of information or context that's required for generating a formula.
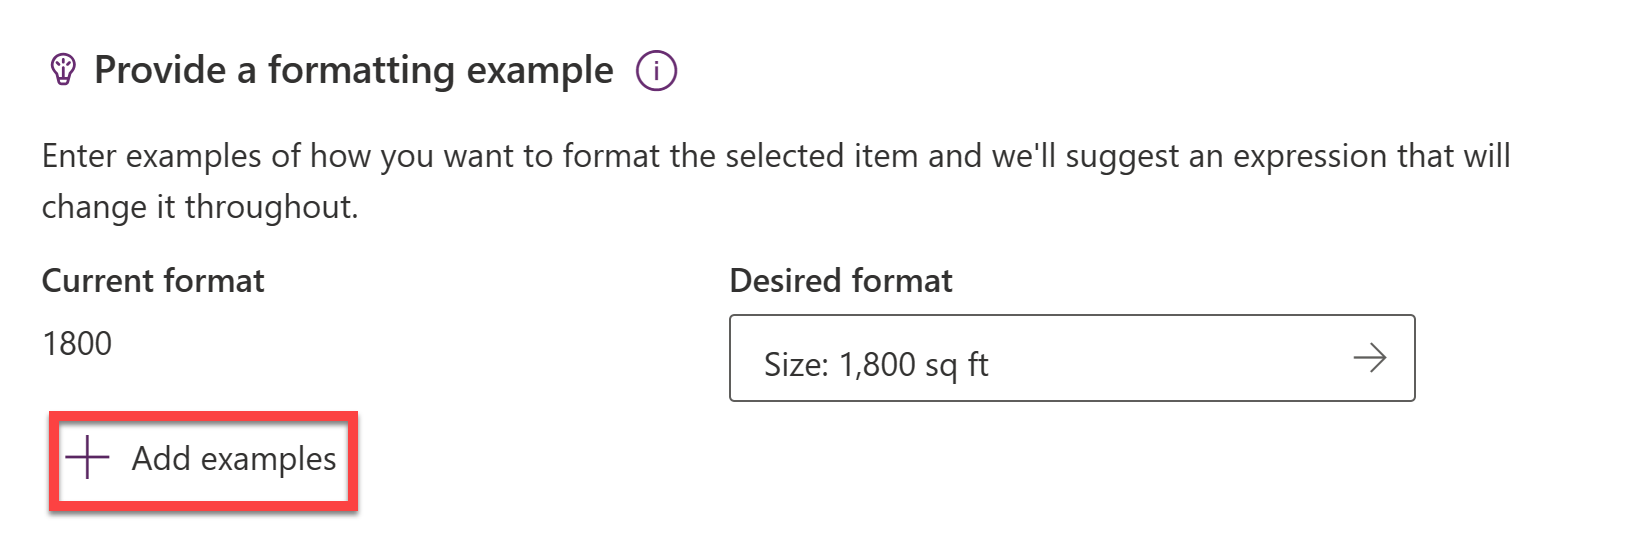
Because the ideas section is empty, you'll add more examples. Select + Add examples at least two more times.
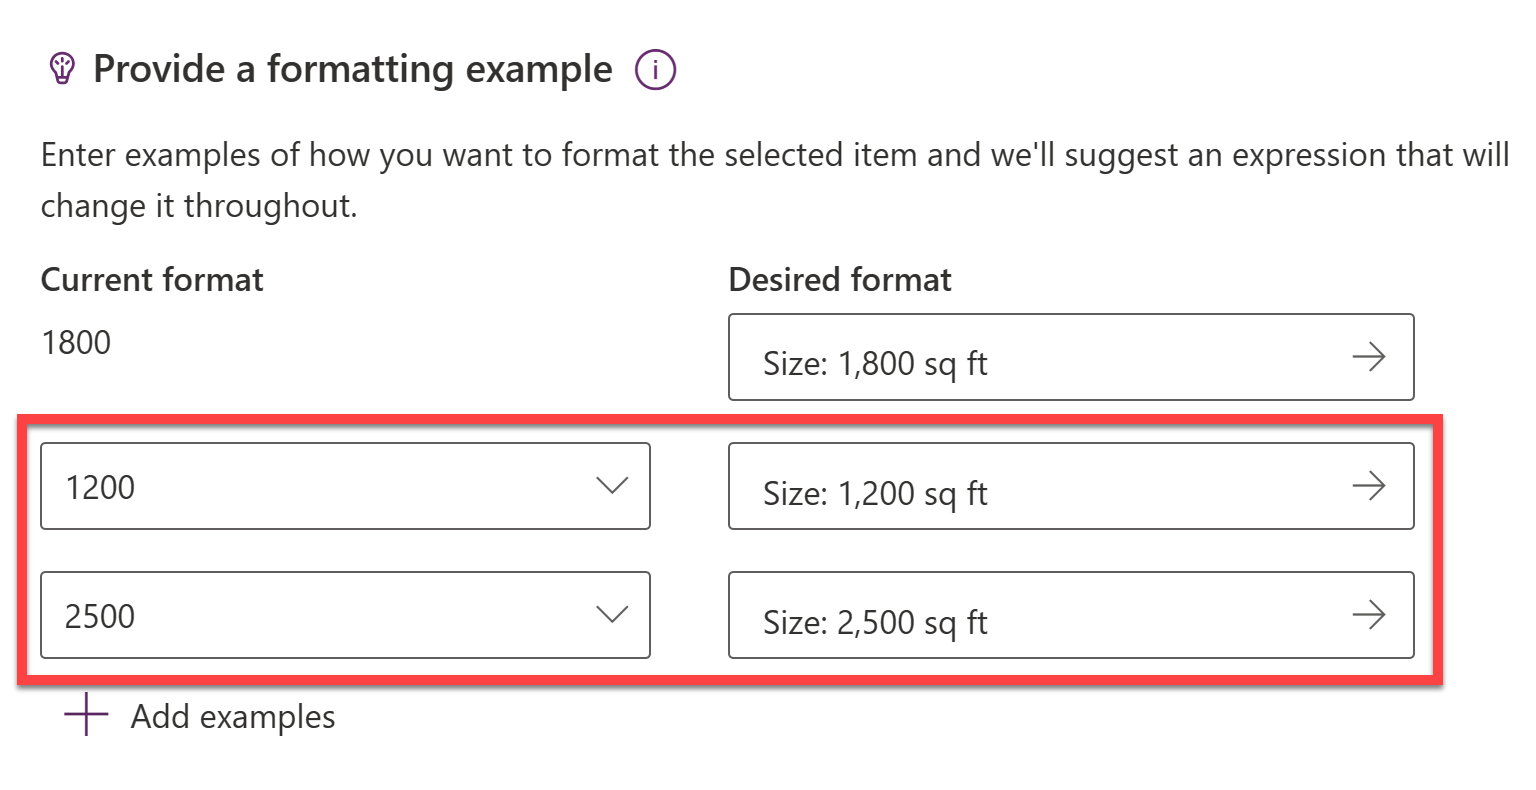
Select two current formats and then provide two corresponding desired formats.
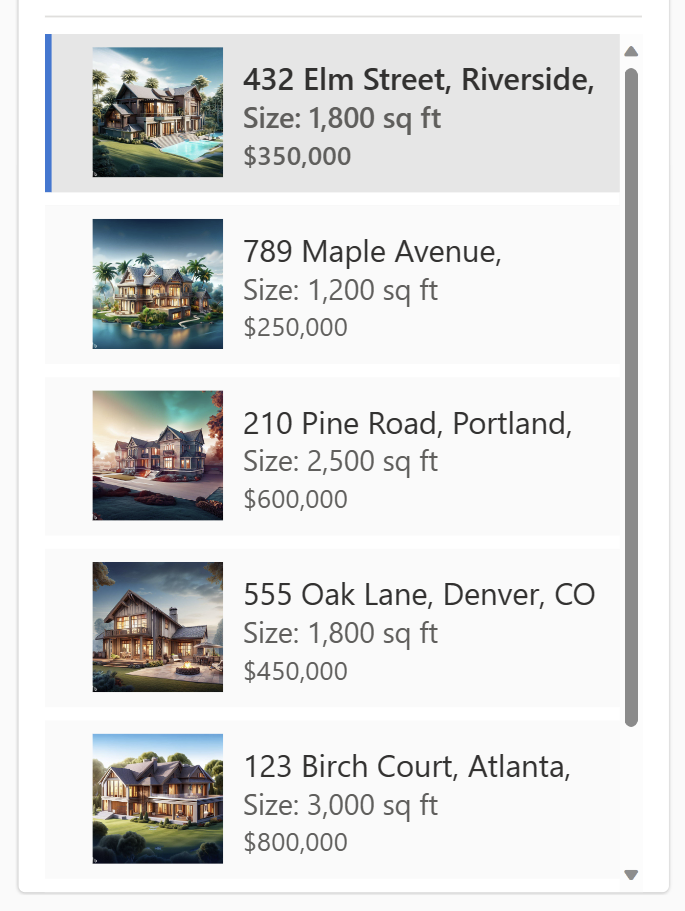
With the added context, Power Apps Ideas generates a suitable formula for you, as shown in the following image.
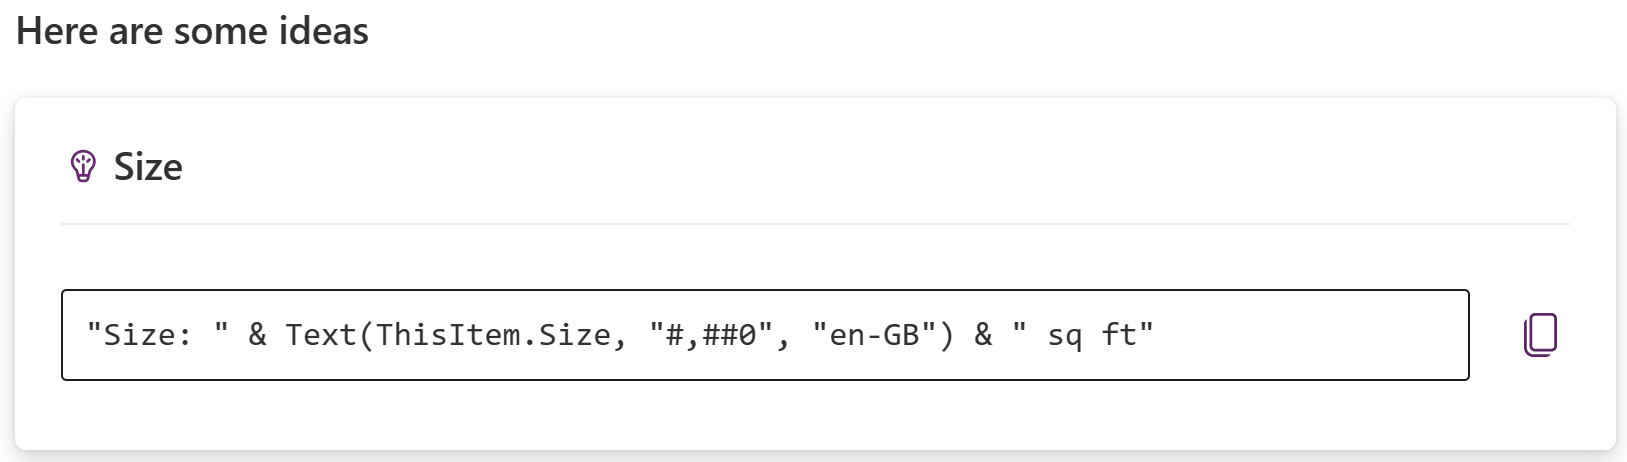
Select the generated formula and then select Apply.
Your gallery should resemble the following image.
Save the app.
Exit the app to return to the Power Apps home page.