Install & mount 50" models of Surface Hub 2S or Surface Hub 3
The 50-inch models of Surface Hub 2S and Surface Hub 3 are designed for ease of mobility with a form factor that enables you to quickly install and begin using the device. Microsoft has partnered with Steelcase on the following certified mounting solutions: Roam Mobile Stand and Roam Wall Mount. Both fully integrate with the design of 50-inch models of Surface Hub 2S and Surface Hub 3, enabling unimpeded access to the compute cartridge, power, USB-A, USB-C, and other ports.
You can mount Surface Hubs with the certified wall mount or the certified mobile stand, both developed in partnership with Steelcase. These accessories fully integrate with the 50-inch design, enabling unimpeded access to the compute cartridge along with all I/O ports and power.
For more information, view installation demos from the Surface product team at Steelcase mobile stand and APC battery set up.
If you’re not using licensed accessories, see Customize wall mount of 50" models of Surface Hub 2S or Surface Hub 3.
| Task | Illustration |
|---|---|
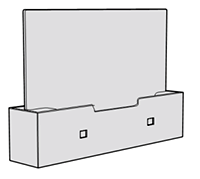
| 1. Set up your mount first | |
| Leave your Surface Hub in the box until the mount is set up and mounting hardware is applied. Mount isn't included. Your mount is sold separately. |  |
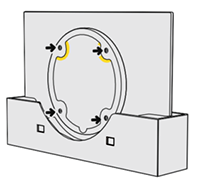
| 2. Attach hardware to the Surface Hub | |
| Mounting hardware and specific instructions are found in the box for your mount. |  |
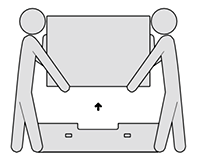
| 3. Remove the instructional label before mounting. | |
| Get someone to help you lift and mount your Surface Hub. Make sure to hold and lift the Surface Hub from the bottom. |  |
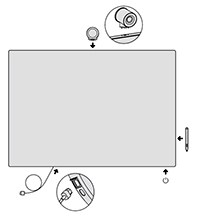
| 4. Attach accessories and power on | |
| Install accessories and attach power cable as shown. See guides on the screen cling. Remove cling wrap from the screen. Press the power button to power on. |  |