Enable Dapr on your container app
You can configure Dapr using various arguments and annotations based on the runtime context. Azure Container Apps provides three channels through which you can enable Dapr:
- The Azure CLI
- Infrastructure as Code (IaC) templates, like Bicep or Azure Resource Manager (ARM) templates
- The Azure portal
The following table outlines the currently supported list of Dapr sidecar configurations for enabling Dapr in Azure Container Apps:
| Container Apps CLI | Template field | Description |
|---|---|---|
--enable-dapr |
dapr.enabled |
Enables Dapr on the container app. |
--dapr-app-port |
dapr.appPort |
The port your application is listening on which is used by Dapr for communicating to your application |
--dapr-app-protocol |
dapr.appProtocol |
Tells Dapr which protocol your application is using. Valid options are http or grpc. Default is http. |
--dapr-app-id |
dapr.appId |
A unique Dapr identifier for your container app used for service discovery, state encapsulation and the pub/sub consumer ID. |
--dapr-max-request-size |
dapr.httpMaxRequestSize |
Set the max size of request body http and grpc servers to handle uploading of large files. Default is 4 MB. |
--dapr-read-buffer-size |
dapr.httpReadBufferSize |
Set the max size of http header read buffer in to handle when sending multi-KB headers. The default 4 KB. |
--dapr-api-logging |
dapr.enableApiLogging |
Enables viewing the API calls from your application to the Dapr sidecar. |
--dapr-log-level |
dapr.logLevel |
Set the log level for the Dapr sidecar. Allowed values: debug, error, info, warn. Default is info. |
Using the CLI
You can enable Dapr on your container app using the Azure CLI.
az containerapp dapr enable
For more information and examples, see the reference documentation.
Using Bicep or ARM
When using an IaC template, specify the following arguments in the properties.configuration section of the container app resource definition.
The above Dapr configuration values are considered application-scope changes. When you run a container app in multiple-revision mode, changes to these settings don't create a new revision. Instead, all existing revisions are restarted to ensure they're configured with the most up-to-date values.
Using the Azure portal
You can also enable Dapr via the portal view of your container apps.
Note
Before you start, make sure you've already created your own Dapr components. You can connect Dapr components via your container app environment in the portal.
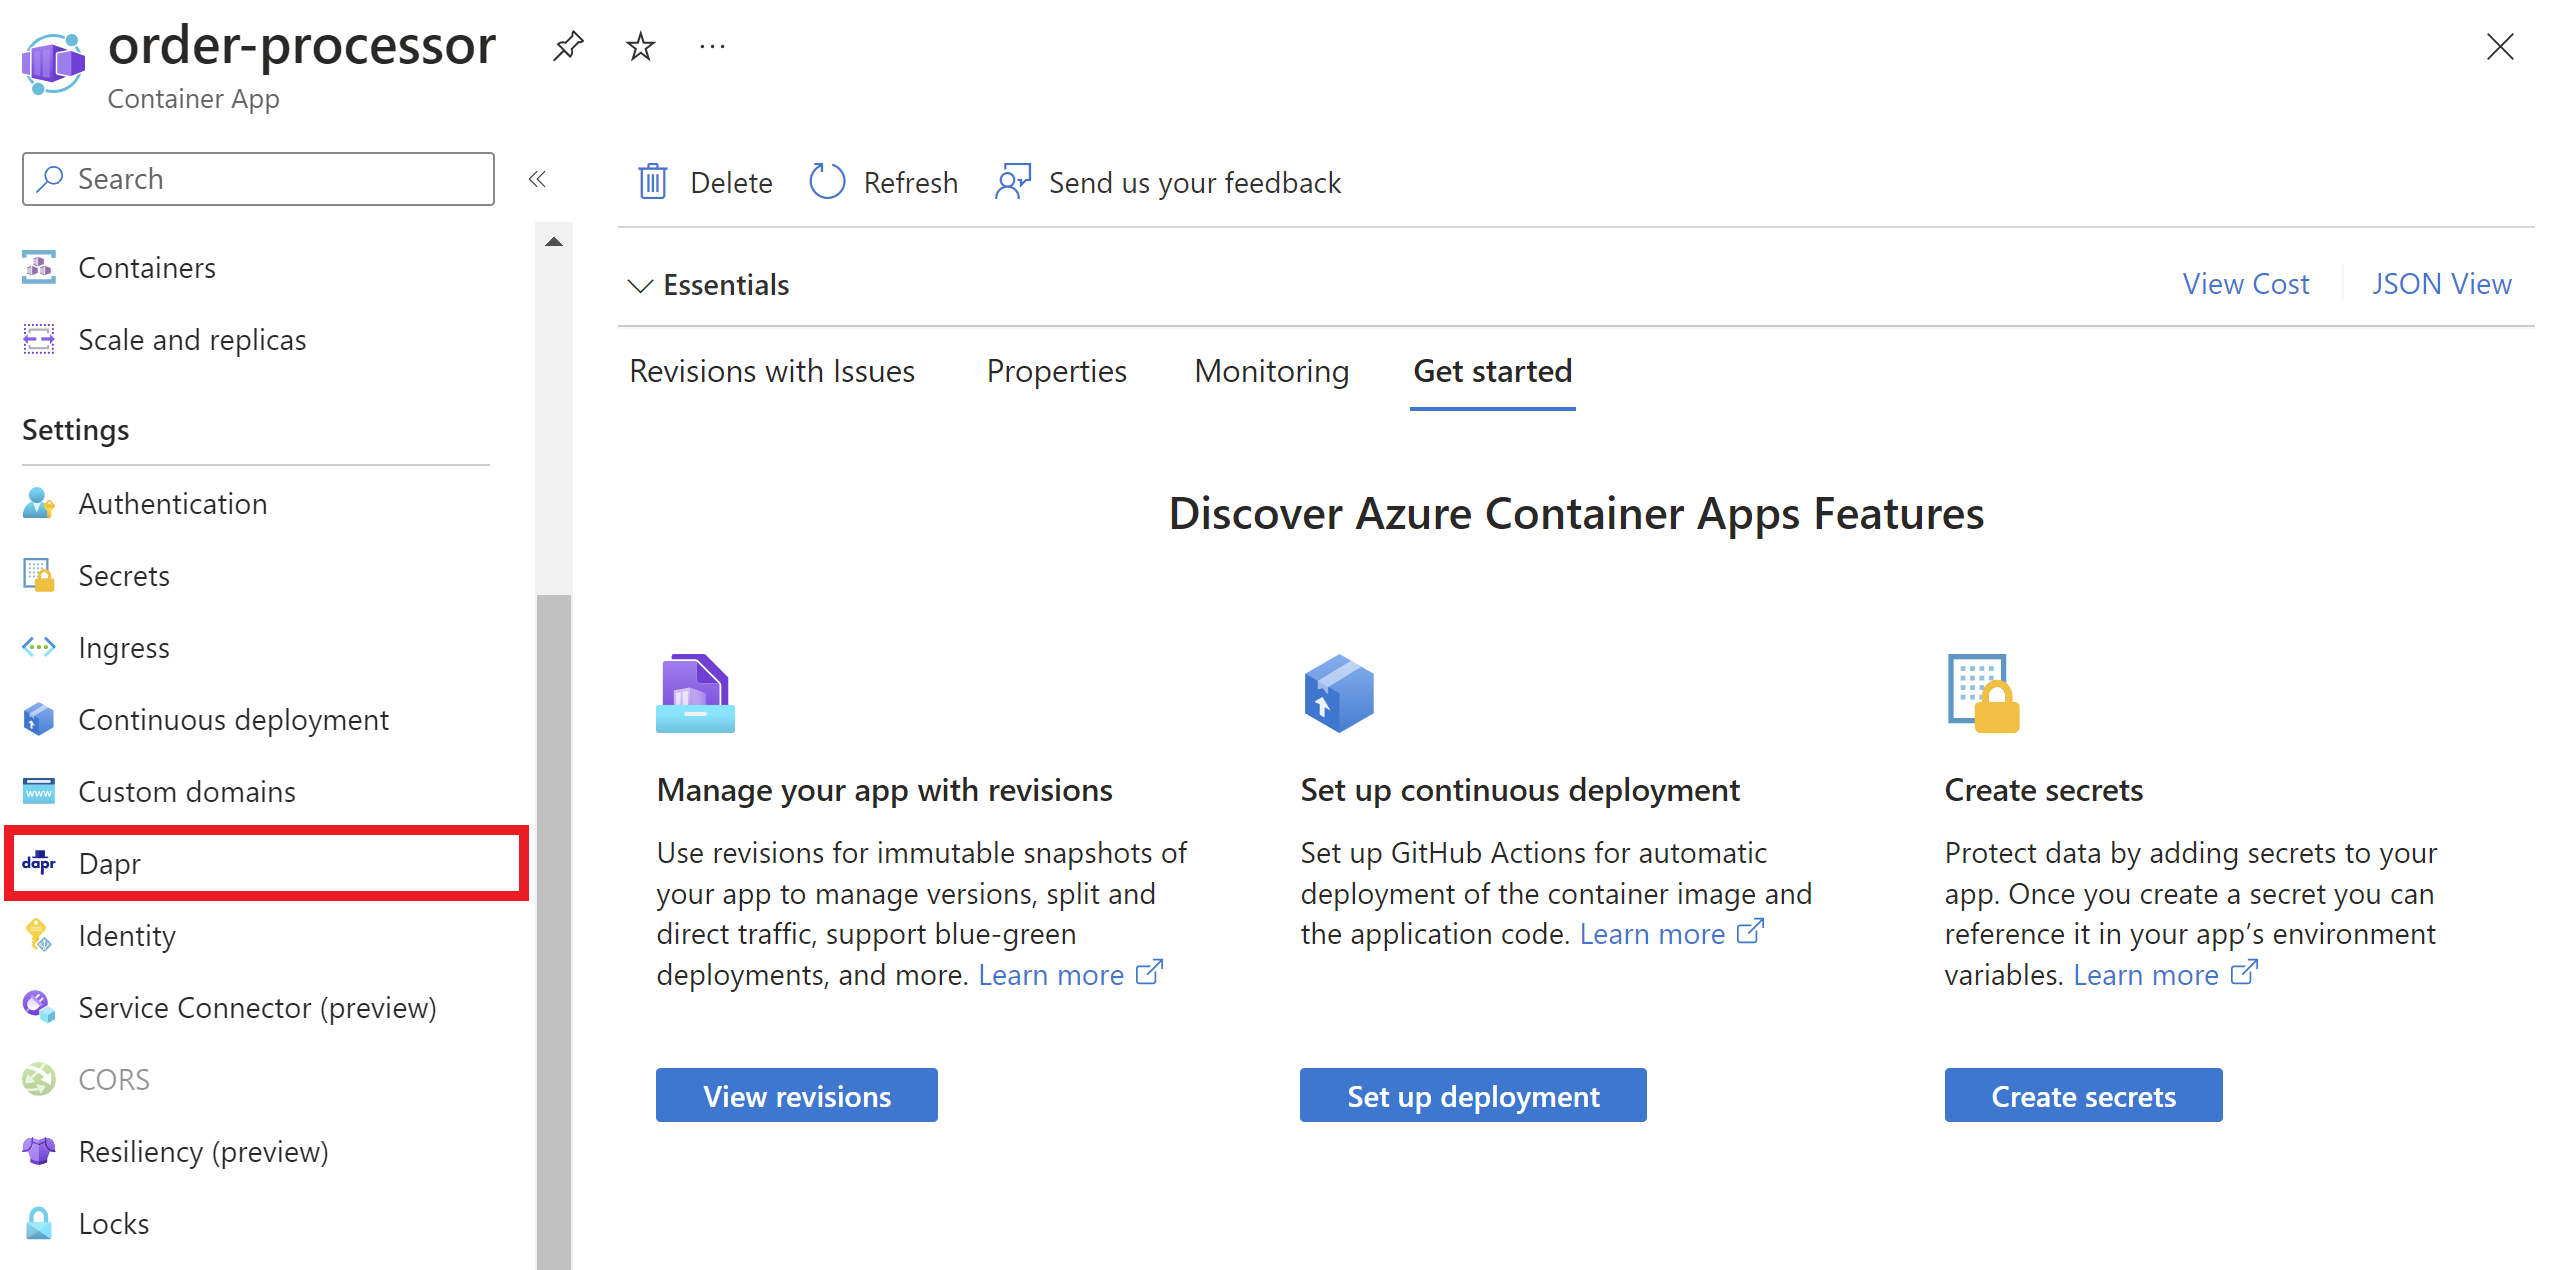
Navigate to your container app in the Azure portal and select Dapr under Settings in the left side menu.

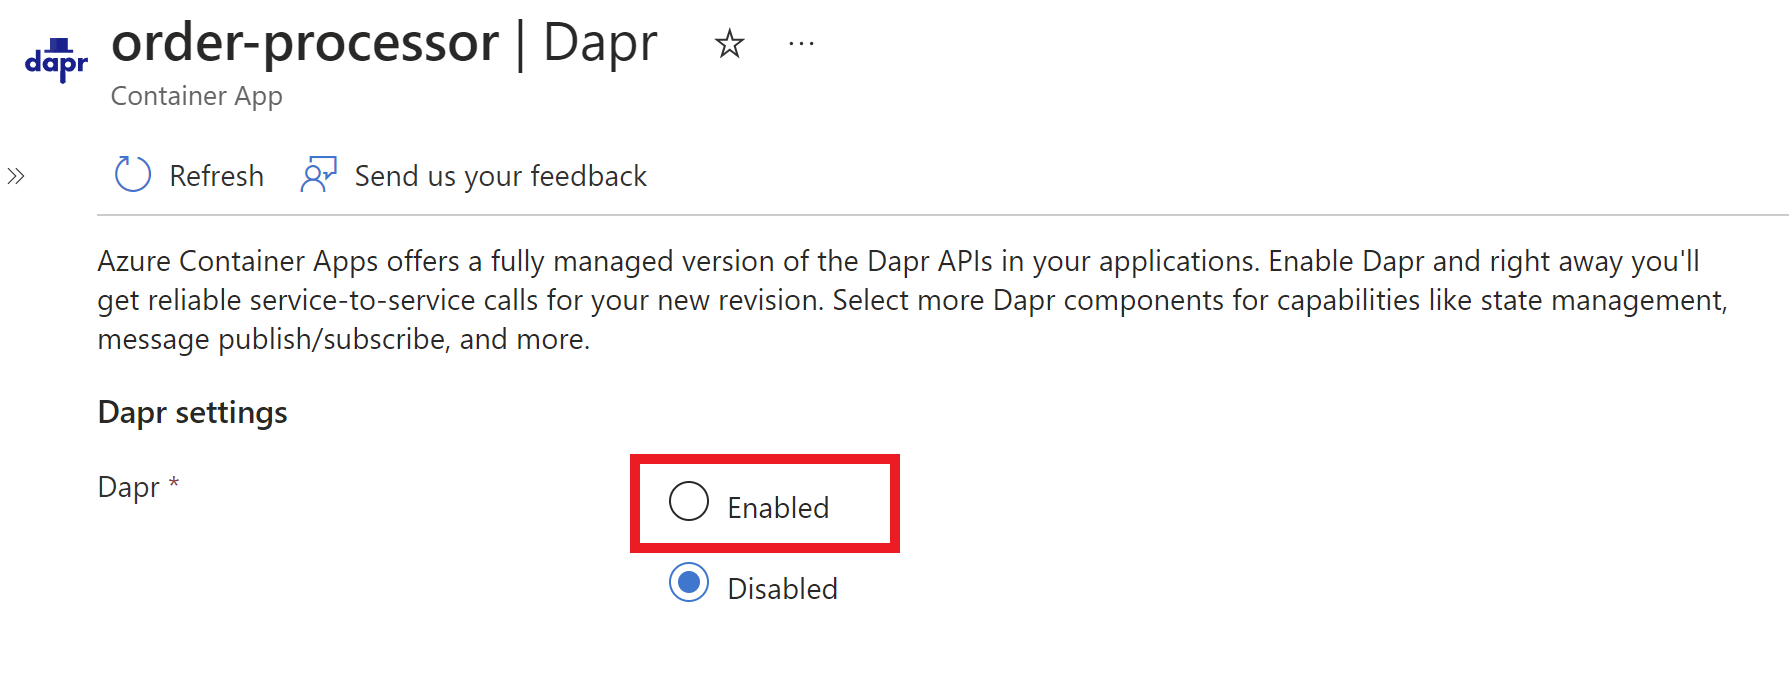
By default, Dapr is disabled. Select Enabled to expand the Dapr settings.

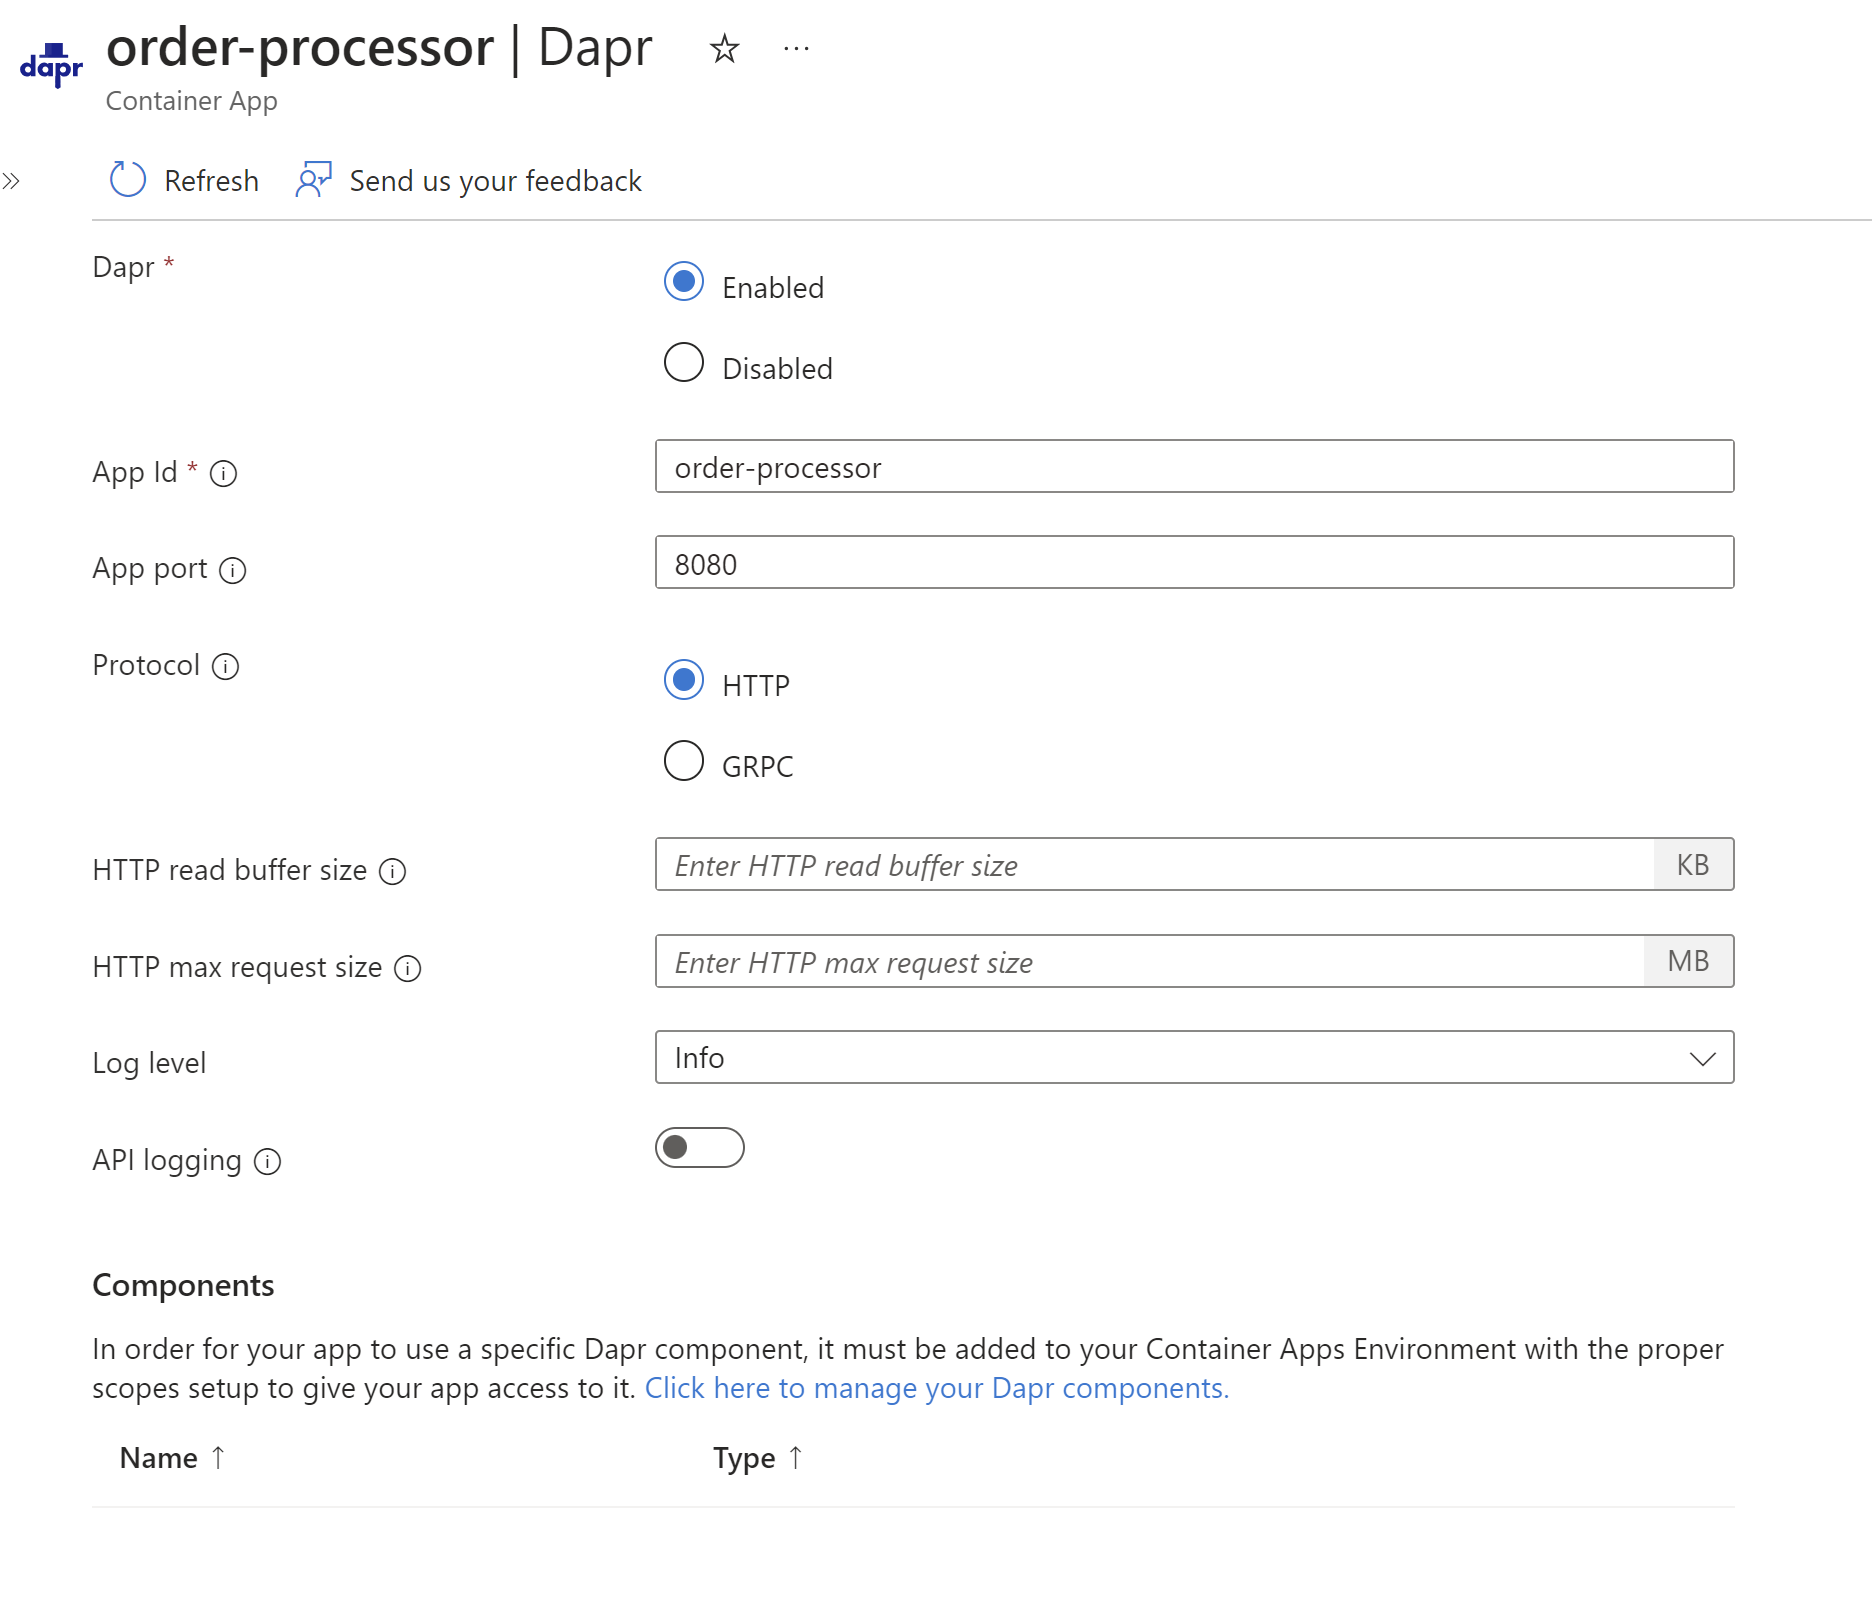
Enter the component App ID and select the appropriate headings. If applicable, under the Components header, select the link to add and manage your Dapr components to the container app environment.

Next steps
Try working with Dapr and Azure Container Apps using one of the following tutorials: