Notitie
Voor toegang tot deze pagina is autorisatie vereist. U kunt proberen u aan te melden of de directory te wijzigen.
Voor toegang tot deze pagina is autorisatie vereist. U kunt proberen de mappen te wijzigen.

Xamarin.Forms now has preview support for GTK# apps. GTK# is a graphical user interface toolkit that links the GTK+ toolkit and a variety of GNOME libraries, allowing the development of fully native GNOME graphics apps using Mono and .NET. This article demonstrates how to add a GTK# project to a Xamarin.Forms solution.
Important
Xamarin.Forms support for GTK# is provided by the community. For more information, see Xamarin.Forms Platform Support.
Before you start, create a new Xamarin.Forms solution, or use an existing Xamarin.Forms solution.
Note
While this article focuses on adding a GTK# app to a Xamarin.Forms solution in VS2017 and Visual Studio for Mac, it can also be performed in MonoDevelop for Linux.
Adding a GTK# App
GTK# for macOS and Linux is installed as part of Mono. GTK# for .NET can be installed on Windows with the GTK# Installer.
Follow these instructions to add a GTK# app that will run on the Windows desktop:
In Visual Studio 2019, right-click on the solution name in Solution Explorer and choose Add > New Project....
In the New Project window, at the left select Visual C# and Windows Classic Desktop. In the list of project types, choose Class Library (.NET Framework), and ensure that the Framework drop-down is set to a minimum of .NET Framework 4.7.
Type a name for the project with a GTK extension, for example GameOfLife.GTK. Click the Browse button, select the folder containing the other platform projects, and press Select Folder. This will put the GTK project in the same directory as the other projects in the solution.
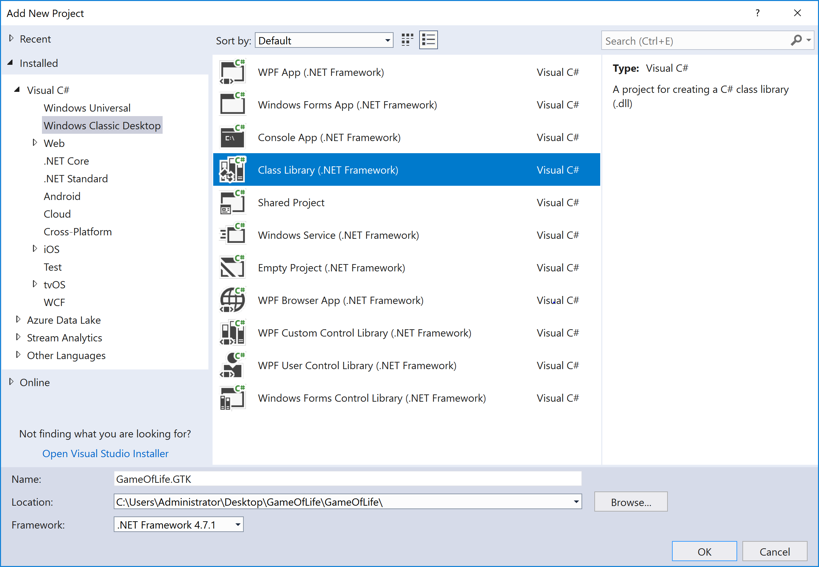
Press the OK button to create the project.
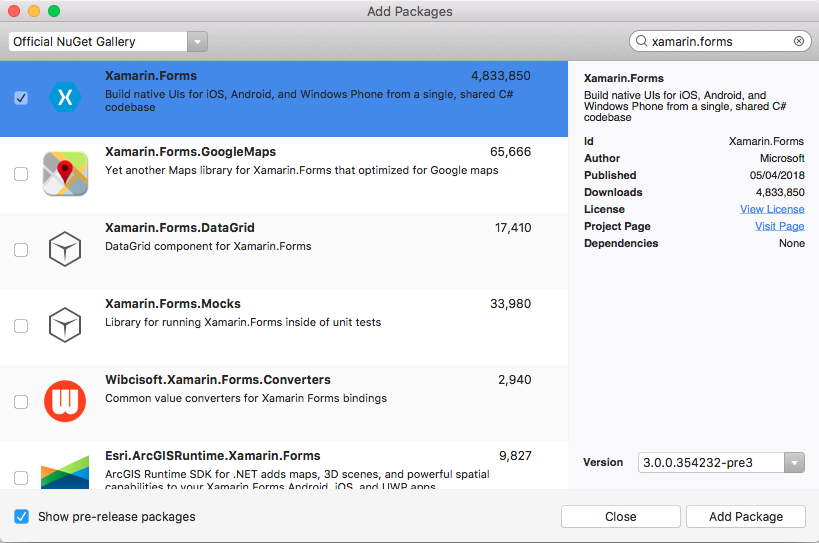
In the Solution Explorer, right click the new GTK project and select Manage NuGet Packages. Select the Browse tab, and search for Xamarin.Forms 3.0 or greater.

Select the package and click the Install button.
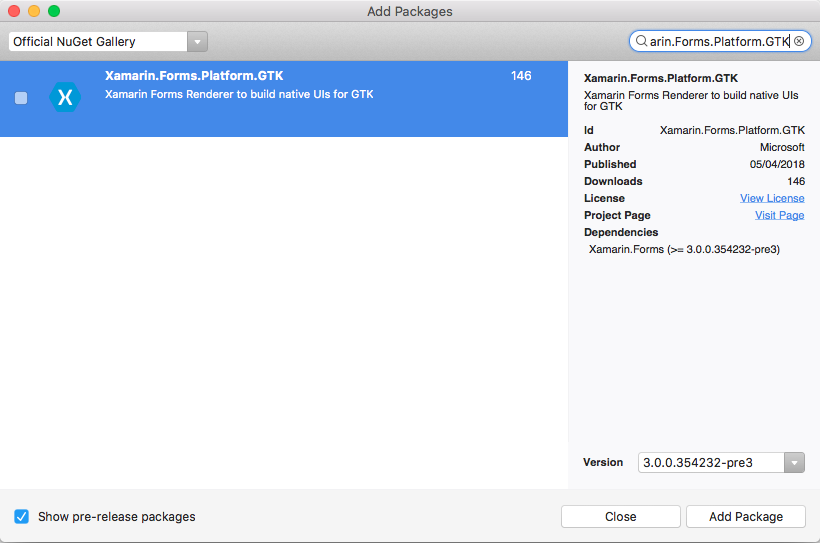
Now search for the Xamarin.Forms.Platform.GTK 3.0 package or greater.

Select the package and click the Install button.
In the Solution Explorer, right-click the solution name and select Manage NuGet Packages for Solution. Select the Update tab and the Xamarin.Forms package. Select all the projects and update them to the same Xamarin.Forms version as used by the GTK project.
In the Solution Explorer, right-click on References in the GTK project. In the Reference Manager dialog, select Projects at the left, and check the checkbox adjacent to the .NET Standard or Shared project:
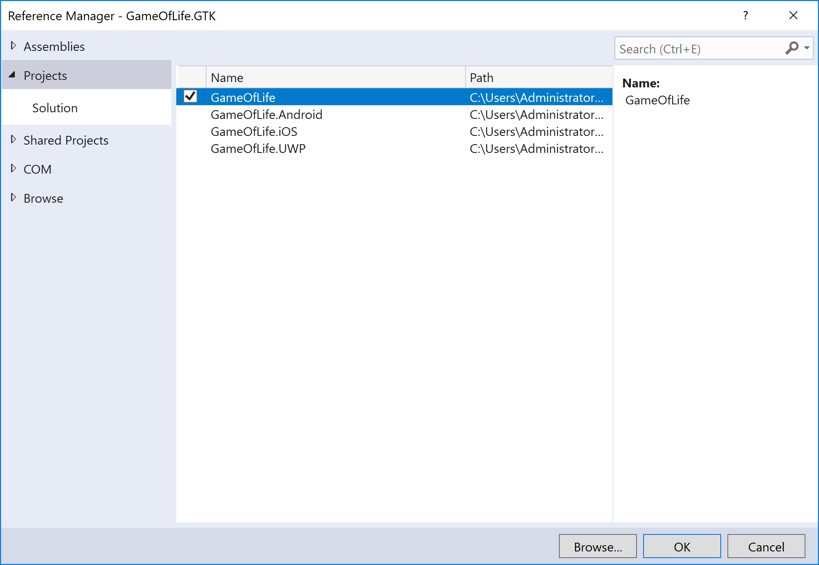
In the Reference Manager dialog, press the Browse button and browse to the C:\Program Files (x86)\GtkSharp\2.12\lib folder and select the atk-sharp.dll, gdk-sharp.dll, glade-sharp.dll, glib-sharp.dll, gtk-dotnet.dll, gtk-sharp.dll files.
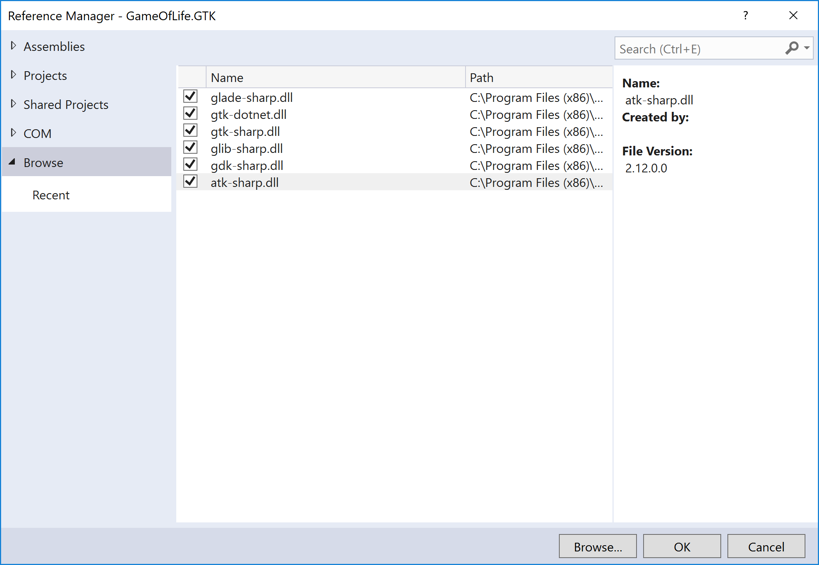
Press the OK button to add the references.
In the GTK project, rename Class1.cs to Program.cs.
In the GTK project, edit the Program.cs file so that it resembles the following code:
using System;
using Xamarin.Forms;
using Xamarin.Forms.Platform.GTK;

namespace GameOfLife.GTK
{
    class MainClass
    {
        [STAThread]
        public static void Main(string[] args)
        {
            Gtk.Application.Init();
            Forms.Init();

            var app = new App();
            var window = new FormsWindow();
            window.LoadApplication(app);
            window.SetApplicationTitle("Game of Life");
            window.Show();

            Gtk.Application.Run();
        }
    }
}
This code initializes GTK# and Xamarin.Forms, creates an application window, and runs the app.
In the Solution Explorer, right click the GTK project and select Properties.
In the Properties window, select the Application tab and change the Output type drop-down to Windows Application.

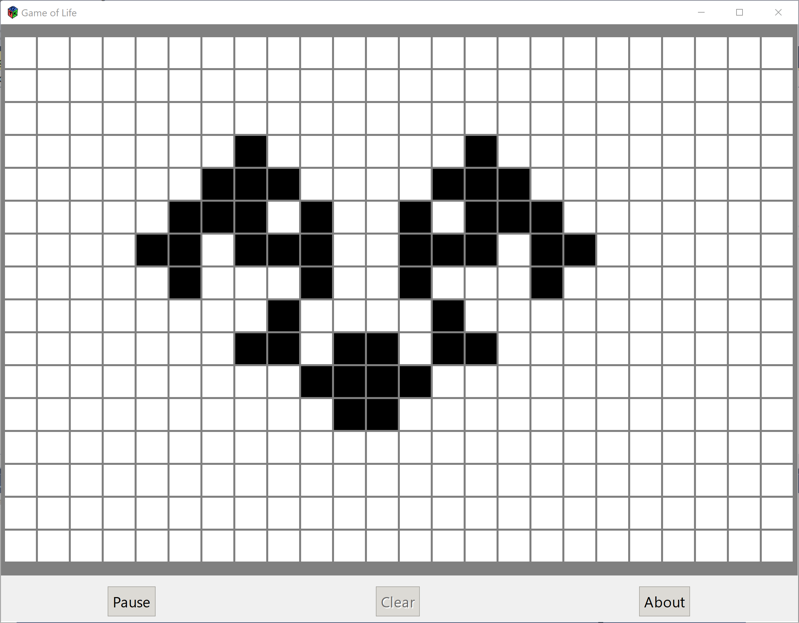
In the Solution Explorer, right-click the GTK project and select Set as Startup Project. Press F5 to run the program with the Visual Studio debugger on the Windows desktop:
Next Steps
Platform Specifics
You can determine what platform your Xamarin.Forms application is running on from either XAML or code. This allows you to change program characteristics when it's running on GTK#. In code, compare the value of Device.RuntimePlatform with the Device.GTK constant (which equals the string "GTK"). If there's a match, the application is running on GTK#.
In XAML, you can use the OnPlatform tag to select a property value specific to the platform:
<Button.TextColor>
    <OnPlatform x:TypeArguments="Color">
        <On Platform="iOS" Value="White" />
        <On Platform="macOS" Value="White" />
        <On Platform="Android" Value="Black" />
        <On Platform="GTK" Value="Blue" />
    </OnPlatform>
</Button.TextColor>
Application Icon
You can set the app icon at startup:
window.SetApplicationIcon("icon.png");
Themes
There are a wide variety of themes available for GTK#, and they can be used from a Xamarin.Forms app:
GtkThemes.Init ();
GtkThemes.LoadCustomTheme ("Themes/gtkrc");
Native Forms
Native Forms allows Xamarin.Forms ContentPage-derived pages to be consumed by native projects, including GTK# projects. This can be accomplished by creating an instance of the ContentPage-derived page and converting it to the native GTK# type using the CreateContainer extension method:
var settingsView = new SettingsView().CreateContainer();
vbox.PackEnd(settingsView, true, true, 0);
For more information about Native Forms, see Native Forms.
Issues
This is a Preview, so you should expect that not everything is production ready. For the current implementation status, see Status, and for the current known issues, see Pending & Known Issues.
