Make Remote Assist calls
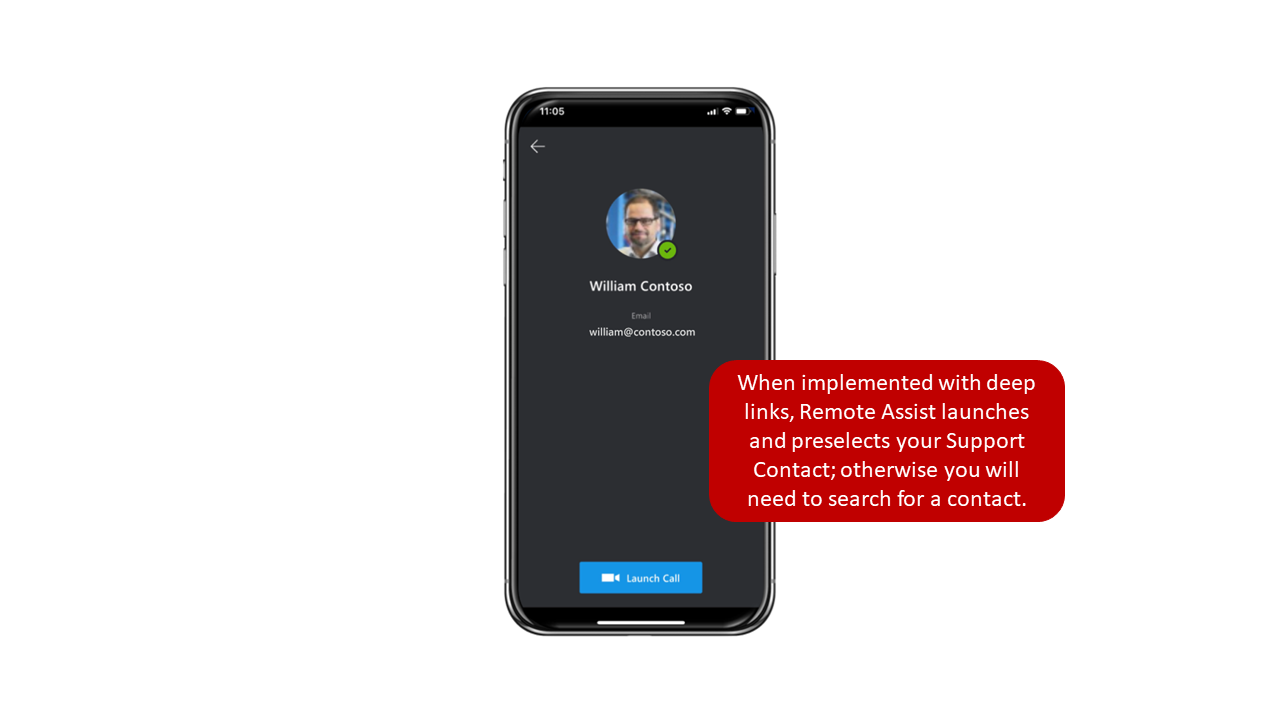
When the technician launches Remote Assist directly from Field Service Mobile by using a deep link, Remote Assist will launch automatically and the person who was identified as the support contact on the Field Service work order will be auto-selected in the application. If Remote Assist could not be launched directly, the technician is taken to the standard screen where they can search for the subject matter expert whom they want to work with.
After the technician has initiated the call, the remote collaborator will receive the call on Microsoft Teams, as with any normal Teams call that they would receive.
For more information, see making Calls.
Annotate your environment
While working with Remote Assist, technicians can use all the typical features that their application provides. One key feature is annotations. Annotations allow technicians and remote collaborators to visually call out an environmental area or asset to examine or manipulate. As technicians are displaying the environment through their rear-facing camera, the technician and remote collaborator can add annotations to what they're looking at and can share with each other during a video call. While in a call, the annotation toolbar allows technicians to place arrows and drawings into their environment.
Several options are available from the command bar, as shown in the following image.
For example, in the subsequent image, the technician uses an arrow annotation to call out a specific item that they have a question on.
Similar to Remote Assist users, remote collaborators also have an annotation toolbar that allows them to place arrows and drawings into their environment. The toolbar contains the same commands that are available to the Remote Assist technician. To begin adding annotations, remote collaborators must select the Start Editing button. When editing has initiated, the collaborator can enter a frozen frame where they can add annotations to it. When the collaborator is finished, they can select Stop Editing to return to the technician's live video feed, at which point, any added annotations will appear in the technician's environment.
For more information, see the annotations documentation.
Share files and information
Sharing files can help technicians have richer conversations with remote collaborators and therefore solve problems quickly. The technician and remote collaborators can send any file type to each other. Files and images can be uploaded from their local device or OneDrive. Technicians will need the corresponding app that supports the file type; in-app previews might be available, depending on the file type and size. For example, it might often be handy to have a repair manual for the items that you are working on. The remote collaborator could upload a PDF version of the manual that the technician could see while working in the Remote Assist application. The technician could save the PDF manual to the photo gallery on their phone so they could reference it at a later time. For Field Service customers, the files that are shared during your Remote Assist mobile call can be linked to your work order.
For more information, see sharing files.
Call recording
In scenarios where the technician uses the Record button to record the call, they can use the call recording progress. After a call is stopped, both call participants will receive a notification that the call recording will be available in Microsoft Stream. After the call recording has been uploaded to Microsoft Stream, both participants can access it through the Remote Assist mobile call text chat, Microsoft Teams text chat, or on the Microsoft Stream video folder. As with a shared field, the call recording can be linked to the work order that it initiated from.
For more information, see call recording capabilities.
Post call details to a work order timeline
After a Remote Assist call is complete, the call can be documented on the timeline of the work order that the call originated from. In Dynamics 365, the activity timeline is used to keep track of all communications with a customer or contact as it relates to the record. For example, the activities might include emails, phone calls, or notes that are related to a work order record.
Having the ability to document a Remote Assist call on the work order is important because it can help organizations better understand the types of issues that typically require extra help. This ability can help your organization build a strategy for working on these items and identify and build training programs to accommodate.
When the technician has gained the necessary guidance from the remote collaborator, they can end the call. The technician will be asked if they want to post the call as an activity to the work order timeline. They will open a list of available bookings that the call can be posted to. The list of provided information will match the bookings that are presented in the Agenda view from the Field Service Mobile app.
After the information has been posted, the details will be reflected as an item on the work order's timeline. Another advantage to posting the details back to the work order is that it provides the ability to add more context. If needed, the technician, manager, or other person with access to the work order record can open the activity and add more details that are related to the work order. This information can be viewed by people, such as dispatchers, who will have access to the record.


