Create a card with data from Dataverse (preview)
In this tutorial, you'll create a card that uses the Microsoft Dataverse connector to display and update information about an account. You'll use the card designer, variables, connectors, and more complex Power Fx expressions.
We'll assume that you've honed your Power Apps card skills in the Hello World tutorial and the shopping list tutorial and are familiar with using the card designer. If you haven't explored those tutorials yet, we recommend that you do that first, and then return to this tutorial.
Prerequisites
- A Power Apps account
- A card
Create a card
Sign in to Power Apps and select Cards. If the Cards tab is not visible, select More and pin the Cards tab.
Name the card DataverseCard and then select Create.
Connect the card to the Dataverse account table
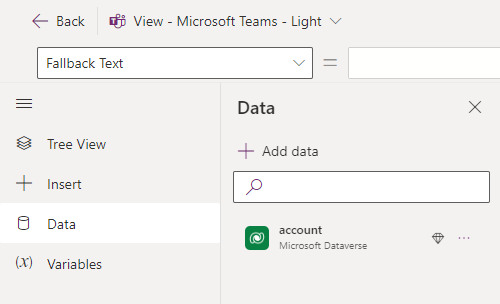
Select Data > + Add data.
Search for Dataverse and then select the Microsoft Dataverse connector.
Select the account table, and then select Select.
Ask for the account name
Insert a text label control and set its Text property to Enter account name.
Insert a text input control and set its Name property to AccountName.
Insert a button and set its Title property to View details.
Select Variables > + New variable.
Set Name to EnteredAccountName. Leave all other values as they are. Select Save.
Open the Tree View and select + New screen.
Name the screen DetailsScreen and then select Create.
In the Tree View, select the main screen.
Select the button and set its OnSelect property to Set(EnteredAccountName, AccountName); Navigate(DetailsScreen);
This expression has two parts, separated by a semicolon (;). The first part assigns the value of the user's input,
AccountName, to theEnteredAccountNamevariable. The second part opens the screen namedDetailsScreen. Since the expression is bound to the button's OnSelect property, it runs when the user selects the button.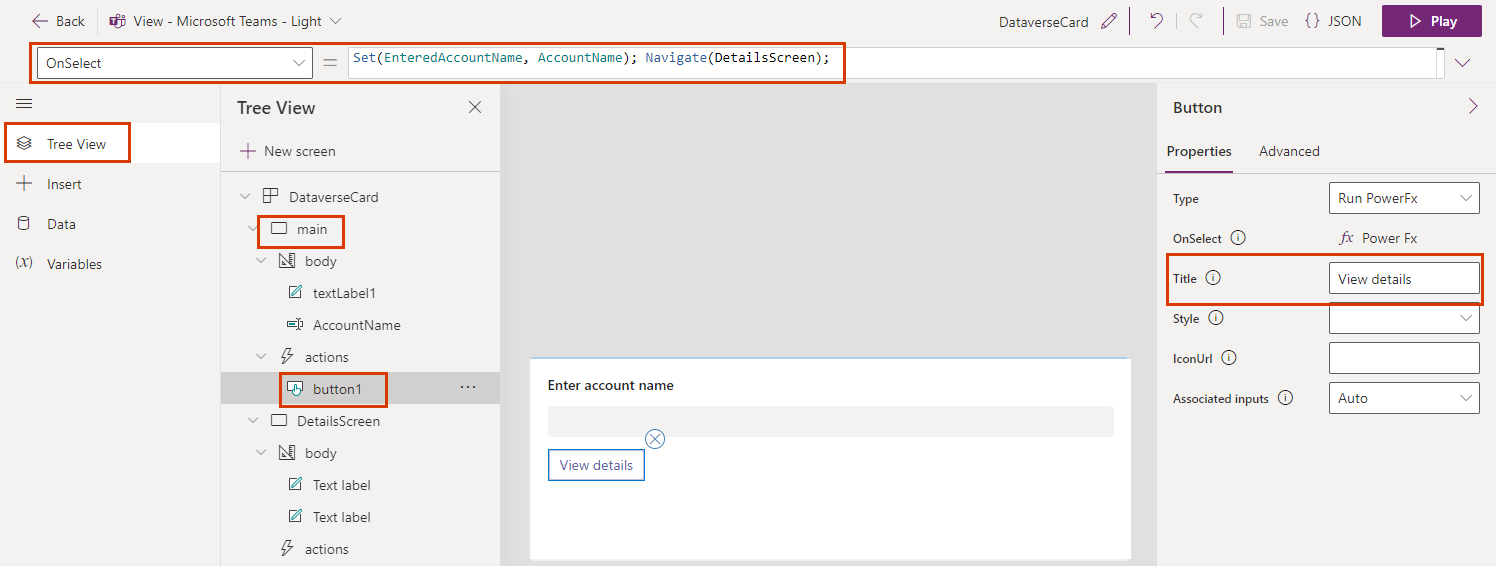
Show account details
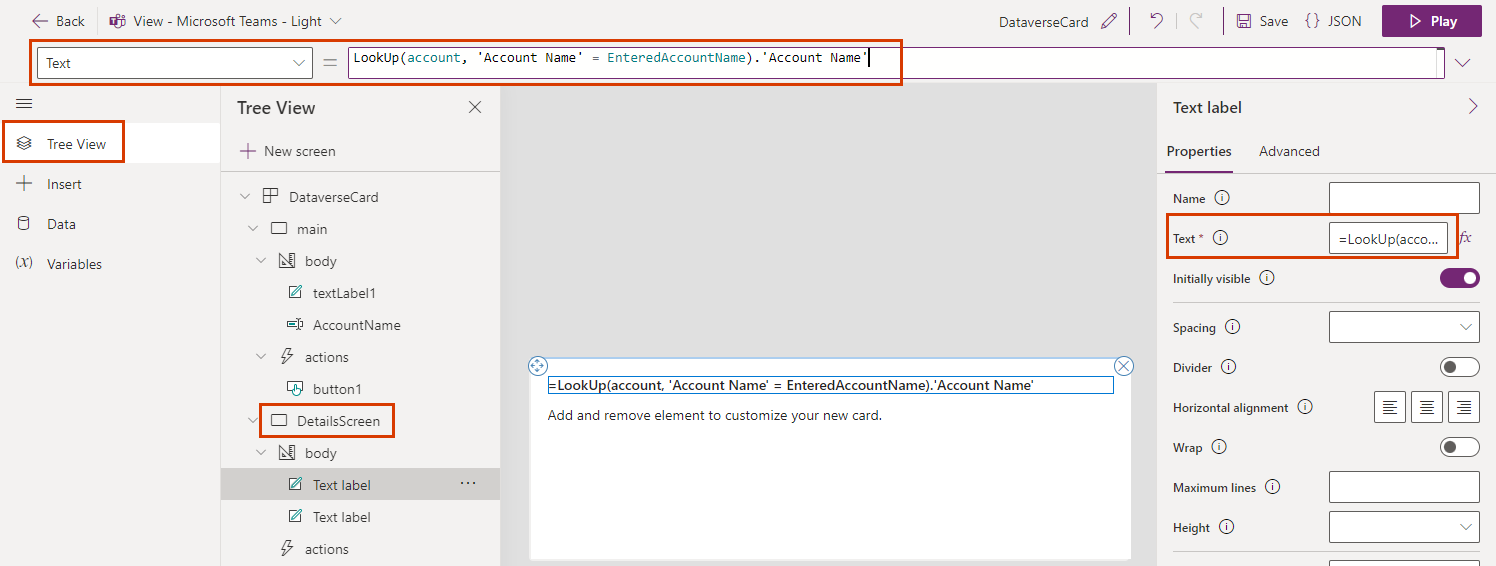
In the Tree View, select the DetailsScreen screen.
Select the card title and set its Text property to LookUp(account, 'Account Name' = EnteredAccountName).'Account Name'.
This expression changes the card title to a string incorporating the account name. You can enter the expression in the formula bar or the properties pane.
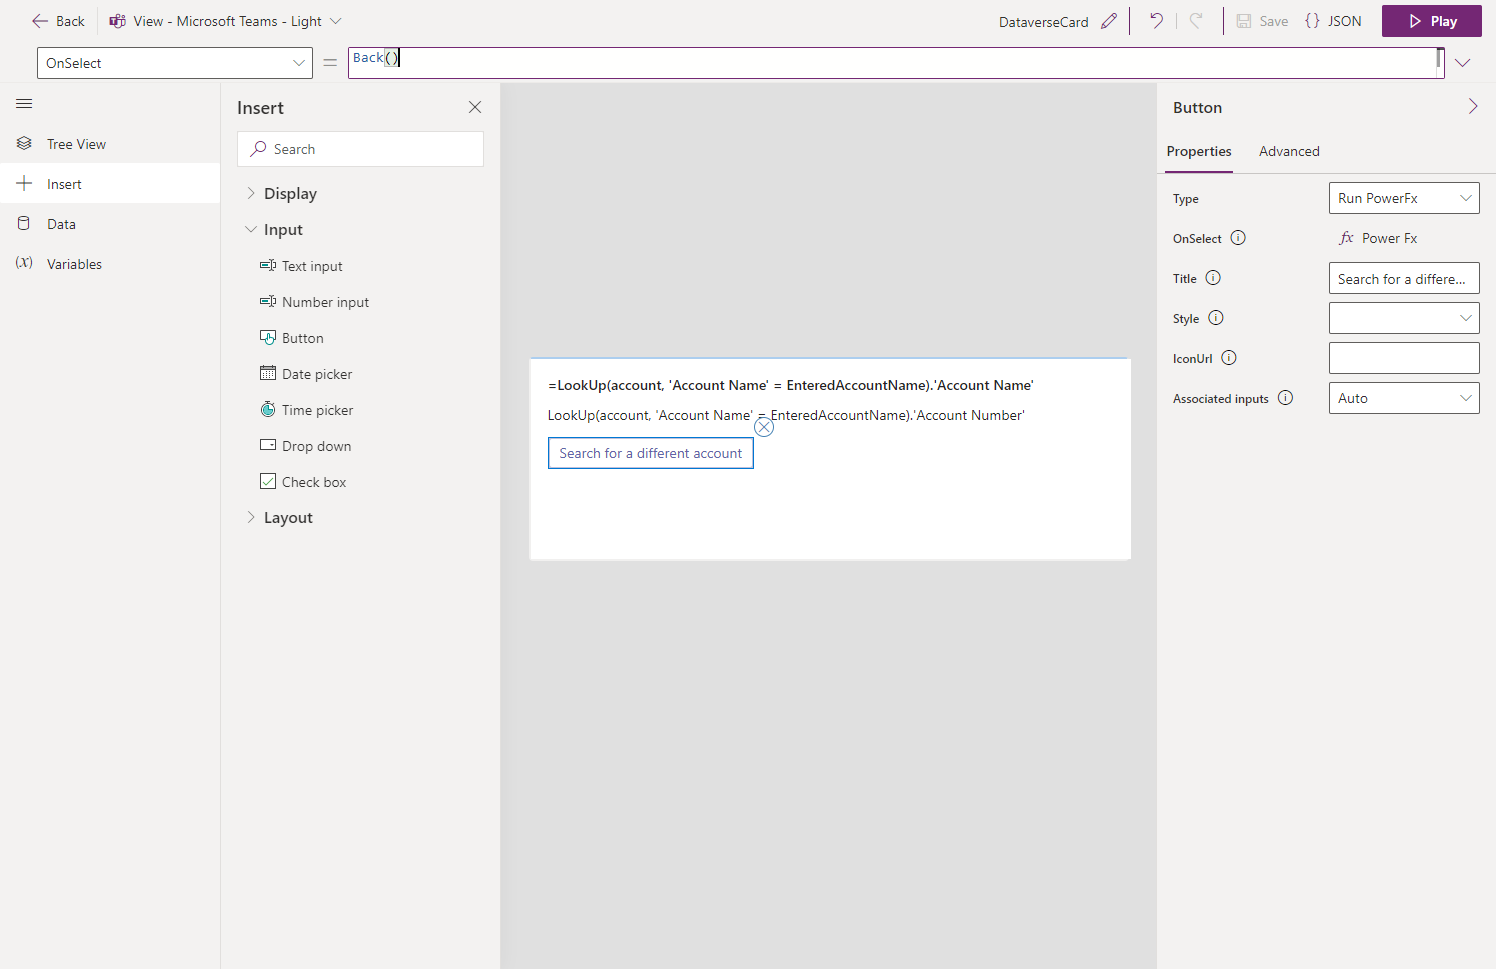
Select the second text label and set its Text property to LookUp(account, 'Account Name' = EnteredAccountName).'Account Number'.
Insert a button. Set its Title property to Search for a different account and its OnSelect property to Back().
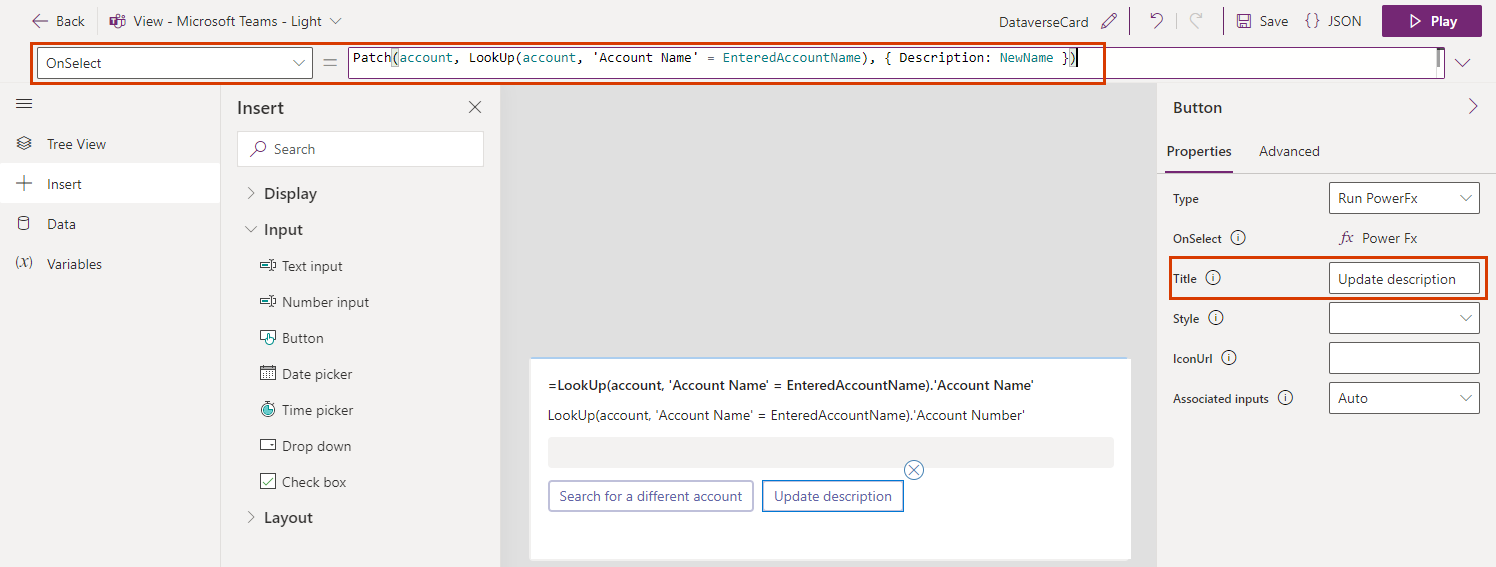
Change the account description
Insert a text input control and set its Name property to NewName.
Insert a button. Set its Title property to Update name and its OnSelect property to Patch(account, LookUp(account, 'Account Name' = EnteredAccountName), { Description: NewName }).
List all accounts
In the Tree View, select the main screen.
Insert a text label. Set its Text property to ThisItem.'Account Name' and set its Repeat for every advanced property to account.
Test the card
You should permanently save your changes before you play a card. Select Save, and then select Play.
Test all the controls on both screens on your card. The first screen should list all the accounts and allow you to type the name of an account to open a screen with more details. The second screen should show the account name and number and enable you to change the account name.
Feedback
Coming soon: Throughout 2024 we will be phasing out GitHub Issues as the feedback mechanism for content and replacing it with a new feedback system. For more information see: https://aka.ms/ContentUserFeedback.
Submit and view feedback for