Note
Access to this page requires authorization. You can try signing in or changing directories.
Access to this page requires authorization. You can try changing directories.
Learn how to use an agent flow in Copilot Studio by giving an agent the ability to produce a weather forecast on request.
Prerequisites
This example depends on a previous example where you created an agent flow that fetches a weather forecast.
If you haven't already created the weather forecast flow, do that now.
Call an agent flow from an agent
Here we show how to add the weather forecast flow as a tool to an agent. This method allows the agent orchestrator to call the flow when it needs to provide a weather forecast.
From the left navigation pane in Copilot Studio, select Agents and select the agent you want to add the flow to.
Go to the Tools page and select Add a tool.
Select Flow to show the list of available published flows.
Select the Get weather forecast flow you created earlier.
Select Add and configure.
The flow is added to your agent, and appears in the list of tools for the agent. The configuration pane for the tool use by the agent opens. You can use this pane to configure the tool for the agent.
Under Name and Description, enter a display name for the tool and a clear description that helps the agent orchestrator understand when to use the flow. For example, "Get today's weather forecast at a provided city name or zip code."
Under Inputs, select how you want the agent to fill the variable value.
Under Completion, select what you want the agent to do after it finishes using the tool.
When you're done with the configuration, select Save.
Call an agent flow from a topic
Here we show how to use an Action node in a topic to call the flow when a customer asks about the weather.
In Copilot Studio, go to the Topics page for your agent.
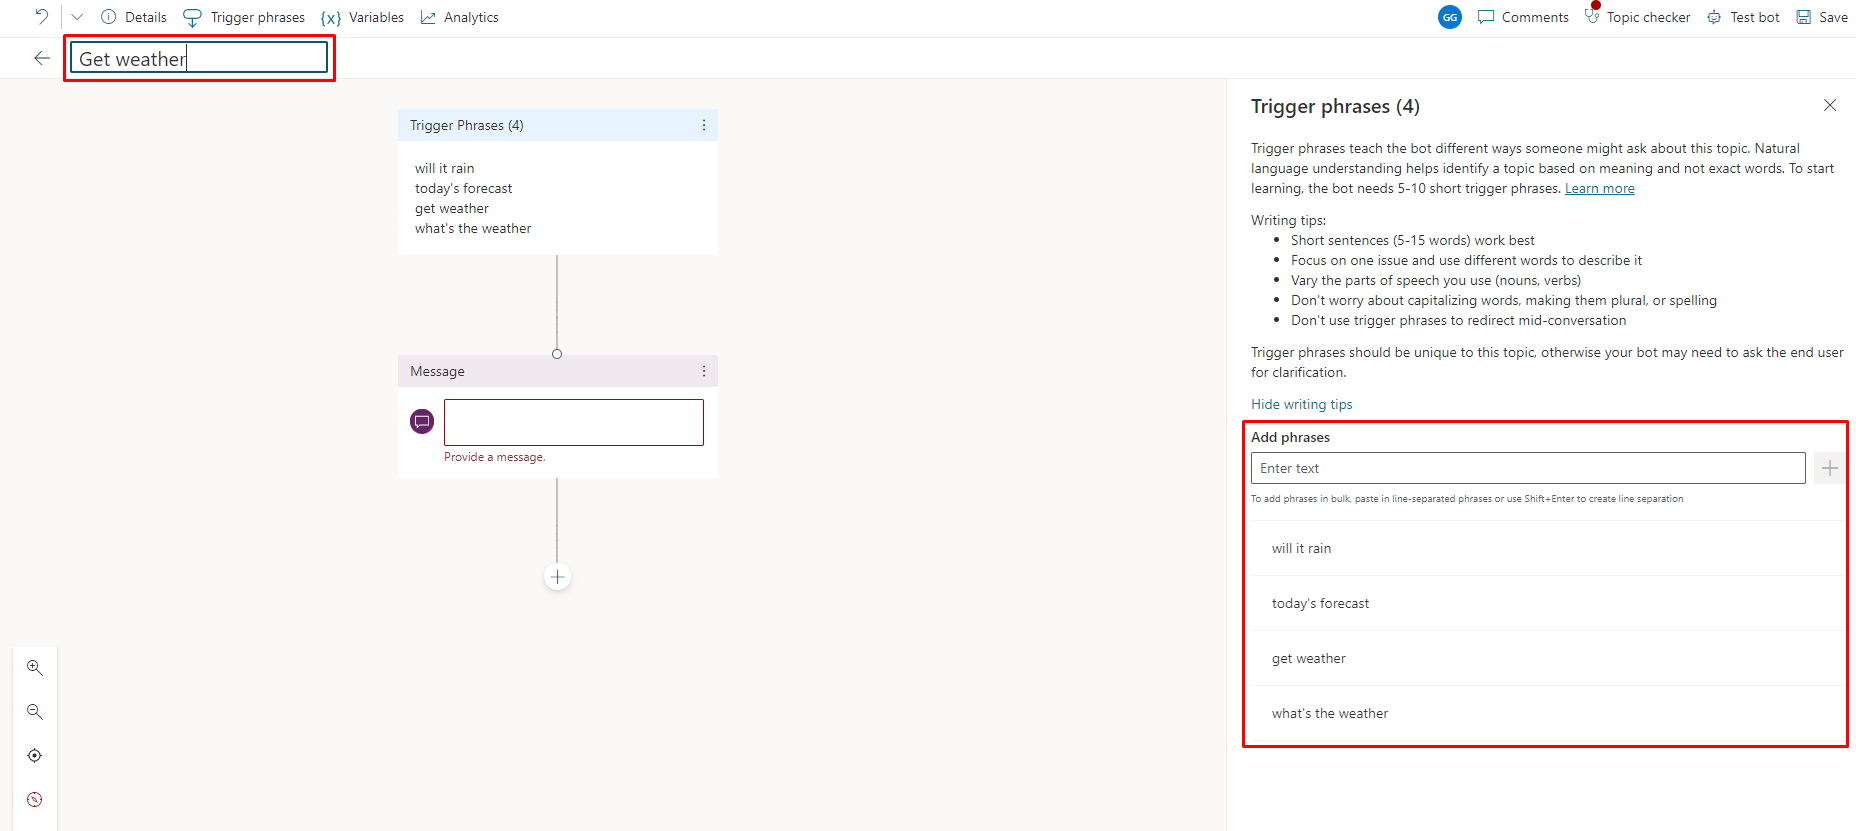
Create a new topic, and name it Get weather.
Add the following trigger phrases:
- will it rain
- today's forecast
- get weather
- what's the weather
Select the Add node icon
 below the Trigger node, and select Send a message.
On the Message node, enter I can help you with that. in the text box.
Select the Add node icon
under the Message node and select Ask a question to add a Question node for the first piece of information for your flow, the city.On the Question node:
- Enter the question "What is your city?" in the text box.
- Under Identify, select User's entire response.
- Note the name of the variable associated with this response,
Var1. You can leave the name as is, or replace it with a more meaningful name such as "City" (see Rename a variable, if needed).
Proceed in the same fashion to add another Question node for the other piece of information for your flow, the ZIP code:
- Enter the question "What is your ZIP code?" in the text box.
- Under Identify, select Number.
- Note the name of the variable associated with this response,
Var2. You can leave the name as is, or replace it with a more meaningful name (for example,"ZIPcode").
Select the Add node icon
under the Question node for the ZIP code, select Add a tool, and then select the flow you created earlier, Get weather forecast.Set the flow inputs to the output variables from the question nodes. City (String) gets its value from
Var1(orCityif you renamed it) and ZIP code (Number) gets its value fromVar2(orZIPcodeif you renamed it).
Under the Action node, add a Message node, and enter a message that uses output information from the flow. For example:
"Today's forecast for
location:day_summary"
"Chance of rain ischance_of_rain%"
Wherelocation,day_summary, andchance_of_rainare output parameters from your flow.
Select Save.
Manage an agent flow used in a topic
Once you have an Action node that calls a flow, you can use the following options from the node's menu to manage the flow:
Delete permanently deletes the node and removes the flow from the topic.
Refresh reloads the flow to obtain any changes you made in Power Automate, and validates it in the topic. You must fix any problems with the flow before you can save the topic.
If you would like to select or create a different flow, use the Change flow icon ![]() that appears when you hover over the flow in your Action node.
that appears when you hover over the flow in your Action node.
Test your flow and topic
It's a good idea to test the flow and the topic that calls it.
In the Test your agent panel, type one of the topic's trigger phrases to start a conversation with the agent. Enter your city and ZIP code when the agent asks for them. Verify that the agent returns today's weather forecast for your city and that the message looks the way you expect.

Troubleshoot your agent
Always test your agent when you make changes to topics and flows, to make sure everything still works. If the agent encounters a problem during a conversation, it responds with an error message.
Find most flow-related issues in the flow checker on the flow designer tab. Use the topic checker to identify issues on the authoring canvas.