AITOC Integration
AITOC is an e-commerce development company, a world-leading provider of custom solutions for Magento.
AITOC's Clarity module enables you to incorporate the Microsoft Clarity script onto each page of your website to track user activity across all of your pages.
Install Clarity on the AITOC platform
Note
Clarity module is compatible with the following Magento platforms:
| Community edition (open source) | Enterprise sedition (commerce) | Cloud edition |
|---|---|---|
| 2.3.0 - 2.4* | 2.3.0 - 2.4* |
Step 1
Install the Magento module using a zip file or through composer installation.
Step 2
Note
You would need a Clarity Project ID to activate Clarity on AITOC. If you don't have a project on Clarity, check how to create a new project.
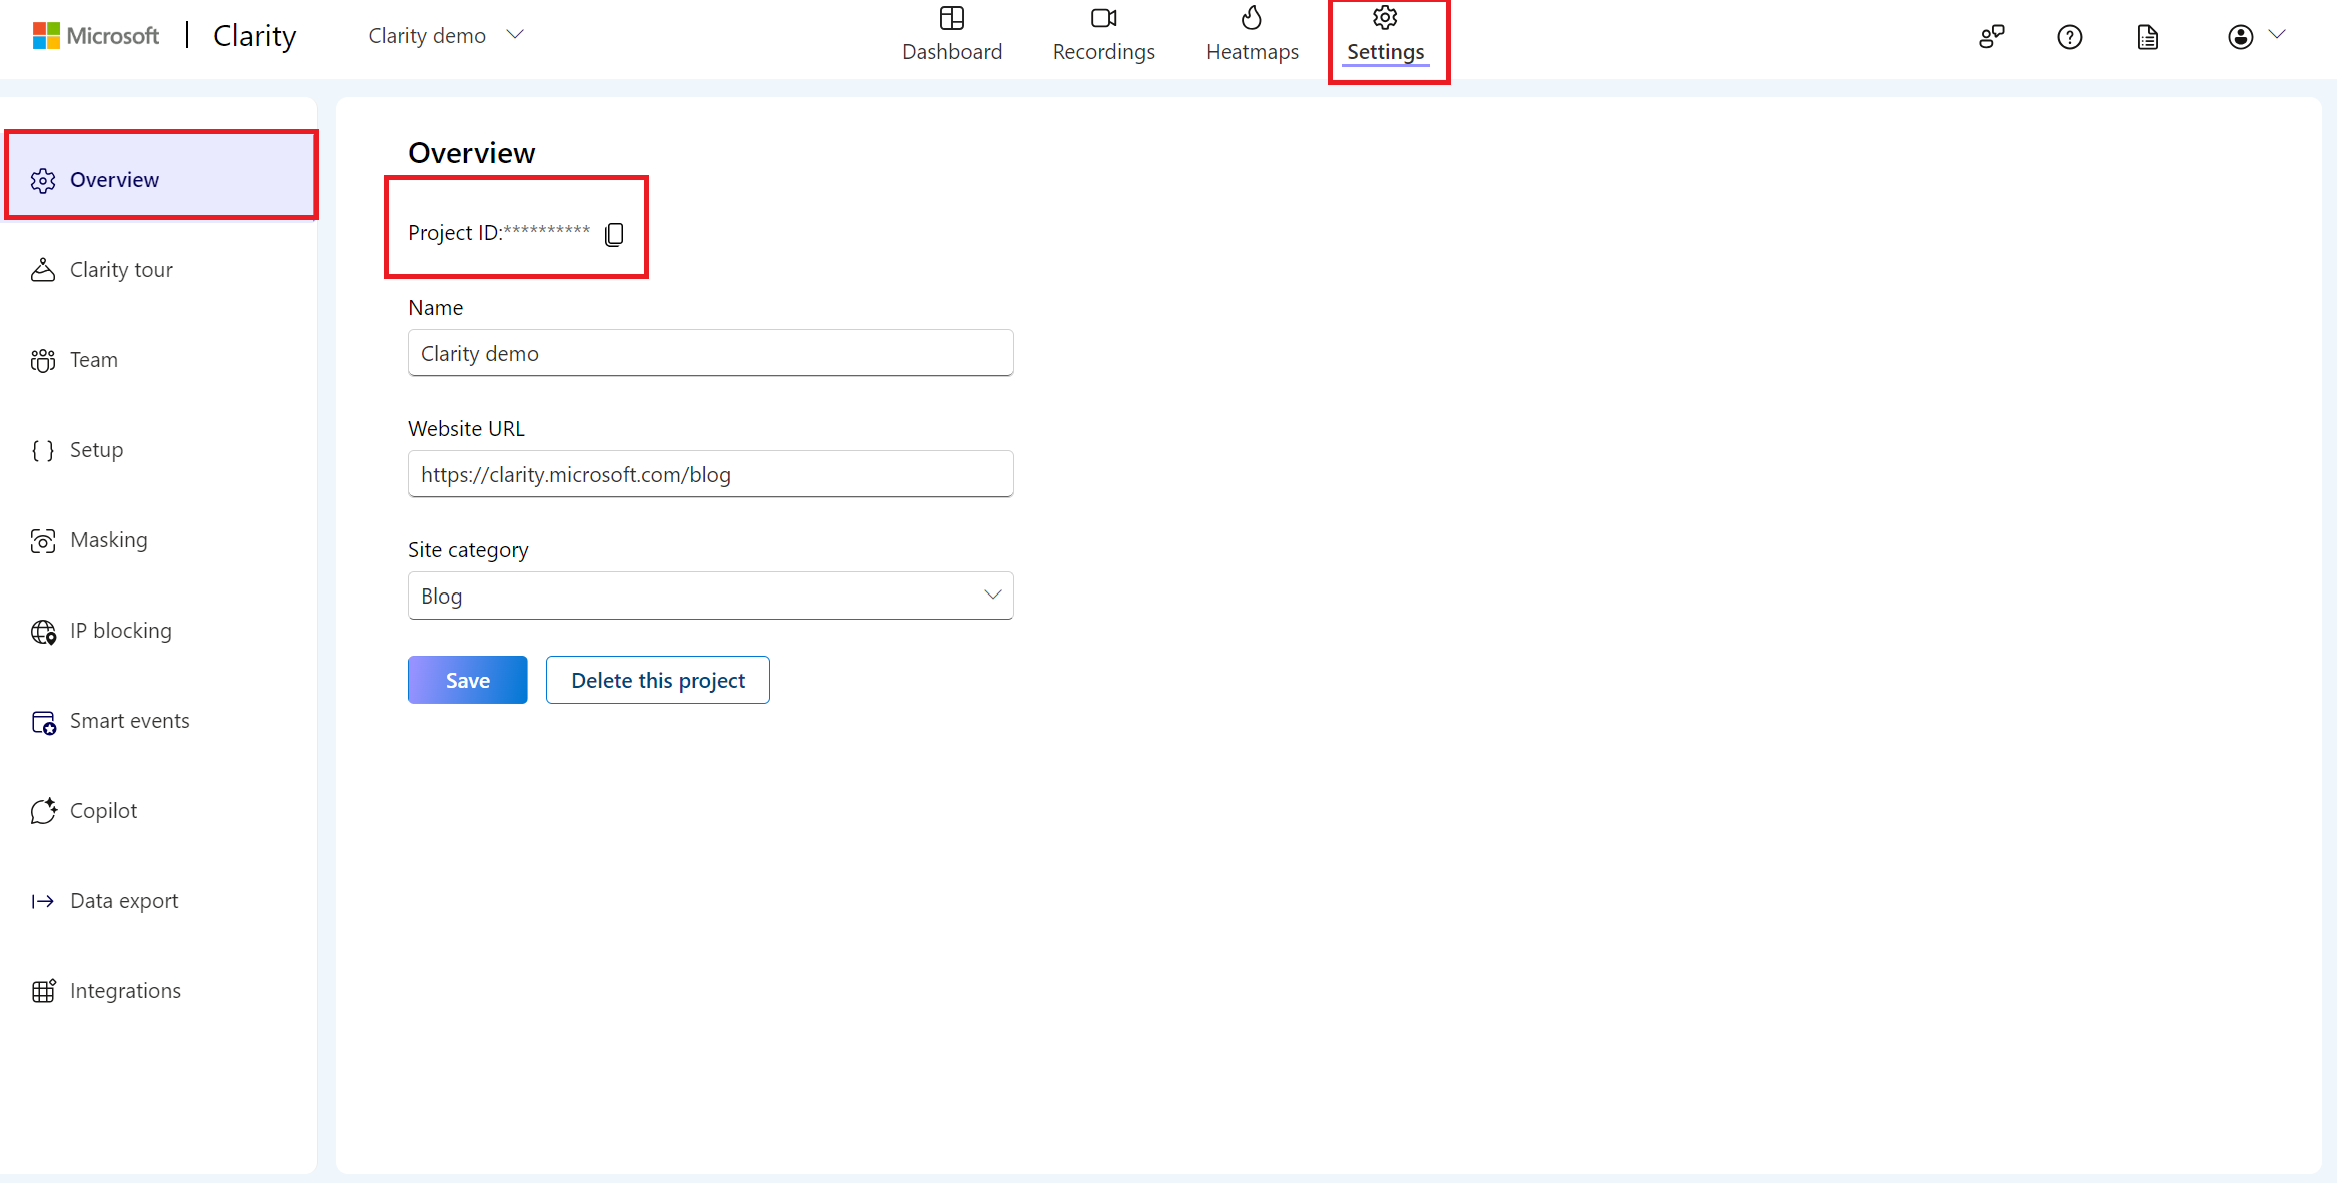
Locate your Clarity Project ID and copy it by following the below instructions:
- From the Clarity dashboard, go to Settings.
- Select Overview from the left panel.
- Copy the Project ID (for example, 55u86t0118).

Step 3
Update the AITOC module configuration and add the tracking code. You can access the module configuration in Magento 2 by following either of the paths mentioned below:
- Go to Admin -> Stores -> Configuration -> AITOC EXTENSION -> Microsoft Clarity. OR
- Go to Admin -> AITOC -> Microsoft Clarity -> Configuration.

Both paths lead to the same configuration section.
Step 4
Set the details of the module configuration as mentioned below:
In General,
- Enable: Select Yes/No from the drop-down to enable or disable the module.
- Enable Customer Group Tag: Select Yes/No from the drop-down to enable or disable the module. Enable this tag to create custom tags and use filters based on the Customer Groups available in Magento. For each session and page tracked in Clarity, there's a different Customer Group tag to filter and find recordings for each page.
In Options,
- Tracking Code: Paste the Clarity project ID here.

Select Save Config.
Step 5
For each session and page tracked in Clarity, there's a different Customer Group tag to filter and find recordings for that page.


Learn more about how the module works.
FAQ
For more answers, refer to Setup FAQ.
