Creating a new Database in Exchange 2013 and deleting the default one after a fresh install
Most administrators want to remove the default database which is created during the initial Exchange Server installation. It is convenient to do so as you can later on create your own following your desired naming policies. It can be troublesome to remove it, but it is easy if you follow some simple steps. Once you have finished installing Exchange Server 2013, ensure that all services are up and running by opening Exchange Management Shell (Run as Administrator) and then type:
Get-Service *Exchange*

Open IE and login to Exchange Admin Center (https://servername/ecp/). Navigate to Servers and then Databases. Here you will be able to see the default created Database which is created during Exchange installation which will be named something like "Mailbox Database 1334432067". First step we are going to take is to create our own new DB with the naming policy we wish to have. Click the |+| symbol to create a new database:

Pick your DB name, the Server which it will be placed on, the DB path and the Log folder path. It is best practice and recommended to separate database and log files. You can read more about database and log performance factor in this TechNet Article.

Once created it can be seen under the Default database and will also be in "Mounted" status if you chose that during the DB creation. If not, please mount this database.

After the DB creation we will restart the MSExchangeIS Service: Restart-Service MSExchangeIS

If you try to rename or delete the Default database you will get an error due to the Arbitration mailboxes. These are hidden mailboxes which are created by default when you create your first Exchange Server in your Organization. Furthermore, Exchange Server will not allow you to delete a Database which contains mailboxes, whether hidden or visible. To view these mailboxes, you can run the following command:
Get-Mailbox -Arbitration

Or to view the database Arbitration mailboxes belong to you can run:
Get-MailboxDatabase |Get-Mailbox -Arbitration | ft name,database,servern*

Now that we have identified the Arbitration mailboxes we will move the arbitration mailboxes to the new database we created:
Get-Get-Mailbox -Database "Mailbox Database 1334432067" -Arbitration | New-MoveRequest -TargetDatabase "MDB1"

You can check the progress by typing: Get-MoveRequest. Once all have been completed you will also need to move the Administrator's mailbox (the mailbox which is created by default for the user who runs the installation). We can either move this via PowerShell or by GUI: (I know you are shocked that we will not use PS for this!:))
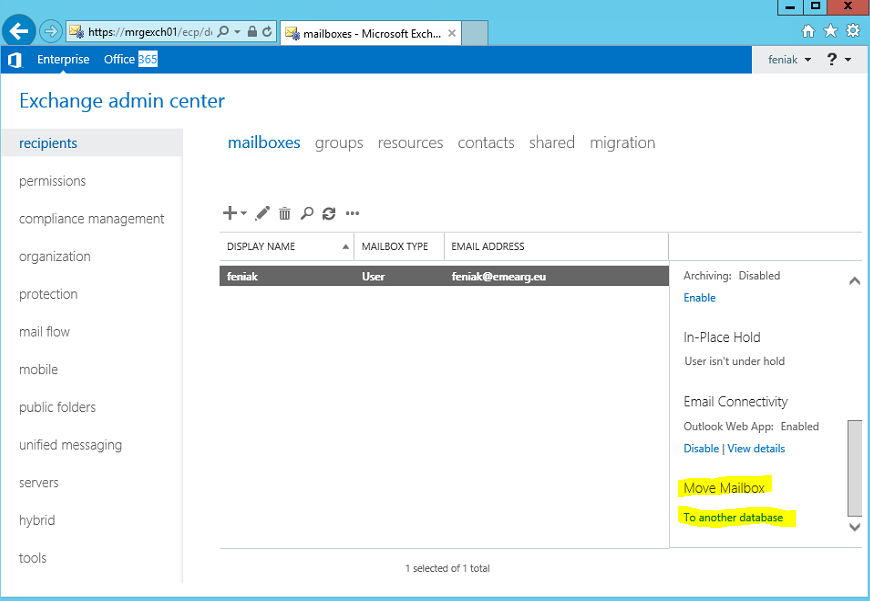
Select the Target Database:

Leave the rest default and finish the wizard. You can view the process in GUI under "Migration":

Or you use PS again: Get-MoveRequest

If you now re-run the previous command you will see that all Arbitration mailboxes have been moved to MDB1:

Last, but not least, we will also move the DiscoverySearch Mailbox, otherwise we will not be able to delete the default database as it will contain an active mailbox.

Now we have completed moving all the mailboxes to the new DB we created. We can now proceed to delete the default database. Go back to the Exchange Control Panel and select the default DB and press the bin button to delete it.

And that is it! The default database has been removed. Make sure you manually delete the files in order to avoid leaving unnecessary files in your local disks.