Como reconhecer intenções com correspondência de padrão de entidade personalizada
O SDK de Fala dos serviços de IA do Azure tem um recurso interno para fornecer reconhecimento de intenção com correspondência de padrão de idioma simples. Uma intenção é algo que o usuário quer fazer: fechar uma janela, marcar uma caixa de seleção, inserir algum texto, etc.
Neste guia, você usa o SDK de fala para desenvolver um aplicativo de console que deriva intenções de enunciados de fala falados através do microfone do dispositivo. Sabe como:
- Criar um projeto do Visual Studio que faz referência ao pacote NuGet do SDK Voz
- Crie uma configuração de fala e obtenha um reconhecedor de intenção
- Adicione intenções e padrões por meio da API do SDK de Fala
- Adicionar entidades personalizadas por meio da API do SDK de Fala
- Utilizar o reconhecimento contínuo assíncrono e orientado por eventos
Quando usar a correspondência de padrões
Use a correspondência de padrões se:
- Você só está interessado em corresponder estritamente ao que o usuário disse. Esses padrões correspondem de forma mais agressiva do que a compreensão de linguagem conversacional (CLU).
- Você não tem acesso a um modelo de CLU, mas ainda quer intenções.
Para obter mais informações, consulte a visão geral da correspondência de padrões.
Pré-requisitos
Certifique-se de ter os seguintes itens antes de começar este guia:
- Um recurso de serviços de IA do Azure ou um recurso de Fala Unificada
- Visual Studio 2019 (qualquer edição).
Criar um projeto
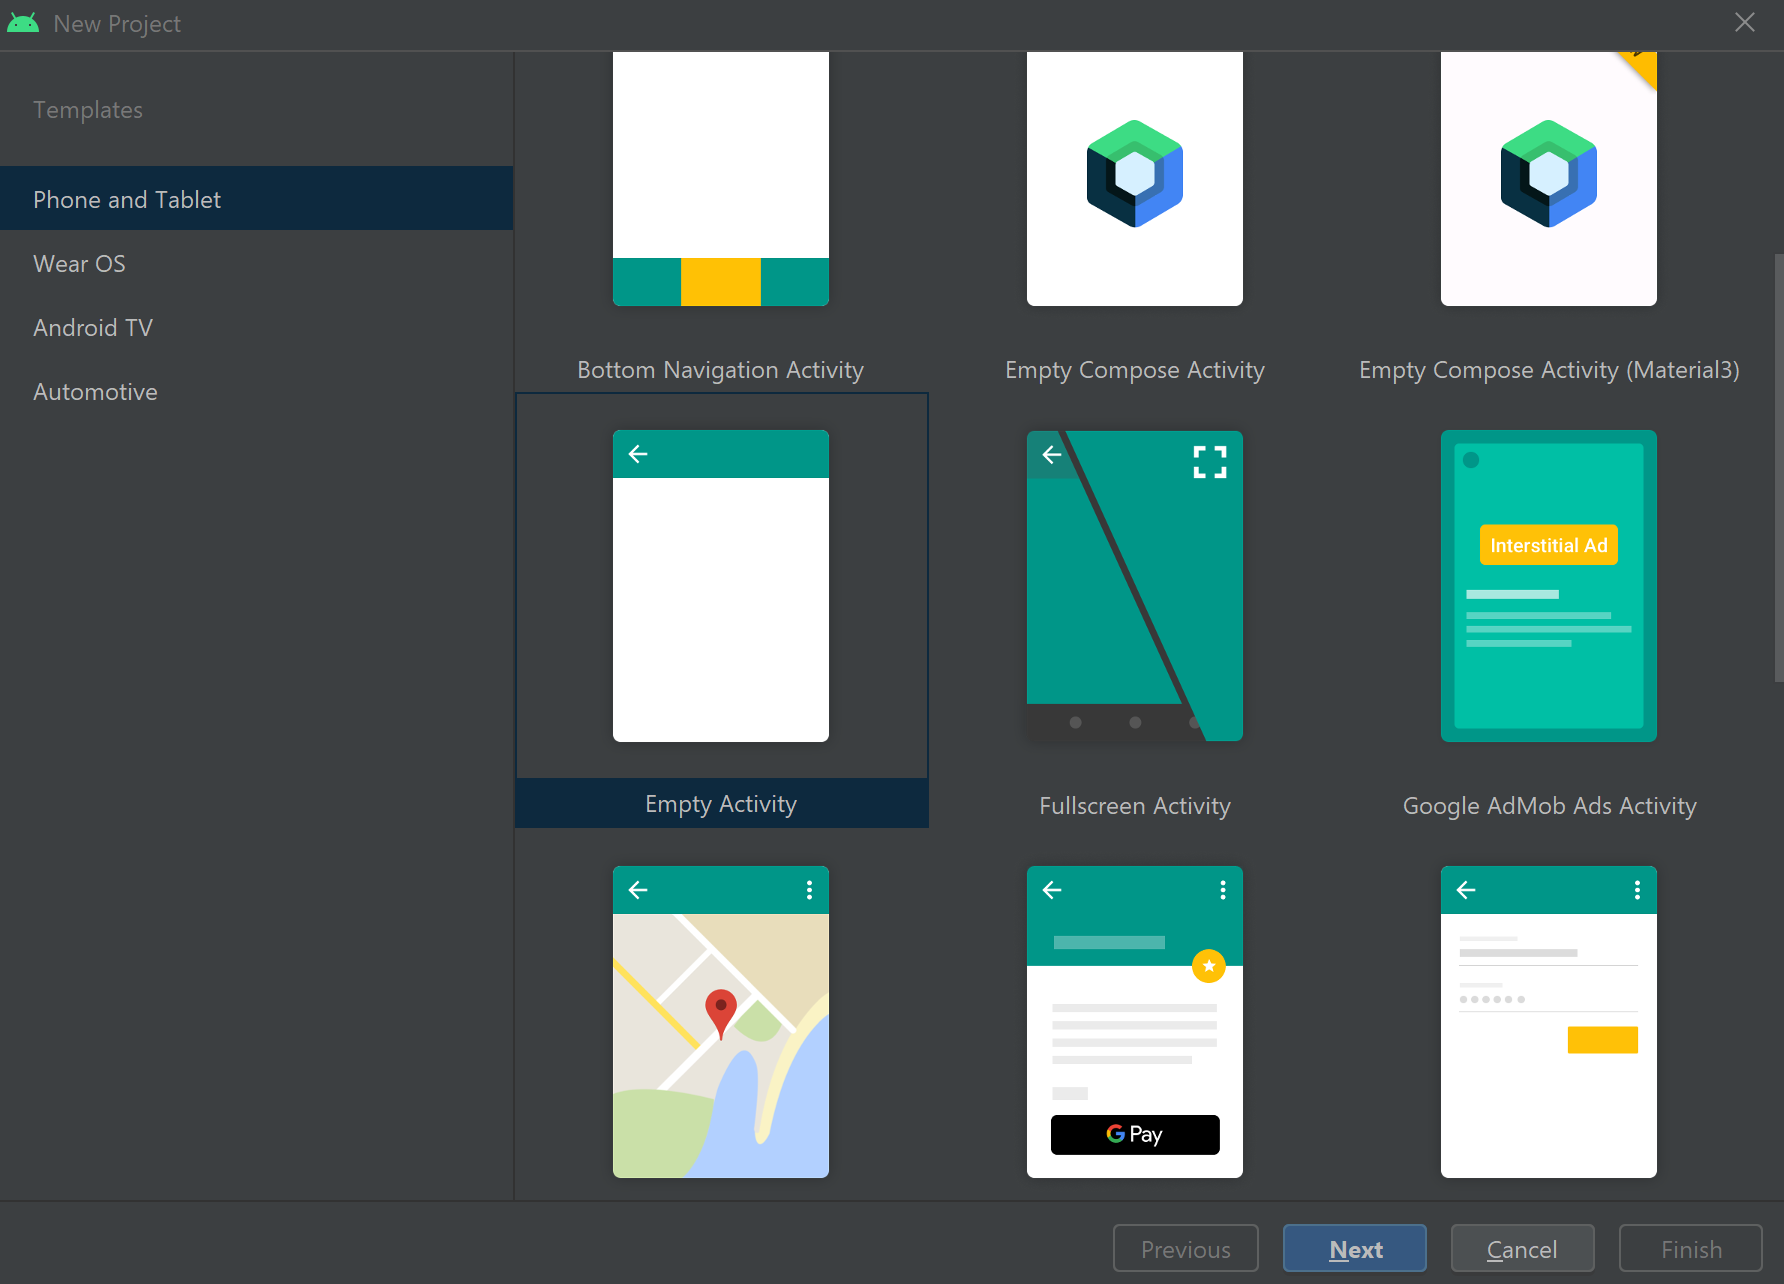
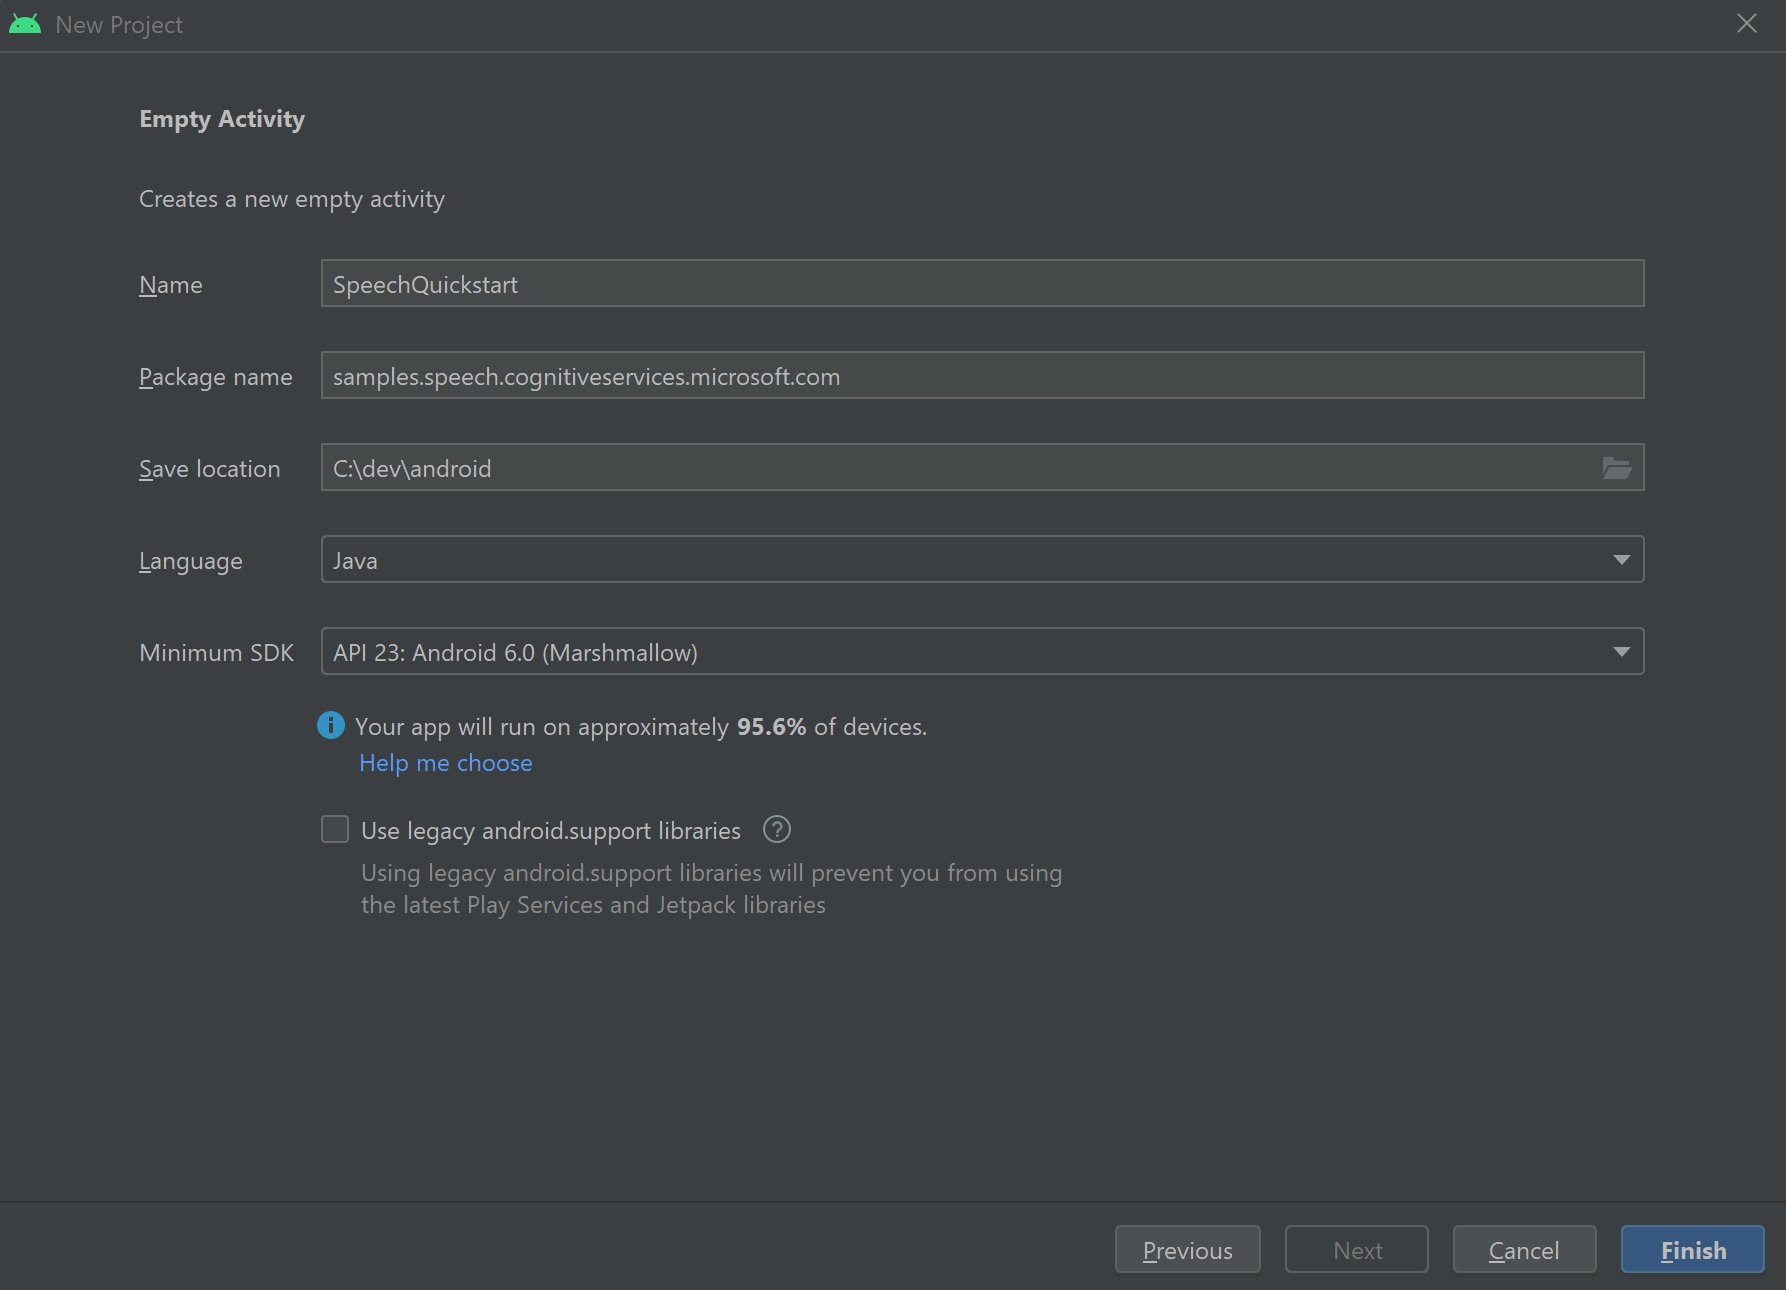
Crie um novo projeto de aplicativo de console C# no Visual Studio 2019 e instale o SDK de fala.
Comece com algum código clichê
Vamos abrir Program.cs e adicionar algum código que funcione como um esqueleto para o nosso projeto.
using System;
using System.Threading.Tasks;
using Microsoft.CognitiveServices.Speech;
using Microsoft.CognitiveServices.Speech.Intent;

namespace helloworld
{
    class Program
    {
        static void Main(string[] args)
        {
            IntentPatternMatchingWithMicrophoneAsync().Wait();
        }

        private static async Task IntentPatternMatchingWithMicrophoneAsync()
        {
            var config = SpeechConfig.FromSubscription("YOUR_SUBSCRIPTION_KEY", "YOUR_SUBSCRIPTION_REGION");
        }
    }
}
Criar uma configuração de Fala
Antes de inicializar um IntentRecognizer objeto, você precisa criar uma configuração que use a chave e a região do Azure para seu recurso de previsão de serviços de IA do Azure.
- Substitua
"YOUR_SUBSCRIPTION_KEY"pela sua chave de previsão de serviços de IA do Azure. - Substitua
"YOUR_SUBSCRIPTION_REGION"pela sua região de recursos de serviços de IA do Azure.
Este exemplo usa o FromSubscription() método para criar o SpeechConfig. Para obter uma lista completa dos métodos disponíveis, consulte SpeechConfig Class.
Inicializar um IntentRecognizer
Agora crie um IntentRecognizerarquivo . Insira este código logo abaixo da sua configuração de Fala.
using (var recognizer = new IntentRecognizer(config))
{

}
Adicione algumas intenções
Você precisa associar alguns padrões a e PatternMatchingModel aplicá-lo ao IntentRecognizer.
Vamos começar criando um PatternMatchingModel e adicionando algumas intenções a ele.
Nota
Podemos adicionar vários padrões a um PatternMatchingIntentarquivo .
Insira este código dentro do using bloco :
// Creates a Pattern Matching model and adds specific intents from your model. The
// Id is used to identify this model from others in the collection.
var model = new PatternMatchingModel("YourPatternMatchingModelId");

// Creates a pattern that uses groups of optional words. "[Go | Take me]" will match either "Go", "Take me", or "".
var patternWithOptionalWords = "[Go | Take me] to [floor|level] {floorName}";

// Creates a pattern that uses an optional entity and group that could be used to tie commands together.
var patternWithOptionalEntity = "Go to parking [{parkingLevel}]";

// You can also have multiple entities of the same name in a single pattern by adding appending a unique identifier
// to distinguish between the instances. For example:
var patternWithTwoOfTheSameEntity = "Go to floor {floorName:1} [and then go to floor {floorName:2}]";
// NOTE: Both floorName:1 and floorName:2 are tied to the same list of entries. The identifier can be a string
//       and is separated from the entity name by a ':'

// Creates the pattern matching intents and adds them to the model
model.Intents.Add(new PatternMatchingIntent("ChangeFloors", patternWithOptionalWords, patternWithOptionalEntity, patternWithTwoOfTheSameEntity));
model.Intents.Add(new PatternMatchingIntent("DoorControl", "{action} the doors", "{action} doors", "{action} the door", "{action} door"));
Adicionar algumas entidades personalizadas
Para tirar o máximo proveito do matcher de padrões, você pode personalizar suas entidades. Faremos "floorName" uma lista dos pisos disponíveis. Também faremos de "parkingLevel" uma entidade inteira.
Insira este código abaixo das suas intenções:
// Creates the "floorName" entity and set it to type list.
// Adds acceptable values. NOTE the default entity type is Any and so we do not need
// to declare the "action" entity.
model.Entities.Add(PatternMatchingEntity.CreateListEntity("floorName", EntityMatchMode.Strict, "ground floor", "lobby", "1st", "first", "one", "1", "2nd", "second", "two", "2"));

// Creates the "parkingLevel" entity as a pre-built integer
model.Entities.Add(PatternMatchingEntity.CreateIntegerEntity("parkingLevel"));
Aplique o nosso modelo ao Recognizer
Agora é necessário aplicar o modelo ao IntentRecognizer. É possível usar vários modelos ao mesmo tempo, então a API leva uma coleção de modelos.
Insira este código abaixo das suas entidades:
var modelCollection = new LanguageUnderstandingModelCollection();
modelCollection.Add(model);

recognizer.ApplyLanguageModels(modelCollection);
Reconhecer uma intenção
A partir do IntentRecognizer objeto, você vai chamar o RecognizeOnceAsync() método. Esse método solicita que o serviço de fala reconheça a fala em uma única frase e pare de reconhecer a fala assim que a frase for identificada.
Insira este código depois de aplicar os modelos de linguagem:
Console.WriteLine("Say something...");

var result = await recognizer.RecognizeOnceAsync();
Exibir os resultados (ou erros) de reconhecimento
Quando o resultado do reconhecimento for retornado pelo serviço de fala, imprimiremos o resultado.
Insira este código abaixo var result = await recognizer.RecognizeOnceAsync();:
if (result.Reason == ResultReason.RecognizedIntent)
{
    Console.WriteLine($"RECOGNIZED: Text={result.Text}");
    Console.WriteLine($"       Intent Id={result.IntentId}.");

    var entities = result.Entities;
    switch (result.IntentId)
    {
        case "ChangeFloors":
            if (entities.TryGetValue("floorName", out string floorName))
            {
                Console.WriteLine($"       FloorName={floorName}");
            }

            if (entities.TryGetValue("floorName:1", out floorName))
            {
                Console.WriteLine($"     FloorName:1={floorName}");
            }

            if (entities.TryGetValue("floorName:2", out floorName))
            {
                Console.WriteLine($"     FloorName:2={floorName}");
            }

            if (entities.TryGetValue("parkingLevel", out string parkingLevel))
            {
                Console.WriteLine($"    ParkingLevel={parkingLevel}");
            }

            break;

        case "DoorControl":
            if (entities.TryGetValue("action", out string action))
            {
                Console.WriteLine($"          Action={action}");
            }
            break;
    }
}
else if (result.Reason == ResultReason.RecognizedSpeech)
{
    Console.WriteLine($"RECOGNIZED: Text={result.Text}");
    Console.WriteLine($"    Intent not recognized.");
}
else if (result.Reason == ResultReason.NoMatch)
{
    Console.WriteLine($"NOMATCH: Speech could not be recognized.");
}
else if (result.Reason == ResultReason.Canceled)
{
    var cancellation = CancellationDetails.FromResult(result);
    Console.WriteLine($"CANCELED: Reason={cancellation.Reason}");

    if (cancellation.Reason == CancellationReason.Error)
    {
        Console.WriteLine($"CANCELED: ErrorCode={cancellation.ErrorCode}");
        Console.WriteLine($"CANCELED: ErrorDetails={cancellation.ErrorDetails}");
        Console.WriteLine($"CANCELED: Did you set the speech resource key and region values?");
    }
}
Verifique o seu código
Neste ponto, seu código deve ter esta aparência:
using System;
using System.Threading.Tasks;
using Microsoft.CognitiveServices.Speech;
using Microsoft.CognitiveServices.Speech.Intent;

namespace helloworld
{
    class Program
    {
        static void Main(string[] args)
        {
            IntentPatternMatchingWithMicrophoneAsync().Wait();
        }

        private static async Task IntentPatternMatchingWithMicrophoneAsync()
        {
            var config = SpeechConfig.FromSubscription("YOUR_SUBSCRIPTION_KEY", "YOUR_SUBSCRIPTION_REGION");

            using (var recognizer = new IntentRecognizer(config))
            {
                // Creates a Pattern Matching model and adds specific intents from your model. The
                // Id is used to identify this model from others in the collection.
                var model = new PatternMatchingModel("YourPatternMatchingModelId");

                // Creates a pattern that uses groups of optional words. "[Go | Take me]" will match either "Go", "Take me", or "".
                var patternWithOptionalWords = "[Go | Take me] to [floor|level] {floorName}";

                // Creates a pattern that uses an optional entity and group that could be used to tie commands together.
                var patternWithOptionalEntity = "Go to parking [{parkingLevel}]";

                // You can also have multiple entities of the same name in a single pattern by adding appending a unique identifier
                // to distinguish between the instances. For example:
                var patternWithTwoOfTheSameEntity = "Go to floor {floorName:1} [and then go to floor {floorName:2}]";
                // NOTE: Both floorName:1 and floorName:2 are tied to the same list of entries. The identifier can be a string
                //       and is separated from the entity name by a ':'

                // Adds some intents to look for specific patterns.
                model.Intents.Add(new PatternMatchingIntent("ChangeFloors", patternWithOptionalWords, patternWithOptionalEntity, patternWithTwoOfTheSameEntity));
                model.Intents.Add(new PatternMatchingIntent("DoorControl", "{action} the doors", "{action} doors", "{action} the door", "{action} door"));

                // Creates the "floorName" entity and set it to type list.
                // Adds acceptable values. NOTE the default entity type is Any and so we do not need
                // to declare the "action" entity.
                model.Entities.Add(PatternMatchingEntity.CreateListEntity("floorName", EntityMatchMode.Strict, "ground floor", "lobby", "1st", "first", "one", "1", "2nd", "second", "two", "2"));

                // Creates the "parkingLevel" entity as a pre-built integer
                model.Entities.Add(PatternMatchingEntity.CreateIntegerEntity("parkingLevel"));

                var modelCollection = new LanguageUnderstandingModelCollection();
                modelCollection.Add(model);

                recognizer.ApplyLanguageModels(modelCollection);

                Console.WriteLine("Say something...");

                var result = await recognizer.RecognizeOnceAsync();

                if (result.Reason == ResultReason.RecognizedIntent)
                {
                    Console.WriteLine($"RECOGNIZED: Text={result.Text}");
                    Console.WriteLine($"       Intent Id={result.IntentId}.");

                    var entities = result.Entities;
                    switch (result.IntentId)
                    {
                        case "ChangeFloors":
                            if (entities.TryGetValue("floorName", out string floorName))
                            {
                                Console.WriteLine($"       FloorName={floorName}");
                            }

                            if (entities.TryGetValue("floorName:1", out floorName))
                            {
                                Console.WriteLine($"     FloorName:1={floorName}");
                            }

                            if (entities.TryGetValue("floorName:2", out floorName))
                            {
                                Console.WriteLine($"     FloorName:2={floorName}");
                            }

                            if (entities.TryGetValue("parkingLevel", out string parkingLevel))
                            {
                                Console.WriteLine($"    ParkingLevel={parkingLevel}");
                            }

                            break;

                        case "DoorControl":
                            if (entities.TryGetValue("action", out string action))
                            {
                                Console.WriteLine($"          Action={action}");
                            }
                            break;
                    }
                }
                else if (result.Reason == ResultReason.RecognizedSpeech)
                {
                    Console.WriteLine($"RECOGNIZED: Text={result.Text}");
                    Console.WriteLine($"    Intent not recognized.");
                }
                else if (result.Reason == ResultReason.NoMatch)
                {
                    Console.WriteLine($"NOMATCH: Speech could not be recognized.");
                }
                else if (result.Reason == ResultReason.Canceled)
                {
                    var cancellation = CancellationDetails.FromResult(result);
                    Console.WriteLine($"CANCELED: Reason={cancellation.Reason}");

                    if (cancellation.Reason == CancellationReason.Error)
                    {
                        Console.WriteLine($"CANCELED: ErrorCode={cancellation.ErrorCode}");
                        Console.WriteLine($"CANCELED: ErrorDetails={cancellation.ErrorDetails}");
                        Console.WriteLine($"CANCELED: Did you set the speech resource key and region values?");
                    }
                }
            }
        }
    }
}
Crie e execute seu aplicativo
Agora você está pronto para criar seu aplicativo e testar nosso reconhecimento de fala usando o serviço de fala.
- Compilar o código - Na barra de menus do Visual Studio, escolha Build>Build Solution.
- Iniciar seu aplicativo - Na barra de menus, escolha Depurar>Iniciar Depuração ou pressione F5.
- Comece o reconhecimento - Ele irá levá-lo a dizer algo. O idioma padrão é o inglês. Sua fala é enviada para o serviço de fala, transcrita como texto e processada no console.
Por exemplo, se disser "Leve-me para o piso 2", esta deve ser a saída:
Say something...
RECOGNIZED: Text=Take me to floor 2.
       Intent Id=ChangeFloors.
       FloorName=2
Como outro exemplo, se você disser "Leve-me para o piso 7", esta deve ser a saída:
Say something...
RECOGNIZED: Text=Take me to floor 7.
    Intent not recognized.
Nenhuma intenção foi reconhecida porque 7 não estava em nossa lista de valores válidos para floorName.
Criar um projeto
Crie um novo projeto de aplicativo de console C++ no Visual Studio 2019 e instale o Speech SDK.
Comece com algum código clichê
Vamos abrir helloworld.cpp e adicionar algum código que funcione como um esqueleto para o nosso projeto.
#include <iostream>
#include <speechapi_cxx.h>

using namespace Microsoft::CognitiveServices::Speech;
using namespace Microsoft::CognitiveServices::Speech::Intent;

int main()
{
    std::cout << "Hello World!\n";

    auto config = SpeechConfig::FromSubscription("YOUR_SUBSCRIPTION_KEY", "YOUR_SUBSCRIPTION_REGION");
}
Criar uma configuração de Fala
Antes de inicializar um IntentRecognizer objeto, você precisa criar uma configuração que use a chave e a região do Azure para seu recurso de previsão de serviços de IA do Azure.
- Substitua
"YOUR_SUBSCRIPTION_KEY"pela sua chave de previsão de serviços de IA do Azure. - Substitua
"YOUR_SUBSCRIPTION_REGION"pela sua região de recursos de serviços de IA do Azure.
Este exemplo usa o FromSubscription() método para criar o SpeechConfig. Para obter uma lista completa dos métodos disponíveis, consulte SpeechConfig Class.
Inicializar um IntentRecognizer
Agora crie um IntentRecognizerarquivo . Insira este código logo abaixo da sua configuração de Fala.
auto intentRecognizer = IntentRecognizer::FromConfig(config);
Adicione algumas intenções
Você precisa associar alguns padrões a e PatternMatchingModel aplicá-lo ao IntentRecognizer.
Vamos começar criando um PatternMatchingModel e adicionando algumas intenções a ele. Um PatternMatchingIntent é um struct, então usaremos apenas a sintaxe in-line.
Nota
Podemos adicionar vários padrões a um PatternMatchingIntentarquivo .
auto model = PatternMatchingModel::FromId("myNewModel");

model->Intents.push_back({"Take me to floor {floorName}.", "Go to floor {floorName}."} , "ChangeFloors");
model->Intents.push_back({"{action} the door."}, "OpenCloseDoor");
Adicionar algumas entidades personalizadas
Para tirar o máximo proveito do matcher de padrões, você pode personalizar suas entidades. Faremos "floorName" uma lista dos pisos disponíveis.
model->Entities.push_back({ "floorName" , Intent::EntityType::List, Intent::EntityMatchMode::Strict, {"one", "1", "two", "2", "lobby", "ground floor"} });
Aplique o nosso modelo ao Recognizer
Agora é necessário aplicar o modelo ao IntentRecognizer. É possível usar vários modelos ao mesmo tempo, então a API leva uma coleção de modelos.
std::vector<std::shared_ptr<LanguageUnderstandingModel>> collection;

collection.push_back(model);
intentRecognizer->ApplyLanguageModels(collection);
Reconhecer uma intenção
A partir do IntentRecognizer objeto, você vai chamar o RecognizeOnceAsync() método. Esse método solicita que o serviço de fala reconheça a fala em uma única frase e pare de reconhecer a fala assim que a frase for identificada. Para simplificar, vamos esperar o futuro voltar para completar.
Insira este código abaixo das suas intenções:
std::cout << "Say something ..." << std::endl;
auto result = intentRecognizer->RecognizeOnceAsync().get();
Exibir os resultados (ou erros) de reconhecimento
Quando o resultado do reconhecimento for retornado pelo serviço de fala, imprimiremos o resultado.
Insira este código abaixo auto result = intentRecognizer->RecognizeOnceAsync().get();:
switch (result->Reason)
{
case ResultReason::RecognizedSpeech:
        std::cout << "RECOGNIZED: Text = " << result->Text.c_str() << std::endl;
        std::cout << "NO INTENT RECOGNIZED!" << std::endl;
        break;
case ResultReason::RecognizedIntent:
    std::cout << "RECOGNIZED: Text = " << result->Text.c_str() << std::endl;
    std::cout << "  Intent Id = " << result->IntentId.c_str() << std::endl;
    auto entities = result->GetEntities();
    if (entities.find("floorName") != entities.end())
    {
        std::cout << "  Floor name: = " << entities["floorName"].c_str() << std::endl;
    }

    if (entities.find("action") != entities.end())
    {
        std::cout << "  Action: = " << entities["action"].c_str() << std::endl;
    }

    break;
case ResultReason::NoMatch:
{
    auto noMatch = NoMatchDetails::FromResult(result);
    switch (noMatch->Reason)
    {
    case NoMatchReason::NotRecognized:
        std::cout << "NOMATCH: Speech was detected, but not recognized." << std::endl;
        break;
    case NoMatchReason::InitialSilenceTimeout:
        std::cout << "NOMATCH: The start of the audio stream contains only silence, and the service timed out waiting for speech." << std::endl;
        break;
    case NoMatchReason::InitialBabbleTimeout:
        std::cout << "NOMATCH: The start of the audio stream contains only noise, and the service timed out waiting for speech." << std::endl;
        break;
    case NoMatchReason::KeywordNotRecognized:
        std::cout << "NOMATCH: Keyword not recognized" << std::endl;
        break;
    }
    break;
}
case ResultReason::Canceled:
{
    auto cancellation = CancellationDetails::FromResult(result);

    if (!cancellation->ErrorDetails.empty())
    {
        std::cout << "CANCELED: ErrorDetails=" << cancellation->ErrorDetails.c_str() << std::endl;
        std::cout << "CANCELED: Did you set the speech resource key and region values?" << std::endl;
    }
}
default:
    break;
}
Verifique o seu código
Neste ponto, seu código deve ter esta aparência:
#include <iostream>
#include <speechapi_cxx.h>

using namespace Microsoft::CognitiveServices::Speech;
using namespace Microsoft::CognitiveServices::Speech::Intent;

int main()
{
    auto config = SpeechConfig::FromSubscription("YOUR_SUBSCRIPTION_KEY", "YOUR_SUBSCRIPTION_REGION");
    auto intentRecognizer = IntentRecognizer::FromConfig(config);

    auto model = PatternMatchingModel::FromId("myNewModel");

    model->Intents.push_back({"Take me to floor {floorName}.", "Go to floor {floorName}."} , "ChangeFloors");
    model->Intents.push_back({"{action} the door."}, "OpenCloseDoor");

    model->Entities.push_back({ "floorName" , Intent::EntityType::List, Intent::EntityMatchMode::Strict, {"one", "1", "two", "2", "lobby", "ground floor"} });

    std::vector<std::shared_ptr<LanguageUnderstandingModel>> collection;

    collection.push_back(model);
    intentRecognizer->ApplyLanguageModels(collection);

    std::cout << "Say something ..." << std::endl;

    auto result = intentRecognizer->RecognizeOnceAsync().get();

    switch (result->Reason)
    {
    case ResultReason::RecognizedSpeech:
        std::cout << "RECOGNIZED: Text = " << result->Text.c_str() << std::endl;
        std::cout << "NO INTENT RECOGNIZED!" << std::endl;
        break;
    case ResultReason::RecognizedIntent:
        std::cout << "RECOGNIZED: Text = " << result->Text.c_str() << std::endl;
        std::cout << "  Intent Id = " << result->IntentId.c_str() << std::endl;
        auto entities = result->GetEntities();
        if (entities.find("floorName") != entities.end())
        {
            std::cout << "  Floor name: = " << entities["floorName"].c_str() << std::endl;
        }

        if (entities.find("action") != entities.end())
        {
            std::cout << "  Action: = " << entities["action"].c_str() << std::endl;
        }

        break;
    case ResultReason::NoMatch:
    {
        auto noMatch = NoMatchDetails::FromResult(result);
        switch (noMatch->Reason)
        {
        case NoMatchReason::NotRecognized:
            std::cout << "NOMATCH: Speech was detected, but not recognized." << std::endl;
            break;
        case NoMatchReason::InitialSilenceTimeout:
            std::cout << "NOMATCH: The start of the audio stream contains only silence, and the service timed out waiting for speech." << std::endl;
            break;
        case NoMatchReason::InitialBabbleTimeout:
            std::cout << "NOMATCH: The start of the audio stream contains only noise, and the service timed out waiting for speech." << std::endl;
            break;
        case NoMatchReason::KeywordNotRecognized:
            std::cout << "NOMATCH: Keyword not recognized." << std::endl;
            break;
        }
        break;
    }
    case ResultReason::Canceled:
    {
        auto cancellation = CancellationDetails::FromResult(result);

        if (!cancellation->ErrorDetails.empty())
        {
            std::cout << "CANCELED: ErrorDetails=" << cancellation->ErrorDetails.c_str() << std::endl;
            std::cout << "CANCELED: Did you set the speech resource key and region values?" << std::endl;
        }
    }
    default:
        break;
    }
}
Crie e execute seu aplicativo
Agora você está pronto para criar seu aplicativo e testar nosso reconhecimento de fala usando o serviço de fala.
- Compilar o código - Na barra de menus do Visual Studio, escolha Build>Build Solution.
- Iniciar seu aplicativo - Na barra de menus, escolha Depurar>Iniciar Depuração ou pressione F5.
- Comece o reconhecimento - Ele irá levá-lo a dizer algo. O idioma padrão é o inglês. Sua fala é enviada para o serviço de fala, transcrita como texto e processada no console.
Por exemplo, se disser "Leve-me para o piso 2", esta deve ser a saída:
Say something ...
RECOGNIZED: Text = Take me to floor 2.
  Intent Id = ChangeFloors
  Floor name: = 2
Outro exemplo se você disser "Leve-me para o piso 7", esta deve ser a saída:
Say something ...
RECOGNIZED: Text = Take me to floor 7.
NO INTENT RECOGNIZED!
O ID de intenção está vazio porque 7 não estava na nossa lista.
Documentação | de referência Exemplos adicionais no GitHub
Neste início rápido, você instala o SDK de fala para Java.
Requisitos de plataforma
Escolha o seu ambiente de destino:
O Speech SDK for Java é compatível com Windows, Linux e macOS.
No Windows, você deve usar a arquitetura de destino de 64 bits. É necessário o Windows 10 ou posterior.
Instale o Microsoft Visual C++ Redistributable para Visual Studio 2015, 2017, 2019 e 2022 para sua plataforma. A instalação deste pacote pela primeira vez pode exigir uma reinicialização.
O SDK de Fala para Java não suporta Windows no ARM64.
Instale um Java Development Kit como o Azul Zulu OpenJDK. O Microsoft Build do OpenJDK ou o seu JDK preferido também deve funcionar.
Instalar o SDK de fala para Java
Algumas das instruções usam uma versão específica do SDK, como 1.24.2. Para verificar a versão mais recente, pesquise nosso repositório GitHub.
Escolha o seu ambiente de destino:
Este guia mostra como instalar o Speech SDK for Java no Java Runtime.
Sistemas operativos suportados
O pacote Speech SDK for Java está disponível para estes sistemas operacionais:
- Windows: apenas 64 bits.
- Mac: macOS X versão 10.14 ou posterior.
- Linux: Consulte as distribuições Linux suportadas e as arquiteturas de destino.
Siga estas etapas para instalar o SDK de fala para Java usando o Apache Maven:
Instale o Apache Maven.
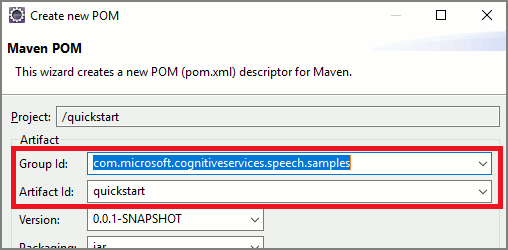
Abra um prompt de comando onde você deseja o novo projeto e crie um novo arquivo pom.xml .
Copie o seguinte conteúdo XML para pom.xml:
<project xmlns="http://maven.apache.org/POM/4.0.0" xmlns:xsi="http://www.w3.org/2001/XMLSchema-instance" xsi:schemaLocation="http://maven.apache.org/POM/4.0.0 http://maven.apache.org/xsd/maven-4.0.0.xsd">
    <modelVersion>4.0.0</modelVersion>
    <groupId>com.microsoft.cognitiveservices.speech.samples</groupId>
    <artifactId>quickstart-eclipse</artifactId>
    <version>1.0.0-SNAPSHOT</version>
    <build>
        <sourceDirectory>src</sourceDirectory>
        <plugins>
        <plugin>
            <artifactId>maven-compiler-plugin</artifactId>
            <version>3.7.0</version>
            <configuration>
            <source>1.8</source>
            <target>1.8</target>
            </configuration>
        </plugin>
        </plugins>
    </build>
    <dependencies>
        <dependency>
        <groupId>com.microsoft.cognitiveservices.speech</groupId>
        <artifactId>client-sdk</artifactId>
        <version>1.40.0</version>
        </dependency>
    </dependencies>
</project>
Execute o seguinte comando Maven para instalar o SDK de fala e dependências.
mvn clean dependency:copy-dependencies
Comece com algum código clichê
Abrir
Main.javaa partir do src dir.Substitua o conteúdo do arquivo pelo seguinte:
import java.util.ArrayList;
import java.util.Dictionary;
import java.util.concurrent.ExecutionException;


import com.microsoft.cognitiveservices.speech.*;
import com.microsoft.cognitiveservices.speech.intent.*;

public class Main {
    public static void main(String[] args) throws InterruptedException, ExecutionException {
        IntentPatternMatchingWithMicrophone();
    }

    public static void IntentPatternMatchingWithMicrophone() throws InterruptedException, ExecutionException {
        SpeechConfig config = SpeechConfig.fromSubscription("YOUR_SUBSCRIPTION_KEY", "YOUR_SUBSCRIPTION_REGION");
    }
}
Criar uma configuração de Fala
Antes de inicializar um IntentRecognizer objeto, você precisa criar uma configuração que use a chave e a região do Azure para seu recurso de previsão de serviços de IA do Azure.
- Substitua
"YOUR_SUBSCRIPTION_KEY"pela sua chave de previsão de serviços de IA do Azure. - Substitua
"YOUR_SUBSCRIPTION_REGION"pela sua região de recursos de serviços de IA do Azure.
Este exemplo usa o fromSubscription() método para criar o SpeechConfig. Para obter uma lista completa dos métodos disponíveis, consulte SpeechConfig Class.
Inicializar um IntentRecognizer
Agora crie um IntentRecognizerarquivo . Insira este código logo abaixo da sua configuração de Fala. Fazemos isso em uma tentativa para que possamos tirar proveito da interface autoclosable.
try (IntentRecognizer recognizer = new IntentRecognizer(config)) {

}
Adicione algumas intenções
Você precisa associar alguns padrões a e PatternMatchingModel aplicá-lo ao IntentRecognizer.
Vamos começar criando um PatternMatchingModel e adicionando algumas intenções a ele.
Nota
Podemos adicionar vários padrões a um PatternMatchingIntentarquivo .
Insira este código dentro do try bloco :
// Creates a Pattern Matching model and adds specific intents from your model. The
// Id is used to identify this model from others in the collection.
PatternMatchingModel model = new PatternMatchingModel("YourPatternMatchingModelId");

// Creates a pattern that uses groups of optional words. "[Go | Take me]" will match either "Go", "Take me", or "".
String patternWithOptionalWords = "[Go | Take me] to [floor|level] {floorName}";

// Creates a pattern that uses an optional entity and group that could be used to tie commands together.
String patternWithOptionalEntity = "Go to parking [{parkingLevel}]";

// You can also have multiple entities of the same name in a single pattern by adding appending a unique identifier
// to distinguish between the instances. For example:
String patternWithTwoOfTheSameEntity = "Go to floor {floorName:1} [and then go to floor {floorName:2}]";
// NOTE: Both floorName:1 and floorName:2 are tied to the same list of entries. The identifier can be a string
//       and is separated from the entity name by a ':'

// Creates the pattern matching intents and adds them to the model
model.getIntents().put(new PatternMatchingIntent("ChangeFloors", patternWithOptionalWords, patternWithOptionalEntity, patternWithTwoOfTheSameEntity));
model.getIntents().put(new PatternMatchingIntent("DoorControl", "{action} the doors", "{action} doors", "{action} the door", "{action} door"));
Adicionar algumas entidades personalizadas
Para tirar o máximo proveito do matcher de padrões, você pode personalizar suas entidades. Faremos "floorName" uma lista dos pisos disponíveis. Também faremos de "parkingLevel" uma entidade inteira.
Insira este código abaixo das suas intenções:
// Creates the "floorName" entity and set it to type list.
// Adds acceptable values. NOTE the default entity type is Any and so we do not need
// to declare the "action" entity.
model.getEntities().put(PatternMatchingEntity.CreateListEntity("floorName", PatternMatchingEntity.EntityMatchMode.Strict, "ground floor", "lobby", "1st", "first", "one", "1", "2nd", "second", "two", "2"));

// Creates the "parkingLevel" entity as a pre-built integer
model.getEntities().put(PatternMatchingEntity.CreateIntegerEntity("parkingLevel"));
Aplique o nosso modelo ao Recognizer
Agora é necessário aplicar o modelo ao IntentRecognizer. É possível usar vários modelos ao mesmo tempo, então a API leva uma coleção de modelos.
Insira este código abaixo das suas entidades:
ArrayList<LanguageUnderstandingModel> modelCollection = new ArrayList<LanguageUnderstandingModel>();
modelCollection.add(model);

recognizer.applyLanguageModels(modelCollection);
Reconhecer uma intenção
A partir do IntentRecognizer objeto, você vai chamar o RecognizeOnceAsync() método. Esse método solicita que o serviço de fala reconheça a fala em uma única frase e pare de reconhecer a fala assim que a frase for identificada.
Insira este código depois de aplicar os modelos de linguagem:
System.out.println("Say something...");

IntentRecognitionResult result = recognizer.recognizeOnceAsync().get();
Exibir os resultados (ou erros) de reconhecimento
Quando o resultado do reconhecimento for retornado pelo serviço de fala, imprimiremos o resultado.
Insira este código abaixo IntentRecognitionResult result = recognizer.recognizeOnceAsync.get();:
if (result.getReason() == ResultReason.RecognizedSpeech) {
    System.out.println("RECOGNIZED: Text= " + result.getText());
    System.out.println(String.format("%17s", "Intent not recognized."));
}
else if (result.getReason() == ResultReason.RecognizedIntent)
{
    System.out.println("RECOGNIZED: Text= " + result.getText());
    System.out.println(String.format("%17s %s", "Intent Id=", result.getIntentId() + "."));
    Dictionary<String, String> entities = result.getEntities();

    switch (result.getIntentId())
    {
        case "ChangeFloors":
            if (entities.get("floorName") != null) {
                System.out.println(String.format("%17s %s", "FloorName=", entities.get("floorName")));
            }
            if (entities.get("floorName:1") != null) {
                System.out.println(String.format("%17s %s", "FloorName:1=", entities.get("floorName:1")));
            }
            if (entities.get("floorName:2") != null) {
                System.out.println(String.format("%17s %s", "FloorName:2=", entities.get("floorName:2")));
            }
            if (entities.get("parkingLevel") != null) {
                System.out.println(String.format("%17s %s", "ParkingLevel=", entities.get("parkingLevel")));
            }
            break;
        case "DoorControl":
            if (entities.get("action") != null) {
                System.out.println(String.format("%17s %s", "Action=", entities.get("action")));
            }
            break;
    }
}
else if (result.getReason() == ResultReason.NoMatch) {
    System.out.println("NOMATCH: Speech could not be recognized.");
}
else if (result.getReason() == ResultReason.Canceled) {
    CancellationDetails cancellation = CancellationDetails.fromResult(result);
    System.out.println("CANCELED: Reason=" + cancellation.getReason());

    if (cancellation.getReason() == CancellationReason.Error)
    {
        System.out.println("CANCELED: ErrorCode=" + cancellation.getErrorCode());
        System.out.println("CANCELED: ErrorDetails=" + cancellation.getErrorDetails());
        System.out.println("CANCELED: Did you update the subscription info?");
    }
}
Verifique o seu código
Neste ponto, seu código deve ter esta aparência:
package quickstart;
import java.util.ArrayList;
import java.util.concurrent.ExecutionException;
import java.util.Dictionary;

import com.microsoft.cognitiveservices.speech.*;
import com.microsoft.cognitiveservices.speech.intent.*;

public class Main {
    public static void main(String[] args) throws InterruptedException, ExecutionException {
        IntentPatternMatchingWithMicrophone();
    }

    public static void IntentPatternMatchingWithMicrophone() throws InterruptedException, ExecutionException {
        SpeechConfig config = SpeechConfig.fromSubscription("YOUR_SUBSCRIPTION_KEY", "YOUR_SUBSCRIPTION_REGION");
        try (IntentRecognizer recognizer = new IntentRecognizer(config)) {
            // Creates a Pattern Matching model and adds specific intents from your model. The
            // Id is used to identify this model from others in the collection.
            PatternMatchingModel model = new PatternMatchingModel("YourPatternMatchingModelId");

            // Creates a pattern that uses groups of optional words. "[Go | Take me]" will match either "Go", "Take me", or "".
            String patternWithOptionalWords = "[Go | Take me] to [floor|level] {floorName}";

            // Creates a pattern that uses an optional entity and group that could be used to tie commands together.
            String patternWithOptionalEntity = "Go to parking [{parkingLevel}]";

            // You can also have multiple entities of the same name in a single pattern by adding appending a unique identifier
            // to distinguish between the instances. For example:
            String patternWithTwoOfTheSameEntity = "Go to floor {floorName:1} [and then go to floor {floorName:2}]";
            // NOTE: Both floorName:1 and floorName:2 are tied to the same list of entries. The identifier can be a string
            // and is separated from the entity name by a ':'

            // Creates the pattern matching intents and adds them to the model
            model.getIntents().put(new PatternMatchingIntent("ChangeFloors", patternWithOptionalWords, patternWithOptionalEntity, patternWithTwoOfTheSameEntity));
            model.getIntents().put(new PatternMatchingIntent("DoorControl", "{action} the doors", "{action} doors", "{action} the door", "{action} door"));

            // Creates the "floorName" entity and set it to type list.
            // Adds acceptable values. NOTE the default entity type is Any and so we do not need
            // to declare the "action" entity.
            model.getEntities().put(PatternMatchingEntity.CreateListEntity("floorName", PatternMatchingEntity.EntityMatchMode.Strict, "ground floor", "lobby", "1st", "first", "one", "1", "2nd", "second", "two", "2"));

            // Creates the "parkingLevel" entity as a pre-built integer
            model.getEntities().put(PatternMatchingEntity.CreateIntegerEntity("parkingLevel"));

            ArrayList<LanguageUnderstandingModel> modelCollection = new ArrayList<LanguageUnderstandingModel>();
            modelCollection.add(model);

            recognizer.applyLanguageModels(modelCollection);

            System.out.println("Say something...");

            IntentRecognitionResult result = recognizer.recognizeOnceAsync().get();

            if (result.getReason() == ResultReason.RecognizedSpeech) {
                System.out.println("RECOGNIZED: Text= " + result.getText());
                System.out.println(String.format("%17s", "Intent not recognized."));
            }
            else if (result.getReason() == ResultReason.RecognizedIntent)
            {
                System.out.println("RECOGNIZED: Text= " + result.getText());
                System.out.println(String.format("%17s %s", "Intent Id=", result.getIntentId() + "."));
                Dictionary<String, String> entities = result.getEntities();

                switch (result.getIntentId())
                {
                    case "ChangeFloors":
                        if (entities.get("floorName") != null) {
                            System.out.println(String.format("%17s %s", "FloorName=", entities.get("floorName")));
                        }
                        if (entities.get("floorName:1") != null) {
                            System.out.println(String.format("%17s %s", "FloorName:1=", entities.get("floorName:1")));
                        }
                        if (entities.get("floorName:2") != null) {
                            System.out.println(String.format("%17s %s", "FloorName:2=", entities.get("floorName:2")));
                        }
                        if (entities.get("parkingLevel") != null) {
                            System.out.println(String.format("%17s %s", "ParkingLevel=", entities.get("parkingLevel")));
                        }
                        break;

                    case "DoorControl":
                        if (entities.get("action") != null) {
                            System.out.println(String.format("%17s %s", "Action=", entities.get("action")));
                        }
                        break;
                }
            }
            else if (result.getReason() == ResultReason.NoMatch) {
                System.out.println("NOMATCH: Speech could not be recognized.");
            }
            else if (result.getReason() == ResultReason.Canceled) {
                CancellationDetails cancellation = CancellationDetails.fromResult(result);
                System.out.println("CANCELED: Reason=" + cancellation.getReason());

                if (cancellation.getReason() == CancellationReason.Error)
                {
                    System.out.println("CANCELED: ErrorCode=" + cancellation.getErrorCode());
                    System.out.println("CANCELED: ErrorDetails=" + cancellation.getErrorDetails());
                    System.out.println("CANCELED: Did you update the subscription info?");
                }
            }
        }
    }
}
Crie e execute seu aplicativo
Agora você está pronto para criar seu aplicativo e testar nosso reconhecimento de intenção usando o serviço de fala e o correspondente de padrão incorporado.
Selecione o botão Executar no Eclipse ou pressione ctrl+F11 e, em seguida, observe a saída para "Diga algo..." prompt. Assim que aparecer, fale o seu enunciado e observe a saída.
Por exemplo, se disser "Leve-me para o piso 2", esta deve ser a saída:
Say something...
RECOGNIZED: Text=Take me to floor 2.
       Intent Id=ChangeFloors.
       FloorName=2
Como outro exemplo, se você disser "Leve-me para o piso 7", esta deve ser a saída:
Say something...
RECOGNIZED: Text=Take me to floor 7.
    Intent not recognized.
Nenhuma intenção foi reconhecida porque 7 não estava em nossa lista de valores válidos para floorName.
