Nota
O acesso a esta página requer autorização. Pode tentar iniciar sessão ou alterar os diretórios.
O acesso a esta página requer autorização. Pode tentar alterar os diretórios.
Se as funções incorporadas do Azure não suprirem as necessidades específicas da sua organização, pode criar as suas próprias funções personalizadas. Para este tutorial, você cria uma função personalizada chamada Tíquetes de Suporte ao Leitor usando a CLI do Azure. A função personalizada permite que o utilizador visualize tudo no plano de controlo de uma subscrição e também abra pedidos de suporte.
Neste tutorial, você aprenderá a:
- Criar uma função personalizada
- Listar funções personalizadas
- Atualizar uma função personalizada
- Eliminar uma função personalizada
Se não tiver uma subscrição do Azure, crie uma conta gratuita antes de começar.
Pré-requisitos
Para concluir este tutorial, irá precisar de:
- Permissões para criar funções personalizadas, como Administrador de Acesso de Usuário
- Azure Cloud Shell ou CLI do Azure
Iniciar sessão na CLI do Azure
Entre na CLI do Azure.
Criar uma função personalizada
A maneira mais fácil de criar uma função personalizada é começar com um modelo JSON, adicionar suas alterações e, em seguida, criar uma nova função.
Analise a lista de ações para o provedor de recursos Microsoft.Support. É útil conhecer as ações que estão disponíveis para criar suas permissões.
Ação Descrição Microsoft.Support/register/action Registos para apoiar o fornecedor de recursos Microsoft.Support/supportTickets/read Obtém detalhes do Ticket de Suporte (incluindo status, gravidade, detalhes de contato e comunicações) ou obtém a lista de Tíquetes de Suporte em todas as assinaturas. Microsoft.Support/supportTickets/write Cria ou atualiza um pedido de suporte. Você pode criar um tíquete de suporte para problemas técnicos, de cobrança, cotas ou gerenciamento de assinaturas. Você pode atualizar a gravidade, os detalhes de contato e as comunicações para tíquetes de suporte existentes. Crie um novo arquivo chamado ReaderSupportRole.json.
Abra ReaderSupportRole.json em um editor e adicione o seguinte JSON.
Para obter informações sobre as diferentes propriedades, consulte Funções personalizadas do Azure.
{
  "Name": "",
  "IsCustom": true,
  "Description": "",
  "Actions": [],
  "NotActions": [],
  "DataActions": [],
  "NotDataActions": [],
  "AssignableScopes": [
    "/subscriptions/{subscriptionId1}"
  ]
}
Adicione as seguintes ações à
Actionspropriedade. Essas ações permitem que o usuário visualize tudo na assinatura e crie pedidos de suporte."*/read", "Microsoft.Support/*"Obtenha o ID da sua subscrição utilizando o comando az account list .
az account list --output tableNo
AssignableScopes, substitua{subscriptionId1}pelo ID da sua subscrição.Tem de adicionar IDs de subscrição explícitas, caso contrário não terá permissão para importar a função para a sua subscrição.
Altere as propriedades
NameeDescriptionpara "Suporte ao Leitor - Tickets" e "Ver tudo na subscrição e também abrir pedidos de suporte".O seu ficheiro JSON deverá ser semelhante ao seguinte:
{
  "Name": "Reader Support Tickets",
  "IsCustom": true,
  "Description": "View everything in the subscription and also open support tickets.",
  "Actions": [
    "*/read",
    "Microsoft.Support/*"
  ],
  "NotActions": [],
  "DataActions": [],
  "NotDataActions": [],
  "AssignableScopes": [
    "/subscriptions/00000000-0000-0000-0000-000000000000"
  ]
}
Para criar a nova função personalizada, use o comando az role definition create e especifique o arquivo de definição de função JSON.
az role definition create --role-definition "~/CustomRoles/ReaderSupportRole.json"{ "additionalProperties": {}, "assignableScopes": [ "/subscriptions/00000000-0000-0000-0000-000000000000" ], "description": "View everything in the subscription and also open support tickets.", "id": "/subscriptions/00000000-0000-0000-0000-000000000000/providers/Microsoft.Authorization/roleDefinitions/22222222-2222-2222-2222-222222222222", "name": "22222222-2222-2222-2222-222222222222", "permissions": [ { "actions": [ "*/read", "Microsoft.Support/*" ], "additionalProperties": {}, "dataActions": [], "notActions": [], "notDataActions": [] } ], "roleName": "Reader Support Tickets", "roleType": "CustomRole", "type": "Microsoft.Authorization/roleDefinitions" }A nova função personalizada agora está disponível e pode ser atribuída a utilizadores, grupos ou principais de serviço, assim como as roles incorporadas.
Listar funções personalizadas
Para listar todas as suas funções personalizadas, use o comando az role definition list com o
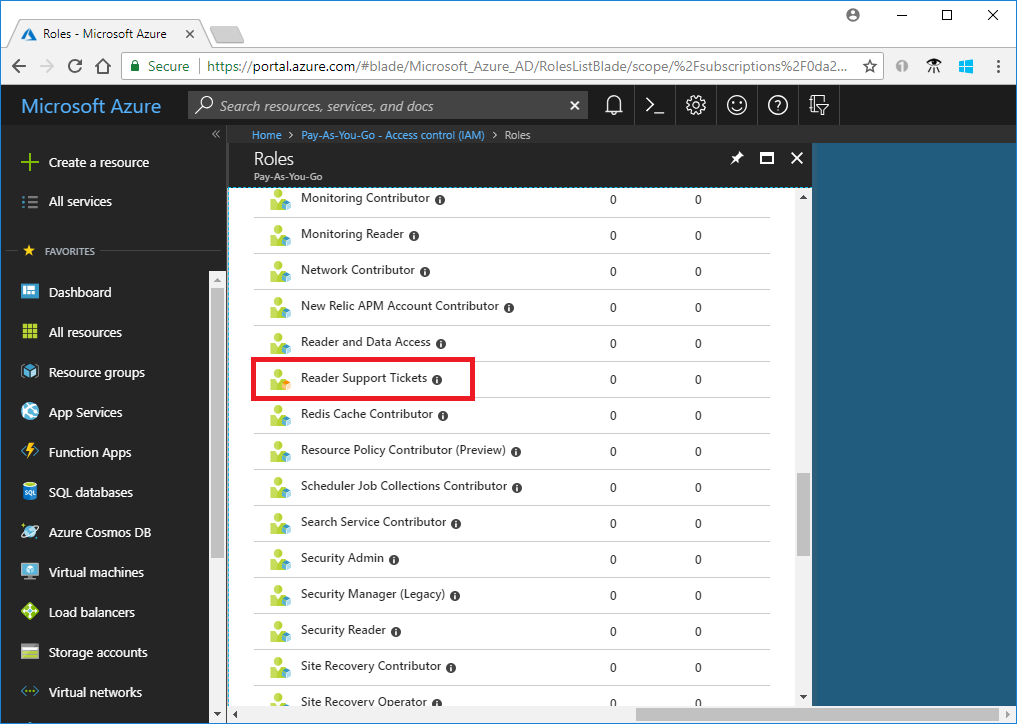
--custom-role-onlyparâmetro.az role definition list --custom-role-only true[ { "additionalProperties": {}, "assignableScopes": [ "/subscriptions/00000000-0000-0000-0000-000000000000" ], "description": "View everything in the subscription and also open support tickets.", "id": "/subscriptions/00000000-0000-0000-0000-000000000000/providers/Microsoft.Authorization/roleDefinitions/22222222-2222-2222-2222-222222222222", "name": "22222222-2222-2222-2222-222222222222", "permissions": [ { "actions": [ "*/read", "Microsoft.Support/*", "Microsoft.Resources/deployments/*", "Microsoft.Insights/diagnosticSettings/*/read" ], "additionalProperties": {}, "dataActions": [], "notActions": [], "notDataActions": [] } ], "roleName": "Reader Support Tickets", "roleType": "CustomRole", "type": "Microsoft.Authorization/roleDefinitions" } ]Também pode ver a função personalizada no portal do Azure.
Atualizar uma função personalizada
Para atualizar a função personalizada, atualize o arquivo JSON e, em seguida, atualize a função personalizada.
Abra o arquivo ReaderSupportRole.json.
No
Actions, adicione a ação para criar e gerenciar implantações de grupos de recursos"Microsoft.Resources/deployments/*". Certifique-se de incluir uma vírgula após a ação anterior.O seu ficheiro JSON atualizado deverá ser semelhante ao seguinte:
{
  "Name": "Reader Support Tickets",
  "IsCustom": true,
  "Description": "View everything in the subscription and also open support tickets.",
  "Actions": [
    "*/read",
    "Microsoft.Support/*",
    "Microsoft.Resources/deployments/*"
  ],
  "NotActions": [],
  "DataActions": [],
  "NotDataActions": [],
  "AssignableScopes": [
    "/subscriptions/00000000-0000-0000-0000-000000000000"
  ]
}
Para atualizar a função personalizada, use o comando az role definition update e especifique o arquivo JSON atualizado.
az role definition update --role-definition "~/CustomRoles/ReaderSupportRole.json"{ "additionalProperties": {}, "assignableScopes": [ "/subscriptions/00000000-0000-0000-0000-000000000000" ], "description": "View everything in the subscription and also open support tickets.", "id": "/subscriptions/00000000-0000-0000-0000-000000000000/providers/Microsoft.Authorization/roleDefinitions/22222222-2222-2222-2222-222222222222", "name": "22222222-2222-2222-2222-222222222222", "permissions": [ { "actions": [ "*/read", "Microsoft.Support/*", "Microsoft.Resources/deployments/*" ], "additionalProperties": {}, "dataActions": [], "notActions": [], "notDataActions": [] } ], "roleName": "Reader Support Tickets", "roleType": "CustomRole", "type": "Microsoft.Authorization/roleDefinitions" }
Eliminar uma função personalizada
Use o comando az role definition delete e especifique o nome da função ou o ID da função para excluir a função personalizada.
az role definition delete --name "Reader Support Tickets"