Exercise - Create a new connector in a solution
In this exercise, you create your first custom connector for an existing API called Contoso Invoicing.
Important
Use a test environment with Microsoft Dataverse provisioned. If you don't have a test environment, you can sign up for the Power Apps Community Plan.
Task 1: Review the API
To review the API, follow these steps:
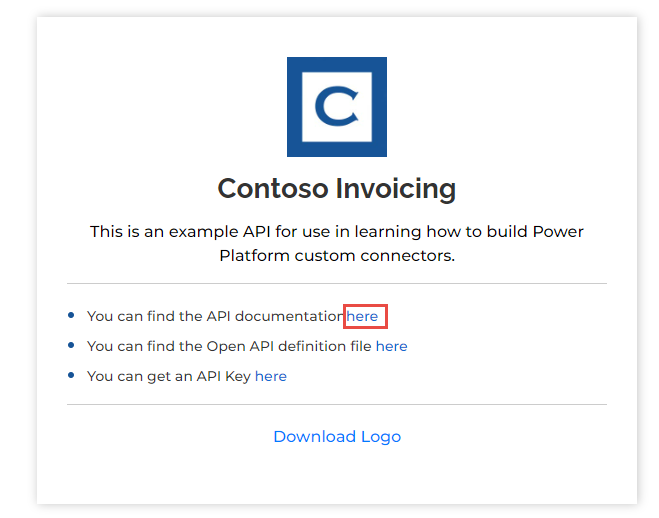
Go to Contoso Invoicing.
Select the documentation link.
Review the available operations.
Select to expand and review each operation.
Close the documentation browser tab or window.
Select the Open API definition link.
The following image shows an example of the OpenAPI version of what was shown on the documentation page. Right-click and select Save as.
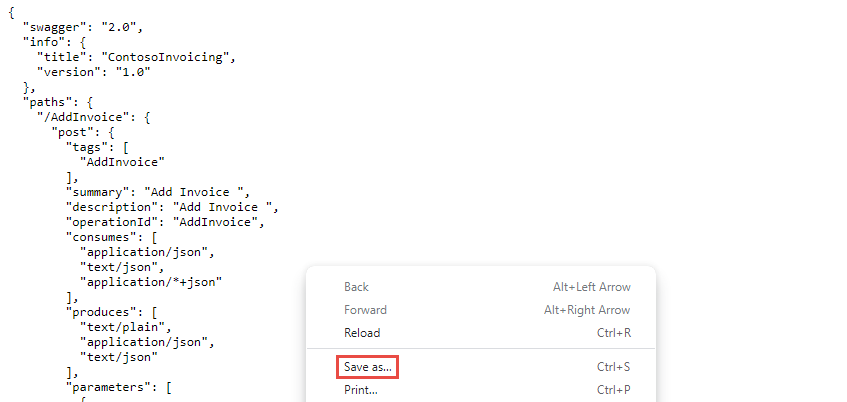
Save the file locally. You use this file later in the exercise.
Close the definition browser tab or window.
Select the API Key link.
Copy and save your API key because you need it later.

Select Return to home.
Select Download Logo.
Save the logo image locally; you use it later.


Task 2: Create a new solution
To create a new solution, follow these steps:
Go to Power Apps maker portal and make sure that you are in the correct environment.
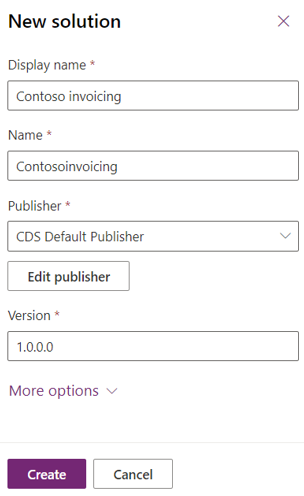
Select Solutions > + New solution.
Enter Contoso invoicing for the Display name, select CDS Default Publisher for Publisher, and then select Create. When you're working on a real project, it's best to create your own publisher.
Don't navigate away from this page after selecting Create.

Task 3: Create a new connector
To create a new connector, follow these steps:
Open the Contoso invoicing solution that you created.
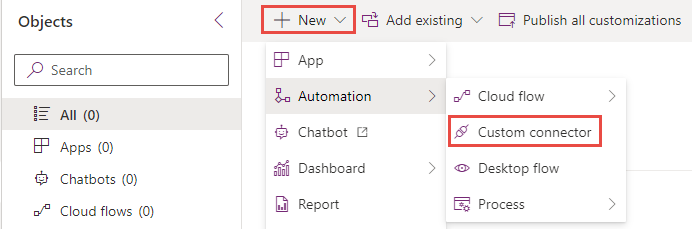
Select + New > Automation > Custom connector.
Enter Contoso invoicing for the Connector name and then select to Upload the image.
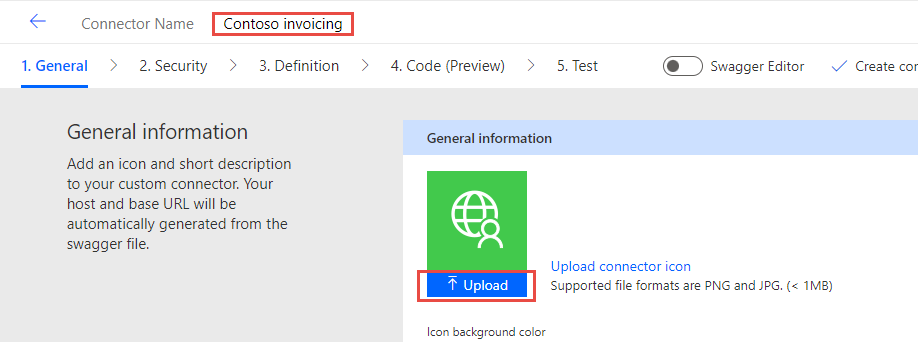
Select the connector logo image that you downloaded in Task 1: Review the API.
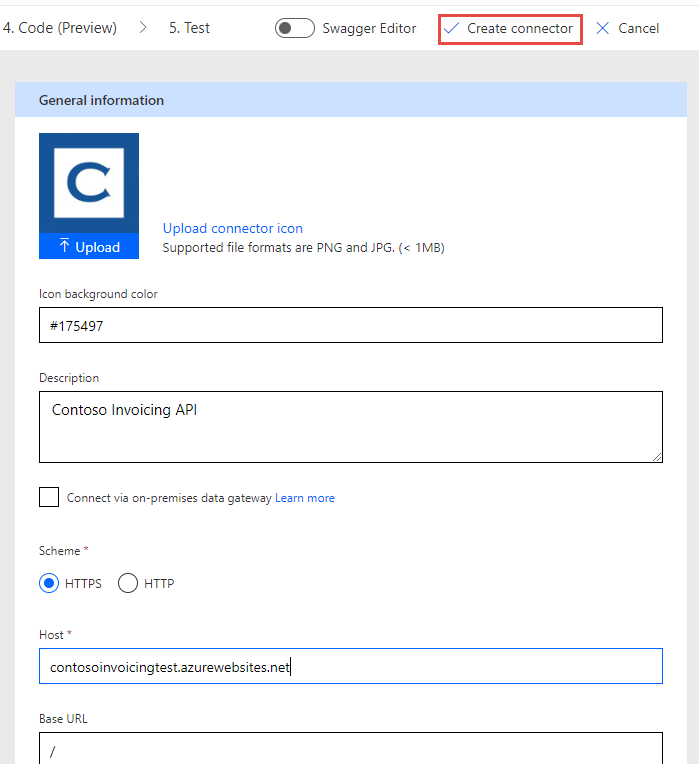
Enter #175497 for Icon background color.
Enter contosoinvoicingtest.azurewebsites.net for Host.
Select Create connector.
Don't navigate away from this page.


Task 4: Import the OpenAPI definition
To import the OpenAPI definition, follow these steps:
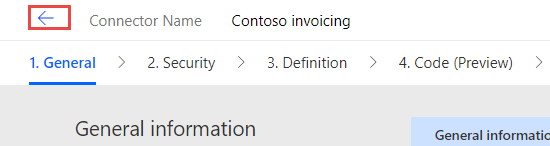
Select the arrow next to Connector Name.
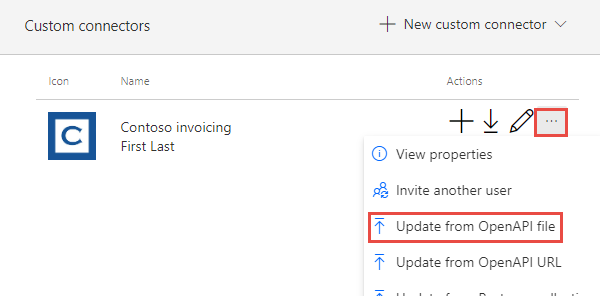
Select the ellipsis (...) button of the connector and then select Update from OpenAPI file.
Select Import.
Select the swagger.json file that you downloaded in Task 1: Review the API and then select Open.
Select Continue.
Fill in the host URL as
contosoinvoicingtest.azurewebsites.netand then select Security.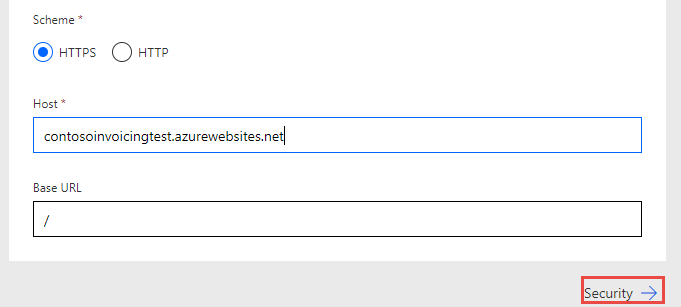
Notice that the field is filled out from the imported file.
Don't navigate away from this page.


Task 5: Review and adjust definitions
To review and adjust definitions, follow these steps:
Select the Definition tab.
Take a few minutes to review the operations that were imported.
Notice the blue information icon next to GetInvoice that indicates there's something that needs attention.

Select the GetInvoice operation.
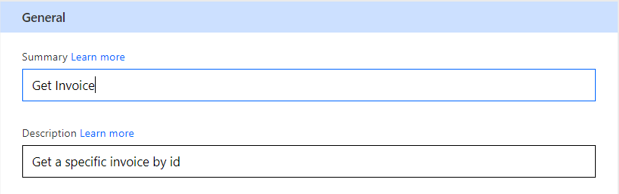
Notice that the operation indicates a missing Summary.
Enter Get Invoice as the Summary to improve the usability.
Notice the blue information circle on the PayInvoice operation and that it indicates a missing Description.
Enter Pay an invoice as the Description.
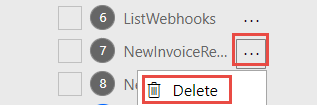
Delete both NewInvoice operations because you don't use them.
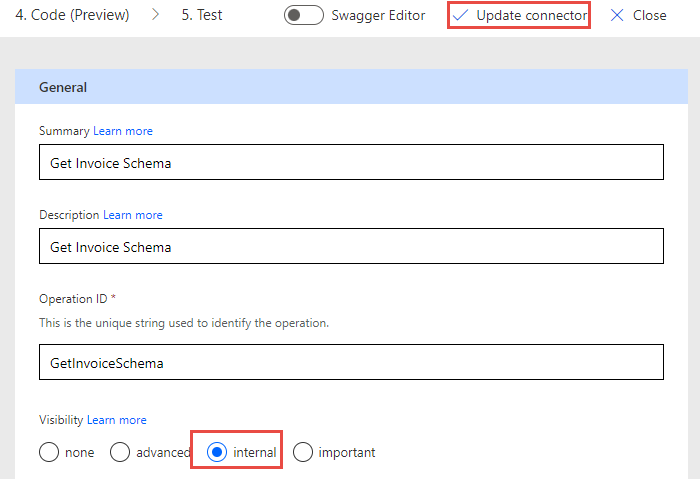
Select the GetInvoiceSchema operation.
Modify the Visibility option to internal so that people don't see it in their action list.
Select Update connector.
Don't navigate away from this page.


Task 6: Test the connector
To test the connector, follow these steps:
Select the Test tab.
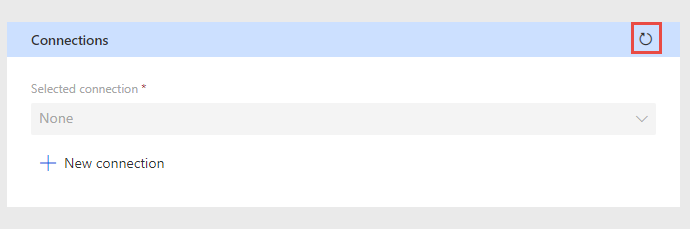
Select + New connection.

Paste in the API Key that you saved in Task 1: Review the API and then select Create connection.
Select the Refresh button.
Select ListInvoiceTypes > Test Operation.
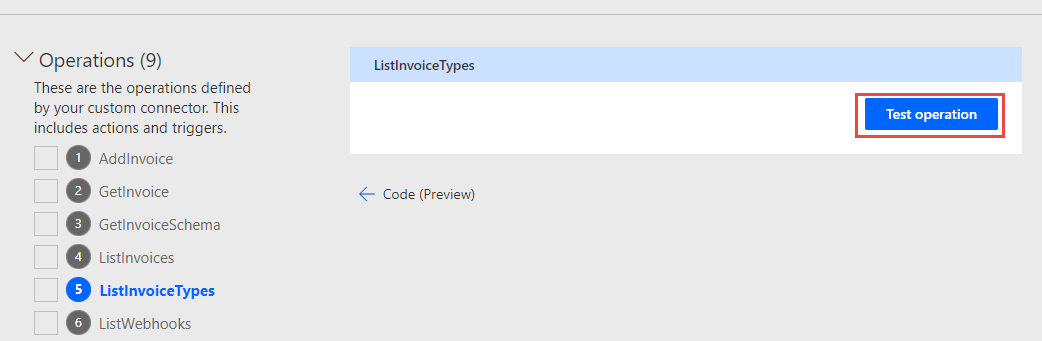


You should see some invoice data in the body area.