Azure virtual machines
Enable JIT on your VMs from Azure virtual machines
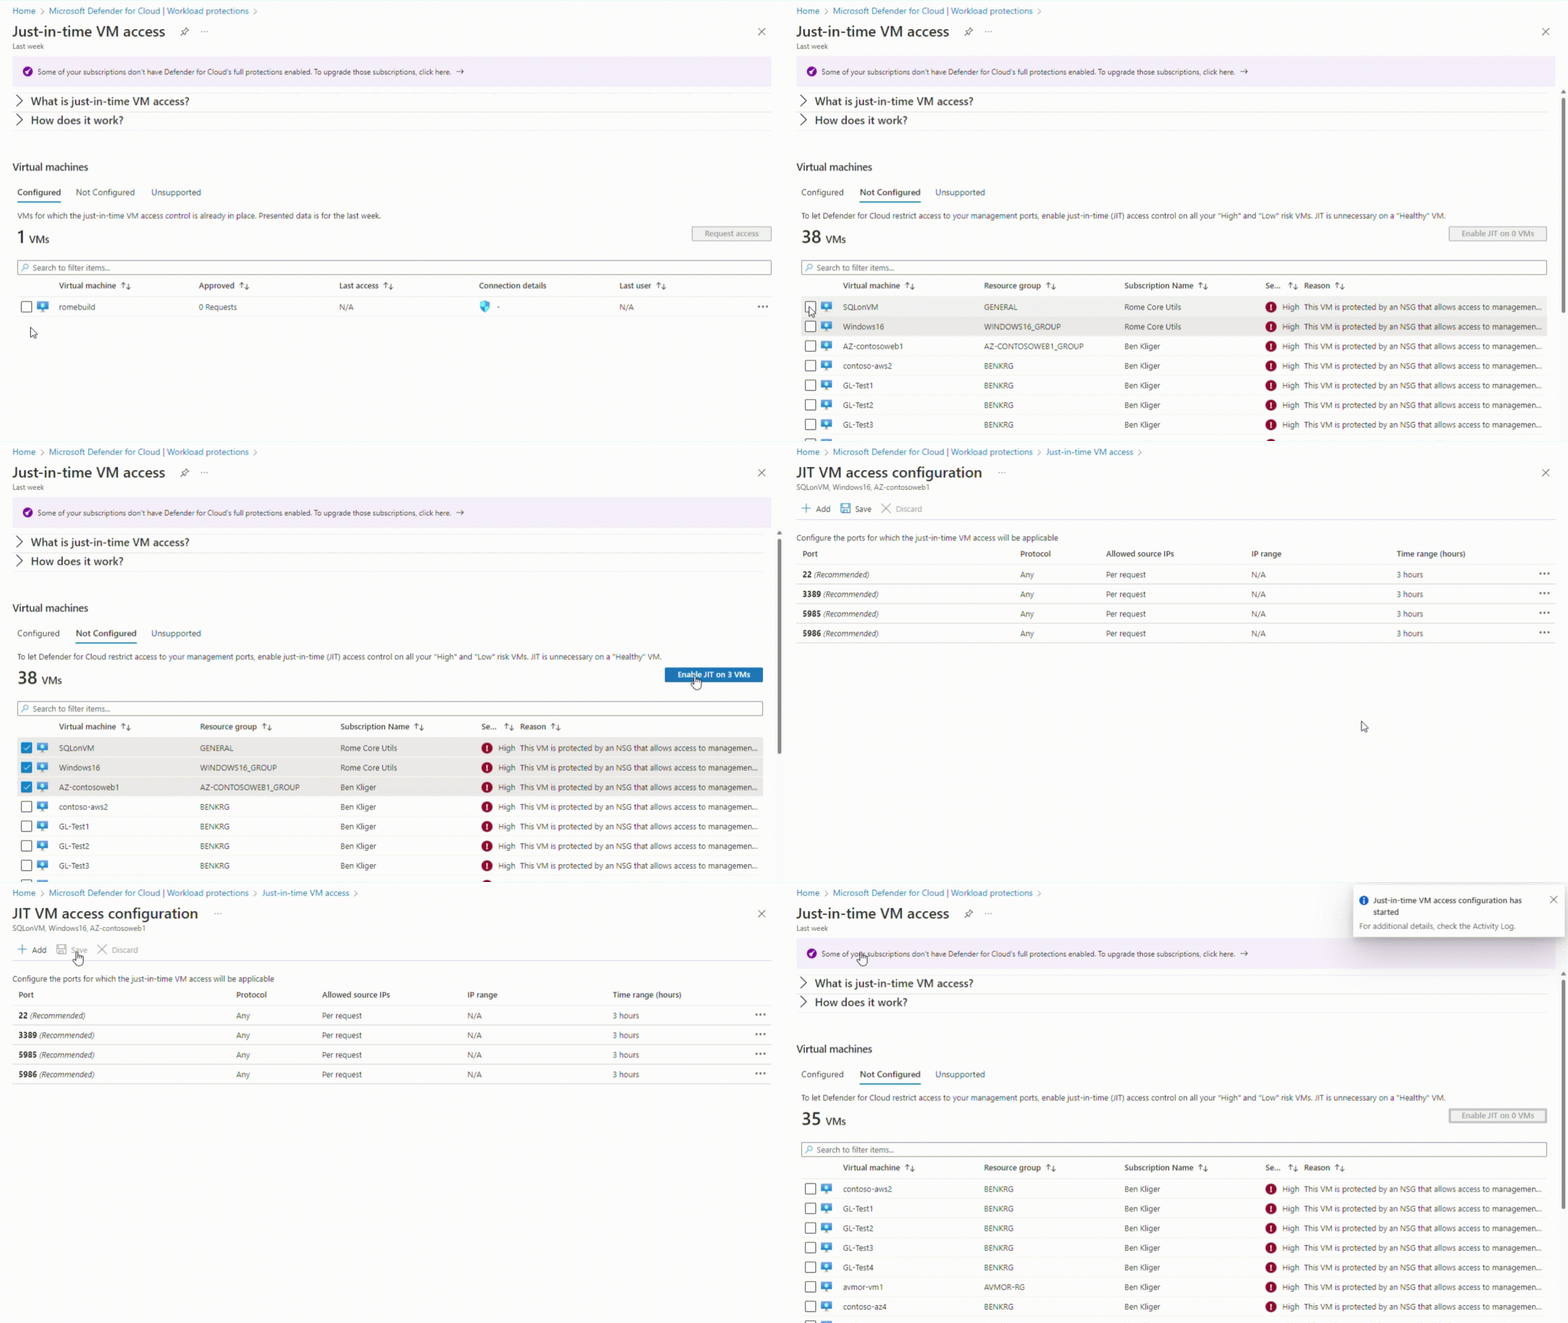
You can enable JIT on a VM from the Azure virtual machines pages of the Azure portal.
Tip
If a VM already has JIT enabled, the VM configuration page shows that JIT is enabled. You can use the link to open the JIT VM access page in Defender for Cloud to view and change the settings.
From the Azure portal, search for and select Virtual machines.
Select the virtual machine you want to protect with JIT.
In the menu, select Configuration.
Under Just-in-time access, select Enable just-in-time.
By default, just-in-time access for the VM uses these settings:
- Windows machines
- RDP port: 3389
- Maximum allowed access: Three hours
- Allowed source IP addresses: Any
- Linux machines
- SSH port: 22
- Maximum allowed access: Three hours
- Allowed source IP addresses: Any
To edit any of these values or add more ports to your JIT configuration, use Microsoft Defender for Cloud's just-in-time page:
From Defender for Cloud's menu, select Just-in-time VM access.
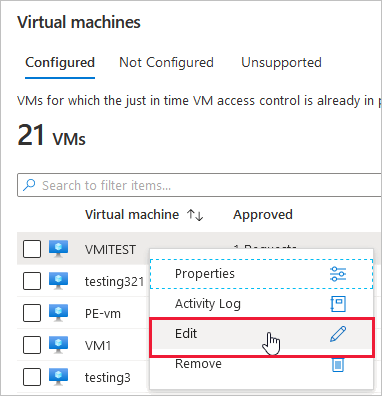
From the Configured tab, right-click on the VM to which you want to add a port, and select Edit.

Under JIT VM access configuration, you can either edit the existing settings of an already protected port or add a new custom port.
When you've finished editing the ports, select Save.
Request access to a JIT-enabled VM from the Azure virtual machine's connect page
When a VM has a JIT enabled, you have to request access to connect to it. You can request access in any of the supported ways, regardless of how you enabled JIT.

To request access from Azure virtual machines:
In the Azure portal, open the virtual machines pages.
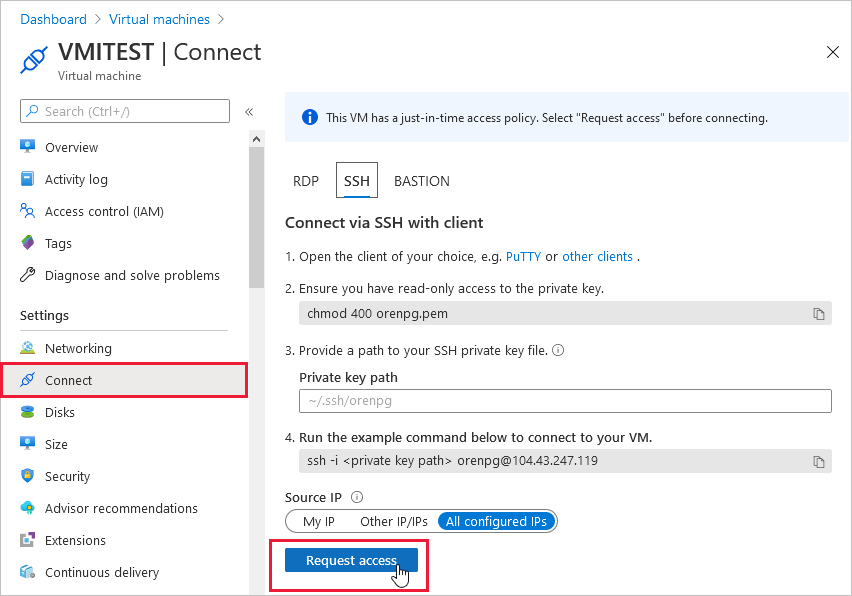
Select the VM to which you want to connect, and open the Connect page.
Azure checks to see if JIT is enabled on that VM.
If JIT isn't enabled for the VM, you're prompted to enable it.
If JIT is enabled, select Request access to pass an access request with the requesting IP, time range, and ports that were configured for that VM.
Note
After a request is approved for a VM protected by Azure Firewall, Defender for Cloud provides the user with the proper connection details (the port mapping from the DNAT table) to use to connect to the VM.
PowerShell
Enable JIT on your VMs using PowerShell
To enable just-in-time VM access from PowerShell, use the official Microsoft Defender for Cloud PowerShell cmdlet Set-AzJitNetworkAccessPolicy.
Example - Enable just-in-time VM access on a specific VM with the following rules:
- Close ports 22 and 3389
- Set a maximum time window of 3 hours for each so they can be opened per approved request
- Allow the user who is requesting access to control the source IP addresses
- Allow the user who is requesting access to establish a successful session upon an approved just-in-time access request
The following PowerShell commands create this JIT configuration:
Assign a variable that holds the just-in-time VM access rules for a VM:
$JitPolicy = (@{
    id="/subscriptions/SUBSCRIPTIONID/resourceGroups/RESOURCEGROUP/providers/Microsoft.Compute/virtualMachines/VMNAME";
    ports=(@{
        number=22;
        protocol="*";
        allowedSourceAddressPrefix=@("*");
        maxRequestAccessDuration="PT3H"},
        @{
        number=3389;
        protocol="*";
        allowedSourceAddressPrefix=@("*");
        maxRequestAccessDuration="PT3H"})})
Insert the VM just-in-time VM access rules into an array:
$JitPolicyArr=@($JitPolicy)
Configure the just-in-time VM access rules on the selected VM:
Set-AzJitNetworkAccessPolicy -Kind "Basic" -Location "LOCATION" -Name "default" -ResourceGroupName "RESOURCEGROUP" -VirtualMachine $JitPolicyArr
Use the -Name parameter to specify a VM. For example, to establish the JIT configuration for two different VMs, VM1 and VM2, use: Set-AzJitNetworkAccessPolicy -Name VM1 and Set-AzJitNetworkAccessPolicy -Name VM2.
Request access to a JIT-enabled VM using PowerShell
In the following example, you can see a just-in-time VM access request to a specific VM for port 22, for a specific IP address, and for a specific amount of time:
Run the following commands in PowerShell:
Configure the VM request access properties:
$JitPolicyVm1 = (@{
    id="/subscriptions/SUBSCRIPTIONID/resourceGroups/RESOURCEGROUP/providers/Microsoft.Compute/virtualMachines/VMNAME";
    ports=(@{
      number=22;
      endTimeUtc="2020-07-15T17:00:00.3658798Z";
      allowedSourceAddressPrefix=@("IPV4ADDRESS")})})
Insert the VM access request parameters in an array:
$JitPolicyArr=@($JitPolicyVm1)
Send the request access (use the resource ID from step 1)
Start-AzJitNetworkAccessPolicy -ResourceId "/subscriptions/SUBSCRIPTIONID/resourceGroups/RESOURCEGROUP/providers/Microsoft.Security/locations/LOCATION/jitNetworkAccessPolicies/default" -VirtualMachine $JitPolicyArr
Learn more in the PowerShell cmdlet documentation.
REST API
Enable JIT on your VMs using the REST API
The just-in-time VM access feature can be used via the Microsoft Defender for Cloud API. Use this API to get information about configured VMs, add new ones, request access to a VM, and more.
Learn more at JIT network access policies.
Request access to a JIT-enabled VM using the REST API
The just-in-time VM access feature can be used via the Microsoft Defender for Cloud API. Use this API to get information about configured VMs, add new ones, request access to a VM, and more.
Learn more at JIT network access policies.
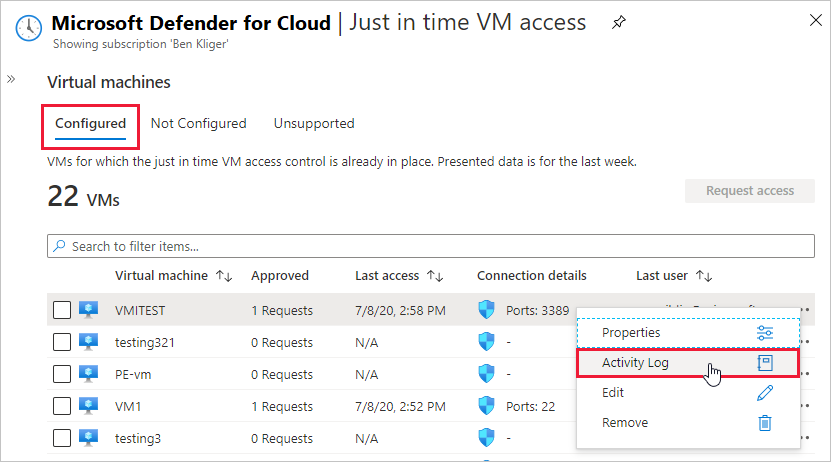
Audit JIT access activity in Defender for Cloud
You can gain insights into VM activities using log search. To view the logs:


