Build a basic Power Automate cloud flow
Now that we reviewed the primary elements of Power Automate, let’s take a high-level look at how to create a basic Power Automate cloud flow.
It can be time-consuming to search for attachments through email at Contoso Manufacturing. To alleviate those time-consuming searches, you can build a flow that stores email attachments in different folders on your Microsoft OneDrive account. Thankfully, there's a template to help you get started.
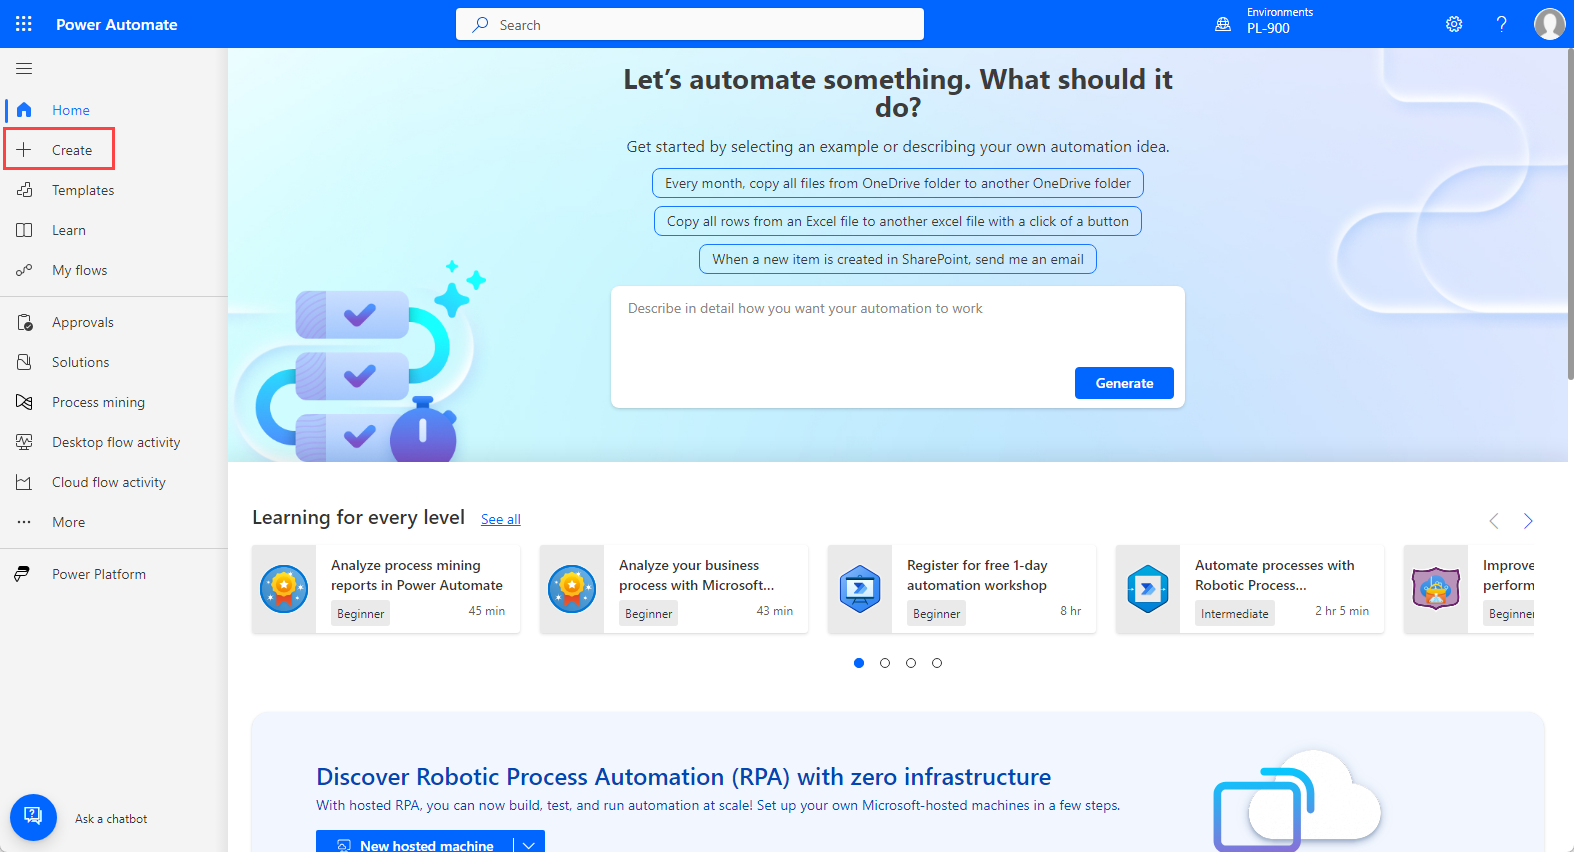
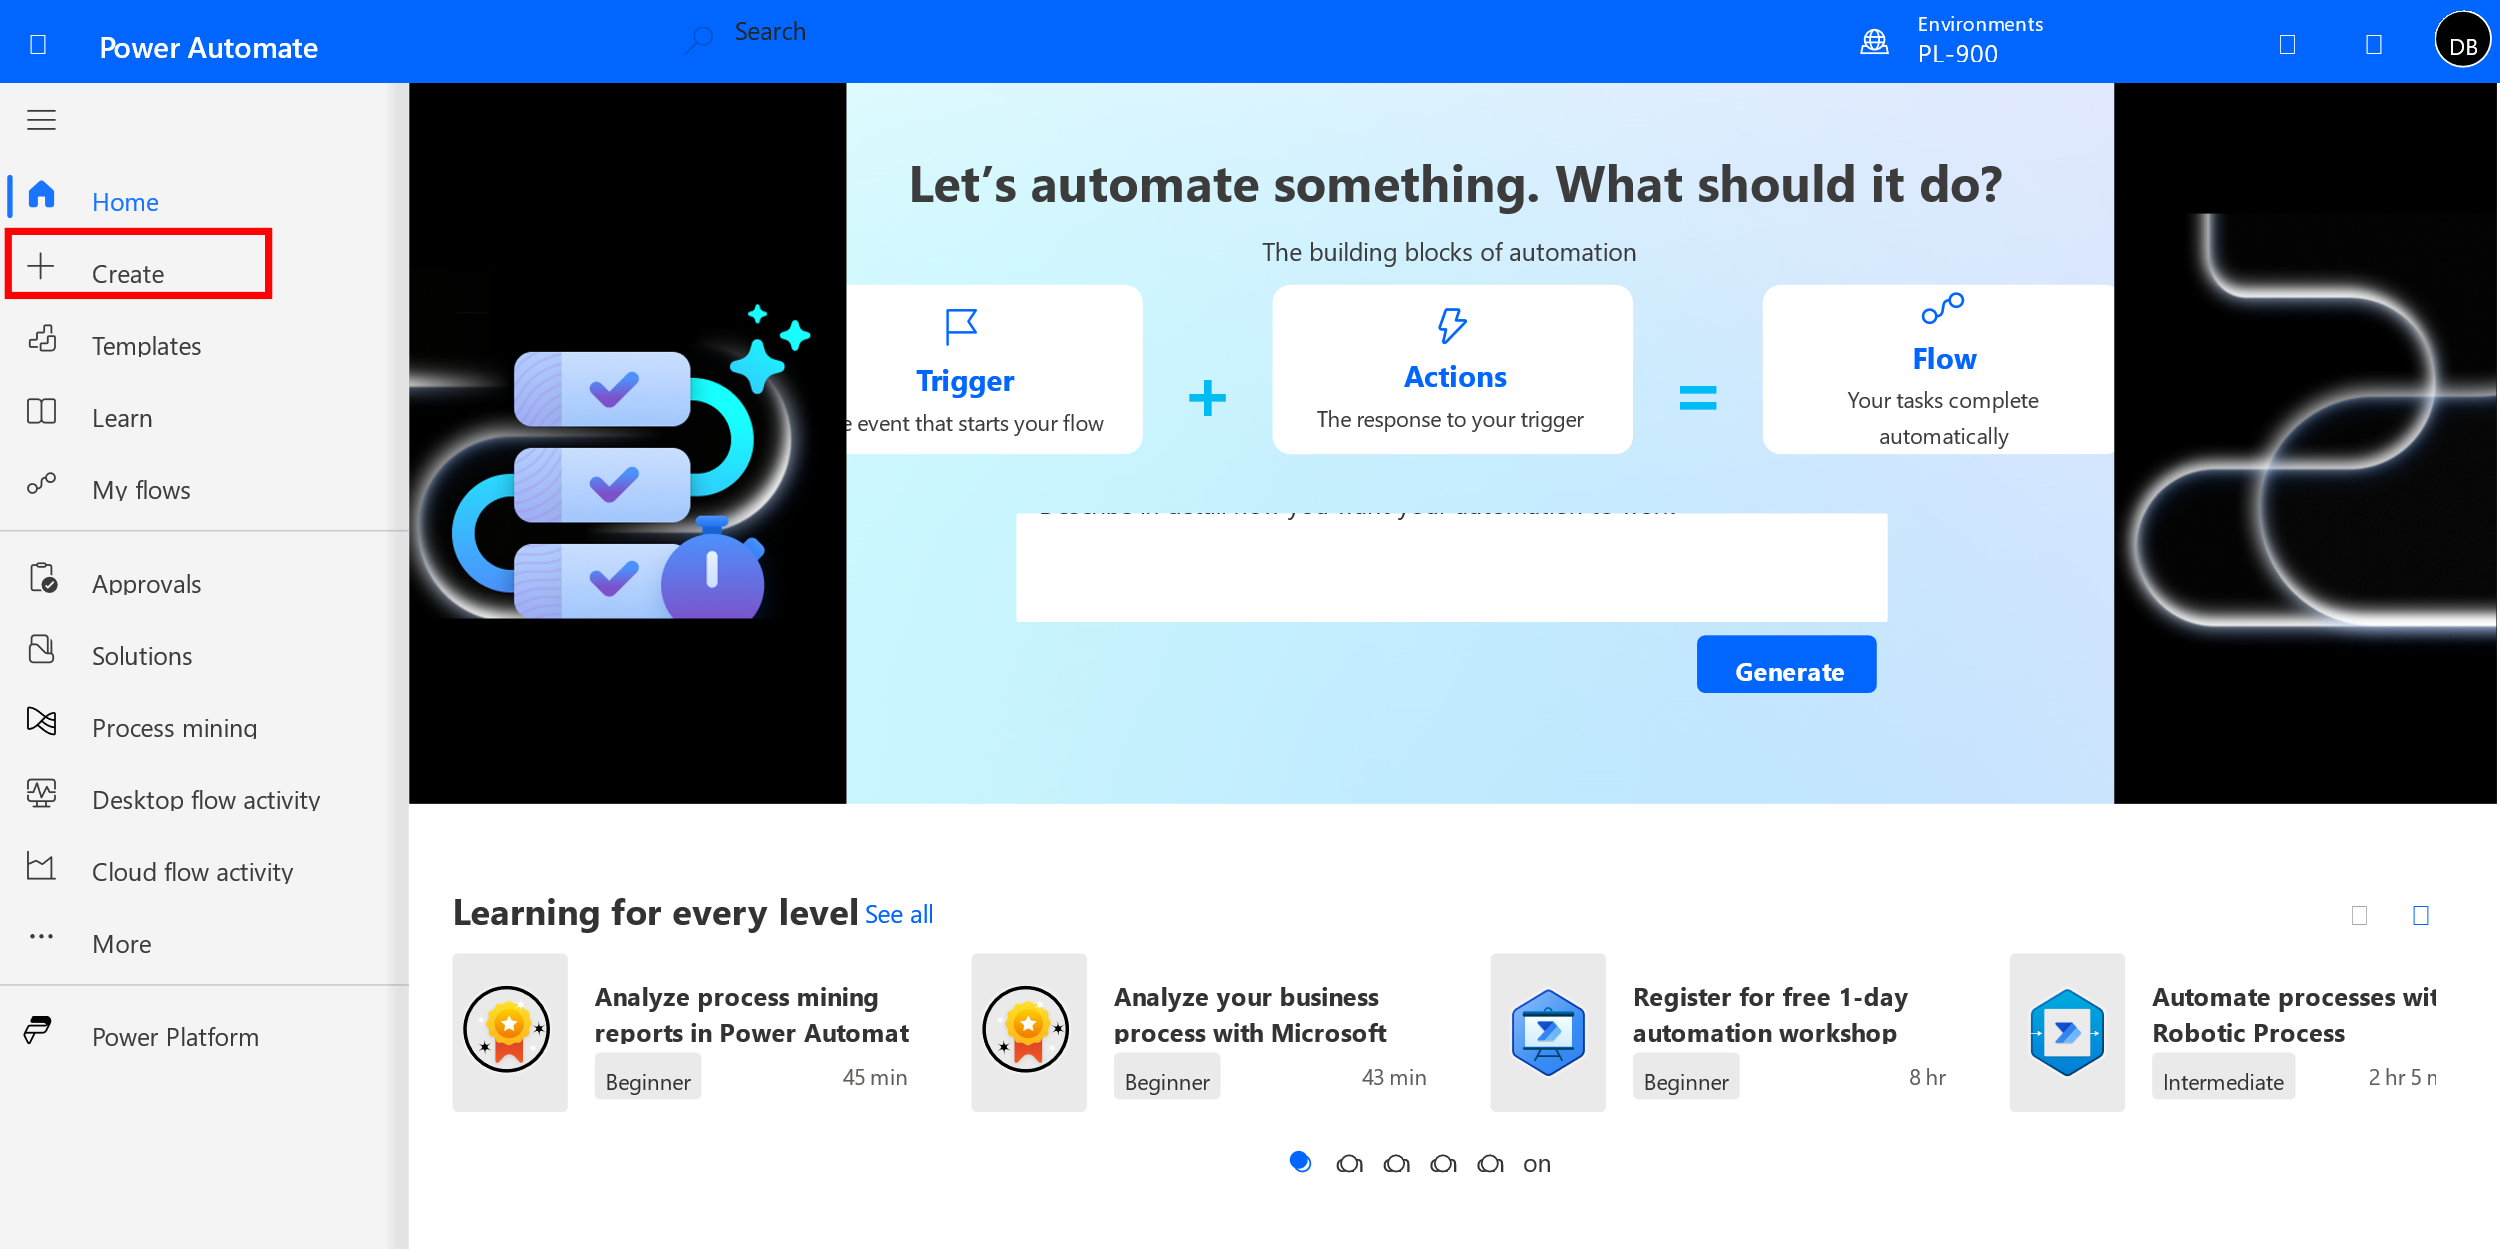
Cloud flows can quickly be created from the Power Automate maker portal. You can either select the + Create button on the screen or select + Create from the left navigation.

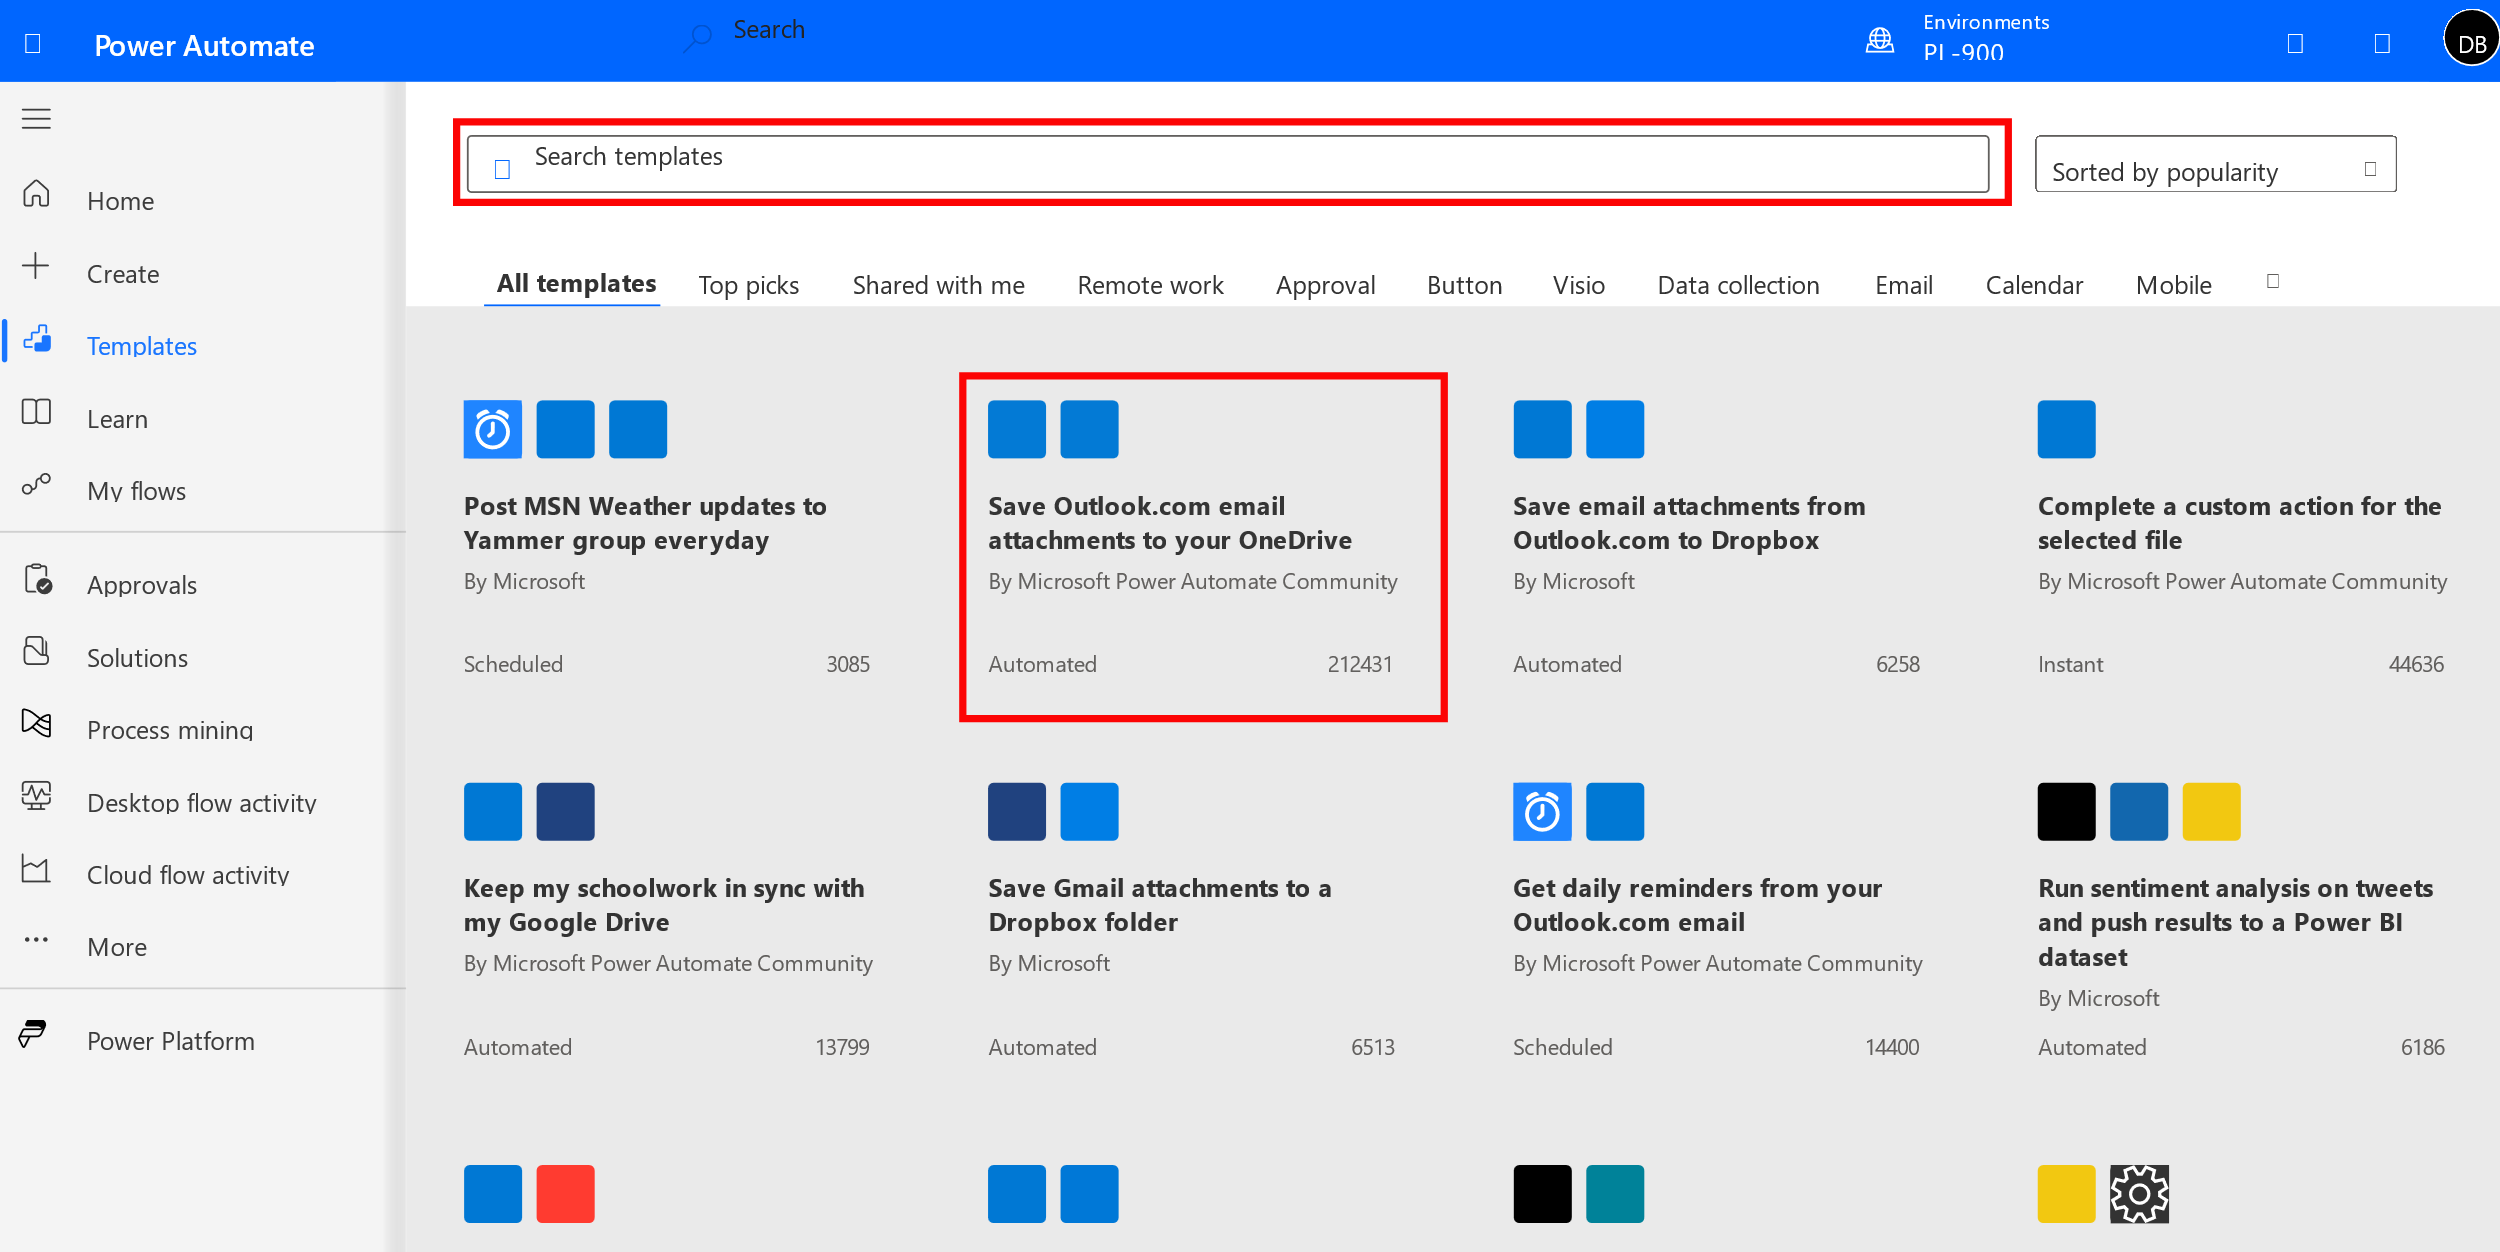
The next thing you must decide is whether you apply one of the many different templates available to create your flow or build your own from scratch. As you become more advanced, you might want to build your own, but when you are first starting, the easiest way is to start with a template.
Initially you see a series of predefined filters that you can select from. These are populated based on your past activities. You can select one of the predefined filters, or you can search by a specific word or phrase like "Outlook." When you select a specific template, you see details about the template, including the data sources it connects to.
Once the initial flow is created, you need to enter details to ensure the flow operates as intended. For example, if you want to store email attachments in different OneDrive folders based on the sender, you need to configure the condition accordingly. In the image, we see that any attachments are saved to a OneDrive folder called Power Apps.

For the flow we just discussed, the folder where we want to save the attachments is the only piece of data we need to provide. Everything is done with a point-and-click interface. As you become more familiar with Power Automate, you may decide that you want to create your flows from scratch to support more advanced scenarios.
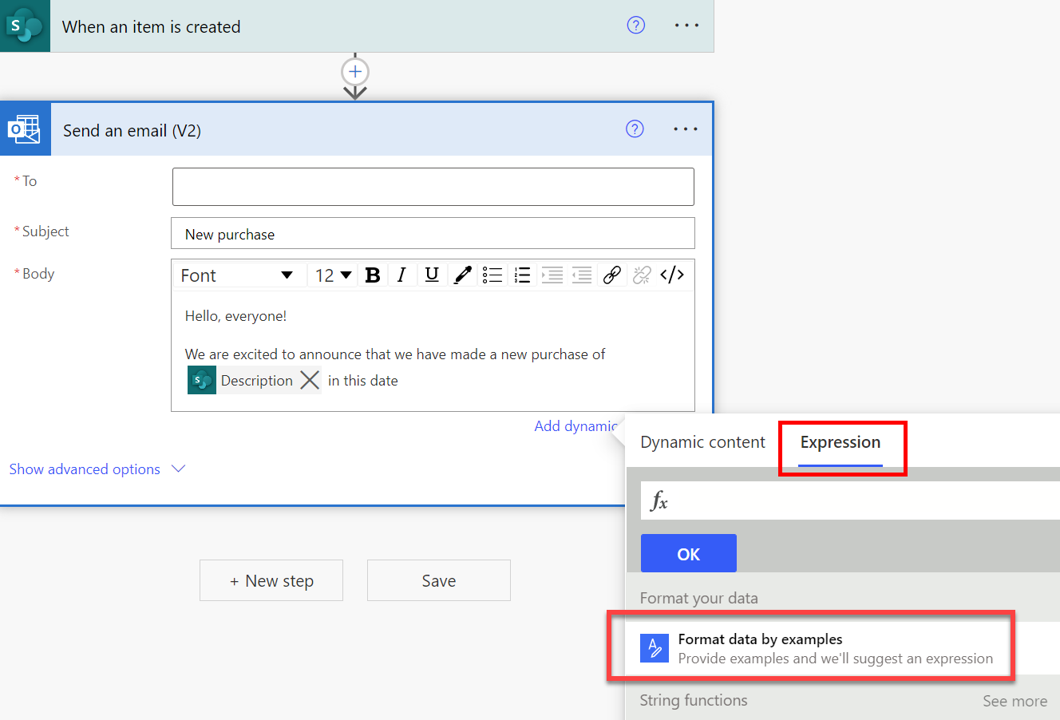
Since not everyone is going to be comfortable writing expressions, designers can show Power Automate an example of a value that you want to format and the desired output, and Power Automate suggests the appropriate expression to use. With this feature, you can easily format dates, numbers, and texts.

Once your flow is created, you can save it by selecting the Save button.
Now that we walked you through the steps of a building a flow, let’s see the process in action. In the following simulation, we create a simple flow from a template that saves email attachments to a specific OneDrive folder based on email sender.
Clickthrough demo: Build a Power Automate cloud flow
In this clickthrough demonstration, you're guided through the process of building a cloud flow.

