Quickstart: Create a HoloLens app with Azure Object Anchors, in C++/WinRT and DirectX
This quickstart covers how to create a HoloLens app using Azure Object Anchors in C++/WinRT and DirectX. Object Anchors is a managed cloud service that converts 3D assets into AI models that enable object-aware mixed reality experiences for the HoloLens. When you're finished, you'll have a HoloLens app that can detect an object and its pose in a Holographic DirectX 11 (Universal Windows) application.
You'll learn how to:
- Create and side-load a HoloLens application
- Detect an object and visualize its model
If you don't have an Azure subscription, create an Azure free account before you begin.
Prerequisites
To complete this quickstart, make sure you have:
- A physical object in your environment and its 3D model, either CAD or scanned.
- A Windows computer with the following installed:
- Git for Windows
- Visual Studio 2019 with the Universal Windows Platform development workload and the Windows 10 SDK (10.0.18362.0 or newer) component
- A HoloLens 2 device that is up to date and has developer mode enabled.
- To update to the latest release on HoloLens, open the Settings app, go to Update & Security, and then select Check for updates.
Create an Object Anchors account
First, you need to create an account with the Object Anchors service.
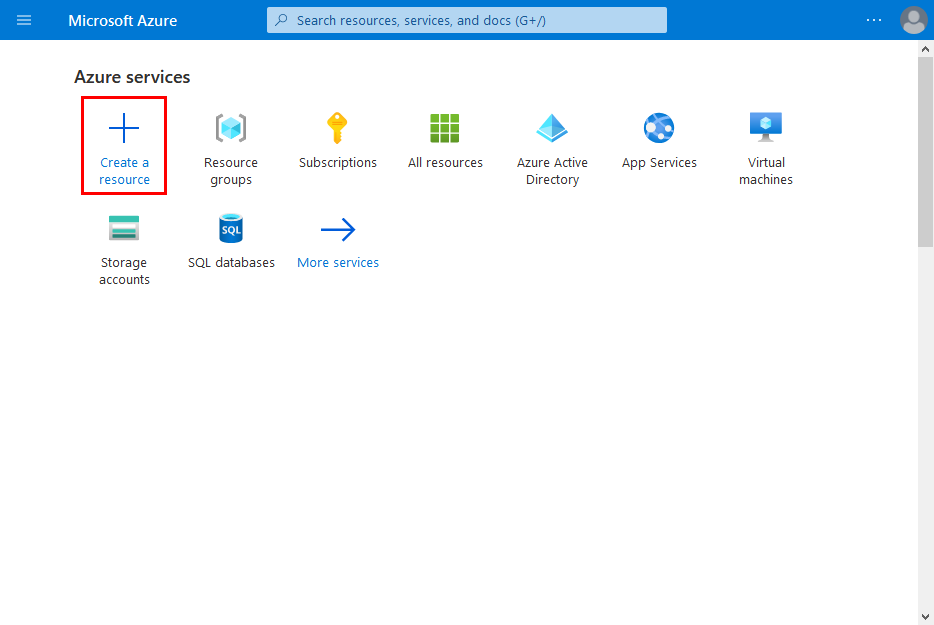
Go to the Azure portal and select Create a resource.
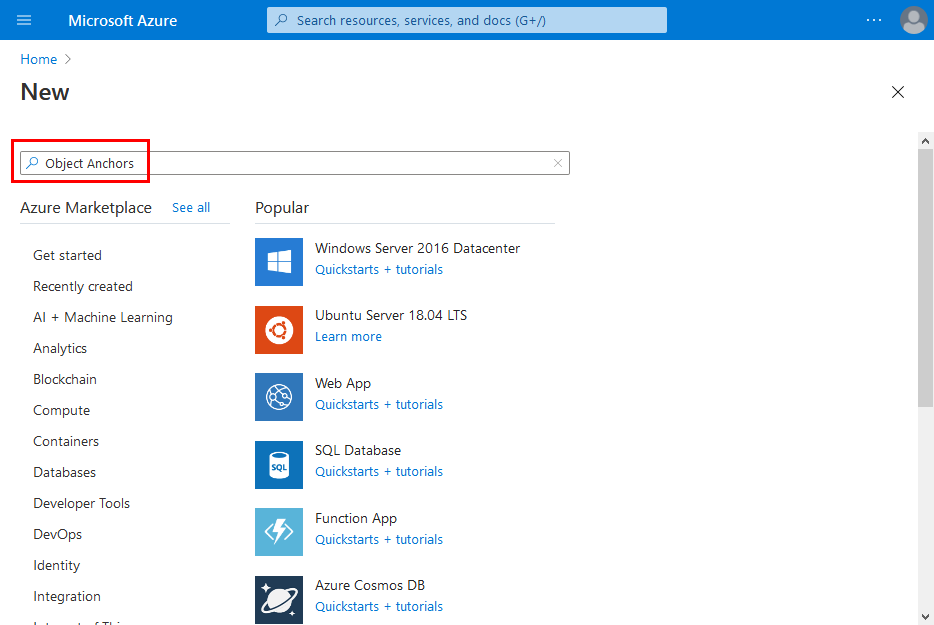
Search for the Object Anchors resource.
Search for "Object Anchors".
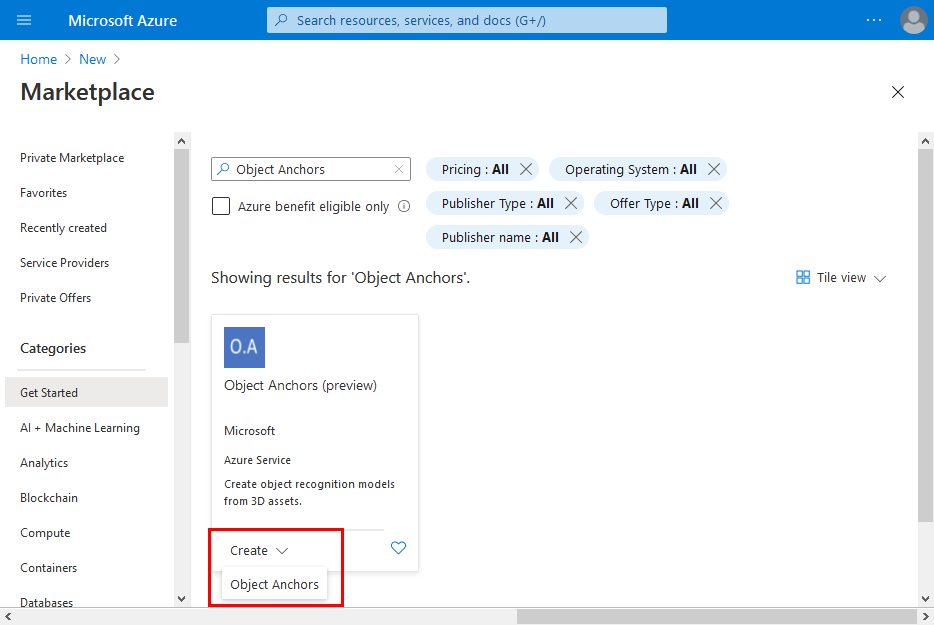
On the Object Anchors resource in the search results, select Create -> Object Anchors.
In the Object Anchors Account dialog box:
- Enter a unique resource name.
- Select the subscription you want to attach the resource to.
- Create or use an existing resource group.
- Select the region you'd like your resource to exist in.
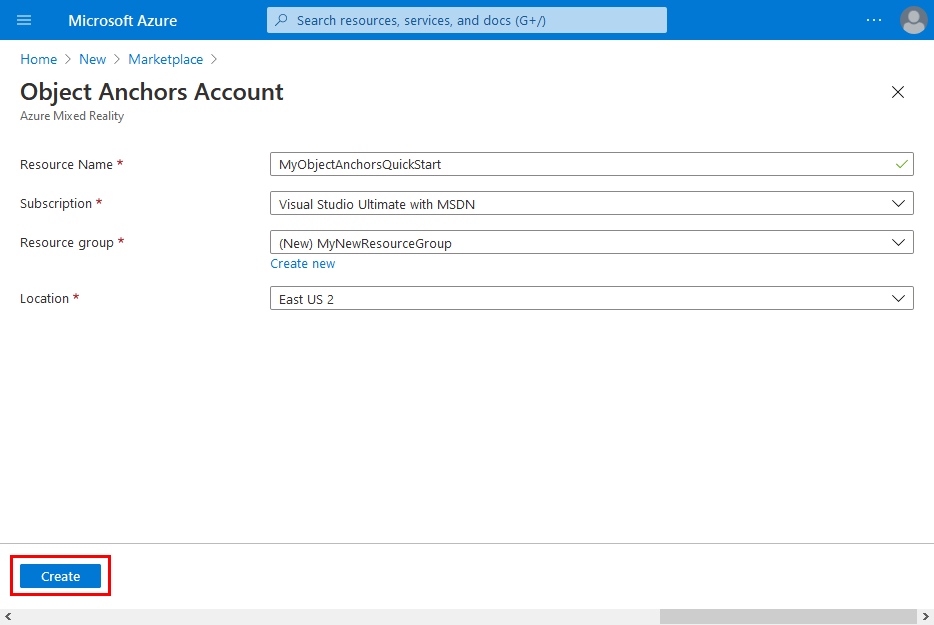
Select Create to begin creating the resource.
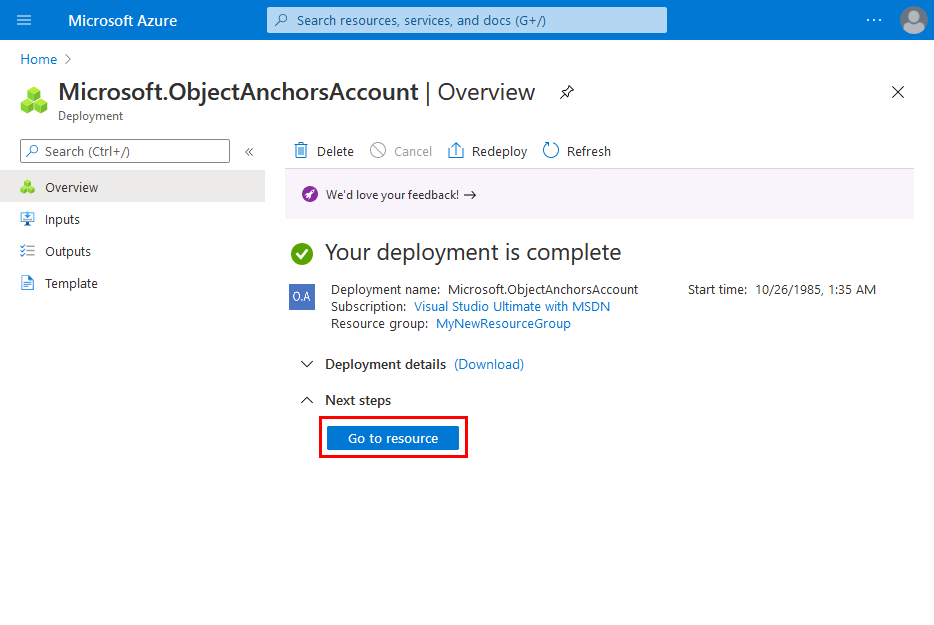
Once the resource has been created, select Go to resource.
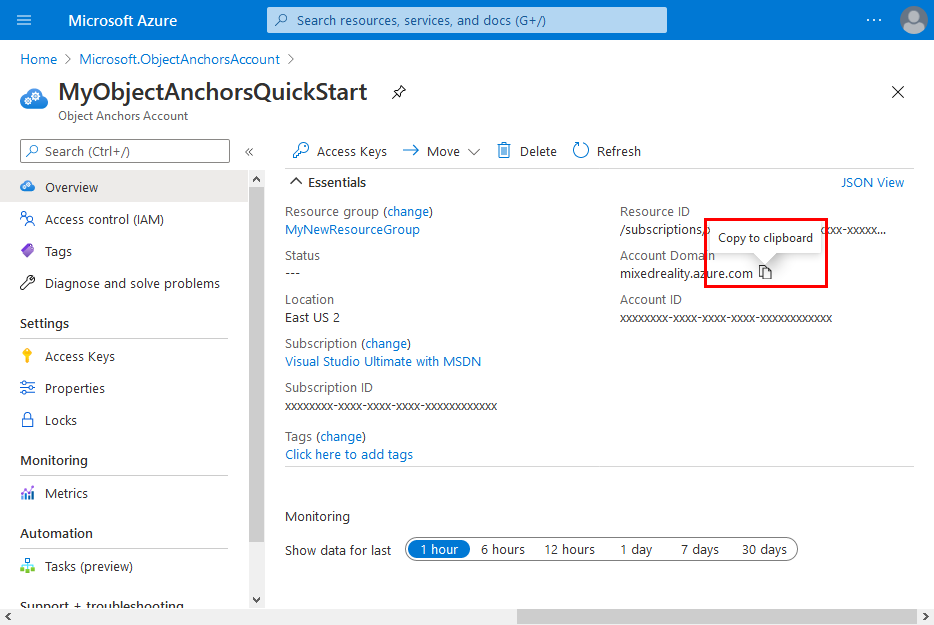
On the overview page:
Take note of the Account Domain. You'll need it later.
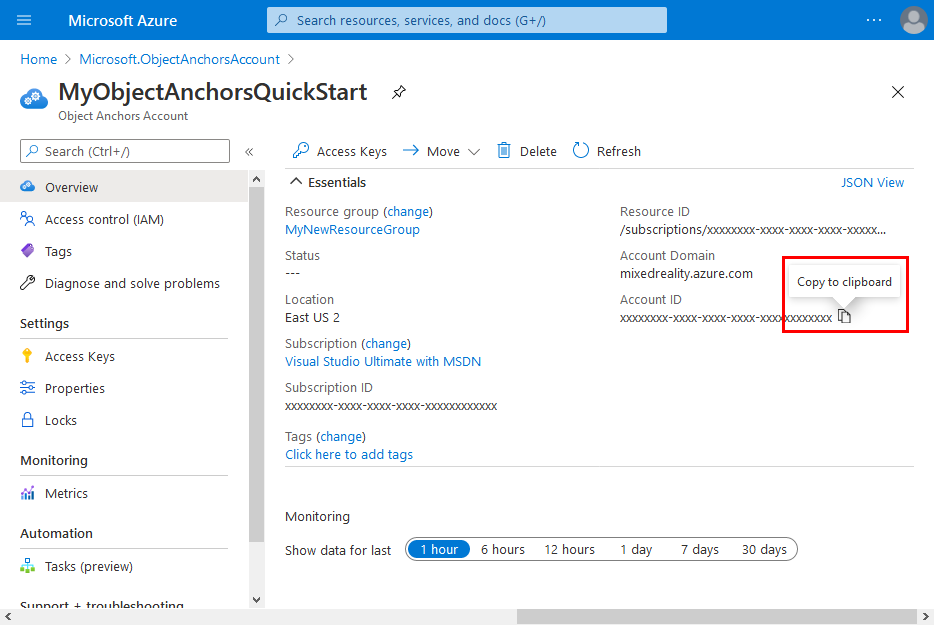
Take note of the Account ID. You'll need it later.
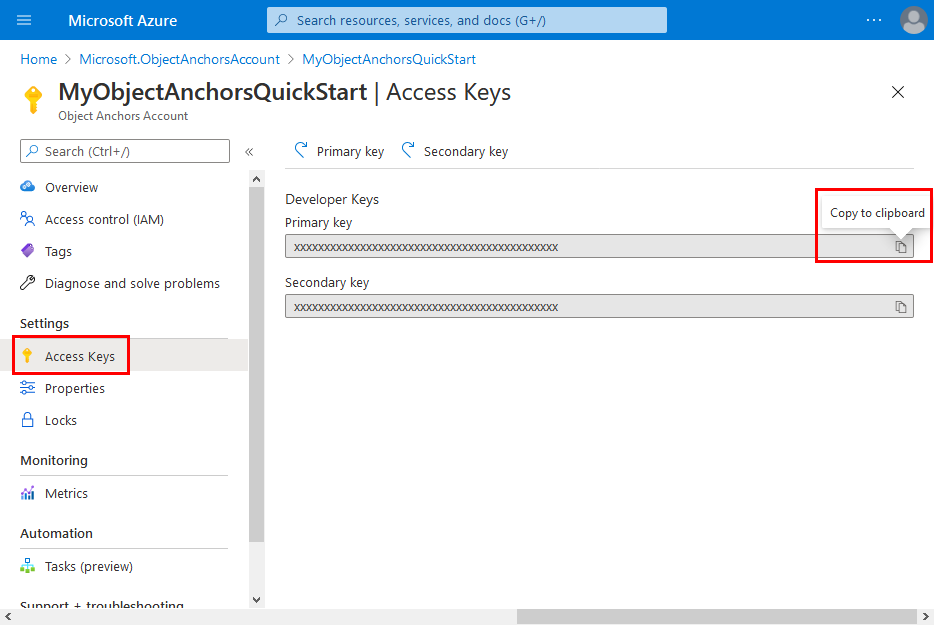
Go to the Access Keys page and take note of the Primary key. You'll need it later.
Upload your model
Before you run the app, you'll need to make your models available to the app. If you don't already have an Object Anchors model, follow the instructions in Create a model to create one. Then, return here.
With your HoloLens powered on and connected to the development device (PC), follow these steps to upload a model to the 3D Objects folder on your HoloLens:
Select and copy the models you want to work with by pressing Ctrl key and C together (Ctrl + C).
Press Windows Logo key and E together (Win + E) to launch File Explorer. You should see your HoloLens listed with other drives and folders on the left pane.
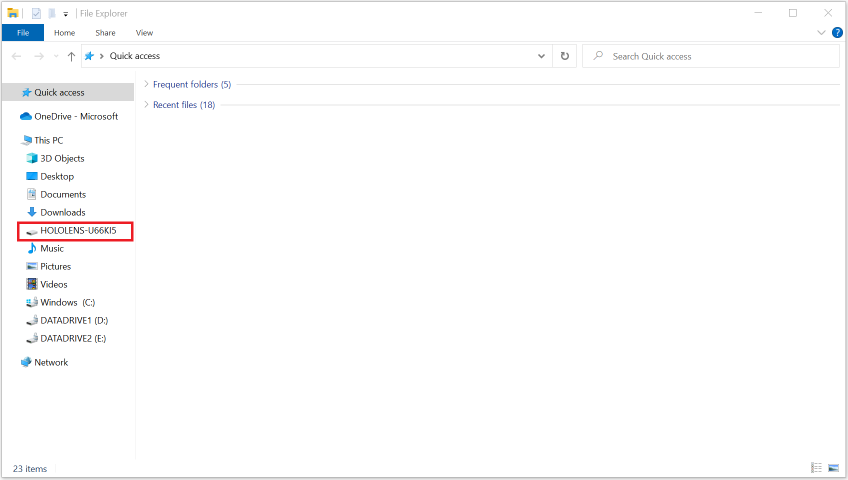
Tap on the HoloLens link to show the storage on the HoloLens device on the right pane.
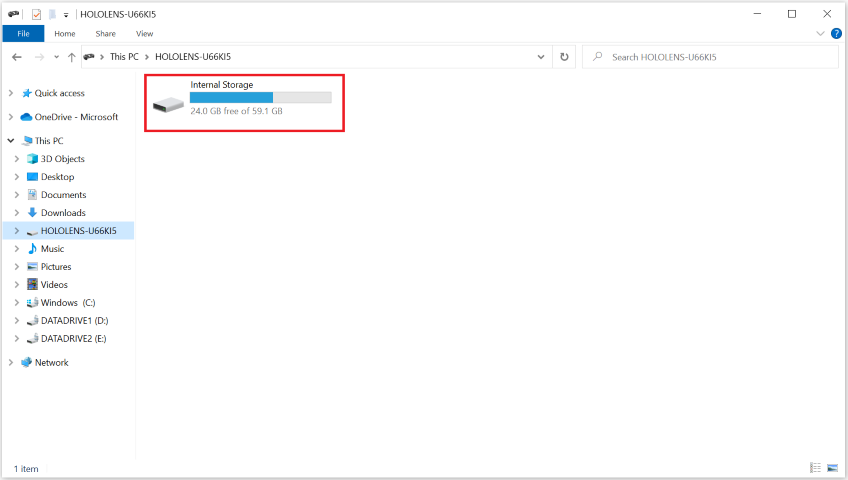
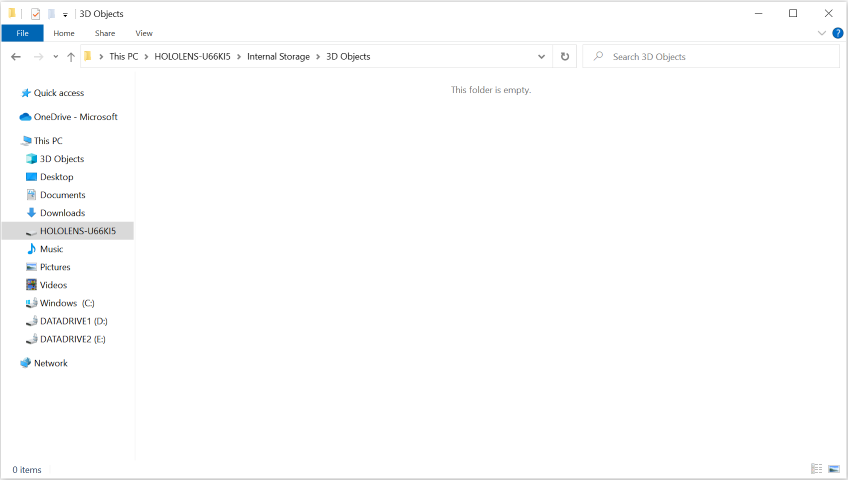
In File Explorer, go to Internal Storage > 3D Objects. Now, you can paste your models in the 3D Objects folder by pressing Ctrl key and V together (Ctrl + V).
Open the sample project
Clone the samples repository by running the following commands:
git clone https://github.com/Azure/azure-object-anchors.git

cd ./azure-object-anchors
Open quickstarts/apps/directx/DirectXAoaSampleApp.sln in Visual Studio.
Change the Solution Configuration to Release, change Solution Platform to ARM64, select Device from the deployment target options.
Configure the account information
The next step is to configure the app to use your account information. You took note of the Account Key, Account ID, and Account Domain values, in the "Create an Object Anchors account" section.
Open Assets\ObjectAnchorsConfig.json.
Locate the AccountId field and replace Set me with your Account ID.
Locate the AccountKey field and replace Set me with your Account Key.
Locate the AccountDomain field and replace Set me with your Account Domain.
Now, build the AoaSampleApp project by right-clicking the project and selecting Build.

Deploy the app to HoloLens
After compiling the sample project successfully, you can deploy the app to HoloLens.
Ensure the HoloLens device is powered on and connected to the PC through a USB cable. Make sure Device is the chosen deployment target, as above.
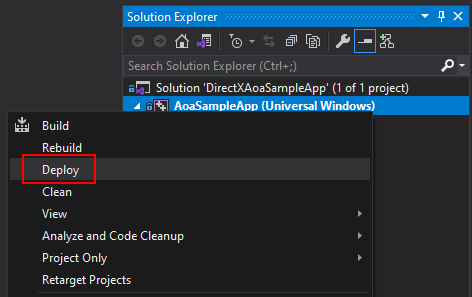
Right-click AoaSampleApp project, then select Deploy from the context menu to install the app. If no error shows up in Visual Studio's Output Window, the app will be installed on HoloLens.
Before launching the app, you ought to have uploaded an object model, chair.ou for example, to the 3D Objects folder on your HoloLens. If you haven't, follow the instructions in the Upload your model section.
To launch and debug the app, select Debug > Start debugging.
Ingest object model and detect its instance
The AoaSampleApp app is now running on your HoloLens device. Walk close, within 2-meter distance, to the target object (chair) and scan it by looking at it from multiple perspectives. You should see a pink bounding box around the object with some yellow points rendered close to object's surface, which indicates that it was detected. You should also see a yellow box that indicates the search area.
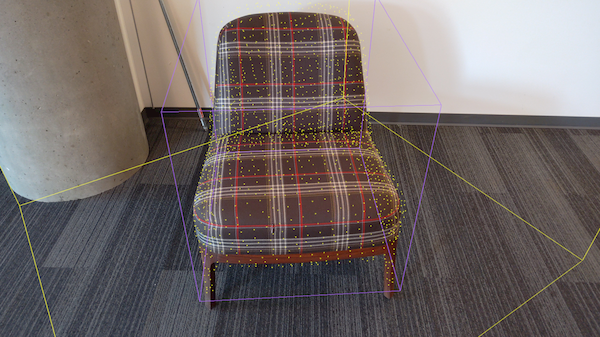
You can define a search space for the object in the app by finger clicking in the air with either your right or left hand. The search space will switch among a sphere of 2-meters radius, a 4 m^3 bounding box and a view frustum. For larger objects such as cars, the best choice is usually to use the view frustum selection while standing facing a corner of the object at about a 2-meter distance. Each time the search area changes, the app removes instances currently being tracked. It then tries to find them again in the new search area.
This app can track multiple objects at one time. To do that, upload multiple models to the 3D Objects folder of your device and set a search area that covers all the target objects. It may take longer to detect and track multiple objects.
The app aligns a 3D model to its physical counterpart closely. A user can air tap using their left hand to turn on the high precision tracking mode, which computes a more accurate pose. This feature is still experimental. It consumes more system resources and could result in higher jitter in the estimated pose. Air tap again with the left hand to switch back to the normal tracking mode.