Create Data Activator rules
Once you bring data into a reflex or assign data to objects, you can create rules to act on your data. There are three types of rules: rules on events, rules on events that are added to an object, and rules on an object's properties.
Important
Data Activator is currently in preview.
Why create rules on events?
Creating rules on events allows you to get an activation for every event that comes in on an event stream. When creating these kinds of rules, you can track the state of something over time. For example:
You get an alert every time a new event comes in on an event stream that has readings on a single IoT sensor.
You can get an alert every time a new event comes in and the value for a column in that event meets your defined condition.
Why create rules on events that are added to objects?
Creating rules on events that are added to an object is similar to rules created on events. However, you track events for specific object IDs. You get an activation every time a new event comes in on the event stream that is added to the object. And, you can identify which instance it came in for as well. An added benefit is you can use properties from other event streams that are added to that same object in your rule expressivity.
Why create rules on properties?
Creating rules on properties allows you to monitor a property on objects over time. If you want to monitor the state of a property on an object, create a rule on a property.
For example, you can monitor the temperature on a package and whether it stays within a set range over time.
Define a rule condition and action
Use Rules to specify the values you want to monitor in your events, the conditions you want to detect, and the actions you want Data Activator to take.
Step 1: Select your data
In the Data Activator Explorer, select the property or event stream to monitor in your rule. See create Properties later in this article for information on properties.
Once you select a property or event stream, you see a preview of the values for a sample of the instances of the object.
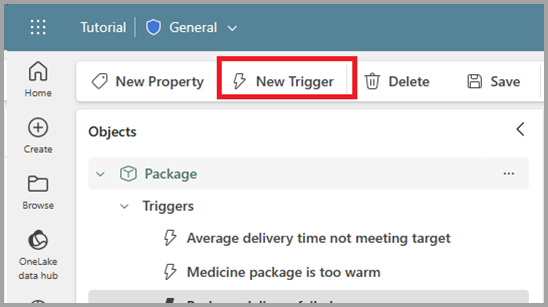
Step 2: Make a new rule
To create a new rule, from the ribbon, select New rule. Give it a new name by selecting the default rule name and editing it. The **Monitor ** section of the rule is prepopulated with the data that you selected in Step 1.
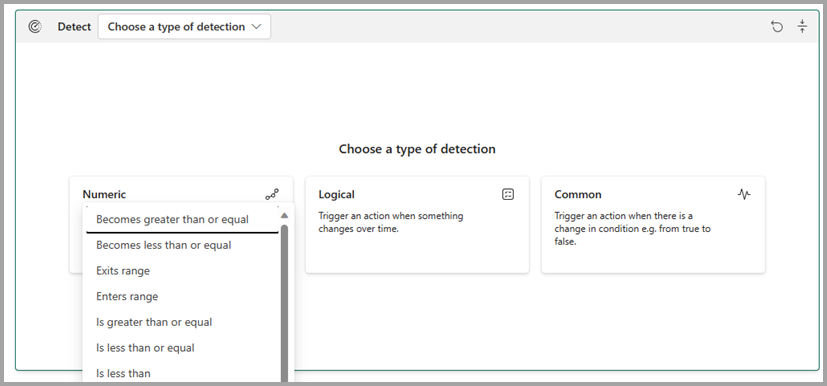
Step 3: Define the condition to detect
Next, choose the type of condition that you want to detect. You can use conditions that check:
- when a numeric value goes over or below a threshold (for example, Temperature is greater than 30),
- when a logical true/false value changes (for example, HasFault becomes True), or
- when a string value changes (for example, Status changes from InCompliance).
The charts in the Live feed tab updates to show a sample of the events that meet the conditions that you set.
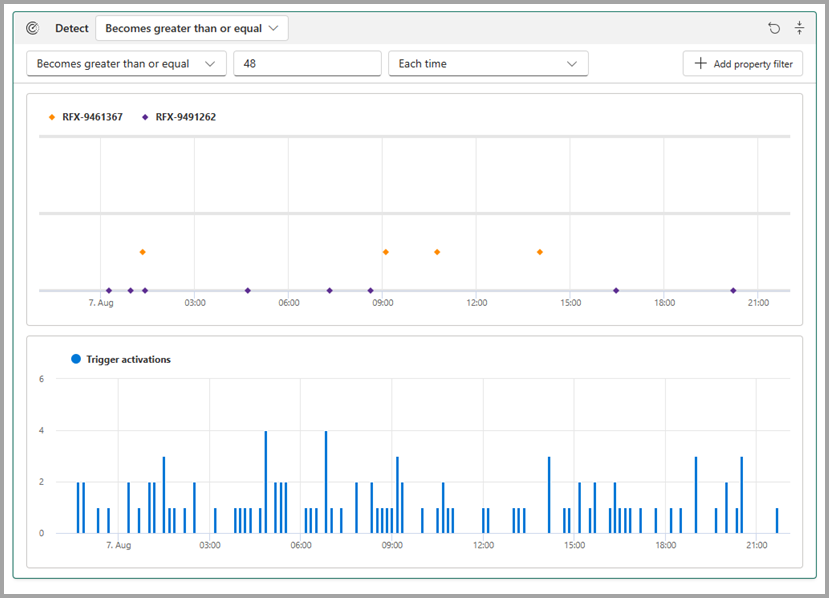
If you navigate to the **Analytics **tab, there are two charts. The first shows the total number of times the rule fired, for all object IDs that Data Activator is tracking. Use this chart to understand the volume of notifications that fired over all object IDs. The second chart shows the total number of times the trigger activated, for the five object IDs. Use this chart to better understand if there were particular object IDs that contribute the most to all the activations that fire.
Step 4: Define the action to take
Finally, use the Act section to choose what to do when the condition is detected.
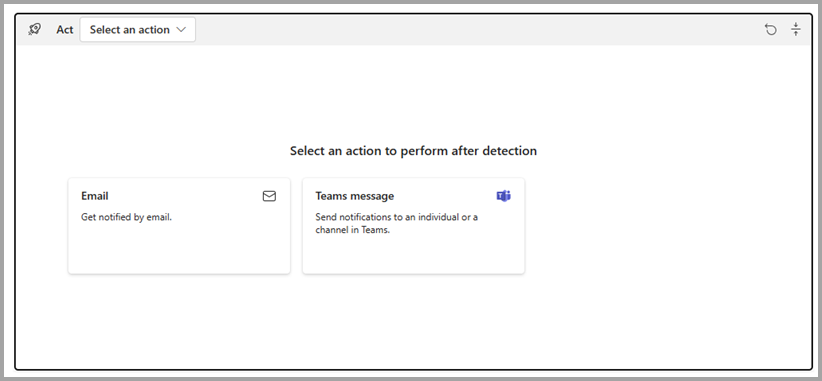
Different action types have different parameters. Some of those parameters are: the email address you want to send to, the workflow you want to start, subject line, or additional information.
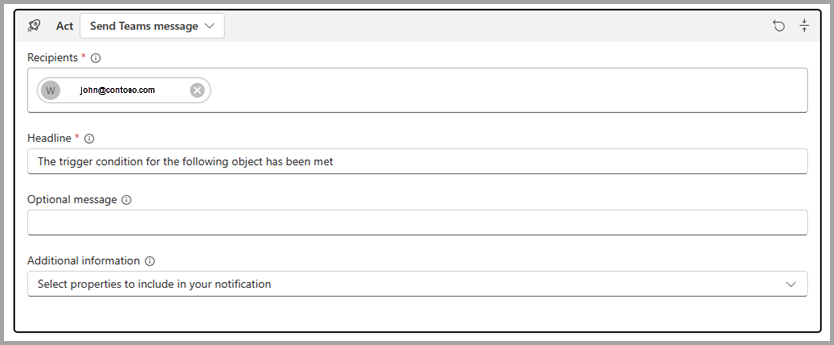
You can also select Edit action to see an editor with a preview of the message that the action sends and options to add more information to the action.
Test your rule
After you create a rule, test it by selecting Send me a test alert. Selecting this button finds a past event for which the rule activation is true and sends you an alert so that you can see what the alert looks like for that event.
- The test alert always goes to you, regardless of the recipient field in the Act card
- The Send me a test alert option is only enabled if you have at least one past event for which the trigger condition is true.

Start and stop your rule
Rules are created in a Stopped state. This means they're not being evaluated as data flows into the system, and don't take any actions as a result. After defining the rule, select Save and start to make the rule active. If you're not ready to start your rule, save it and come back later. When you're ready, select Start from the toolbar for Data Activator to start running the trigger and taking action.

Once started, you see Running in the title area of the rule card. Also, the icon in the Explorer shows that the rule is running. When you start the rule, new activations start running against new ingested data. Your rule doesn't activate on data that has already been ingested. To stop the alert, select Stop.
If you make changes to the rule (for example change the condition it looks for), select Update in the toolbar to make sure that the running rule uses the new values.
When you delete a rule (or object), it can take up to five minutes for any back-end processing of data to complete. Deleted rules might continue to monitor data, and take actions accordingly, for a few minutes after they're deleted.
Create properties
Sometimes, you need to reuse rule logic across multiple rules. Create a property to define a reusable condition or measure, then reference that property from multiple rules.
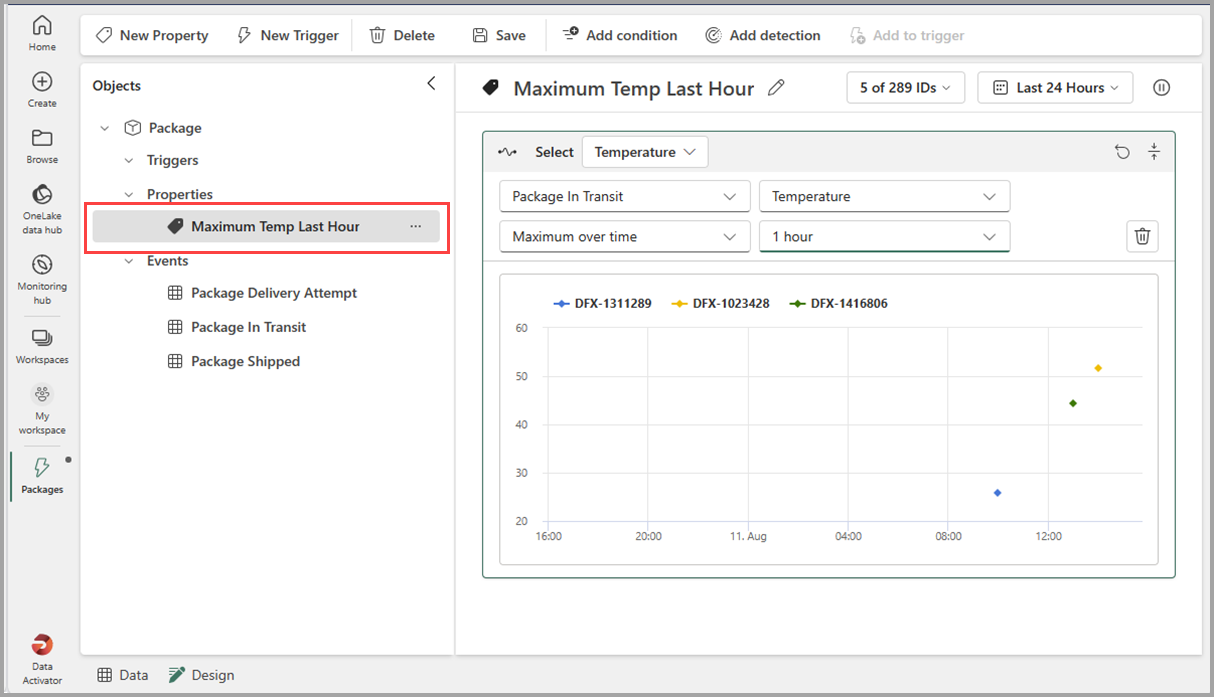
To create a property, select the stream added to the object that you're interested in and select New Property from the ribbon. Then define your property logic. Here, we define a property called Maximum Temp last hour on a package object.
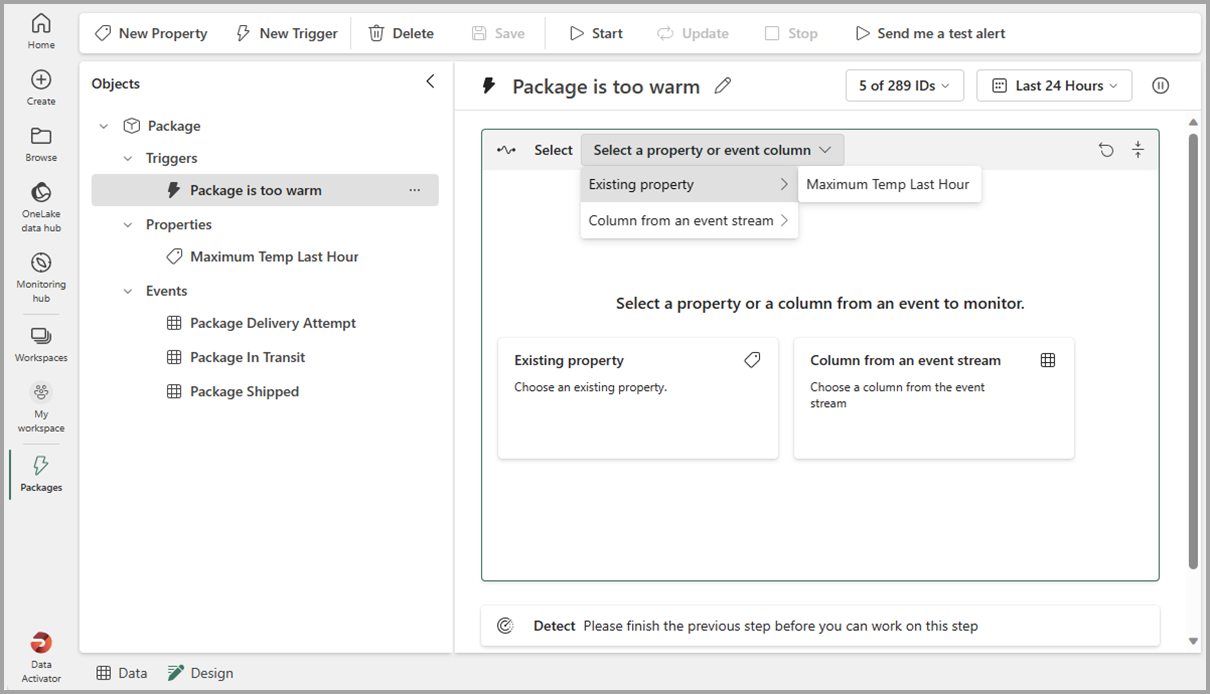
Once you define a property, you can reference it from one or more rules, using the Monitor section. Here we reference the property we made earlier in the Package too warm rule.
Related content
You can also learn more about Microsoft Fabric: