Белешка
Приступ овој страници захтева ауторизацију. Можете покушати да се пријавите или промените директоријуме.
Приступ овој страници захтева ауторизацију. Можете покушати да промените директоријуме.
Azure DevOps Services | Azure DevOps Server | Azure DevOps Server 2022
Important
Consider using the more secure Microsoft Entra tokens over higher-risk personal access tokens. For more information, see Reduce PAT usage. Review the authentication guidance to choose the right authentication mechanism for your needs.
This guide shows you how to share your Xcode projects using Azure Repos.
Prerequisites
| Category | Requirements |
|---|---|
| Project access | Member of a project. |
| Permissions | - View code in private projects: At least Basic access. - Clone or contribute to code in private projects: Member of the Contributors security group or corresponding permissions in the project. - Set branch or repository permissions: Manage permissions are permissions for the branch or repository. - Change default branch: Edit policies are permissions for the repository. - Import a repository: Member of the Project Administrators security group or Git project-level Create repository permission set to Allow. For more information, see Set Git repository permissions. |
| Services | Repos enabled. |
| Tools | Optional. Use az repos commands: Azure DevOps CLI. |
Note
In public projects, users with Stakeholder access have full access to Azure Repos, including viewing, cloning, and contributing to code.
| Category | Requirements |
|---|---|
| Project access | Member of a project. |
| Permissions | - View code: At least Basic access. - Clone or contribute to code: Member of the Contributors security group or corresponding permissions in the project. |
| Services | Repos enabled. |
Authentication methods
Choose the authentication method that best fits your workflow:
| Method | Best for | Setup complexity | Security |
|---|---|---|---|
| SSH keys | Individual developers, long-term use | Medium (one-time setup) | High |
| Microsoft Entra ID tokens | Enterprise environments, temporary access | Medium | Very High |
| Personal access tokens | Specific scenarios, automation | Low | Medium |
Tip
For most developers, SSH keys provide the best balance of security and usability with Xcode. Set them up once and they work seamlessly.
Set up your Xcode project with Git
Create a local Git repo for your code to manage your project in version control.
Choose the option that matches your situation:
- New projects - Creating a new Xcode project
- Existing projects - Adding Git to an existing project
Note
If your project is already in a local Git repo, skip to Create a new Git repo in Azure Repos.
New projects
Create a local Git repo when you create a new project. Choose Create Git repository on My Mac when creating a new project.

Existing projects
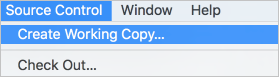
Create a local Git repo for your existing projects not in version control by going to Source Control, Create Working Copy... . Select the projects to add to the local Git repo and select Create. Xcode creates a Git repo for your code and adds a commit with your project files.
Create a new Git repo in Azure Repos
Create a new Git repo in Azure Repos for your Xcode project.
Note
If you already created a repo for your Xcode project in Azure DevOps, skip to Connect and push your project.
In your Azure DevOps organization, go to your project and select the dropdown
 next to the current Git repo name. Select New Repository.
Enter a name for your new Git repo and select Create.
Copy the clone URL from your new repo. Choose the URL format based on your authentication method:
- SSH: Use the SSH clone URL (if you set up SSH keys)
- HTTPS: Use the HTTPS clone URL (for tokens)
Tip
Choose your authentication method:
- SSH keys (recommended for simplicity): Set up once and works seamlessly with Xcode. See Use SSH keys.
- Microsoft Entra ID tokens (recommended for enterprise): Modern, secure authentication. See Microsoft Entra ID authentication.
- Personal access tokens - Alternative method for specific scenarios. See Personal access tokens.
When using SSH, use the SSH clone URL when configuring your remote.
Connect and push your project
Now connect your local Xcode project to Azure Repos and push your code.
In Xcode, go to Source Control and select [Project name] -- main, then Configure.
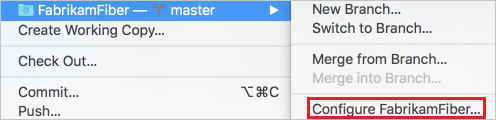
Select Remotes, then select the
 icon and choose Add Remote.
In the Address field, paste the Git clone URL you copied earlier. Select Add Remote, then Done to create the
originremote.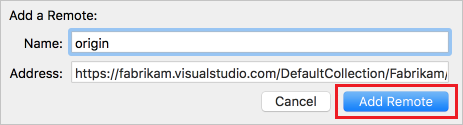
Go to Source Control > Push, enter the branch name on
originto push to (usuallymain), and select Push.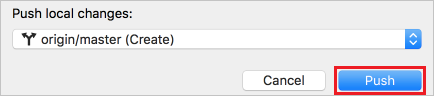
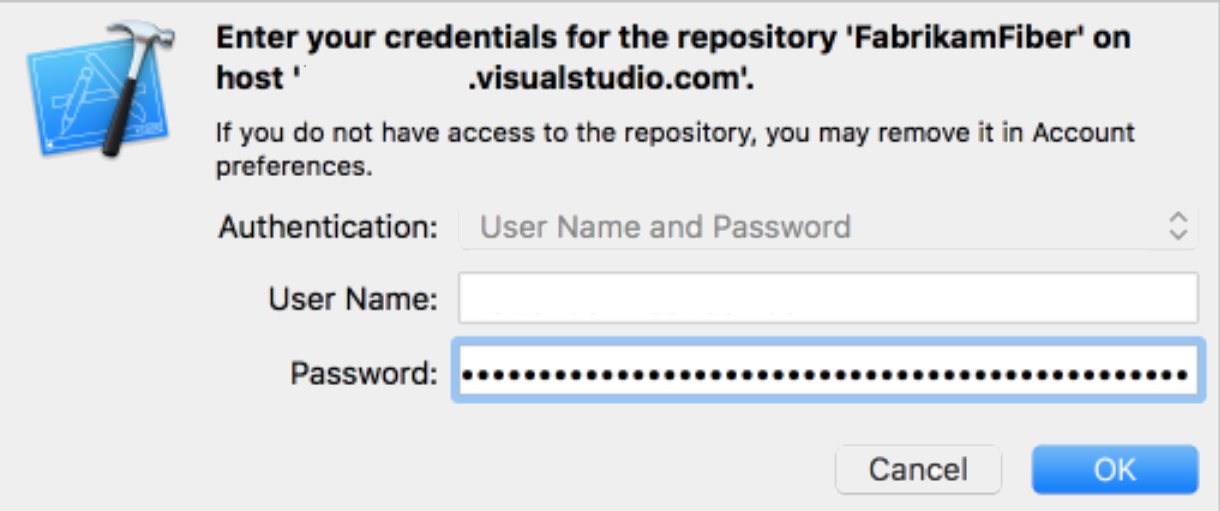
If prompted for credentials, choose your authentication method:
Important
Use SSH keys or Microsoft Entra ID tokens for secure authentication. Only use personal access tokens when other methods aren't available.
Option 1: SSH authentication (recommended)
If you configured SSH keys, Xcode authenticates automatically. No other credentials needed.
Option 2: Microsoft Entra ID token
For Username: Enter your Azure DevOps username. For Password: Use a Microsoft Entra ID access token.
# Get token using Azure CLI
az account get-access-token --resource 499b84ac-1321-427f-aa17-267ca6975798 --query "accessToken" --output tsv
Option 3: Personal access token (alternative)
For Username: Enter your Azure DevOps username. For Password: Create a personal access token with Code (read and write) scope.
Select OK to complete authentication.
After successful authentication, Xcode pushes your project to Azure Repos. Your code is now available for your team to collaborate on.
Tip
Once you set up authentication, future pushes and pulls use the same credentials automatically.