Manage work items
Azure DevOps Services | Azure DevOps Server 2022 - Azure DevOps Server 2019
Work items help you plan and manage your project by tracking different types of work, such as user stories, product backlog items, tasks, bugs, or issues. Use work items to describe the work to be done, assign tasks, track status, and coordinate efforts within your team.
Once you create work items, managing work items involves the following key tasks:
- Update work items
- Link work items
- Follow work items
- Add attachments
- Delete attachments
- Permanently delete attachments
By effectively managing work items, you can ensure that your project stays on track and that all team members are aligned on the work to be done.
Prerequisites
Project access: Be added to a project.
Permissions:
- Have View work items in this node and Edit work items in this node permissions set to Allow. By default, the Contributors group has these permissions. For more information, see Set permissions and access for work tracking.
- To add new tags to work items, have Basic access or higher and the project-level Create new tag definition permission set to Allow. By default, the Contributors group has this permission. Note: Stakeholders cannot add new tags, even if the permission is explicitly set, due to their access level. For more information, see Stakeholder access quick reference.
Email work items: All project members, including those in the Readers group, can send emails containing work items.
Update work items
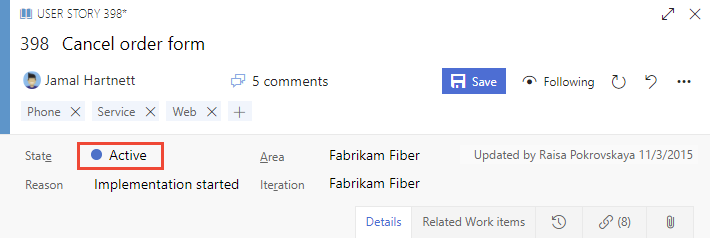
As work progresses, team members can update the state and reassign it as needed. While the workflow states differ for different work item types, they usually follow a progression from New or Active to Completed or Done.
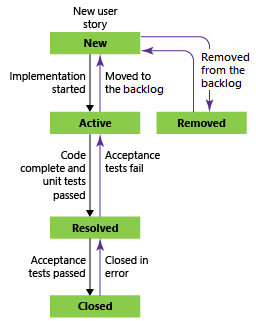
The following image shows the workflow states for a user story. If you want to discard a work item, change the state to Removed, or you can delete it. For more information, see Move, change, or remove a work item.
Typical workflow progression:
- The product owner creates a user story in the New state with the default reason, New user story
- The team updates the status to Active when they decide to complete the work during the sprint
- A user story is moved to Resolved when the team completes all its associated tasks and unit tests for the story pass.
- A user story is moved to the Closed state when the product owner agrees that the story is implemented according to the Acceptance Criteria and acceptance tests pass.
Atypical transitions:
- Change the State from Active to New.
- Change the State from Resolved to Active.
- Change the State from Resolved to New.
- Change the State from Closed to Active.
- Change the State from New to Removed.
- Change the State from Removed to New.
Removed work items remain in the data store and can be reactivated by changing the State.
With each update, changes are recorded in the History field, which you can view through the History tab.
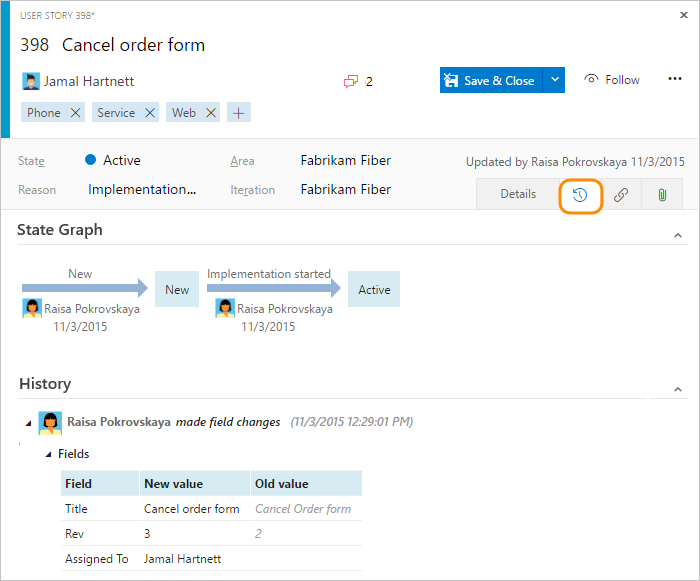
To find work items based on their history, see History & auditing.
Link to a work item
Add links to work items to show relationships between them and other work items or objects. For example, link a bug to a user story to indicate that the bug is blocking the user story. You can also link work items to commits, pull requests, builds, and other objects.
Set the link relationship to various types, including Parent, Child, and Duplicate.
For more information, see Link work items to objects.
Follow a work item
To track the progress of a single work item, select the ![]() follow icon. This action notifies you when changes are made to the work item.
follow icon. This action notifies you when changes are made to the work item.
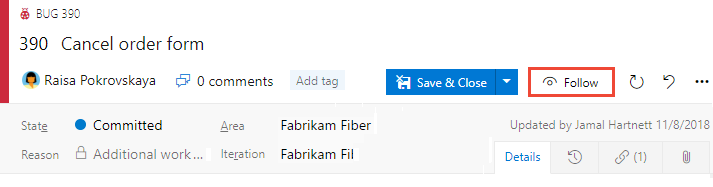
You receive notifications only when other project members modify the work item, such as when they add to the discussion, change a field value, or add an attachment.
Notifications are sent to your preferred email address, which you can change from your user profile.
To stop following changes, select the ![]() following icon.
following icon.
Important
To support the follow feature, configure an SMTP server for team members to receive notifications.
Add columns and sort by a column
Sort your view by any column field selected from the Column Options dialog in the web portal. For more information, see Change column options.
Capture comments in the Discussion section
Use the Discussion section to add and review comments made about the work being performed.
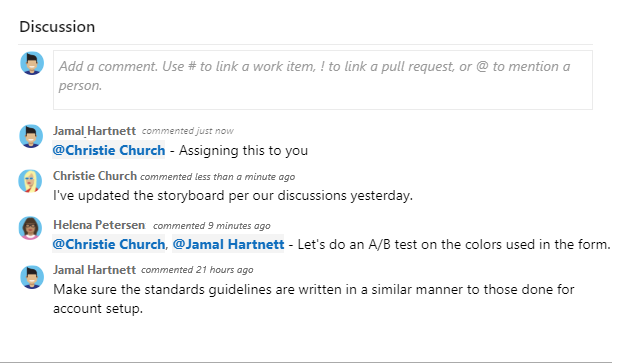
The rich text editor toolbar appears under the text entry area when you place your cursor within any text box that supports text formatting.
Note
A Discussion work item field doesn't exist. To query work items with comments from the Discussion area, filter on the History field. The full content of the text entered in the Discussion text box is added to the History field.
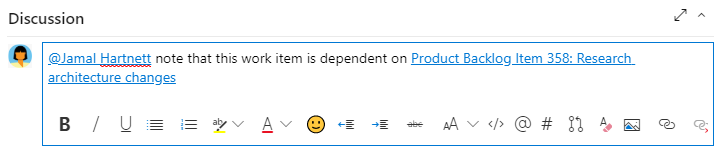
Mention someone, a group, work item, or pull request
Select one of the following icons to open a menu of recent entries where you mentioned someone, linked to a work item, or linked to a pull request. Alternatively, you can open the same menu by entering @, #, or !.
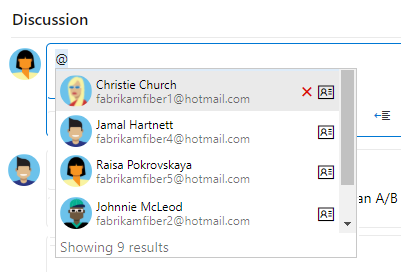
Enter a name or number to filter the menu list to match your entry. Select the entry you want to add. To bring a group into the discussion, enter @ followed by the group name, such as a team or security group.
Edit or delete a comment
To edit or delete any of your discussion comments, choose ![]() Edit or choose the
Edit or choose the ![]() actions icon and then choose Delete.
actions icon and then choose Delete.

Note
Editing and deleting comments requires Azure DevOps Server 2019 Update 1 or later version.
After you update the comment, select Update. To delete the comment, confirm that you want to delete it. A full audit trail of all edited and deleted comments is maintained in the History tab on the work item form.
Important
For on-premises Azure DevOps Server, configure an SMTP server for team members to receive notifications.
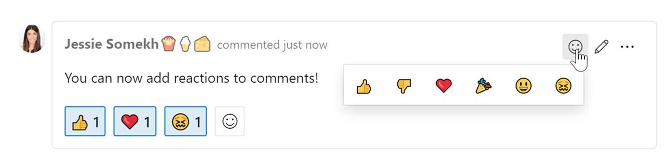
Add a reaction to a comment
Add one or more reactions to a comment by choosing a smiley icon at the upper-right corner of any comment. Or, choose from the icons at the bottom of a comment next to any existing reactions. To remove your reaction, choose the reaction on the bottom of your comment. The following image shows an example of the experience of adding a reaction, and the display of reactions on a comment.
Save a comment without saving the work item
Note
This feature is available starting in Azure DevOps Server 2022.1.
If you only have permissions to add to the Discussion of a work item, then you can do so by saving comments. This permission is controlled by Area Path nodes and the Edit work item comments in this node permission. For more information, see Set work tracking permissions, Create child nodes, modify work items under an area or iteration path.
Once you save the comments, you don't need to save the work item.

Note
When you save changes made to the Discussion control, only the comment gets saved. No work item rules defined for the work item type are executed.
Copy selected items to the clipboard or email them
To select several items in a sequence, hold down the Shift key on a web portal page. To select non-sequential items, use the Ctrl key. Then, use Ctrl+C to copy the selected items to the clipboard. Alternatively, open the context menu for the selected work items, select the ![]() , and select an option from the menu.
, and select an option from the menu.

Add attachments
From your work item, select the Attachments tab > Add attachment.
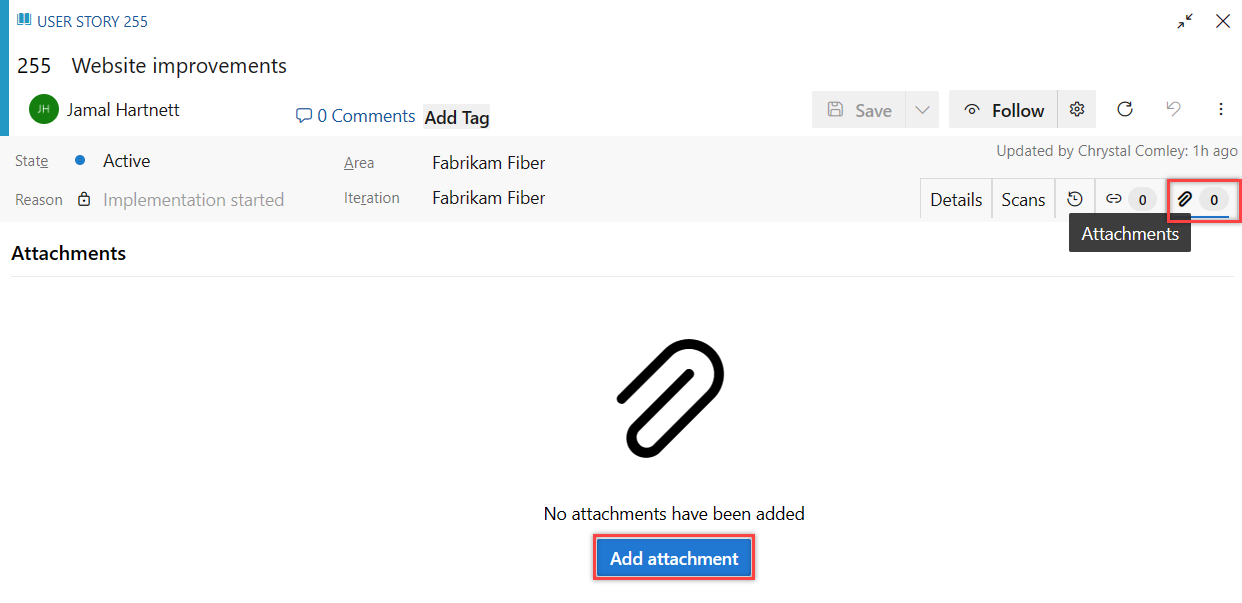
Select the file, select Open, and then Save.
The attachment is added to the work item.
Delete attachments
From your work item, select the Attachments tab.
Select more actions
 > Delete attachment.
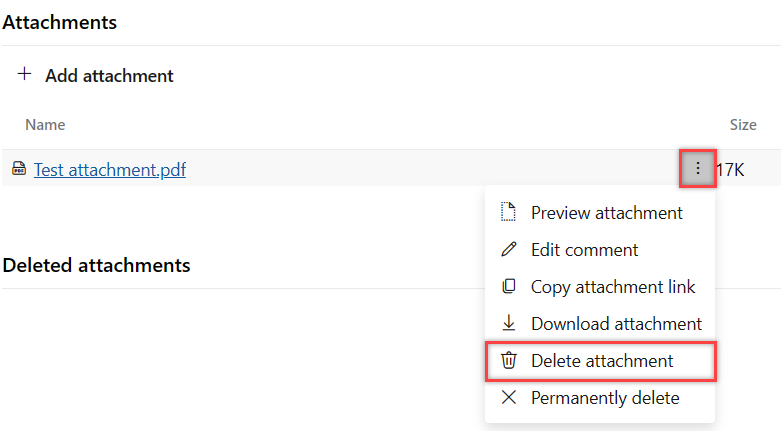
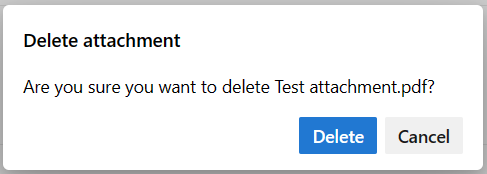
Select Delete to confirm you want to delete the attachment.
The deleted attachment cannot be restored and is permenantly removed after 28 days. In the meantime, if you have permissions, you can permanently delete it.
Permanently delete attachments
To permanently delete attachments, you need Permanently delete work items permissions. This action is typically reserved for situations requiring immediate removal, such as when files are infected. Otherwise, deleted attachments will be automatically removed within 28 days.
From your work item, select the Attachments tab.
Select more actions
> Permanently delete attachment.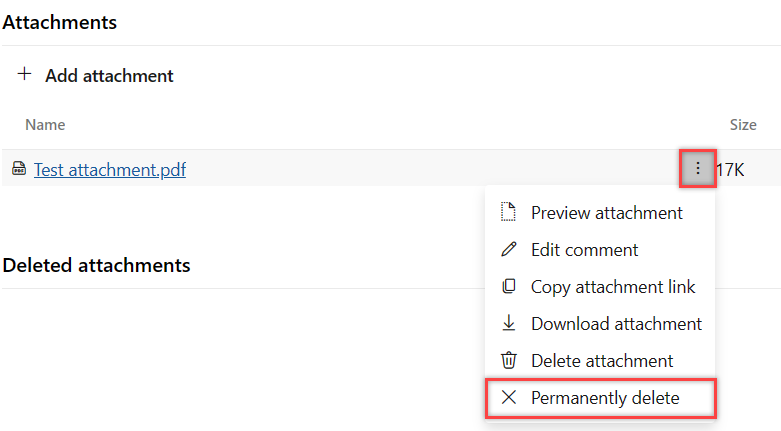
Select Delete to confirm you want to permanently delete the attachment.
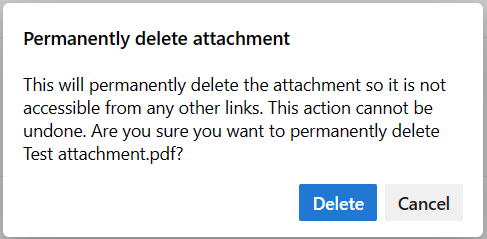
The attachment is permanently deleted and isn't accessible from any other links.
Note
This feature is only available in New Boards Hub.