How to establish multiple sessions for a single client
In this guide, you learn how to establish multiple sessions for a single client to an Event Grid namespace.
Prerequisites
- You have an Event Grid namespace created. Refer to this Quickstart - Publish and subscribe on a MQTT topic to create the namespace, subresources, and to publish/subscribe on a topic.
Multi-Session support
To create multiple sessions per client, provide the client authentication name in the Username property of the CONNECT packet. Then you can provide the session ID in the Client Identifier (ClientID) property of the CONNECT packet.
- If the Username property isn't provided in the CONNECT packet, you can't create multiple sessions for the client.
- ClientID field can't be empty.
- ClientID needs to be unique across all the clients in a namespace
If a client tries to take over another client's active session by presenting its session name, its connection request is rejected with an unauthorized error. For example, if Client B tries to connect to session 123 that is assigned at that time to client A, Client B's connection request is rejected.
If a client is disconnected without ending its session, other clients can't use the session name until the session expires. For example, if client A creates a session with session name 123 then client A is disconnected, client B can't connect to session 123 until the original session expires.
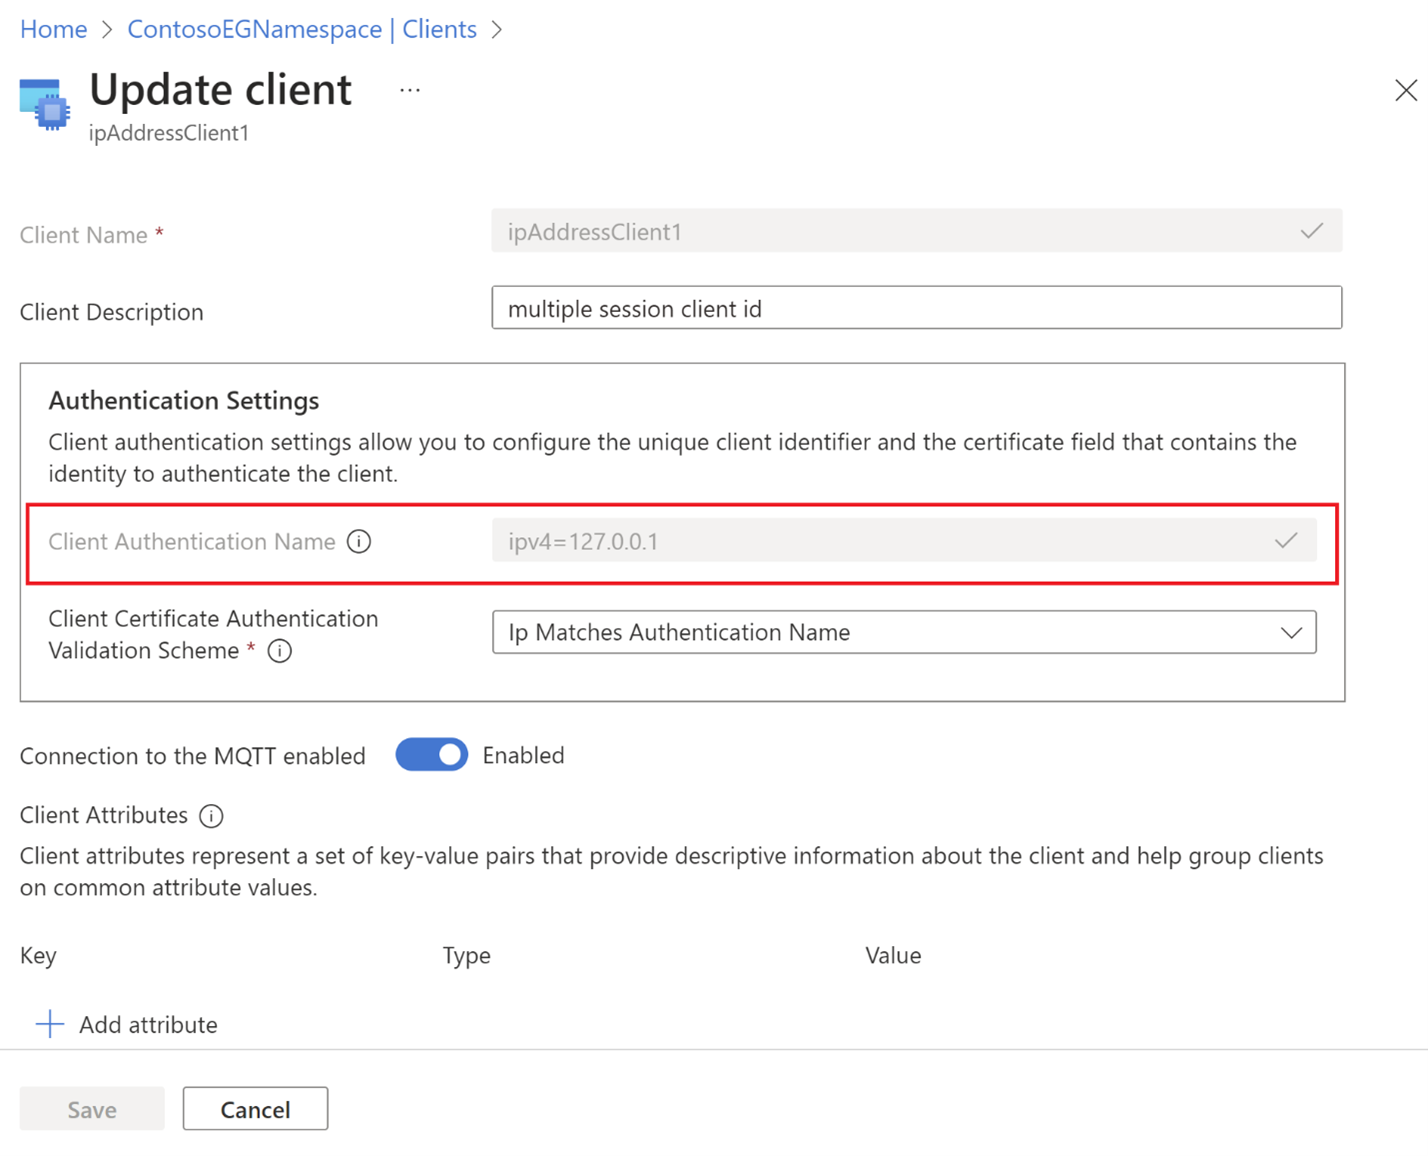
CONNECT configuration In the MQTT CONNECT packet, include the Client authentication name in the Username field, which signifies the client's identity. Here’s an example of client metadata with client authentication name “ipv4=127.0.0.1”.

Now, while connecting the client to the namespace, you can use the client identifier field in the MQTT CONNECT packet as session identifier.
For example, based on the client configuration, you can send two CONNECT packets with field values from the same client:
You can see a sample connection setup using MQTTX application.
First connect packet:
- username: “ipv4=127.0.0.1”
- clientId: “sessionId1”

Second connect packet:
- username: “ipv4=127.0.0.1”
- clientId: “sessionId2”

You can use the same client certificate credentials to authenticate both the sessions.