Quickstart: Create a Split Experimentation Workspace (preview)
In this quickstart, you create a new Split Experimentation Workspace (preview). You can create a Split Experimentation Workspace in the Azure portal from an App Configuration store, from Azure Marketplace, or from the Azure portal search bar.
Split Experimentation allows you to run A/B tests for your applications and gather feedback for new features.
Prerequisites
- An Azure subscription. If you don’t have one, create one for free.
- A Microsoft Entra ID app with required configuration.
- An Azure storage account
- A Workspace-based Application Insights resource connected to an App Configuration store.
Find Split Experimentation Workspace (preview)
Find Split Experimentation Workspace (preview) in one of the following ways:
Find Split Experimentation Workspace from Azure App Configuration.
Open the App Configuration store in which you want to create the Split Experimentation Workspace, then select Experimentation > Split Experimentation Workspace (preview) from the left menu.
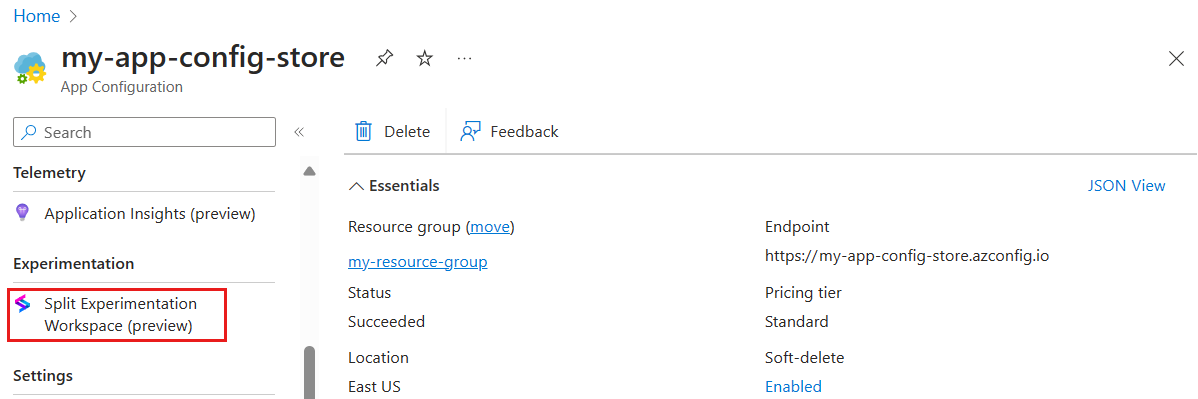
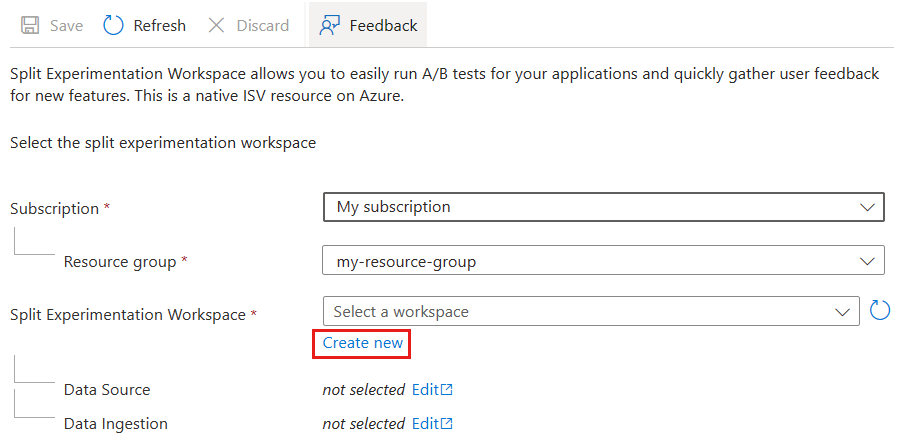
On this panel, under the Split Experimentation Workspace label, select Create new.
Find Split Experimentation Workspace from the Azure search bar.
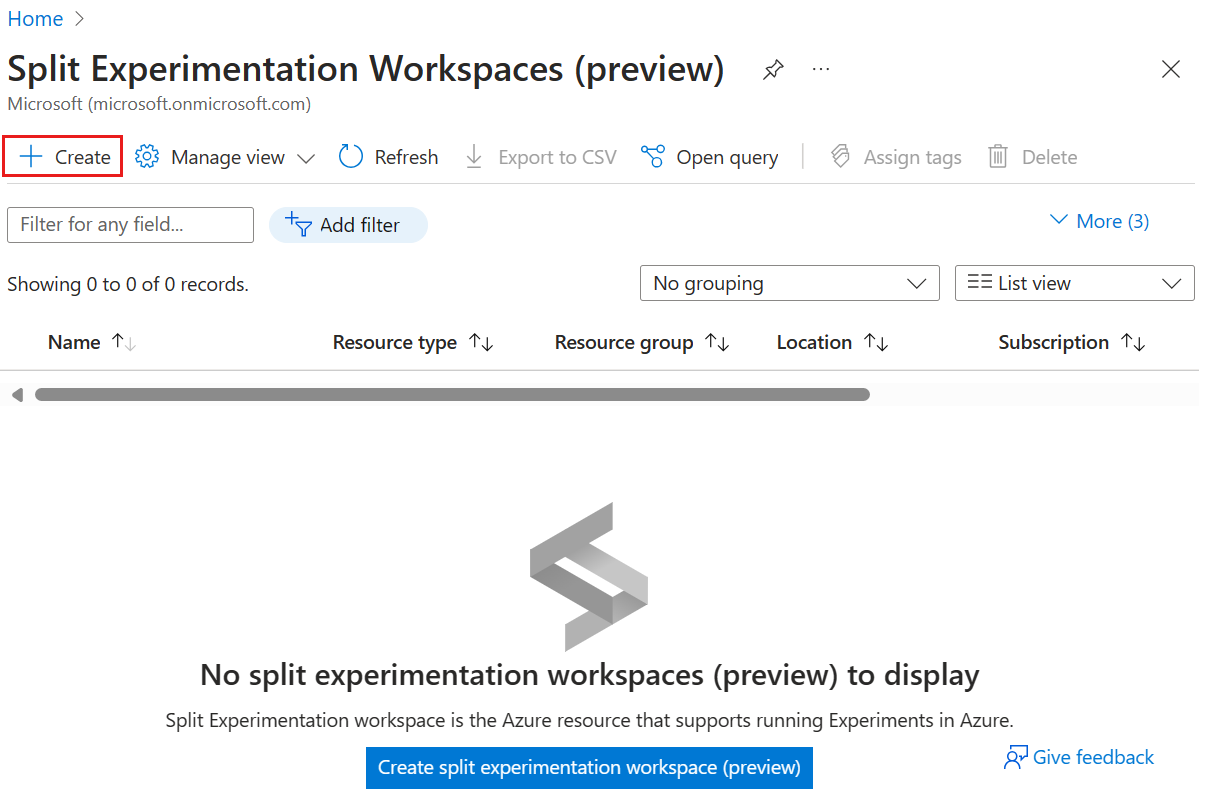
Open the Azure portal homepage, go to the search bar at the top, and enter Split Experimentation Workspace.

Under Services, select Split Experimentation Workspace (preview), then select Create or Create Split Experimentation Workspace (preview).
Find Split Experimentation Workspace from Azure Marketplace.
In the Azure portal, go to Marketplace, then, in the pane that opens, enter Split Experimentation and select Split Experimentation for Azure App Configuration.
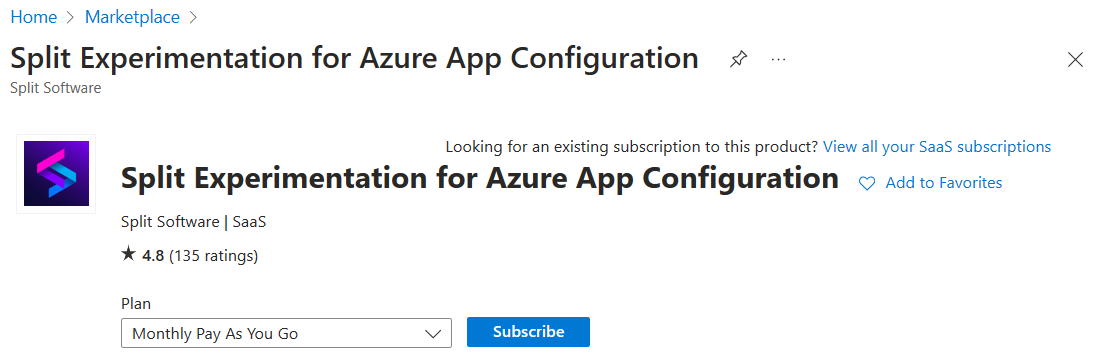
The Monthly Pay As You Go plan is selected by default. Click on Subscribe.
Create Split Experimentation Workspace (preview)
Basics
Under Basics, select or enter the following information, then select Next. This tab contains basic information about your Split Experimentation Workspace.
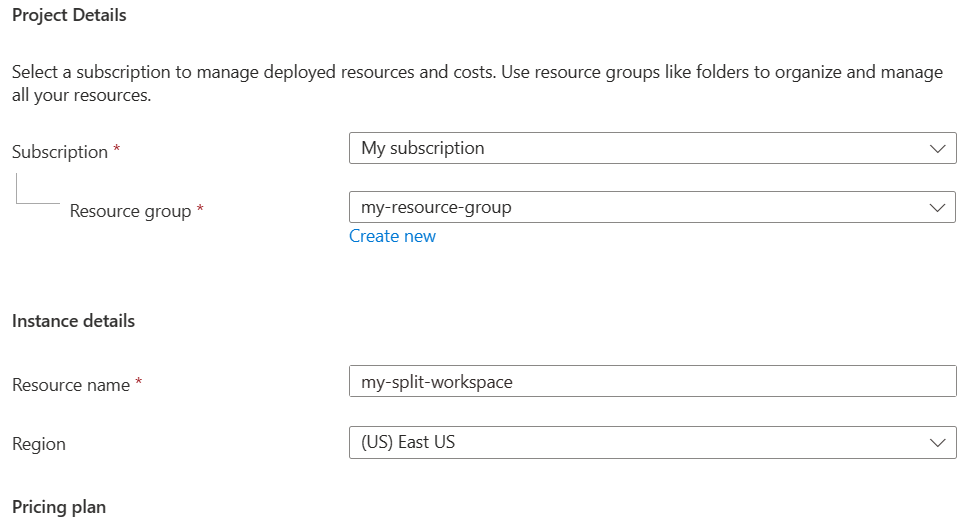
- Subscription: Select the Azure subscription you want to use for the resource.
- Resource group: Select an existing resource group or create a new one for the resource.
- Resource name Enter a name for your Split Experimentation Workspace.
- Region: Select the region where you want to deploy the resource.
- Pricing plan: Monthly Pay As You Go is displayed on screen. This is the only plan available.
Data source
Under Data Source, select the following information, then select Next. The data source is the resource that provides Split with the feature flag impressions and events data for analyzing the experiments.
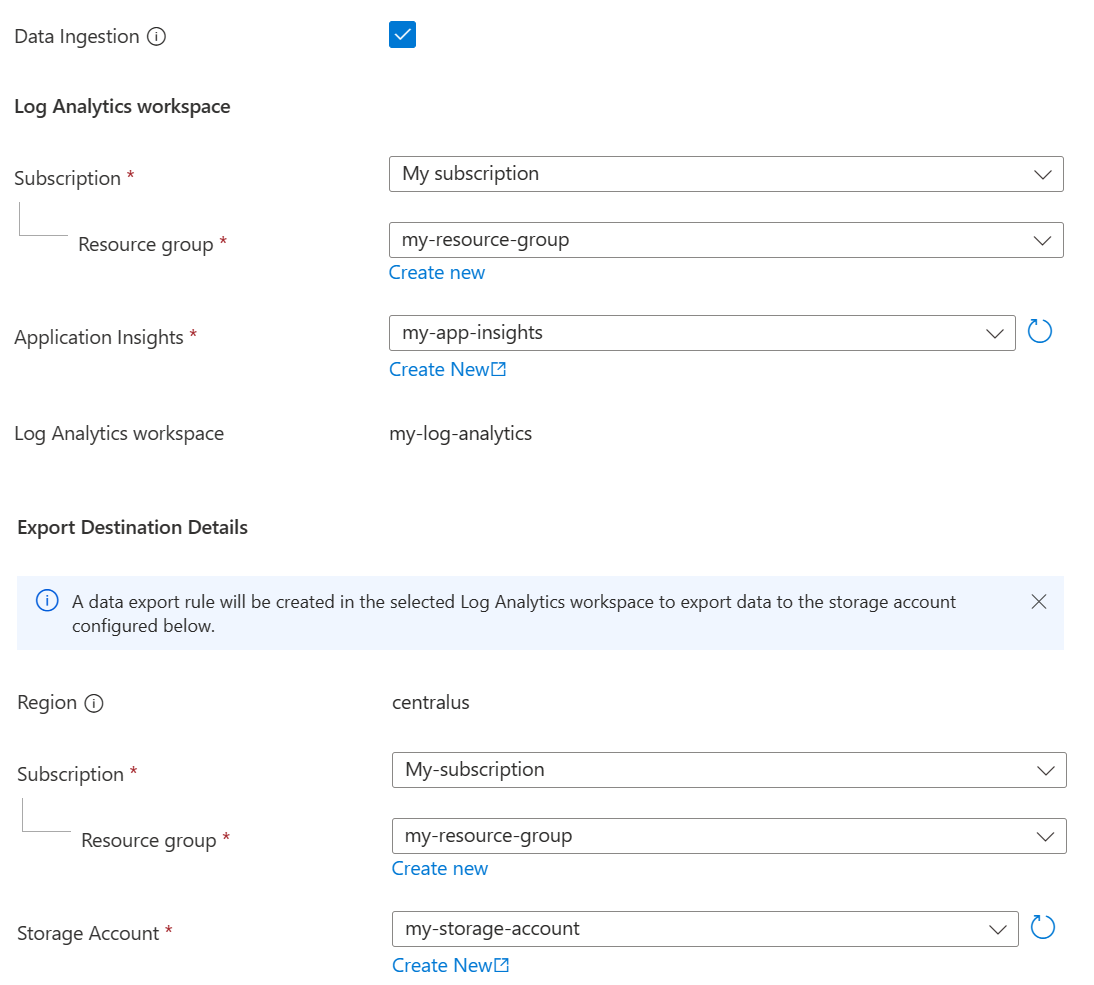
- Enable Data Ingestion by selecting the checkbox to allow ingestion of impressions and events from the data source. If you deselect the checkbox, you can enable data ingestion later using the App Configuration portal by navigating to Experimentation > Split Experimentation Workspace.
Note
If you do not enable Data Ingestion for your Split Experimentation Workspace resource, feature evaluation and customer events will not be exported from your Data Source to Split.
- Under Log Analytics workspace, select the Application Insights resource you want to use for this experiment. It must be the same Application Insights workspace you connected to your App Configuration store in the previous step.
- Under Export Destination Details, select the Storage Account you want to use for storing impressions and events data. A data export rule will be created in the selected Log Analytics workspace to export data to the storage account entered and configured below.
Note
When creating a new storage account for your experimentation, you must use the same region as your Log Analytics workspace.
Data access policy
Under Data Access Policy, select the Microsoft Entra ID application to use for authentication and authorization in your Split workspace, then select Review + create.

If your group already uses a shared enterprise application, you may contact the administrator of your group to add you as a user. Otherwise, create and set up your Microsoft Entra ID application for Split Experimentation Workspace, then add yourself as a user.
Review and create
Under Review + create, review the information listed for your new Split Experimentation resource, read the terms, and select Create.
Next step
Povratne informacije
Stiže uskoro: Tokom 2024. godine postepeno ćemo ukidati probleme sa uslugom GitHub kao mehanizam povratnih informacija za sadržaj i zameniti ga novim sistemom povratnih informacija. Dodatne informacije potražite u članku: https://aka.ms/ContentUserFeedback.
Prosledite i prikažite povratne informacije za