Upgrade Exchange to the latest Cumulative Update
If you have Exchange Server 2016 or Exchange Server 2019 installed, you can upgrade the Exchange servers to the latest Cumulative Update (CU). Because each CU is a full installation of Exchange that includes updates and changes from all previous CUs, you don't need to install any previous CUs or Exchange 2016 RTM or Exchange 2019 RTM first. For more information about the latest available Exchange CUs, see Updates for Exchange Server.
Caution
After you upgrade Exchange to a newer CU, you can't uninstall the new version to revert to the previous version. Uninstalling the new version completely removes Exchange from the server.
What do you need to know before you begin?
Estimated time to complete: 180 minutes
The account that you'll use to install the CU requires membership in the Exchange Organization Management role group. If the CU requires Active Directory schema updates or domain preparation, the account will likely require more permissions. For more information, see Prepare Active Directory and domains for Exchange Server.
Check the Release notes before you install the CU.
Verify the target server meets the potentially new system requirements and prerequisites for the CU. For more information, see Exchange Server system requirements and Exchange Server prerequisites.
Caution
The following types of customized settings will be overwritten when you install an Exchange CU:
- Any customized Exchange or Internet Information Server (IIS) settings that you made in Exchange XML application configuration files on the Exchange server. For example, web.config files or the EdgeTransport.exe.config file. Starting with Exchange Server 2019 CU13, the most common configuration file changes will be backed up and automatically restored. More information can be found here.
- Customizations to the operating system's TLS/Cipher settings.
Be sure save this information so you can easily re-apply the settings after the install. After you install the Exchange CU, you need to re-configure these settings.
After you install an Exchange CU, you need to restart the computer so that changes can be made to the registry and operating system.
Tip
Having problems? Ask for help in the Exchange forums. Visit the forums at: Exchange Server.
Best Practices
- Always keep your servers as up to date as possible. This especially applies to the installation of a new server.
- Always install the latest Cumulative Update when creating a new server.
- There's no need to install the RTM build or previous builds and then upgrade to the latest Cumulative Update. This is because each Cumulative Update is a full build of the product.
- Reboot the server beforehand.
- Test the new update in a non-production environment first to avoid any problems in the new update affecting the running production environment.
- Have a tested and working backup of both the Active Directory and your Exchange Server.
- Back up any and all customizations. They won't survive the update.
Note
Exchange Server 2019 CU13 or later will back up and restore the most common configuration files. You can find the list of preserved configurations here.
- Use an elevated command prompt to run the Cumulative Update.
- Temporarily disable any anti-virus software during the update process.
- Reboot your server upon completion of the update.
- For exchange servers installed on database availability group, follow steps mentioned in Manage database availability groups in Exchange Server to put the DAG members in maintenance mode before installing the cumulative updates.
Install an Exchange CU using the Setup wizard
Download the latest version of Exchange on the target computer. For more information, see Updates for Exchange Server.
In File Explorer, right-click on the Exchange CU ISO image file that you downloaded, and then select Mount. In the resulting virtual DVD drive that appears, start Exchange Setup by double-clicking
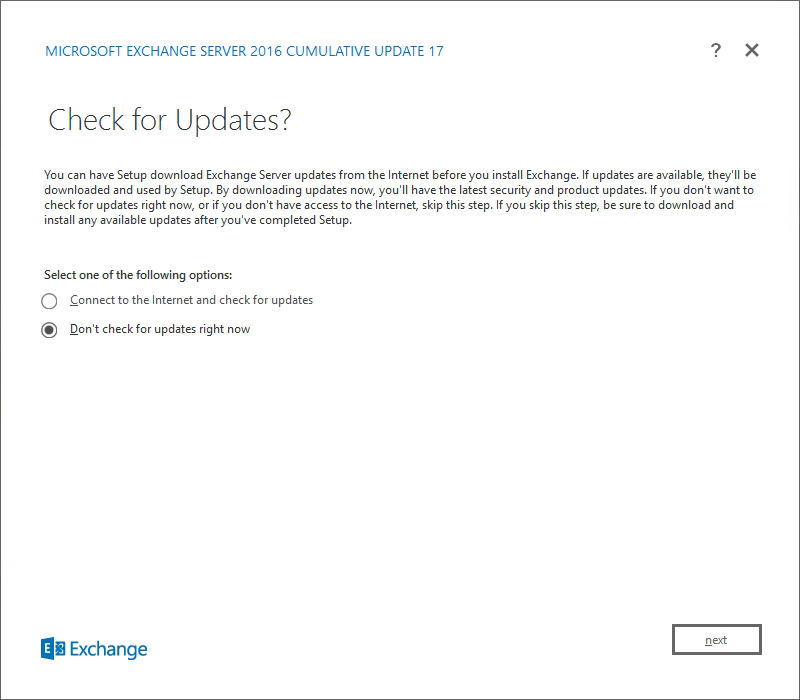
Setup.exe.The Exchange Server Setup wizard opens. On the Check for Updates? page, choose one of the following options, and then click Next to continue:
Connect to the Internet and check for updates: We recommend this option, which searches for updates to the version of Exchange that you're currently installing (it doesn't detect newer CUs). This option takes you to the Downloading Updates page that searches for updates. Click Next to continue.
Don't check for updates right now
The Copying Files page shows the progress of copying files to the local hard drive. Typically, the files are copied to
%WinDir%\Temp\ExchangeSetup, but you can confirm the location in the Exchange Setup log atC:\ExchangeSetupLogs\ExchangeSetup.log.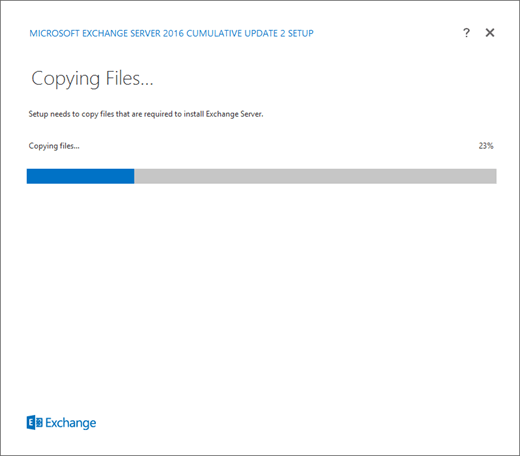
The Upgrade page shows that Setup detected the existing installation of Exchange, so you're upgrading Exchange on the server (not installing a new Exchange server). Click Next to continue.
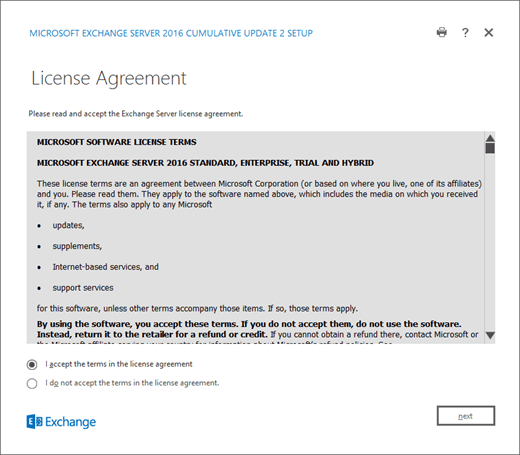
On the License Agreement page, review the software license terms, select I accept the terms in the license agreement, and then click Next to continue.
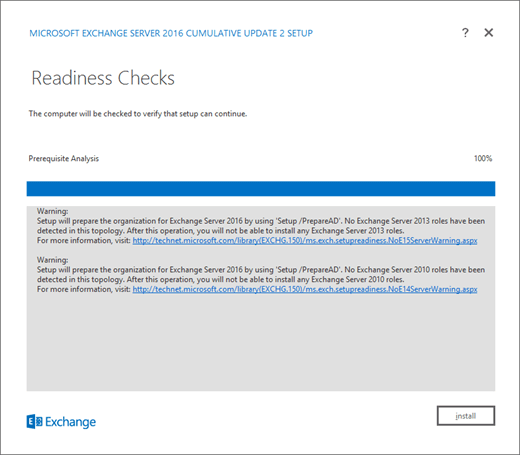
On the Readiness Checks page, verify that the prerequisite checks completed successfully. If they haven't, the only option on the page is Retry, so you need to resolve the errors before you can continue.
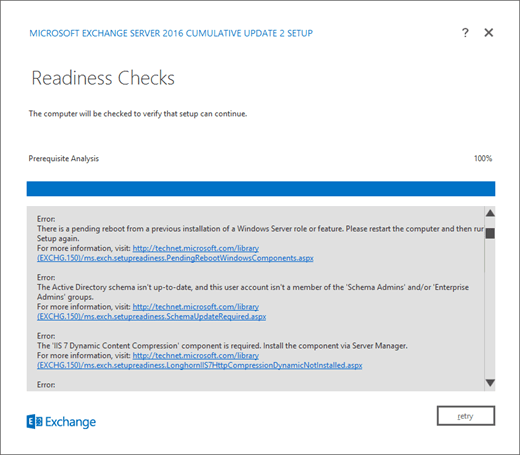
After you resolve the errors, click Retry to run the prerequisite checks again. You can fix some errors without exiting Setup, while the fix for other errors requires you to restart the computer. If you restart the computer, you need to start over at Step 1.
When no more errors are detected on the Readiness Checks page, the Retry button changes to Install so you can continue. Be sure to review any warnings, and then click Install to install Exchange.
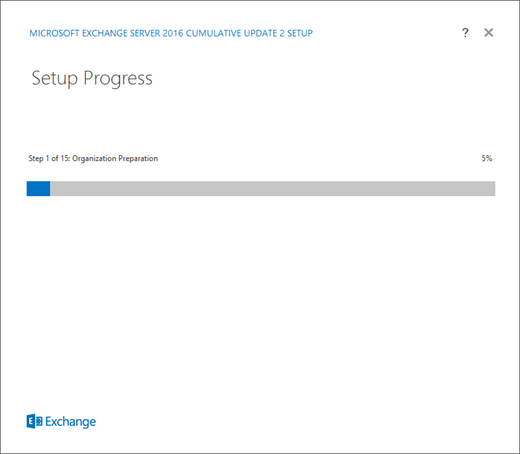
On the Setup Progress page, a progress bar indicates how the installation is proceeding.
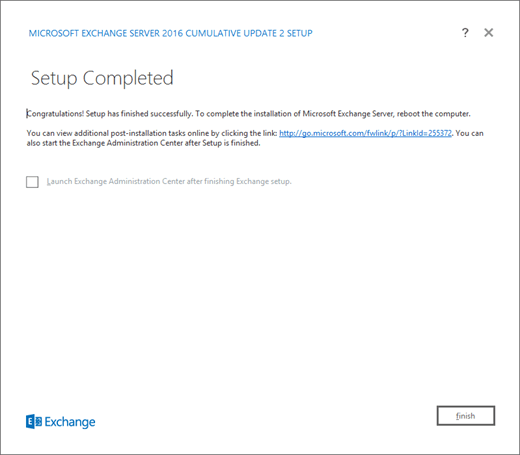
On the Setup Completed page, click Finish, and then restart the computer.
Install an Exchange CU using unattended Setup from the command line
To install an Exchange CU from the command line, use the following syntax:
Note
The previous /IAcceptExchangeServerLicenseTerms switch will not work starting with the September 2021 Cumulative Updates (CUs). You now must use either /IAcceptExchangeServerLicenseTerms_DiagnosticDataON or /IAcceptExchangeServerLicenseTerms_DiagnosticDataOFF for unattended and scripted installs.
The following examples use the /IAcceptExchangeServerLicenseTerms_DiagnosticDataON switch. It's up to you to change the switch to /IAcceptExchangeServerLicenseTerms_DiagnosticDataOFF.
<Virtual DVD drive letter>:\Setup.exe /IAcceptExchangeServerLicenseTerms_DiagnosticDataON /Mode:Upgrade [/DomainController:<ServerFQDN>] [/EnableErrorReporting]
Notes:
The optional /DomainController switch specifies the domain controller that Setup uses to read from a write to Active Directory.
The optional /EnableErrorReporting switch enables Setup to automatically submit critical error reports to Microsoft. Microsoft uses this information to diagnose problems and provide solutions.
This example uses the Exchange CU files on drive E: to install the CU on the local server, and uses the domain controller dc01.contoso.com to read from and write to Active Directory.
E:\Setup.exe /IAcceptExchangeServerLicenseTerms_DiagnosticDataON /Mode:Upgrade /DomainController:dc01.contoso.com
For more information about unattended Setup from the command line, see Install Exchange using unattended mode.
How do you know this worked?
To verify that you've successfully installed an Exchange CU, see Verify Exchange Server installations.