How to create and manage business domains (Preview)
Ownership of data is an important aspect of data governance. However, today data is maintained and supported by IT infrastructure that doesn't always have the full context for how data can and should be used in an organization. Enter the business domain that brings users and data together with a data-use driven structure.
This article covers how to create and manage business domains in Microsoft Purview. For more information about business domains in general, see our business domains concept page.
Prerequisites
- To create a business domain the user must have the business domain creator role.
- To assign data stewards or data product owners, a user must have business domain owner permissions.
- To curate (add terms or OKRs to a business domain) user must have Data Steward permissions.
- To add Data Products to a business domain a user must have Data Product Owner permissions.
Access business domains
To see business domains, a user needs data catalog reader role.
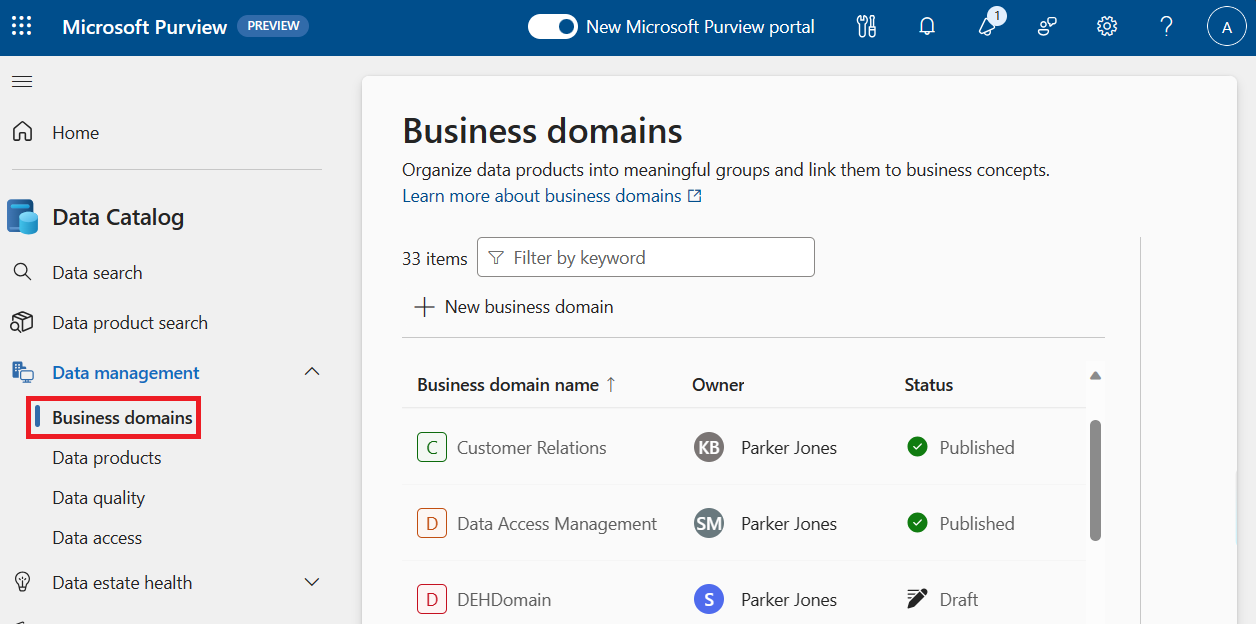
- In the Microsoft Purview portal, open the data catalog and select the Data management drop-down.
- Select Business domains.
- Here you'll see a list of all the business domains in your organization.
- You can filter the business domains by keyword.
- Select a business domain to see its details, roles, aggregate data quality score, health actions, associated data products, glossary terms, OKRs, and critical data.
Roles
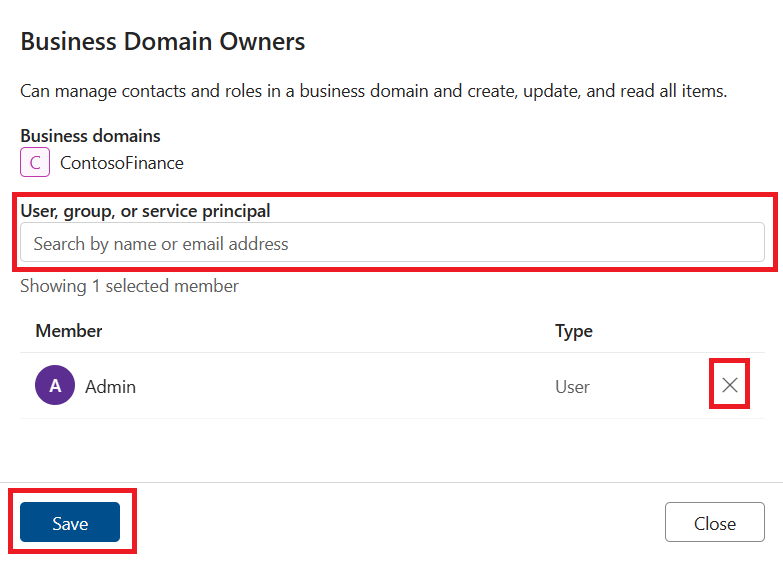
To edit the users, groups, or service principals assigned to a role:
In the Microsoft Purview portal, open the data catalog, select Business domains, and select the business domain you want to edit the roles in.
Select the + add button next to the role name.

Search for users, groups, or service principals to add to the role and select them.
To remove users from the list, select the X next to their name.
Save your changes by selecting Save when you're finished.
For more information about the roles assigned at the business domain level, see our permissions documentation.
View your business concepts
Your business domain has many business concepts associated with it: data products, glossary terms, OKRs, and critical data. You can find and view each of these concepts in your business domain.
In this example, we'll look at data products:
In the Microsoft Purview portal, open the data catalog and select the Data management drop-down.
Select Business domains.
Select one of your business domains.
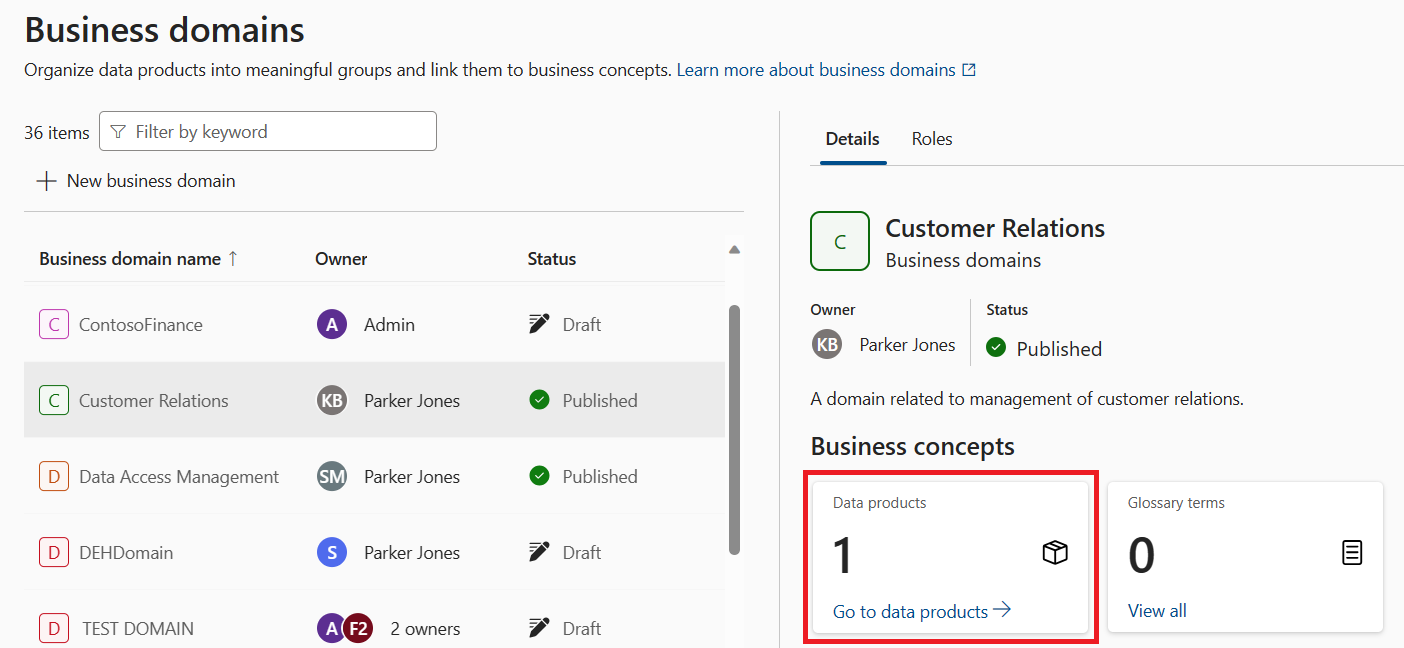
On your business domain's detail page, scroll down to the Business concepts section. Here you can see your data products, glossary terms, OKRs, and critical data. Select one to view it.
For example, to view your data products, select the Data products card to see all associated data products.
To add any of these concepts to your business domain, see their individual documentation:
Create business domains
Note
To create a business domain you need the business domain creator role.
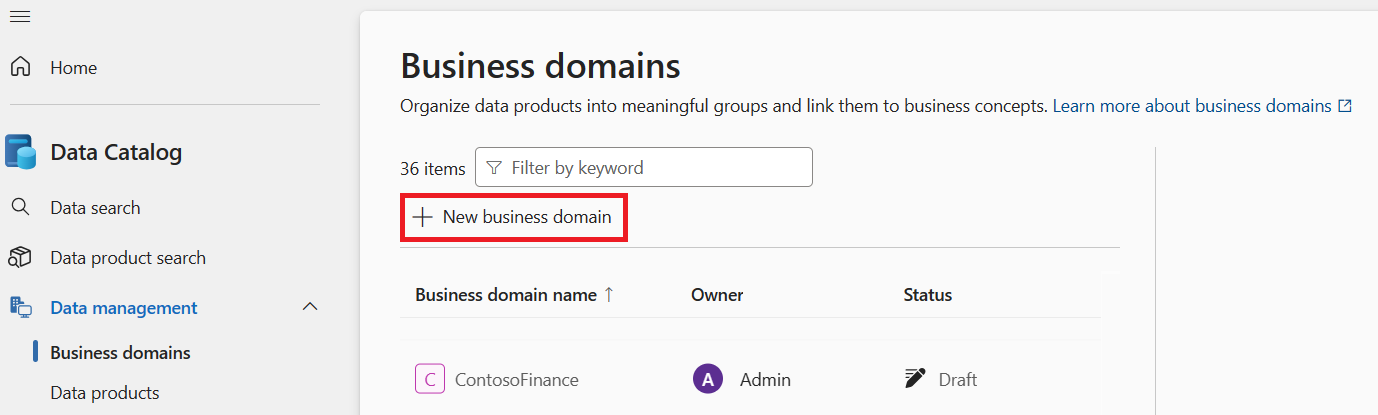
In the Microsoft Purview portal, open the data catalog and select the Data management drop-down.
Select Business domains.
Select + New Business domain.
Give your business domain a unique name, and description.
Select the business domain Type: Functional unit, line of business, data domain, regulatory, project.
Note
Type is an extra descriptor to indicate your business domain's purpose. There aren't any behavioral differences between types.
Optionally select an existing domain as a parent domain.
Select Create.
You'll see your business domain in the list of domains. Other users won't be able to see this business domain until its status is set to Published.
Tip
For guidance on what business domains to create in your organization, see our best practices documentation.
Manage business domains
Note
To edit a business domain you need the business domain owner role.
Warning
Currently, after a business domain is published, any changes to that business domain will cause all other associated concepts (data products, glossary terms, OKRs, and critical data) to be unpublished. You will need to re-publish them.
On the business domain's details page, select Edit.
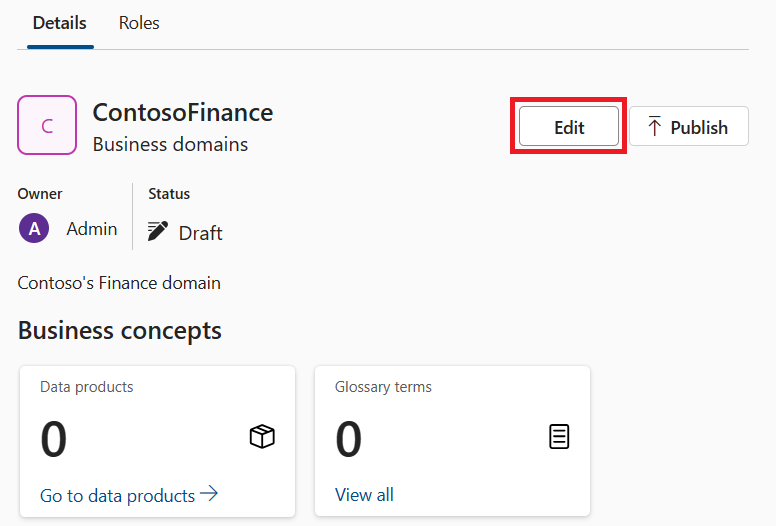
Here you're able to edit name, description, owner, and status.
Select Save to save your changes.
To add data products to a business domain, see the data product documentation.
Data estate mappings
Business domains can be mapped to collections in your data map. Mapping your business domain to a collection means that the assets associated with the business concepts in that domain will be from that collection or its children.
To map your business domain to a specific data map collection:
In the Microsoft Purview portal, open the data catalog and select the Data management drop-down.
Select Business domains.
Select the business domain you want to map to a data map collection.
Select the Data estate mappings tab.
Select the drop-down and select the collection you want to associate your business domain with.
Note
You will only be able to see the collections that you have access to in the data map.
Select Save.
Manage domain policies
To manage domain policies, you need data owner or data steward permissions.
- On your business domain's page, select Configure access.
- From the policy configuration window, you're able to create and manage your access policies. For more information, see the documentation about managing access policies.
Access classic experiences in the business domain
Do you need to access classic glossaries or business assets? For now, you can find them in under business domains.
- In the Microsoft Purview portal, open the Data Catalog.
- Select the Data management drop-down.
- Select Business domains.
- Select the Business domains header.
- Select either Glossaries or Business assets to manage your resources.
Next steps
Feedback
Kommer snart: Under hela 2024 kommer vi att fasa ut GitHub-problem som feedbackmekanism för innehåll och ersätta det med ett nytt feedbacksystem. Mer information finns i: https://aka.ms/ContentUserFeedback.
Skicka och visa feedback för