Kommentar
Åtkomst till den här sidan kräver auktorisering. Du kan prova att logga in eller ändra kataloger.
Åtkomst till den här sidan kräver auktorisering. Du kan prova att ändra kataloger.
I den här snabbstarten ser du olika metoder för att skapa en containerklar miljö i Windows och Windows Server. Du installerar också en container runtime.
Containrar ger en enkel, isolerad miljö som gör appar enklare att utveckla, distribuera och hantera. Innan du kan använda en container måste du sätta upp en lämplig exekveringsmiljö.
Den här snabbstarten gäller för Windows Server 2025, Windows Server 2022, Windows Server 2019, Windows Server 2016, Windows 11 och Windows 10.
Förutsättningar
Vilken miljö du behöver för den här snabbstarten beror på operativsystemet (OS).
Windows 10 och Windows 11
Om du vill köra containrar i Windows 10 eller Windows 11 behöver du följande miljö:
- Ett fysiskt datorsystem som kör Windows 11 eller Windows 10 med Anniversary Update (version 1607) eller senare
- Professional- eller Enterprise-utgåva
- Hyper-V aktiverat
Windows Server-containrar använder Hyper-V isolering som standard i Windows 10 och Windows 11 för att ge utvecklare samma kernelversion och konfiguration som används i produktion. Mer information om Hyper-V isolering finns i Isoleringslägen.
Windows Server
Om du vill köra Windows Server-containrar i utvecklingsmiljöer behöver du en fysisk server eller virtuell dator (VM) som kör Windows Server.
För testning kan du ladda ned en kopia av Windows Server 2025 Evaluation eller en förhandsversion av Windows Server Insider Program.
Välj en metod
Vilken metod du använder för att skapa en containerklar miljö beror på operativsystemet. Det beror också på andra faktorer, till exempel komplexiteten och kostnaden för implementeringen.
Windows 10 och Windows 11
I Windows 10- och Windows 11 Professional- och Enterprise-utgåvor kan du använda Docker Desktop för att köra containerbaserade appar. Docker Desktop är ett sätt för dig att hantera containrar, appar och avbildningar.
Windows Server
För många program och orkestreringsmönster måste du skapa och distribuera dina egna anpassade virtuella datorer. Med övergången av stöd för Windows-containerkörningen till Mirantis tillhandahålls inte längre containerkörningen som en del av ett marketplace VM-erbjudande. Resten av den här guiden visar hur du skapar en virtuell dator för Azure med containerkörningen installerad och redo att användas.
Azure fortsätter att erbjuda en komplett och fullständigt hanterad upplevelse från slutpunkt till slutpunkt via Azure Kubernetes Service (AKS) både i molnet och lokalt. AKS och Azure Kubernetes Service på Azure Stack HCI är fullständigt hanterade tjänster med lägre hanteringskostnader än anpassade distributioner. Stöd för containerkörning ingår i AKS- och Azure Kubernetes Service på Azure Stack HCI-tjänster under din Azure-prenumeration.
- Distribuera en Windows Server-container i ett AKS-kluster (Azure Kubernetes Service) med Azure CLI-
- Konfigurera en Azure Kubernetes Service-värd på Azure Local och Windows Server och distribuera ett arbetsbelastningskluster med PowerShell
Det finns även andra alternativ för att göra upplevelsen av att skapa dina containerklara virtuella Azure-datorer så smidig som möjligt. Två exempel är Azure VM Image Builder och tillägg för anpassade skript. Tänk på följande när du jämför alternativ. Det är upp till din organisation att bestämma vilken aspekt som ska optimeras.
- Hur komplext är det att implementera?
- Vad är kostnaden?
- Hur påverkar det min arbetsbelastning i produktion?
Följande underavsnitt beskriver för- och nackdelarna med VM Image Builder och tillägg för anpassade skript och visar hur du kommer igång.
VM-bildgenerator
Fördelen med att använda VM Image Builder är att konfigurationen görs under en byggtid och inte har någon effekt på din arbetsbelastning vid körning. När VM-skalningsuppsättningen instansierar en ny virtuell dator från din anpassade avbildning är avbildningen redan färdig och den är redo att köra containrar.
Vm Image Builder kan dock vara mer komplext att implementera än skripttillägg, och det finns fler steg. Dessutom är den virtuella datorn Image Builder-tjänsten kostnadsfri, men du måste betala för den beräknings-, lagrings- och nätverksanvändning som är associerad med byggprocessen. Mer information finns i Kostnader.
En detaljerad stegvis procedur för att skapa en egen virtuell Windows Server-avbildning finns i Skapa en virtuell Windows-dator med hjälp av Azure VM Image Builder. För att installera den containerkörning du väljer, använd PowerShell-skripten i den här guiden.
Tips
Se till att cacha containeravbildningarna som du planerar att använda lokalt på VM:n. Den här metoden hjälper till att förbättra starttiden för containern efter distributionen. Skript som hjälper till med den här uppgiften finns i Windows Server senare i den här snabbstarten.
Tillägg för anpassade skript
Anpassade skripttillägg är snabbare att implementera än en vm Image Builder-lösning. Den enda kostnaden som är associerad med tillägg är priset för att lagra skriptet i Azure eller GitHub. Skriptet kan dock bara köras när en virtuell dator har etablerats. Därför måste din budget inkludera extra tid för att förbereda den virtuella datorn vid utskalningstid.
Med hjälp av skripten som erbjuds i den här guiden konfigurerar du dina VM-skalningsuppsättningar för att installera valfri containerkörning efter etableringen. Information om hur du använder ett anpassat skripttillägg för att automatisera processen med att installera appar på virtuella Azure-datorer finns i Självstudie: Installera program i VM-skalningsuppsättningar med Azure CLI.
Installera container runtime-miljön
Vilken procedur du använder för att installera en containerkörning beror på operativsystemet.
Windows 10 och Windows 11
Utför följande steg för att installera Docker på Windows 10- eller Windows 11 Professional- och Enterprise-utgåvor:
Ladda ned och installera Docker Desktop och skapa ett Docker-konto om du inte redan har ett. Du kan skapa ett kostnadsfritt Docker-konto för personliga användare eller småföretagsanvändare. Men för större företag finns det en månatlig avgift. Detaljerad information finns i Docker-dokumentationen.
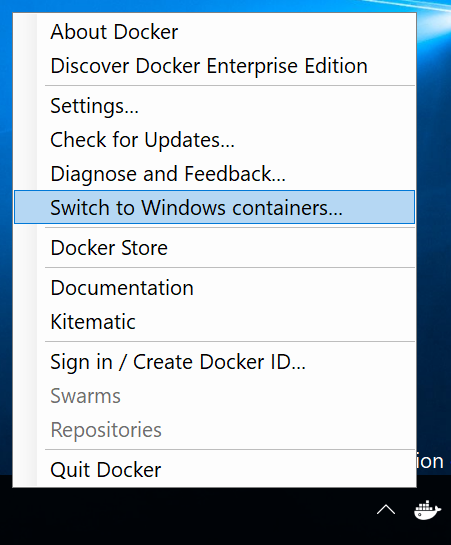
Under installationen anger du standardcontainertypen till Windows-containrar. Om du vill byta typ när installationen är klar utför du något av följande steg:
Kör följande kommando i en PowerShell-prompt:
& $Env:ProgramFiles\Docker\Docker\DockerCli.exe -SwitchDaemonAnvänd Docker-objektet i Windows-systemfältet, som du ser på följande skärmbild:
Administrationscenter för Windows
Utför följande steg om du vill använda Windows Admin Center för att konfigurera en Windows Server-dator som en containervärd:
Kontrollera att det senaste containertillägget är installerat i Administrationscenter för Windows. Mer information om hur du installerar och konfigurerar tillägg finns i dokumentationen för Windows Admin Center.
Öppna den Windows Server-dator som du vill konfigurera.
På sidopanelen, under Verktyg, välj Containrar.
Välj Installera.
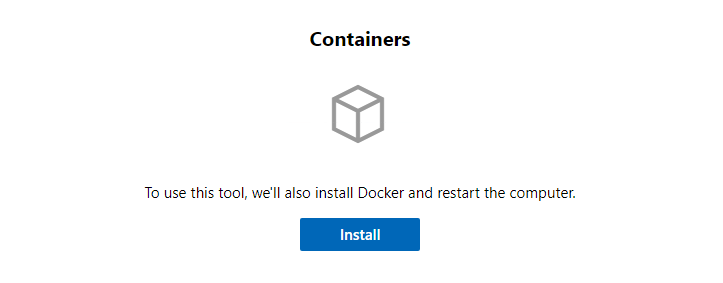
Windows Admin Center startar konfigurationen av Windows Server och Docker i bakgrunden.
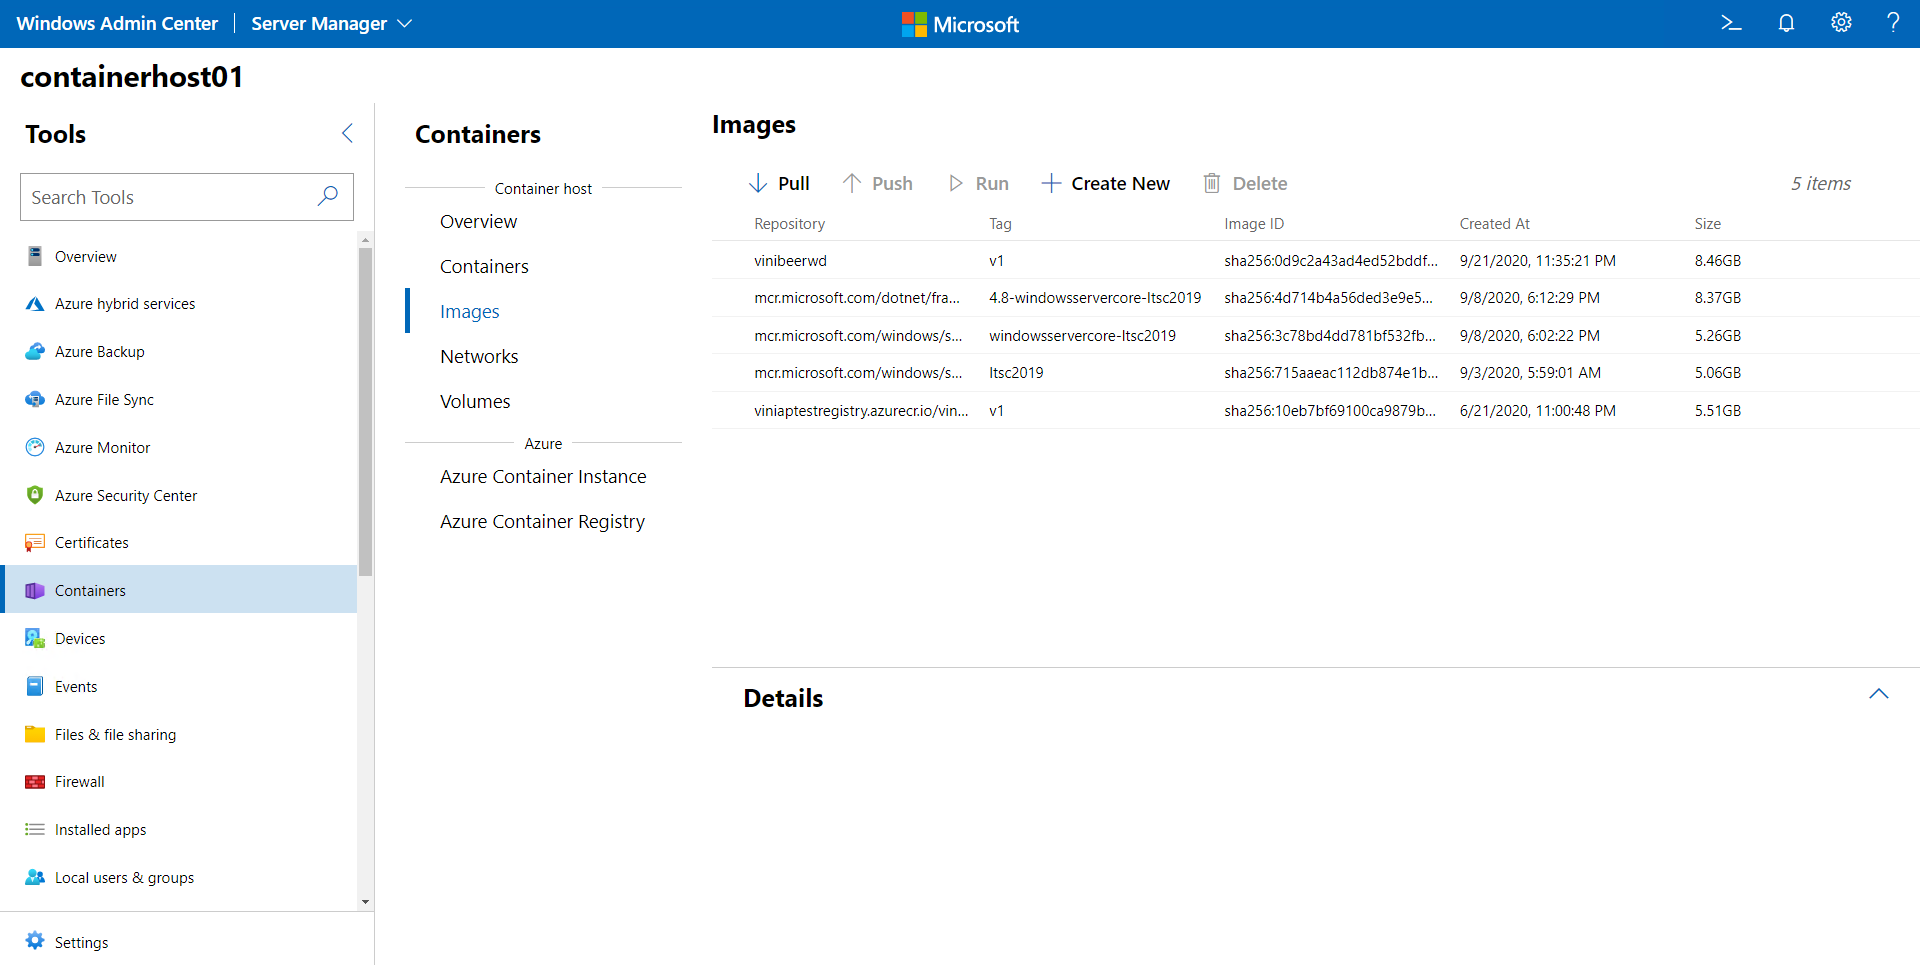
När processen är klar uppdaterar du sidan för att se andra funktioner i containertillägget.

Windows Server
Om du vill köra en Windows-container måste du ha en containerkörning som stöds tillgänglig på datorn. De körningstider som för närvarande stöds på Windows är Moby, Mirantis Container Runtime och containerd.
Det här avsnittet visar hur du installerar varje körning på en virtuell dator som kör Windows Server. För Moby- och containerkörningar kan du använda PowerShell-skript för att slutföra installationen i några få steg.
Docker Community Edition (Docker CE) tillhandahåller en standardmiljö för körning för containrar. Miljön erbjuder ett gemensamt API och kommandoradsgränssnitt. Ramverket och komponenterna i Docker CE hanteras av communityn med öppen källkod som en del av Moby-projektet.
Kom igång med Docker på Windows Server genom att använda följande kommando för att köra install-docker-ce.ps1 PowerShell-skriptet. Det här skriptet konfigurerar din miljö för att aktivera containerrelaterade OS-funktioner. Skriptet installerar även Docker-körningen.
Invoke-WebRequest -UseBasicParsing "https://raw.githubusercontent.com/microsoft/Windows-Containers/Main/helpful_tools/Install-DockerCE/install-docker-ce.ps1" -o install-docker-ce.ps1
.\install-docker-ce.ps1
Detaljerad information om hur du konfigurerar Docker Engine finns i Docker Engine i Windows.
Nästa steg
Not
Vägledning från Produktteamet för Windows-containrar finns i Windows Containers-lagringsplatsen på GitHub.
Nu när din miljö har konfigurerats korrekt kan du se hur du kör en container.