หมายเหตุ
การเข้าถึงหน้านี้ต้องได้รับการอนุญาต คุณสามารถลอง ลงชื่อเข้าใช้หรือเปลี่ยนไดเรกทอรีได้
การเข้าถึงหน้านี้ต้องได้รับการอนุญาต คุณสามารถลองเปลี่ยนไดเรกทอรีได้
This page describes how you can manage versions in Azure Databricks notebooks.
Azure Databricks notebooks maintain a history of notebook versions, allowing you to view and restore previous snapshots of a notebook. You can perform the following actions on versions: add descriptions, restore and delete versions, and clear version history.
You can also sync your work in Databricks with a remote Git repository.
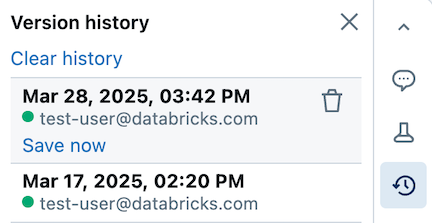
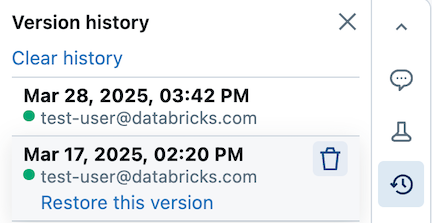
View version history
To access notebook versions, click ![]() in the right sidebar. The notebook version history appears.
in the right sidebar. The notebook version history appears.
Add a description
To add a description to the latest version:
Click the version.
Click Save now.
In the Save version dialog, enter a version description.
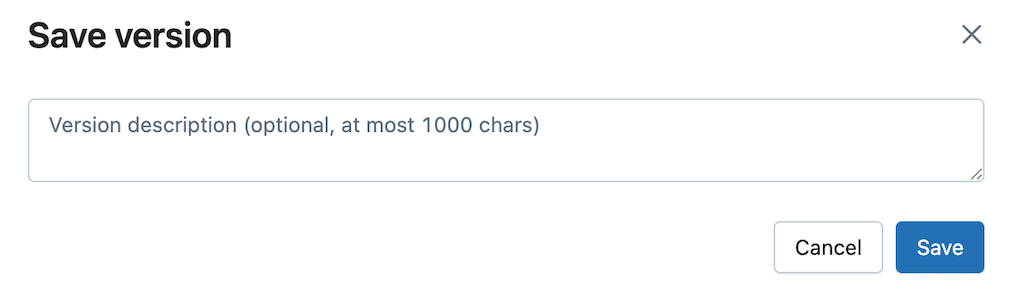
Click Save. The notebook version is saved with the entered description.
Restore a version
To restore a version:
Click the version.
Click Restore this version.
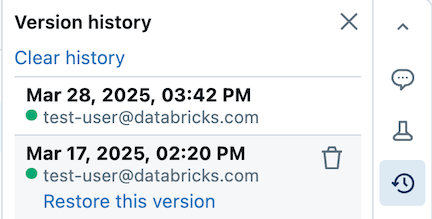
Click Confirm. The selected version becomes the latest version of the notebook.
Delete a version
To delete a version entry:
Click the version.
Click the trash icon
 .
.
Click Yes, erase. The selected version is deleted from the history.
Clear version history
The version history can't be recovered after you clear it.
To clear the version history for a notebook:
- Under Version history, click Clear history.
- Click Yes, clear. The notebook version history is cleared.
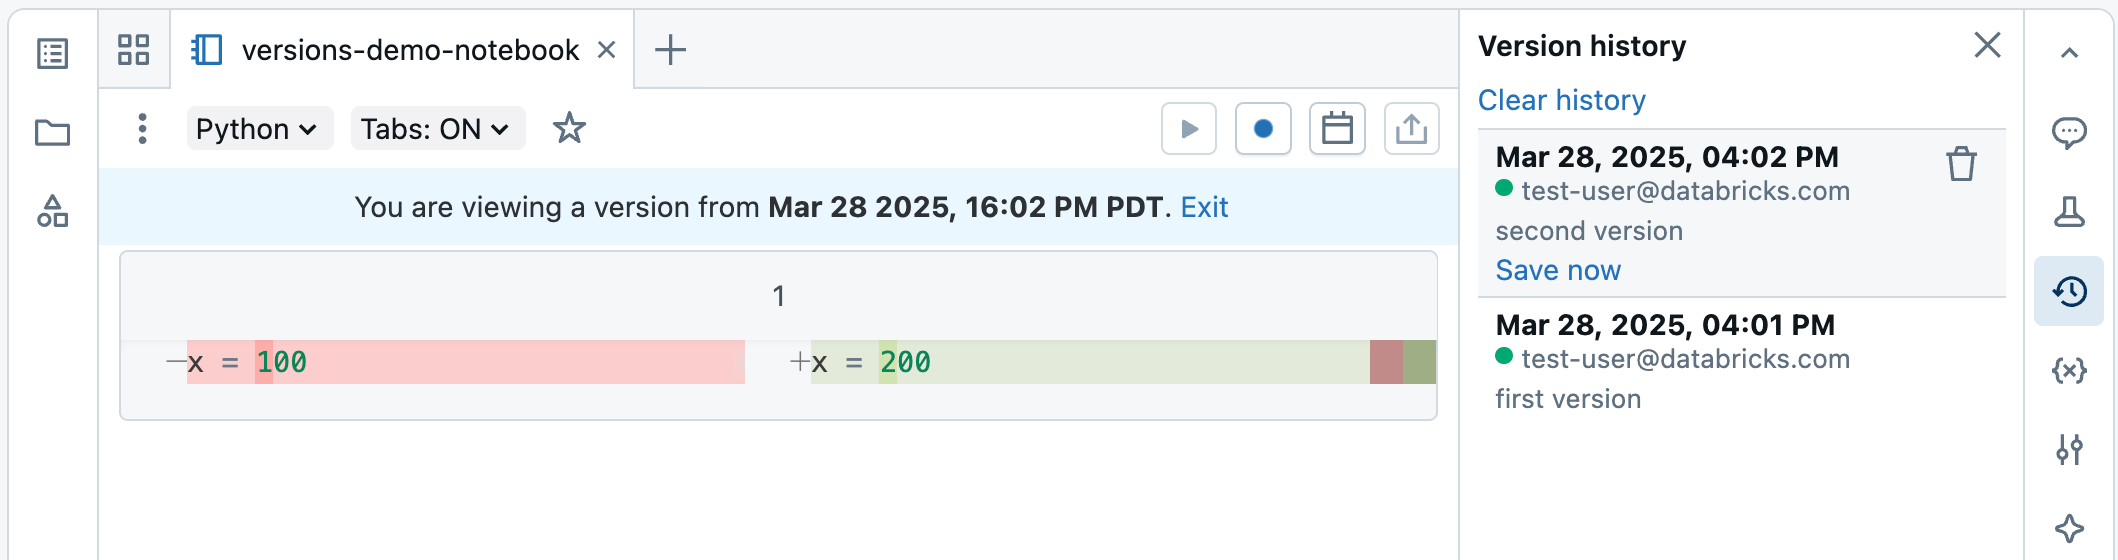
Side-by-side diff in version history
When you display previous notebook versions, the editor displays side-by-side diffs with color highlighting.