Deploy an Anomaly Detector univariate module to IoT Edge
Important
Starting on the 20th of September, 2023 you won’t be able to create new Anomaly Detector resources. The Anomaly Detector service is being retired on the 1st of October, 2026.
Learn how to deploy the Azure AI services Anomaly Detector module to an IoT Edge device. Once it's deployed into IoT Edge, the module runs in IoT Edge together with other modules as container instances. It exposes the exact same APIs as an Anomaly Detector container instance running in a standard docker container environment.
Prerequisites
- Use an Azure subscription. If you don't have an Azure subscription, create a free account before you begin.
- Install the Azure CLI.
- An IoT Hub and an IoT Edge device.
Create an Anomaly Detector resource
Sign in to the Azure portal.
Select Create Anomaly Detector resource.
Enter all required settings:
Setting Value Name Desired name (2-64 characters) Subscription Select appropriate subscription Location Select any nearby and available location Pricing Tier F0- 10 Calls per second, 20K Transactions per month.
Or:
S0- 80 Calls per secondResource Group Select an available resource group Select Create and wait for the resource to be created. After it is created, navigate to the resource page
Collect configured
endpointand an API key:Keys and Endpoint tab in the portal Setting Value Overview Endpoint Copy the endpoint. It looks similar to https://<your-resource-name>.cognitiveservices.azure.com/Keys API Key Copy 1 of the two keys. It is a 32 alphanumeric-character string with no spaces or dashes, xxxxxxxxxxxxxxxxxxxxxxxxxxxxxxxx.
Deploy the Anomaly Detection module to the edge
In the Azure portal, enter Anomaly Detector on IoT Edge into the search and open the Azure Marketplace result.
It will take you to the Azure portal's Target Devices for IoT Edge Module page. Provide the following required information.
Select your subscription.
Select your IoT Hub.
Select Find device and find an IoT Edge device.
Select the Create button.
Select the AnomalyDetectoronIoTEdge module.

Navigate to Environment Variables and provide the following information.
Keep the value accept for Eula.
Fill out Billing with your Azure AI services endpoint.
Fill out ApiKey with your Azure AI services API key.

Select Update
Select Next: Routes to define your route. You define all messages from all modules to go to Azure IoT Hub. To learn how to declare a route, see Establish routes in IoT Edge.
Select Next: Review + create. You can preview the JSON file that defines all the modules that get deployed to your IoT Edge device.
Select Create to start the module deployment.
After you complete module deployment, you'll go back to the IoT Edge page of your IoT hub. Select your device from the list of IoT Edge devices to see its details.
Scroll down and see the modules listed. Check that the runtime status is running for your new module.
To troubleshoot the runtime status of your IoT Edge device, consult the troubleshooting guide.
Test Anomaly Detector on an IoT Edge device
You'll make an HTTP call to the Azure IoT Edge device that has the Azure AI services container running. The container provides REST-based endpoint APIs. Use the host, http://<your-edge-device-ipaddress>:5000, for module APIs.
Alternatively, you can create a module client by using the Anomaly Detector client library on the Azure IoT Edge device, and then call the running Azure AI services container on the edge. Use the host endpoint http://<your-edge-device-ipaddress>:5000 and leave the host key empty.
If your edge device does not already allow inbound communication on port 5000, you will need to create a new inbound port rule.
For an Azure VM, this can set under Virtual Machine > Settings > Networking > Inbound port rule > Add inbound port rule.
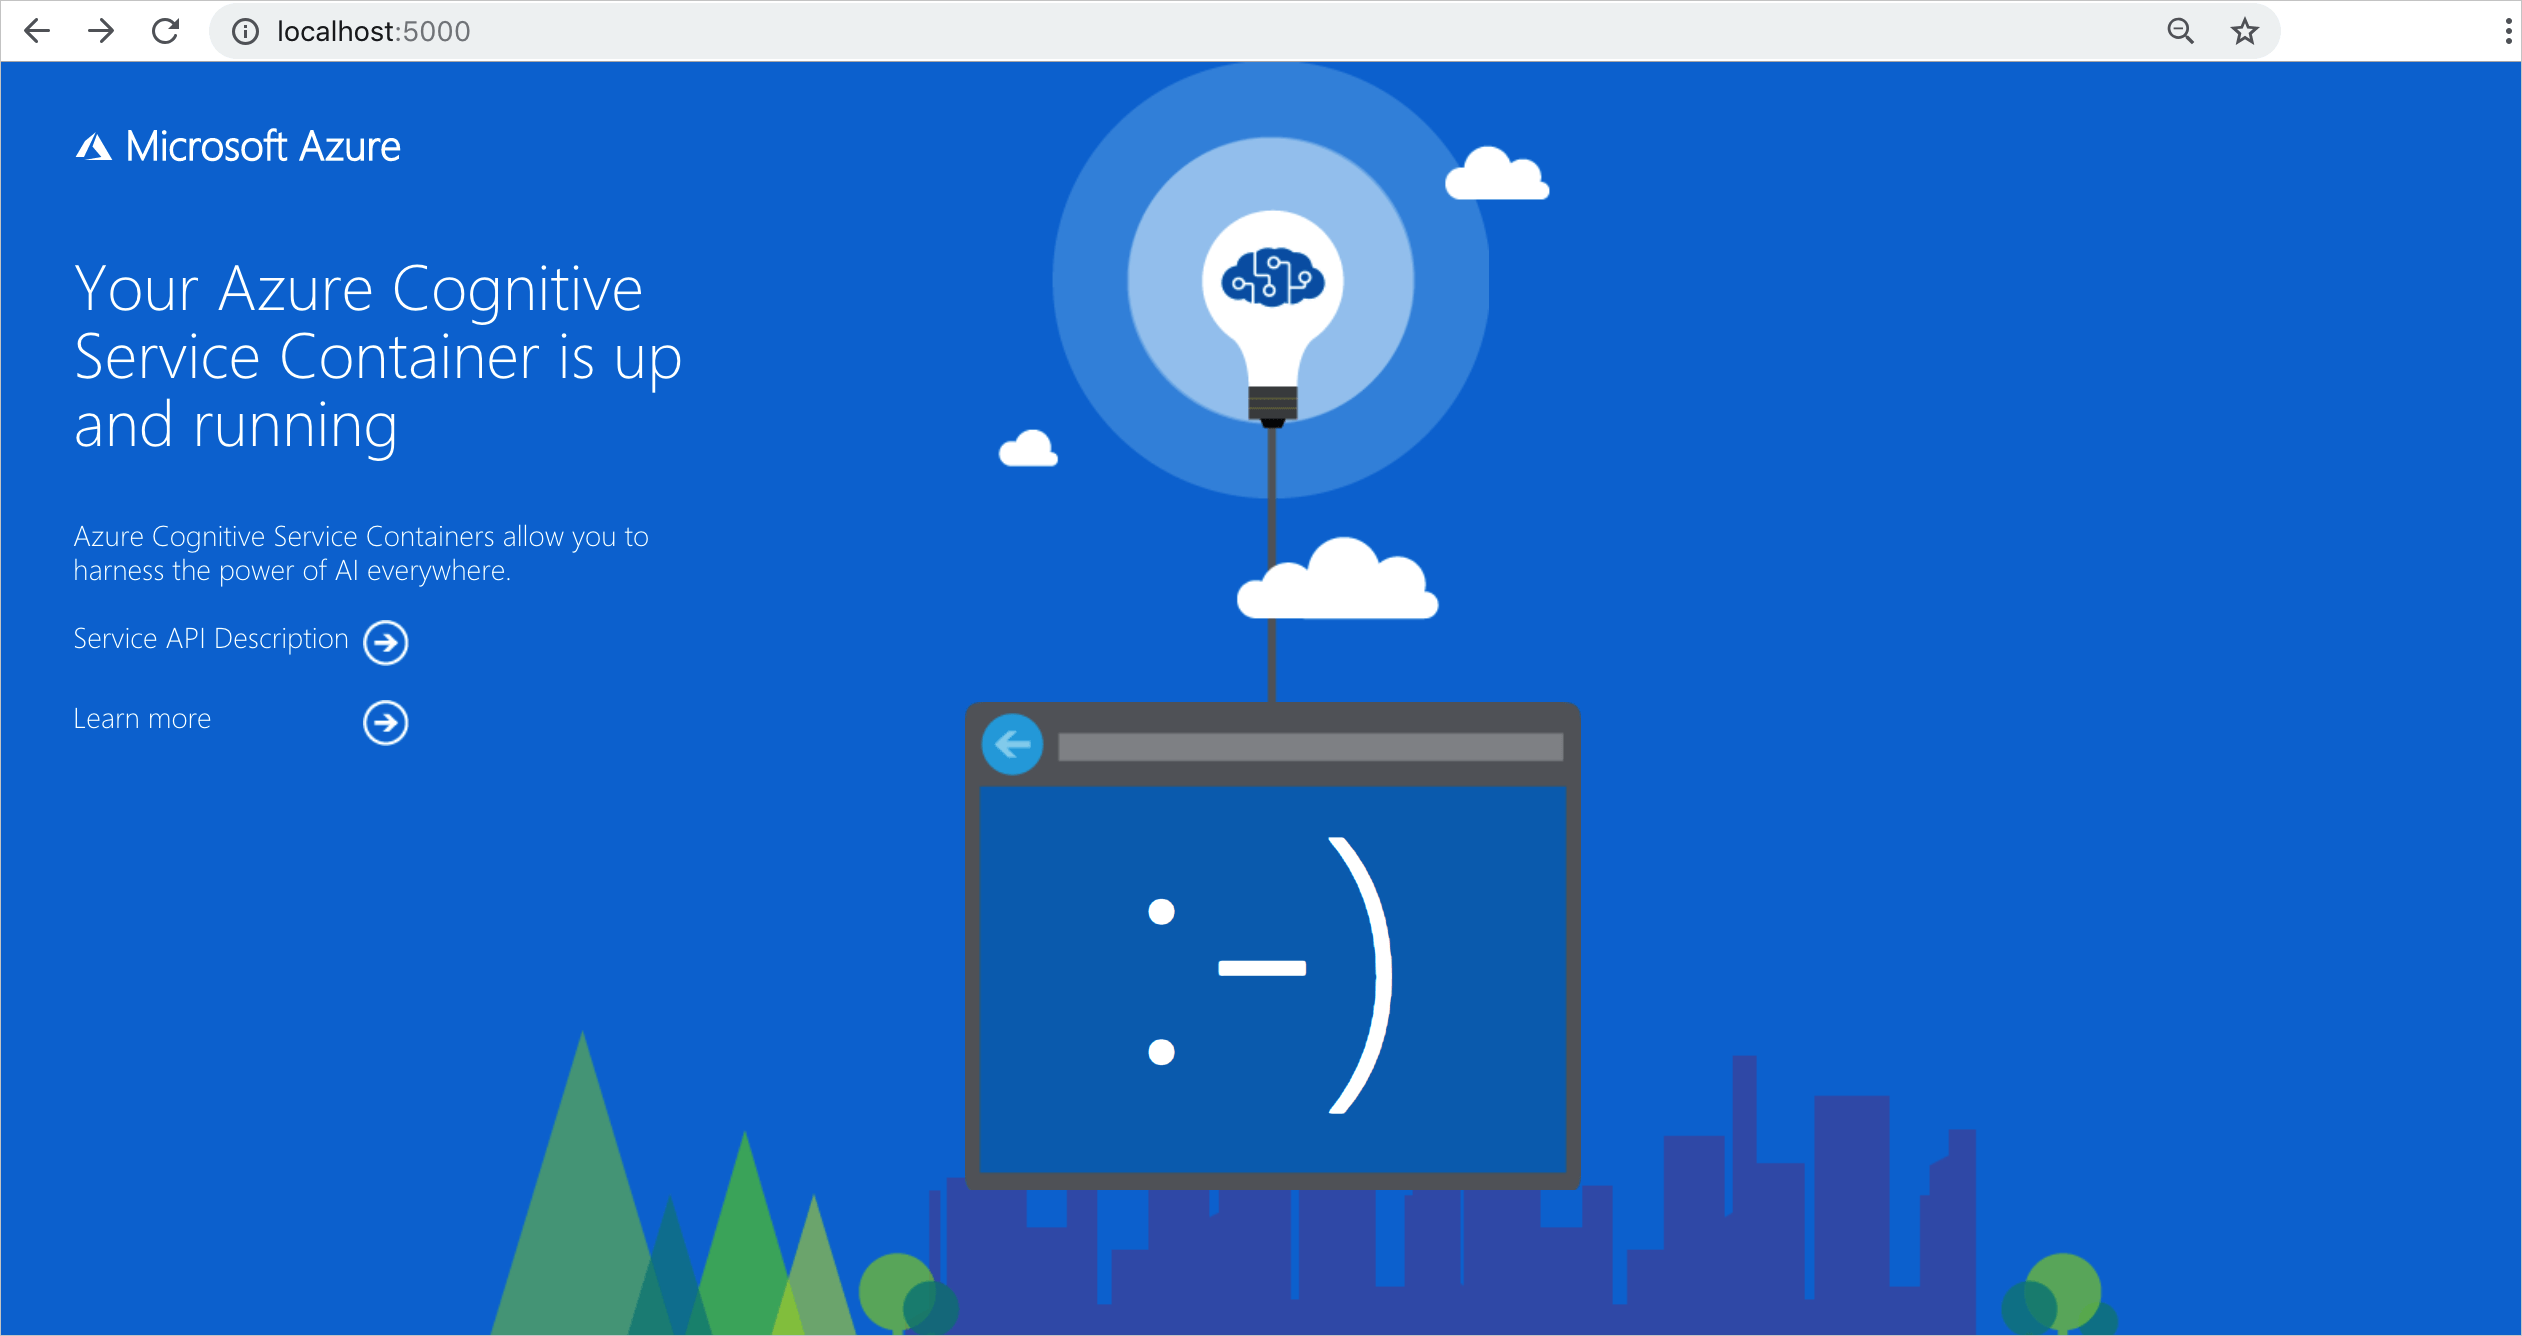
There are several ways to validate that the module is running. Locate the External IP address and exposed port of the edge device in question, and open your favorite web browser. Use the various request URLs below to validate the container is running. The example request URLs listed below are http://<your-edge-device-ipaddress:5000, but your specific container may vary. Keep in mind that you need to use your edge device's External IP address.
| Request URL | Purpose |
|---|---|
http://<your-edge-device-ipaddress>:5000/ |
The container provides a home page. |
http://<your-edge-device-ipaddress>:5000/status |
Also requested with GET, this verifies if the api-key used to start the container is valid without causing an endpoint query. This request can be used for Kubernetes liveness and readiness probes. |
http://<your-edge-device-ipaddress>:5000/swagger |
The container provides a full set of documentation for the endpoints and a Try it out feature. With this feature, you can enter your settings into a web-based HTML form and make the query without having to write any code. After the query returns, an example CURL command is provided to demonstrate the HTTP headers and body format that's required. |

Next steps
- Review Install and run containers for pulling the container image and run the container
- Review Configure containers for configuration settings
- Learn more about Anomaly Detector API service