Connect custom question answering with Azure OpenAI on your data
Custom question answering enables you to create a conversational layer on your data based on sophisticated Natural Language Processing (NLP) capabilities with enhanced relevance using a deep learning ranker, precise answers, and end-to-end region support. Most use cases for custom question answering rely on finding appropriate answers for inputs by integrating it with chat bots, social media applications and speech-enabled desktop applications.
AI runtimes however, are evolving due to the development of Large Language Models (LLMs), such as GPT-35-Turbo and GPT-4 offered by Azure OpenAI can address many chat-based use cases, which you may want to integrate with.
At the same time, customers often require a custom answer authoring experience to achieve more granular control over the quality and content of question-answer pairs, and allow them to address content issues in production. Read this article to learn how to integrate Azure OpenAI On Your Data (Preview) with question-answer pairs from your custom question answering project, using your project's underlying Azure AI Search indexes.
Prerequisites
- An existing Azure OpenAI resource. If you don't already have an Azure OpenAI resource, then create one and deploy a model.
- An Azure Language Service resource and custom question answering project. If you don’t have one already, then create one.
- Be sure that you are assigned at least the Cognitive Services OpenAI Contributor role for the Azure OpenAI resource.
Connect Azure OpenAI on your data and custom question answering
Sign in to Language Studio and navigate to your custom question answering project with an existing deployment.

Select the Azure Search tab on the navigation menu to the left.
Make a note of your Azure Search details, such as Azure Search resource name, subscription, and location. You will need this information when you connect your Azure AI Search index to Azure OpenAI.

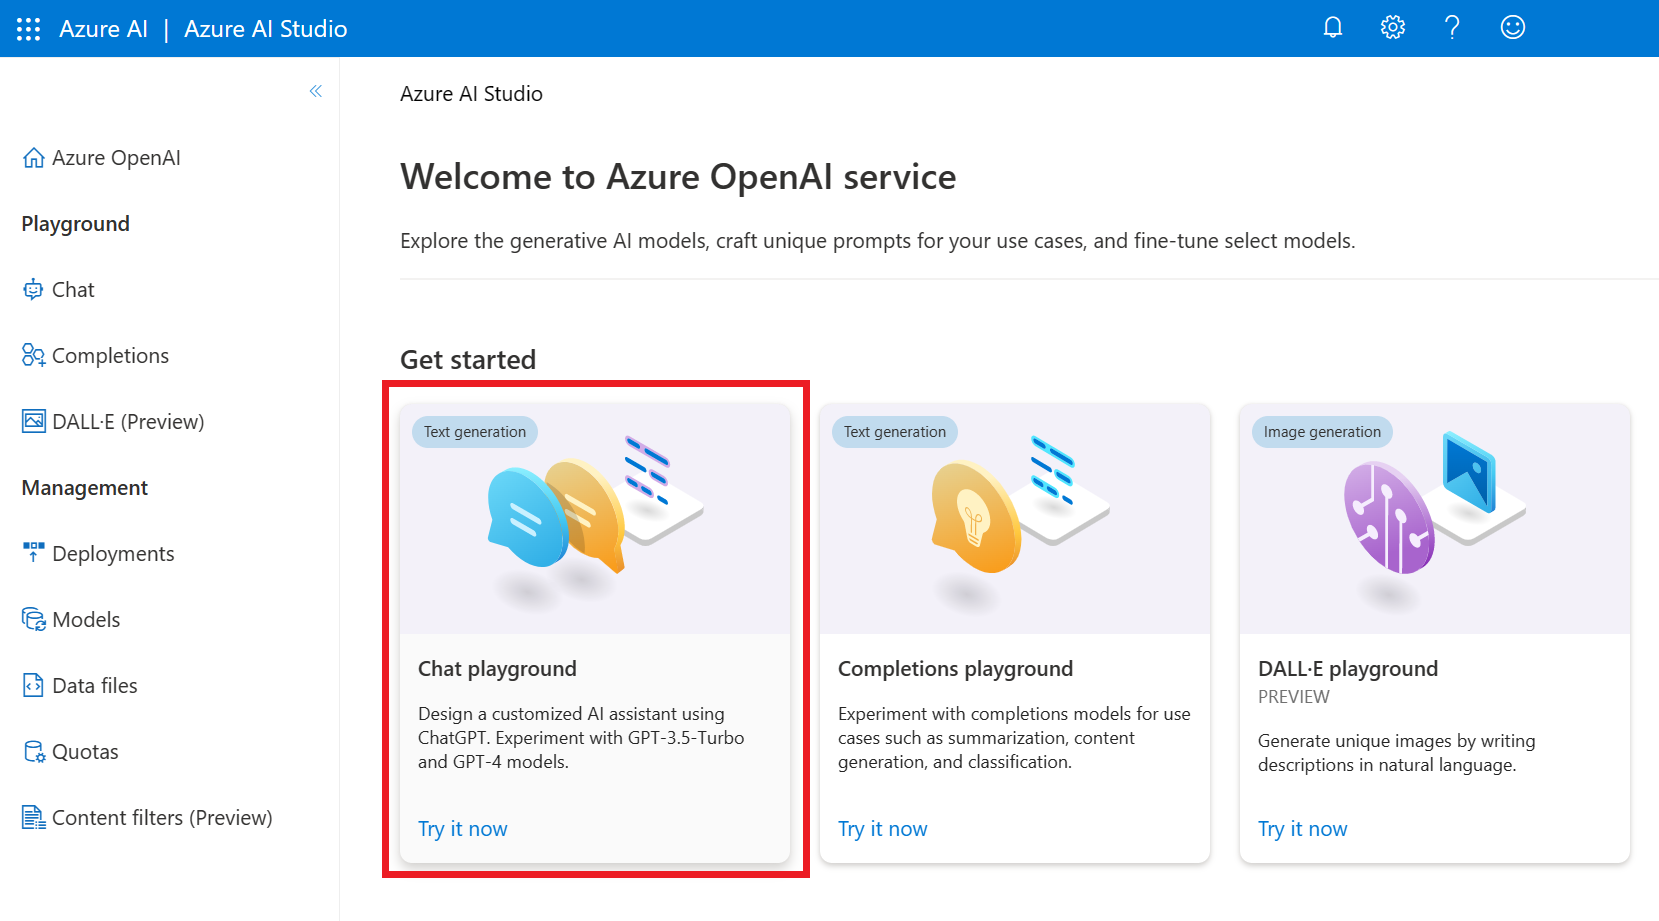
Navigate to Azure OpenAI Studio and sign-in with credentials that have access to your Azure OpenAI resource.
Select the Bring your own data tile to start connecting your search index. You can also select the Chat playground tile.
And on the Assistant setup tile, select Add your data (preview) > + Add a data source.

In the pane that appears, select Azure AI Search under Select or add data source. This will update the screen with Data field mapping options depending on your data source.

Select the subscription, Azure AI Search service and Azure AI Search Index associated with your custom question Answering project. Select the acknowledgment that connecting it will incur usage on your account. Then select Next.

On the Index data field mapping screen, select answer for Content data field. The other fields such as File name, Title and URL are optional depending on the nature of your data source.

Select Next. Select a search type from the dropdown menu. You can choose Keyword or Semantic. semantic” search requires an existing semantic search configuration which may or may not be available for your project.

Review the information you provided, and select Save and close.

Your data source has now been added. Select your model's deployment name under the Configuration > Deployment tab on the menu to the right.


You can now start exploring Azure OpenAI capabilities with a no-code approach through the chat playground. It's simply a text box where you can submit a prompt to generate a completion. From this page, you can quickly iterate and experiment with the capabilities. You can also launch a web app to chat with the model over the web.