Apply changes with rebase
Azure DevOps Services | Azure DevOps Server 2022 - Azure DevOps Server 2019
Visual Studio 2019 | Visual Studio 2022
Git automatically maintains a history of development on a branch by linking each new commit to its predecessor. When you merge one branch into another, the history can become less straightforward. For example, a no-fast-forward merge combines divergent lines of development by creating a merge commit with multiple predecessors. Conversely, a Git rebase combines divergent lines of development without creating a merge commit, which results in a simpler commit history but loses information about the merge. Your choice of merge type is likely influenced by whether you want to preserve a record of the merge or simplify the commit history.
This article discusses when to use a rebase instead of a no-fast-forward merge, and provides procedures for the following tasks:
- Rebase your local branch
- Force push your local branch after a rebase
- Interactive rebase to squash local commits
For an overview of the Git workflow, see Azure Repos Git tutorial.
Prerequisites
| Category | Requirements |
|---|---|
| Project access | Member of a project. |
| Permissions | - View code in private projects: At least Basic access. - Clone or contribute to code in private projects: Member of the Contributors security group or corresponding permissions in the project. - Set branch or repository permissions: Manage permissions permissions for the branch or repository. - Change default branch: Edit policies permissions for the repository. - Import a repository: Member of the Project Administrators security group or Git project-level Create repository permission set to Allow. For more information, see Set Git repository permissions. |
| Services | Repos enabled. |
| Tools | Optional. Use az repos commands: Azure DevOps CLI. |
Note
In public projects, users with Stakeholder access have full access to Azure Repos, including viewing, cloning, and contributing to code.
| Category | Requirements |
|---|---|
| Project access | Member of a project. |
| Permissions | - View code: At least Basic access. - Clone or contribute to code: Member of the Contributors security group or corresponding permissions in the project. |
| Services | Repos enabled. |
Rebase your local branch
Git rebase integrates commits from a source branch into your current local branch (target branch). The source branch remains unchanged. For comparison, Git rebase and other merge types are shown in the following diagram.
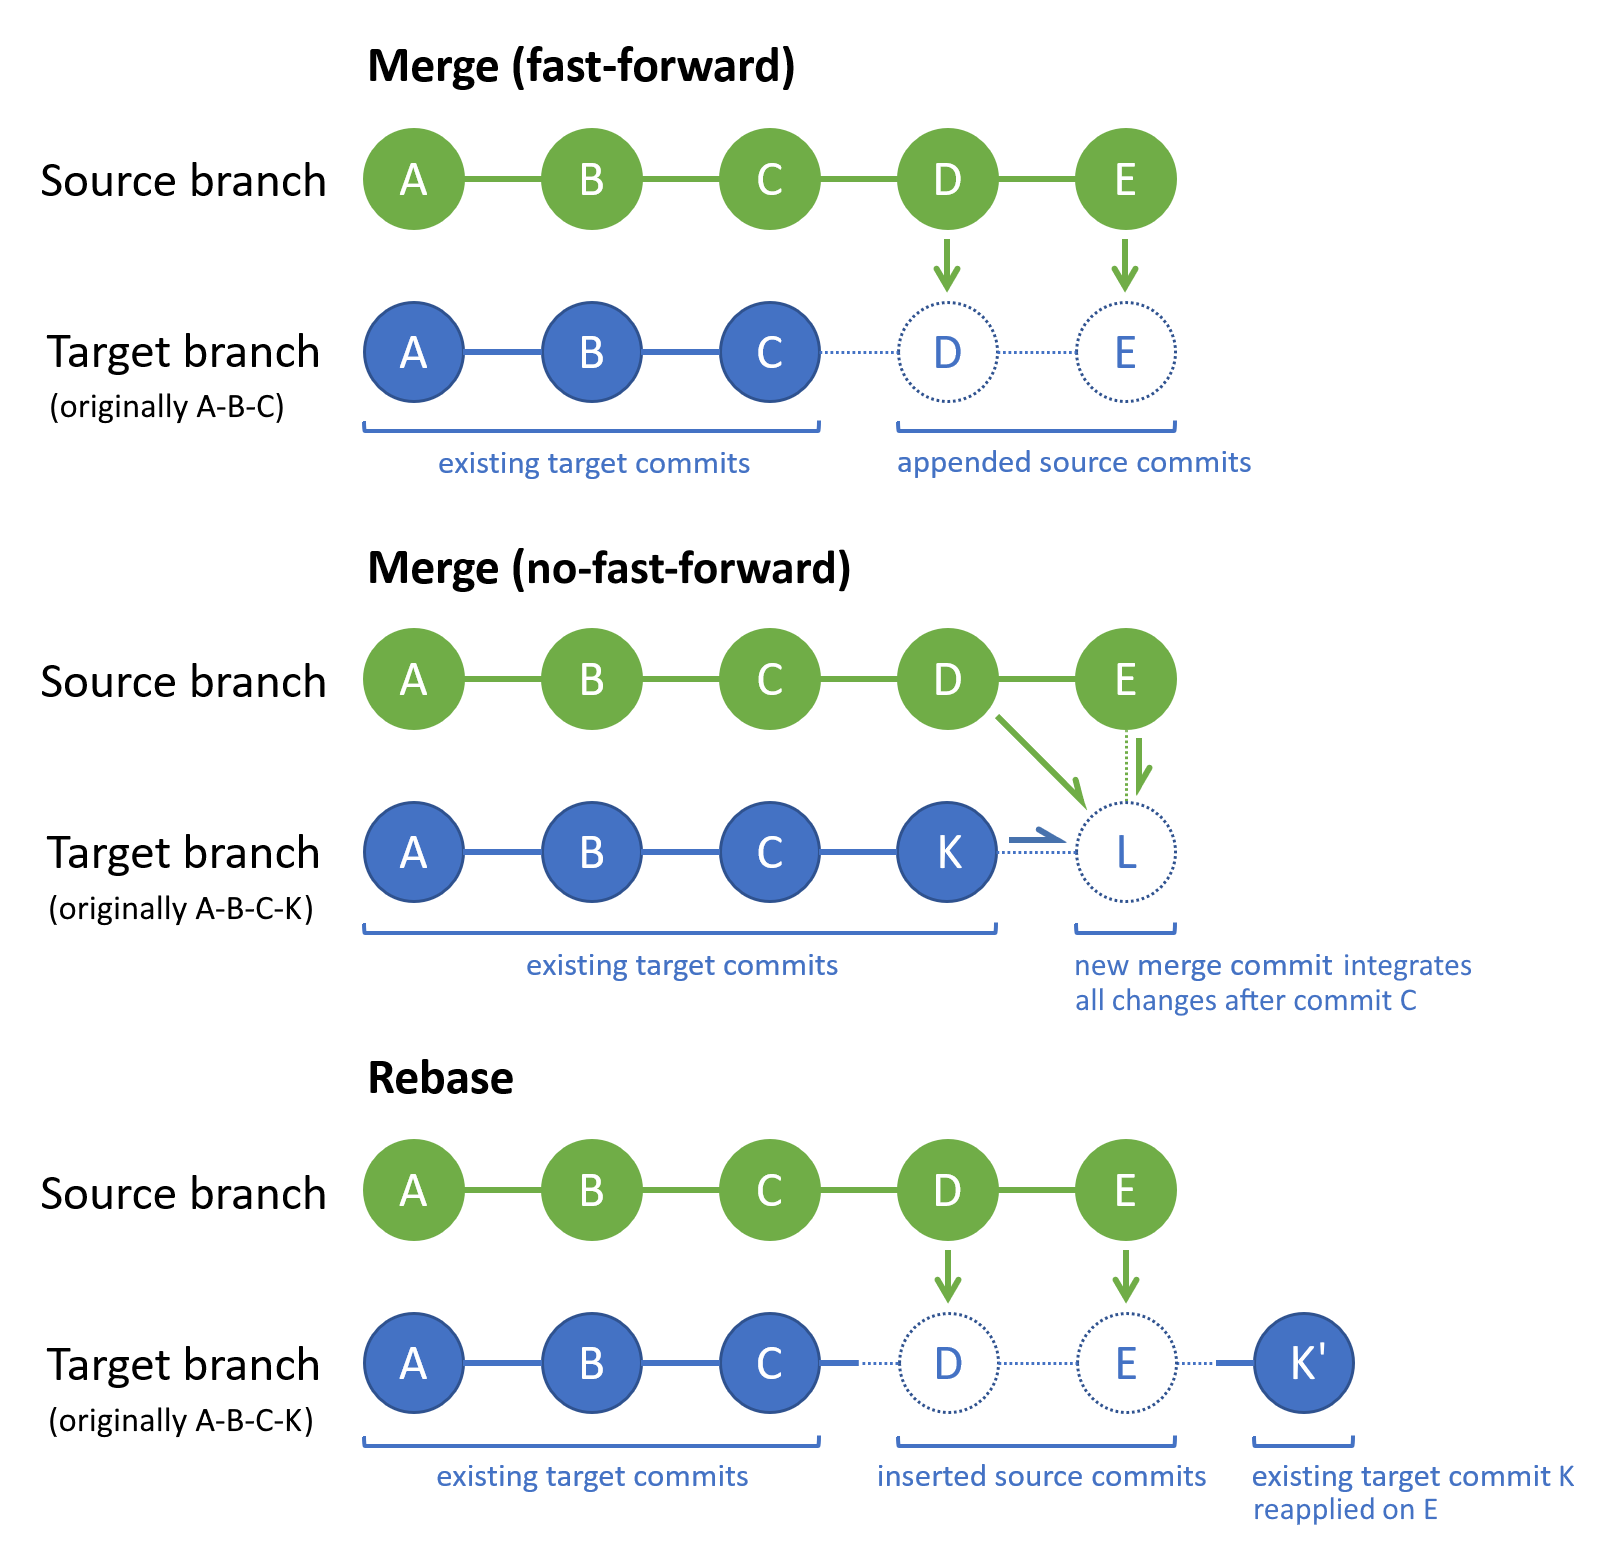
Git rebase resequences the commit history of the target branch so that it contains all source branch commits, followed by all target branch commits since the last common commit. Another way to view it is that a rebase replays the changes in your target branch on top of the source branch history. Notably, Git rebase changes the sequence of the existing target branch commits, which isn't the case for the other merge strategies. In the preceding diagram, commit K' contains the same changes as K, but has a new commit ID because it links back to commit E instead of C.
During a rebase, if a source branch change conflicts with a target branch change, Git will prompt you to resolve the merge conflict. You can resolve merge conflicts during a rebase in the same way that you resolve merge conflicts during a merge.
Rebase vs. no-fast-forward merge
Git rebasing results in a simpler but less exact commit history than a no-fast-forward merge, otherwise known as a three-way or true merge. When you want a record of a merge in the commit history, use a no-fast-forward merge.
If you're the only person working on a feature or bugfix branch, consider using a rebase to periodically integrate recent main branch work into it. That strategy helps ensure that you stay aware of recent work by others and promptly resolve any merge conflicts that arise. By rebasing, you implement your new feature on top of the most recent main branch work, which helps maintain a linear commit history.
For more information on Git rebase and when to use it, see Rebase vs merge.
Rebase and force-push guidelines
If you rebase a local branch that you've previously pushed, and then run the default Git push command again, the push will fail. The default Git push command applies a fast-forward merge to integrate your local branch into the remote branch. That command will fail after a rebase because the rebase alters the sequence of existing commits in your local target branch, so it no longer matches the history of its remote counterpart. In this scenario, a force push will succeed—by overwriting the remote branch.
Git rebase and force push are powerful tools, but keep these guidelines in mind when deciding whether to use them:
- Don't rebase a local branch that's been pushed and shared with others, unless you're certain no one is using the shared branch. After a rebase, your local branch will no longer match the history of its remote counterpart.
- Don't force push to a remote branch that's in use by others, since their local version of the remote branch will no longer match the updated remote branch history.
- Your team should agree on the usage scenarios for rebase and force push.
Tip
For a collaborative review process, use a pull request to merge new work into the default branch of a remote repo.
How to rebase
- Visual Studio 2022
- Visual Studio 2019 - Git menu
- Visual Studio 2019 - Team Explorer
- Git Command Line
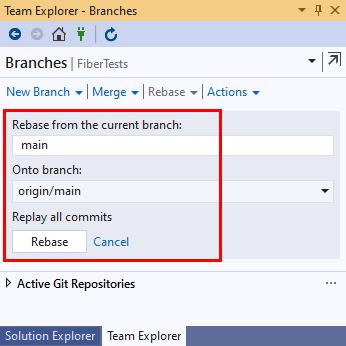
Visual Studio 2022 provides a Git version control experience by using the Git menu, Git Changes, and through context menus in Solution Explorer. Visual Studio 2019 version 16.8 also offers the Team Explorer Git user interface. For more information, see the Visual Studio 2019 - Team Explorer tab.
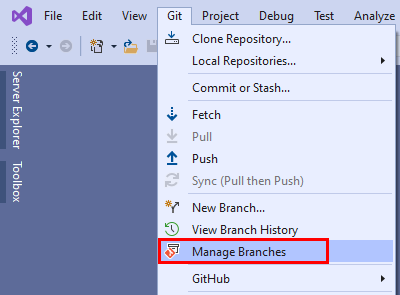
Choose Git > Manage Branches to open the Git Repository window.
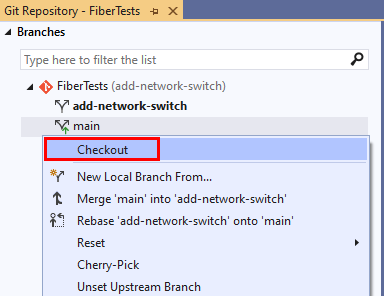
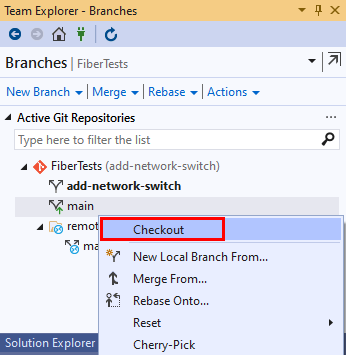
In the Git Repository window, right-click the target branch and select Checkout.
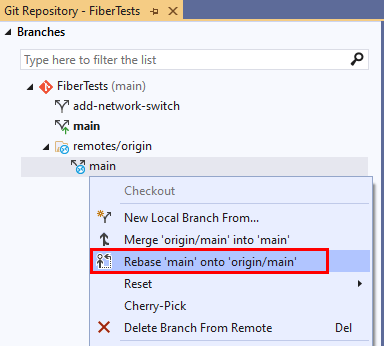
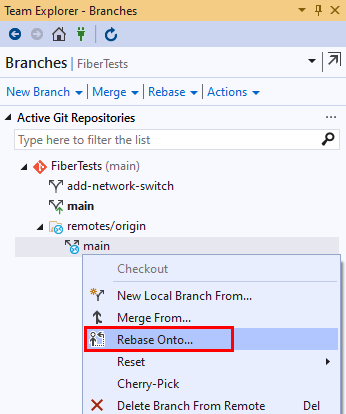
Right-click the source branch, and select Rebase <target-branch> onto <source-branch>.
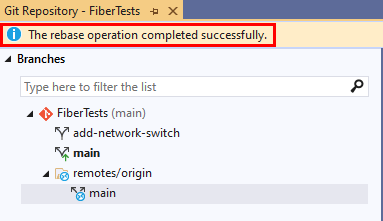
Visual Studio will display a confirmation message after a successful rebase.
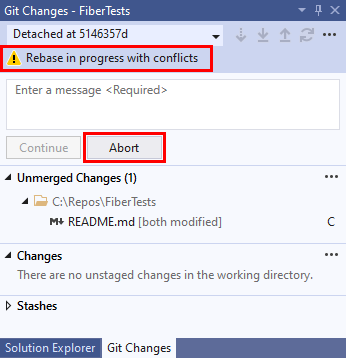
If the rebase is halted due to merge conflicts, Visual Studio will notify you. You can either resolve the conflicts, or cancel the rebase and return to the pre-rebase state.
Force push your local branch after a rebase
If you rebase a local branch that you've previously pushed, a subsequent default Git push will fail. Instead, you can force push your local branch to overwrite its remote counterpart so that their commit histories match.
Warning
Never force push a branch that others are working on. For more information, see Rebase and force push guidelines.
To force push in Visual Studio, you must first enable the force push option:
Go to Tools > Options > Source Control > Git Global Settings.
Select the Enable push --force-with-lease option.
The Git push --force-with-lease flag is safer than the --force flag because it won't overwrite a remote branch that has commits that aren't integrated within the local branch you're force pushing.
- Visual Studio 2022
- Visual Studio 2019 - Git menu
- Visual Studio 2019 - Team Explorer
- Git Command Line
Interactive rebase to squash local commits
Typically, as you work on a new feature in your local feature branch, you'll create multiple commits. When you're ready to publish the new feature, you might want to consolidate those commits into a single commit to simplify the commit history. You can use an interactive rebase to squash multiple commits into a single commit.
- Visual Studio 2022
- Visual Studio 2019 - Git menu
- Visual Studio 2019 - Team Explorer
- Git Command Line
Visual Studio 2022 doesn't support interactive rebasing. Use the Git command line instead.
Note
Azure DevOps users can squash merge to condense the commit history of a topic branch during a pull request.
