Quickstart: Create a HoloLens app with Azure Object Anchors, in Unity
In this quickstart, you'll create a Unity HoloLens app that uses Azure Object Anchors. Azure Object Anchors is a managed cloud service that converts 3D assets into AI models that enable object-aware mixed reality experiences for the HoloLens. When you're finished, you'll have a HoloLens app built with Unity that can detect objects in the physical world.
You'll learn how to:
- Prepare Unity build settings.
- Export the HoloLens Visual Studio project.
- Deploy the app and run it on a HoloLens 2 device.
Prerequisites
To complete this quickstart, make sure you have:
- A physical object in your environment and its 3D model (either CAD or scanned).
- A Windows machine with the following installed:
- Git for Windows
- Visual Studio 2019 with the Universal Windows Platform development workload and the Windows 10 SDK (10.0.18362.0 or newer) component
- Unity 2019.4
- A HoloLens 2 device that is up to date and has developer mode enabled.
- To update to the latest release on HoloLens, open the Settings app, go to Update & Security, and then select Check for updates.
Create an Object Anchors account
First, you need to create an account with the Object Anchors service.
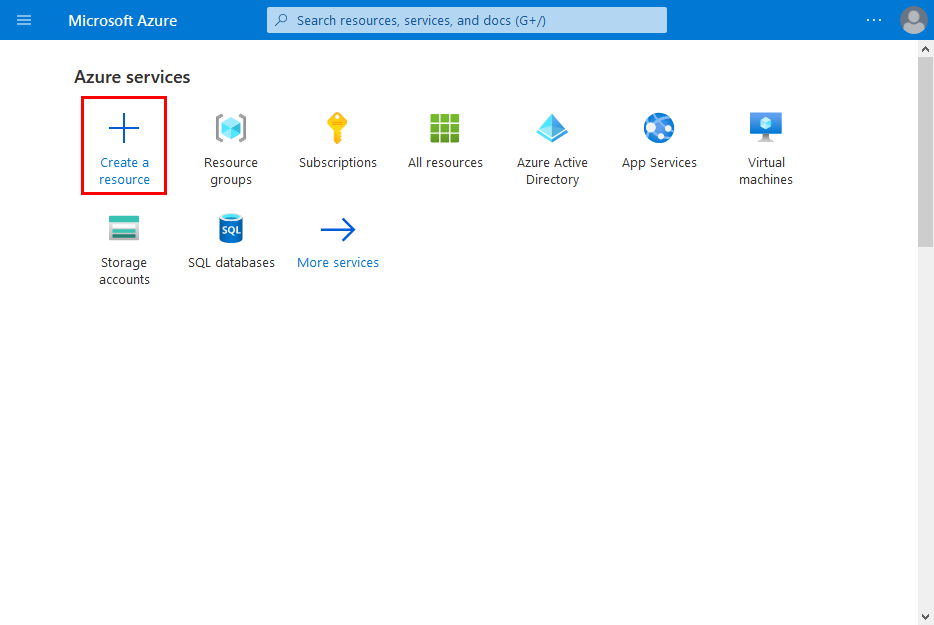
Go to the Azure portal and select Create a resource.
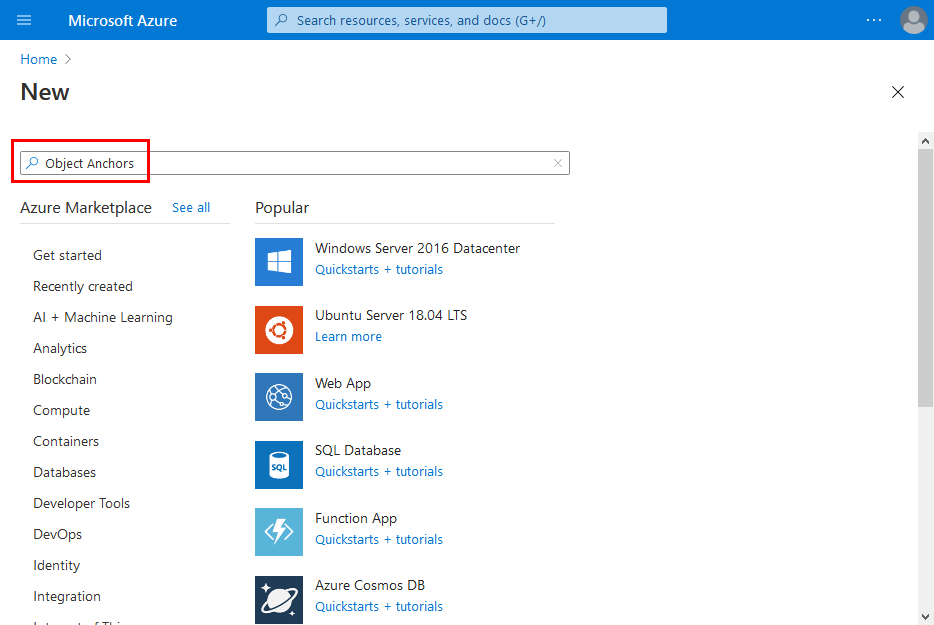
Search for the Object Anchors resource.
Search for "Object Anchors".
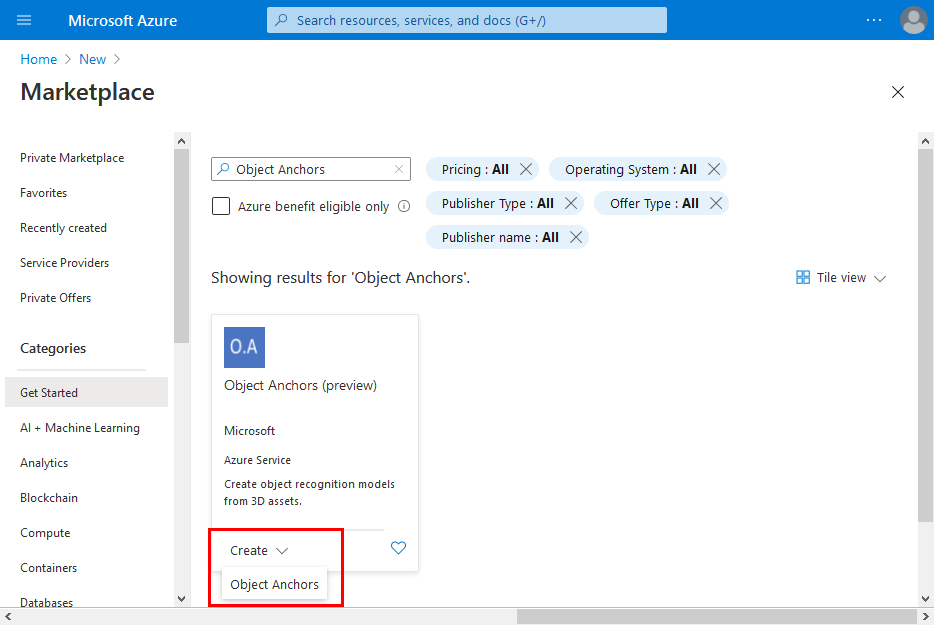
On the Object Anchors resource in the search results, select Create -> Object Anchors.
In the Object Anchors Account dialog box:
- Enter a unique resource name.
- Select the subscription you want to attach the resource to.
- Create or use an existing resource group.
- Select the region you'd like your resource to exist in.
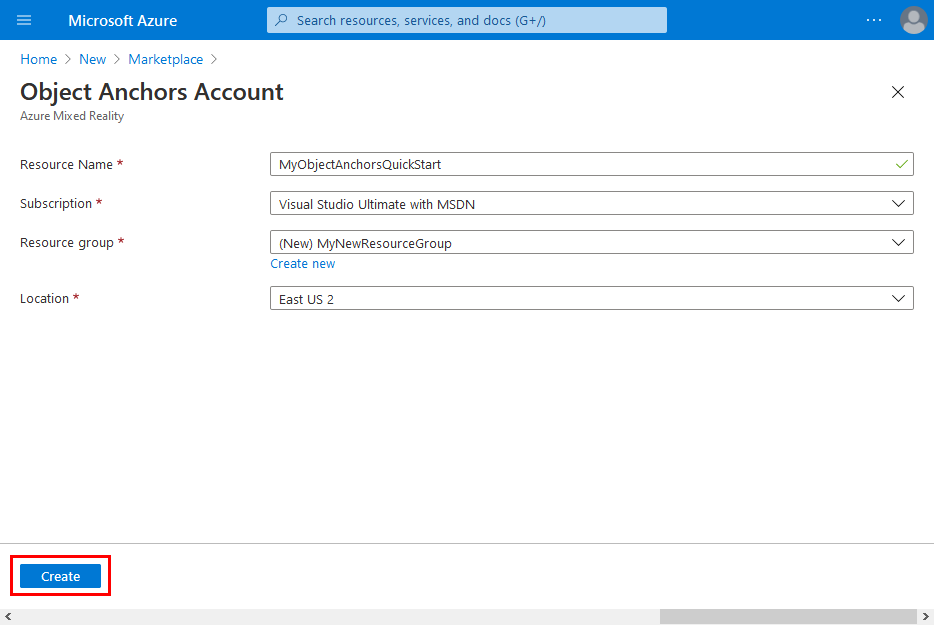
Select Create to begin creating the resource.
Once the resource has been created, select Go to resource.
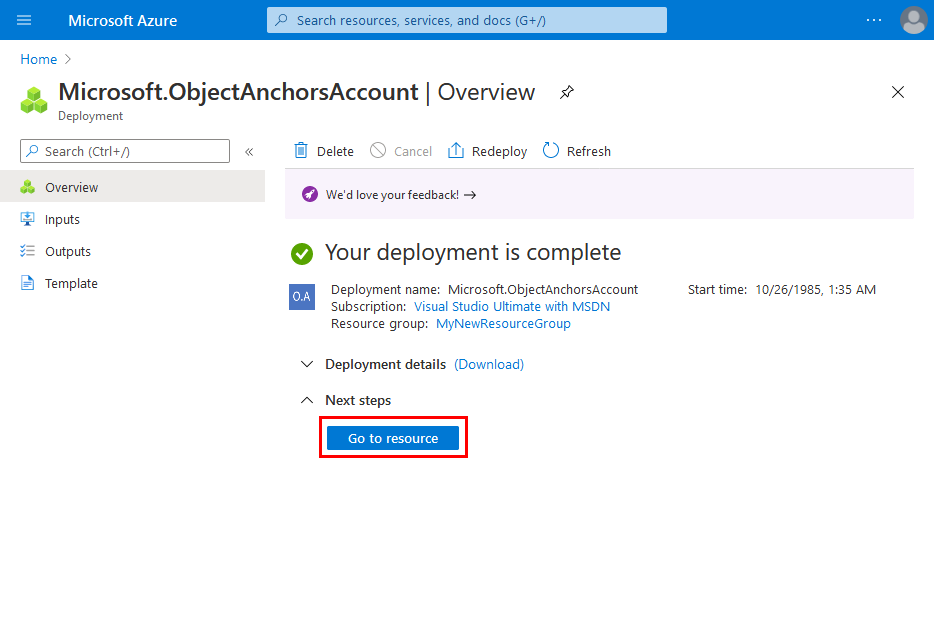
On the overview page:
Take note of the Account Domain. You'll need it later.
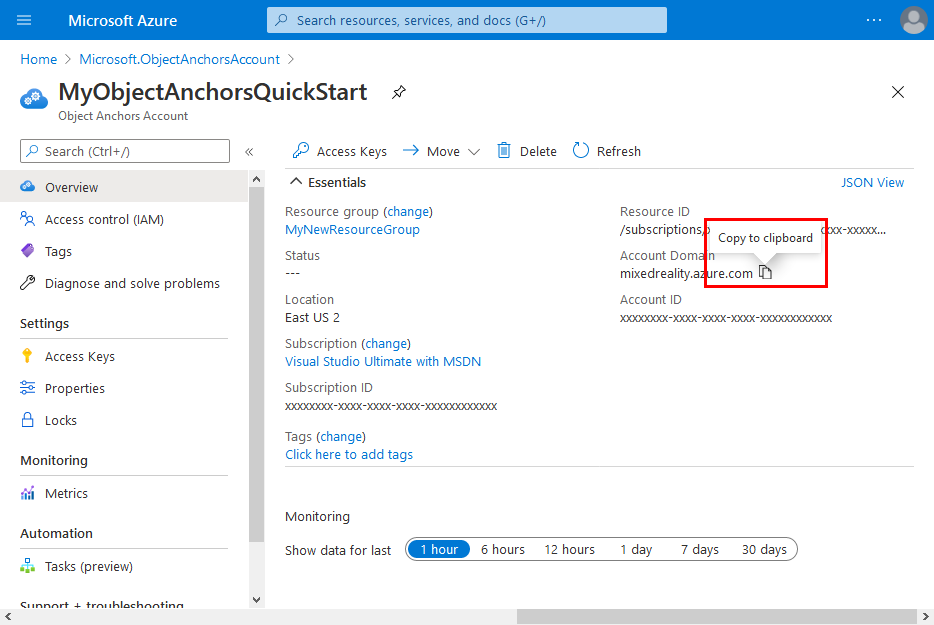
Take note of the Account ID. You'll need it later.

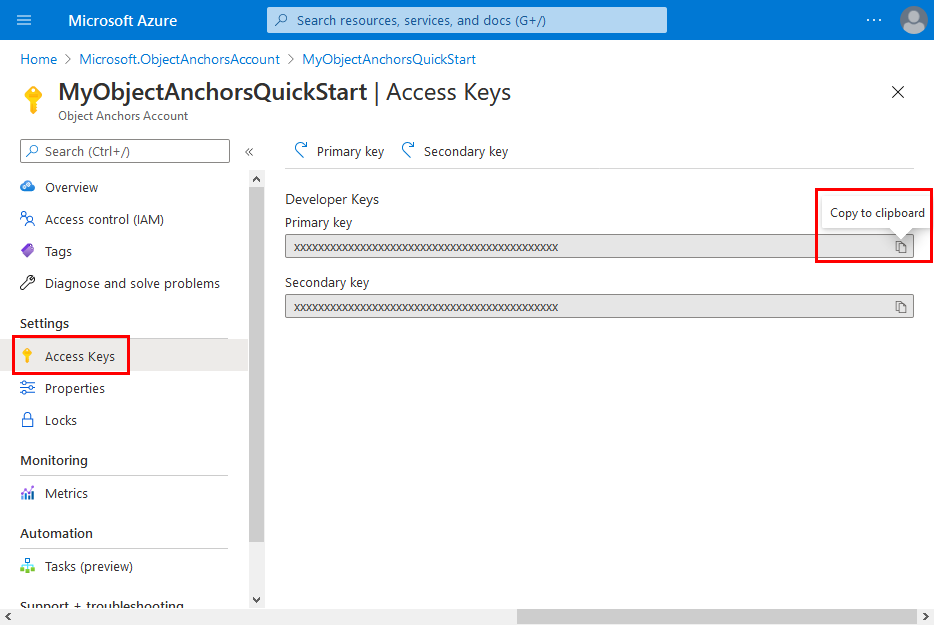
Go to the Access Keys page and take note of the Primary key. You'll need it later.
Set up your device
To deploy apps to your HoloLens, you'll need to pair your HoloLens with your computer.
- In your HoloLens, navigate to Settings -> Update & Security -> For Developers.
- Click Pair, and leave the screen open until you enter the PIN into Visual Studio during your first deployment.
Upload your model
Before you run the app, you'll need to make your models available to the app. If you don't already have an Object Anchors model, follow the instructions in Create a model to create one. Then, return here.
With your HoloLens powered on and connected to the development device (PC), follow these steps to upload a model to the 3D Objects folder on your HoloLens:
Select and copy the models you want to work with by pressing Ctrl key and C together (Ctrl + C).
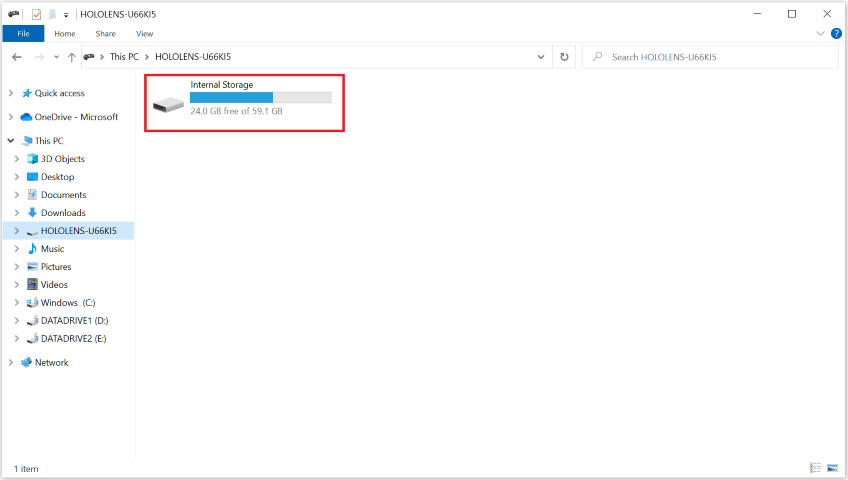
Press Windows Logo key and E together (Win + E) to launch File Explorer. You should see your HoloLens listed with other drives and folders on the left pane.
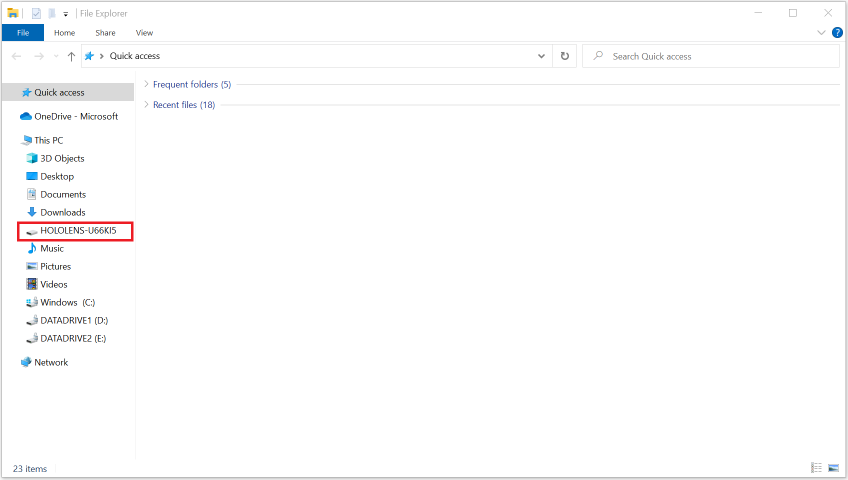
Tap on the HoloLens link to show the storage on the HoloLens device on the right pane.
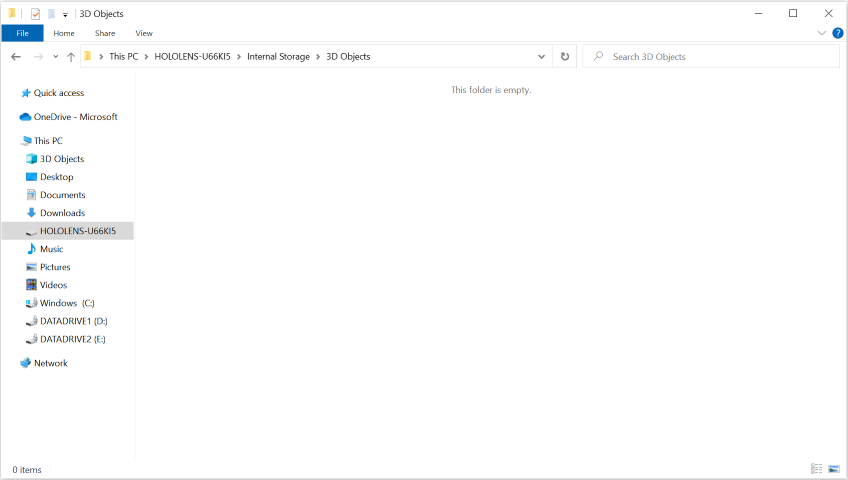
In File Explorer, go to Internal Storage > 3D Objects. Now, you can paste your models in the 3D Objects folder by pressing Ctrl key and V together (Ctrl + V).
Open the sample project
Clone the samples repository by running the following commands:
git clone https://github.com/Azure/azure-object-anchors.git

cd ./azure-object-anchors
The next step is to download the Azure Object Anchors package for Unity.
Locate the Azure Object Anchors package for Unity (com.microsoft.azure.object-anchors.runtime) here. Select the version you want and download the package using the Download button.
In Unity, open the quickstarts/apps/unity/basic project.
Follow the instructions here to import the Azure Object Anchors package you downloaded into the Unity project using the Unity Package Manager.
Configure the account information
The next step is to configure the app to use your account information. You took note of the Account Key, Account ID, and Account Domain values, in the "Create an Object Anchors account" section.
On the Project pane, go to Assets\AzureObjectAnchors.SDK\Resources.
Select ObjectAnchorsConfig. On the Inspector pane, enter the Account Key as the value for Object Anchors Account Key, the Account ID as the value for Object Anchors Account Id, and the Account Domain as the value for Object Anchors Account Domain.
Build and run the app
Build the sample scene
In Unity Editor, navigate to Assets/MixedReality.AzureObjectAnchors/Scenes, and open AOASampleScene, and add it to the scene build list.
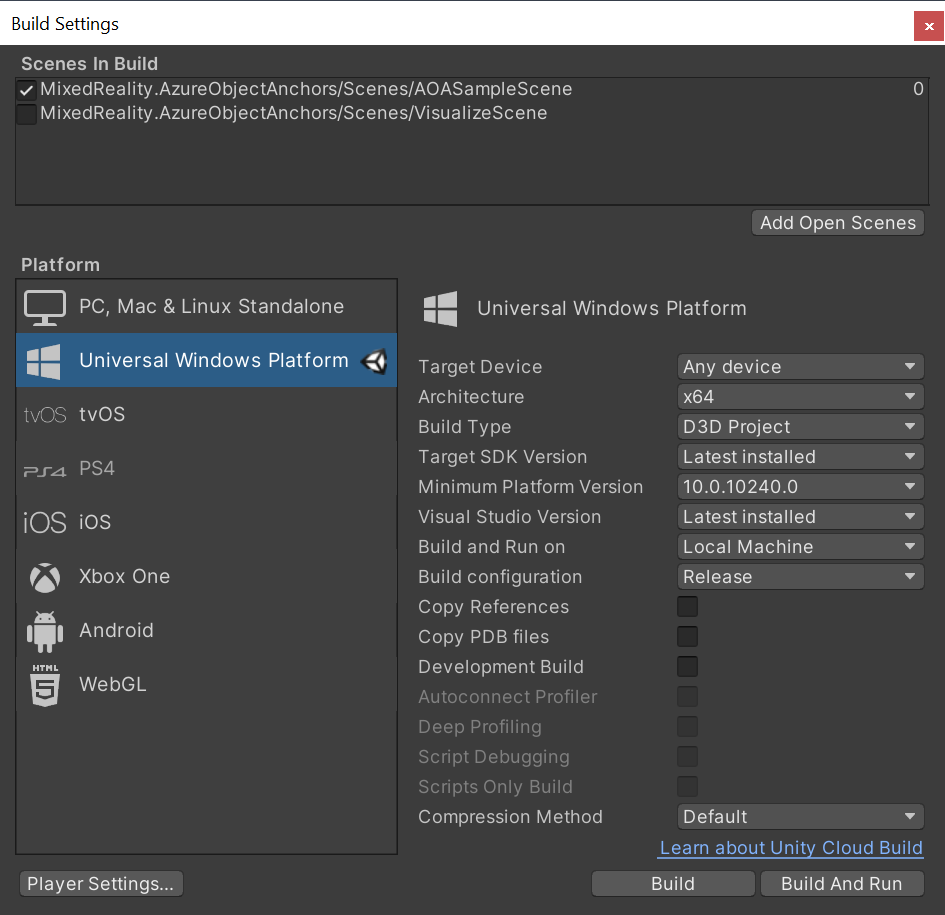
Select File -> Building Settings. Select Universal Windows Platform and then select Switch Platform. If Unity Editor says you need to download some components first, download and install them. Follow the screenshot below to configure the build settings. Ensure that only AOASampleScene has a checkmark next to it: all other scenes shouldn't be included.
Select Build and select an output folder. You can now generate a VS project in the output folder.
Build and deploy the app
Open the .sln file generated by Unity. Change the build configuration to the following.

Next, you'll need to configure the Remote Machine IP address to deploy and debug the app.
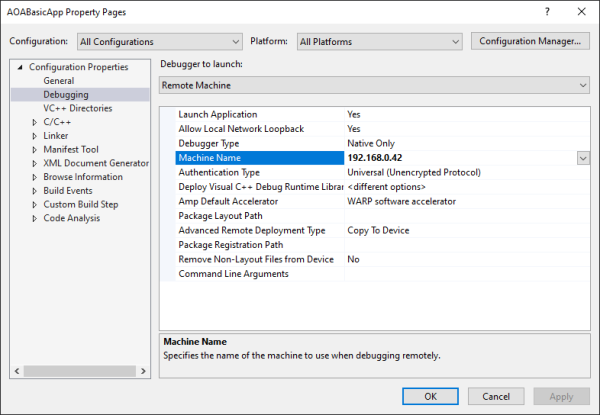
Right-click the App project and select Properties. In the properties page, select Configuration Properties -> Debugging. Change the Machine Name value to your HoloLens device's IP address and click Apply.
Close the property page. Click Remote Machine. The app should start to build and deploy to your remote device. Make sure your device is active.
After the Unity splash screen, you'll see a message indicating that the Object Observer has been initialized.
The app looks for objects in the current field of view and then tracks them once detected. An instance will be removed when it's 6 meters away from the user's location. The debug text shows details about an instance, like ID, updated timestamp and surface coverage ratio.
Troubleshooting
Tips
If your object isn't being detected, you can try the following steps:
- Double check that you're using the correct model for your object.
- Visualize the search area and ensure it covers the target object.
- Try reducing the
MinSurfaceCoverage. - In the Windows Device Portal, click Views -> 3D Views, and verify if the scan is complete.
Next steps
คำติชม
เร็วๆ นี้: ตลอดปี 2024 เราจะขจัดปัญหา GitHub เพื่อเป็นกลไกคำติชมสำหรับเนื้อหา และแทนที่ด้วยระบบคำติชมใหม่ สำหรับข้อมูลเพิ่มเติม ให้ดู: https://aka.ms/ContentUserFeedback
ส่งและดูข้อคิดเห็นสำหรับ