Configure the Azure VPN Client - Microsoft Entra authentication - Windows
This article helps you configure the Azure VPN Client on a Windows computer to connect to a virtual network using a VPN Gateway point-to-site (P2S) VPN and Microsoft Entra authentication. Before you can connect and authenticate using Microsoft Entra ID, you must first configure your Microsoft Entra tenant. For more information, see Configure a Microsoft Entra tenant. For more information about point-to-site, see About point-to-site VPN. The Azure VPN Client supported with Windows FIPS mode with the KB4577063 hotfix.
Note
Microsoft Entra authentication is supported only for OpenVPN® protocol connections and requires the Azure VPN Client.
Workflow
After your Azure VPN Gateway P2S configuration is complete, your next steps are as follows:
- Download and install the Azure VPN Client.
- Generate the VPN client profile configuration package.
- Import the client profile settings to the VPN client.
- Create a connection.
- Optional - export the profile settings from the client and import to other client computers.
Download the Azure VPN Client
Download the latest version of the Azure VPN Client install files using one of the following links:
- Install using Client Install files: https://aka.ms/azvpnclientdownload.
- Install directly, when signed in on a client computer: Microsoft Store.
Install the Azure VPN Client to each computer.
Verify that the Azure VPN Client has permission to run in the background. For steps, see Windows background apps.
To verify the installed client version, open the Azure VPN Client. Go to the bottom of the client and click ... -> ? Help. In the right pane, you can see the client version number.
Generate VPN client profile configuration files
- To generate the VPN client profile configuration package, see Working with P2S VPN client profile files.
- Download and extract the VPN client profile configuration files.
Import VPN client profile configuration files
Note
We're in the process of changing the Azure VPN Client fields for Azure Active Directory to Microsoft Entra. If you see Microsoft Entra fields referenced in this article, but don't yet see those values reflected in the client, select the comparable Azure Active Directory values.
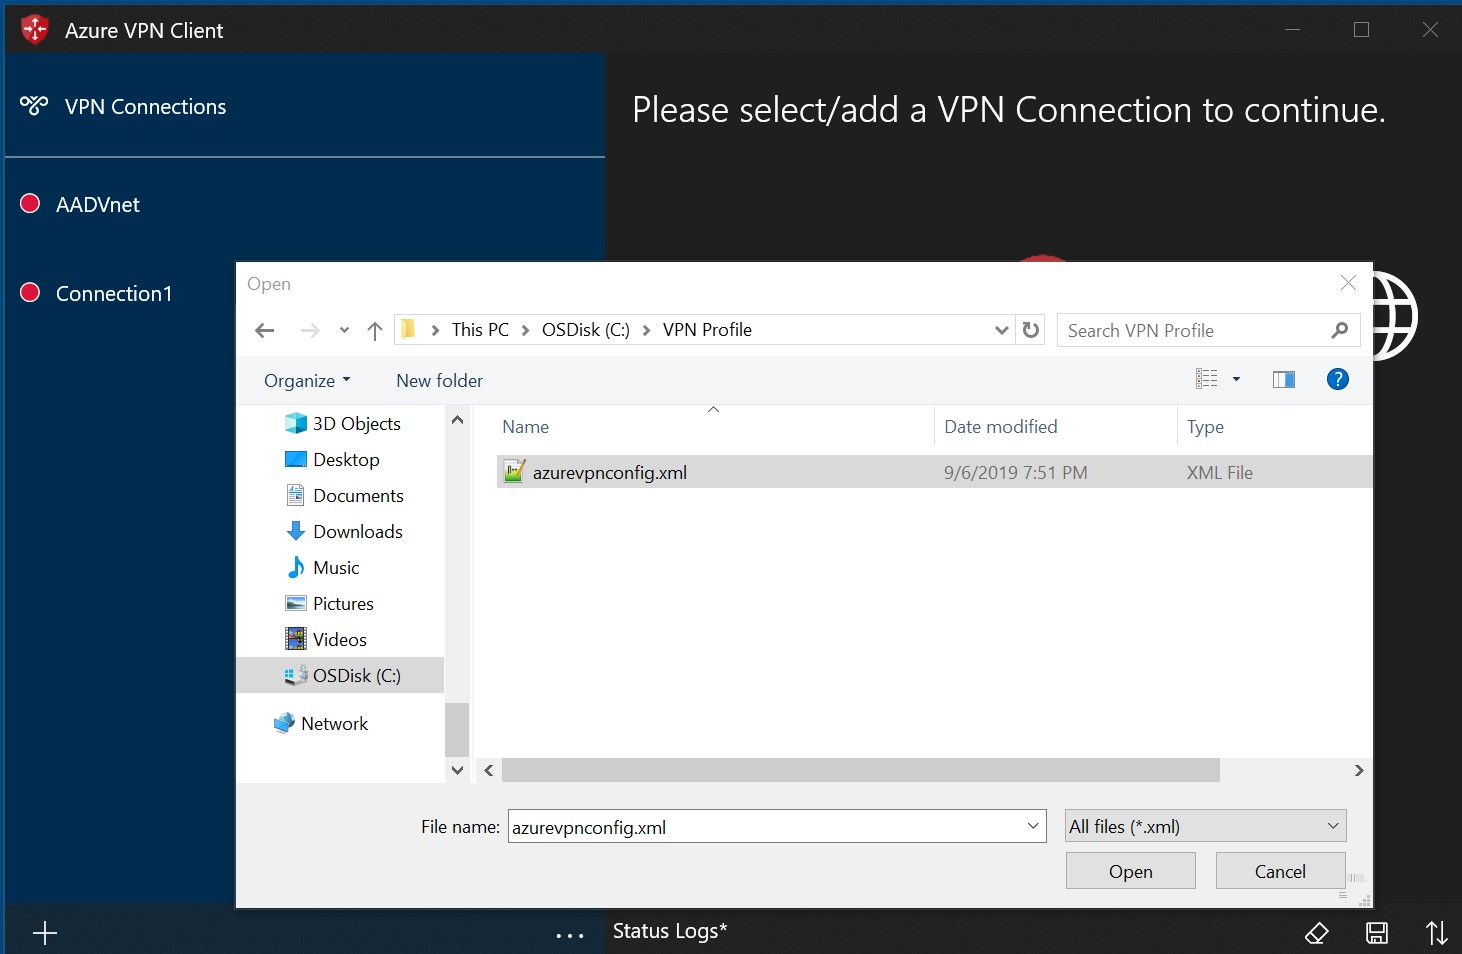
For Microsoft Entra authentication configurations, the azurevpnconfig.xml is used. The file is located in the AzureVPN folder of the VPN client profile configuration package.
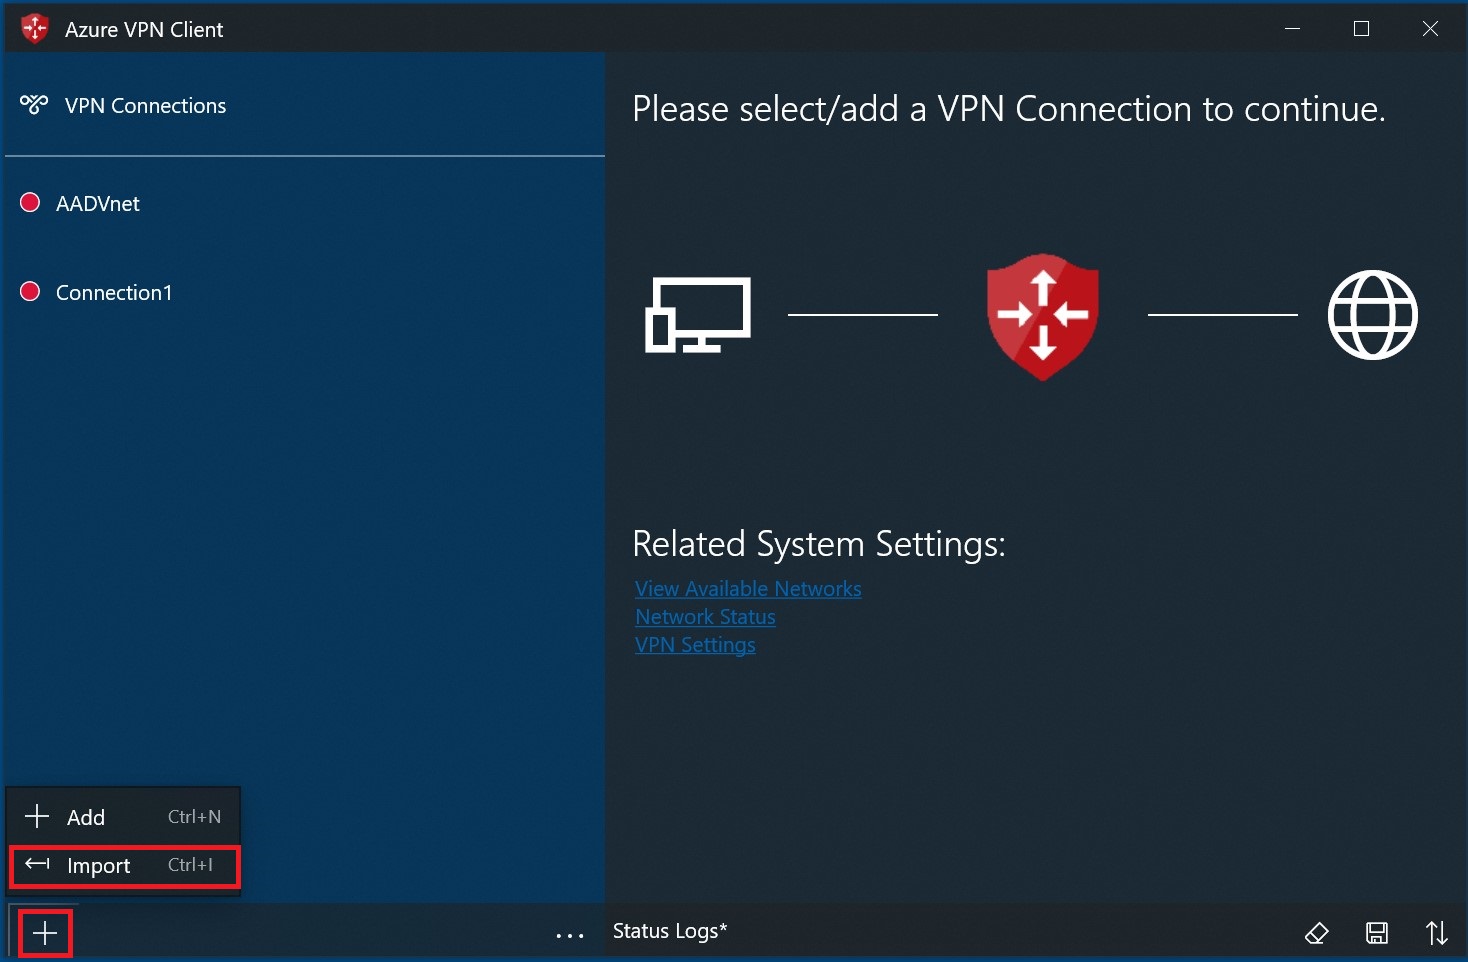
On the page, select Import.
Browse to the profile xml file and select it. With the file selected, select Open.
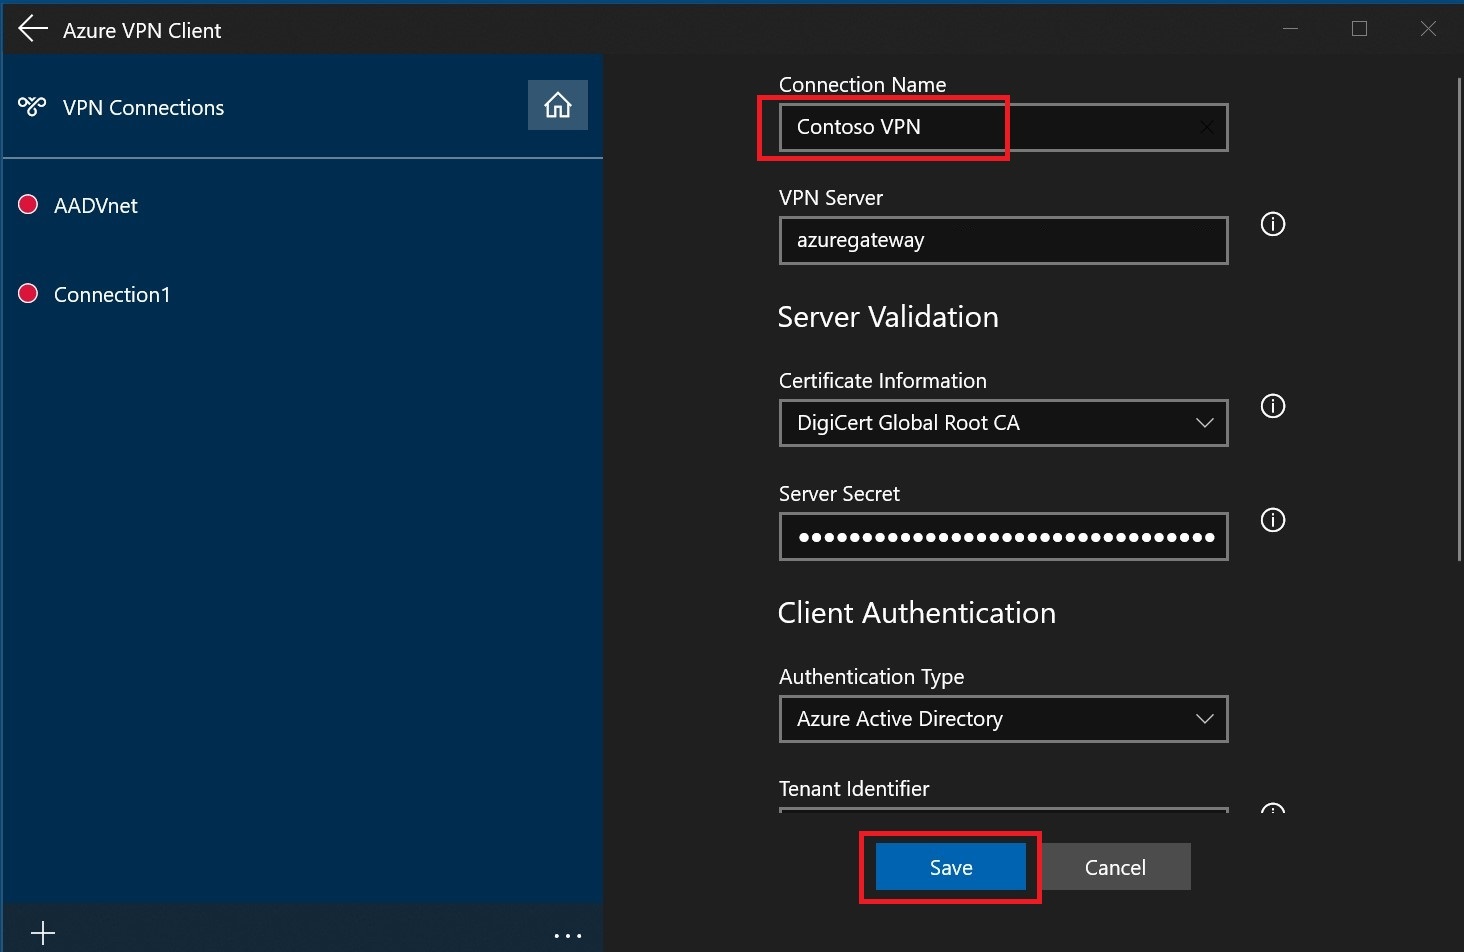
Specify the name of the profile and select Save.
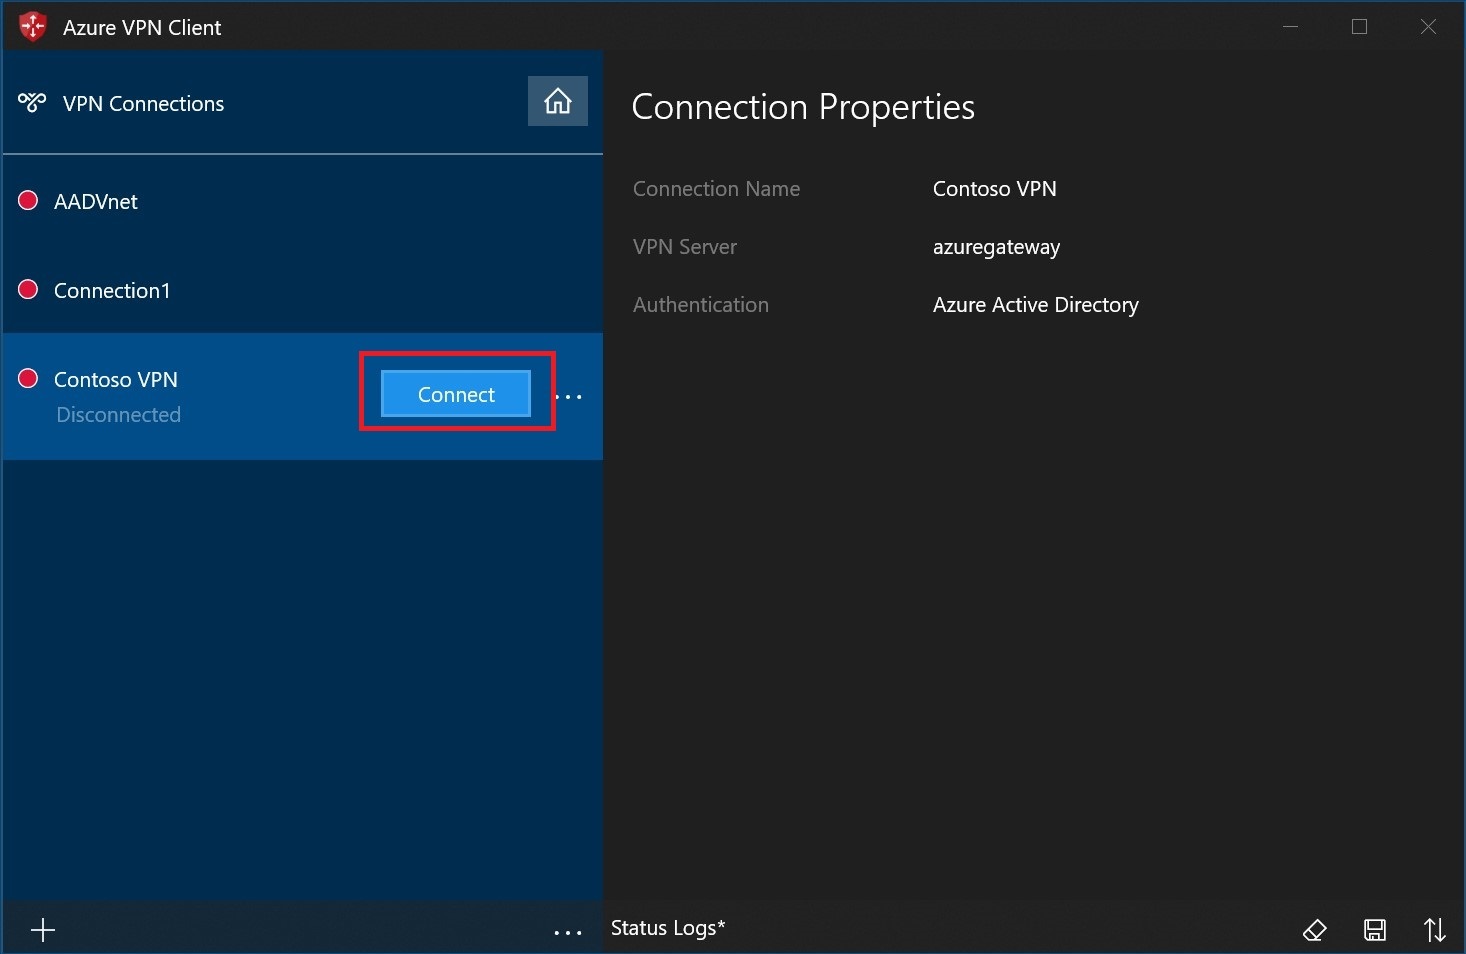
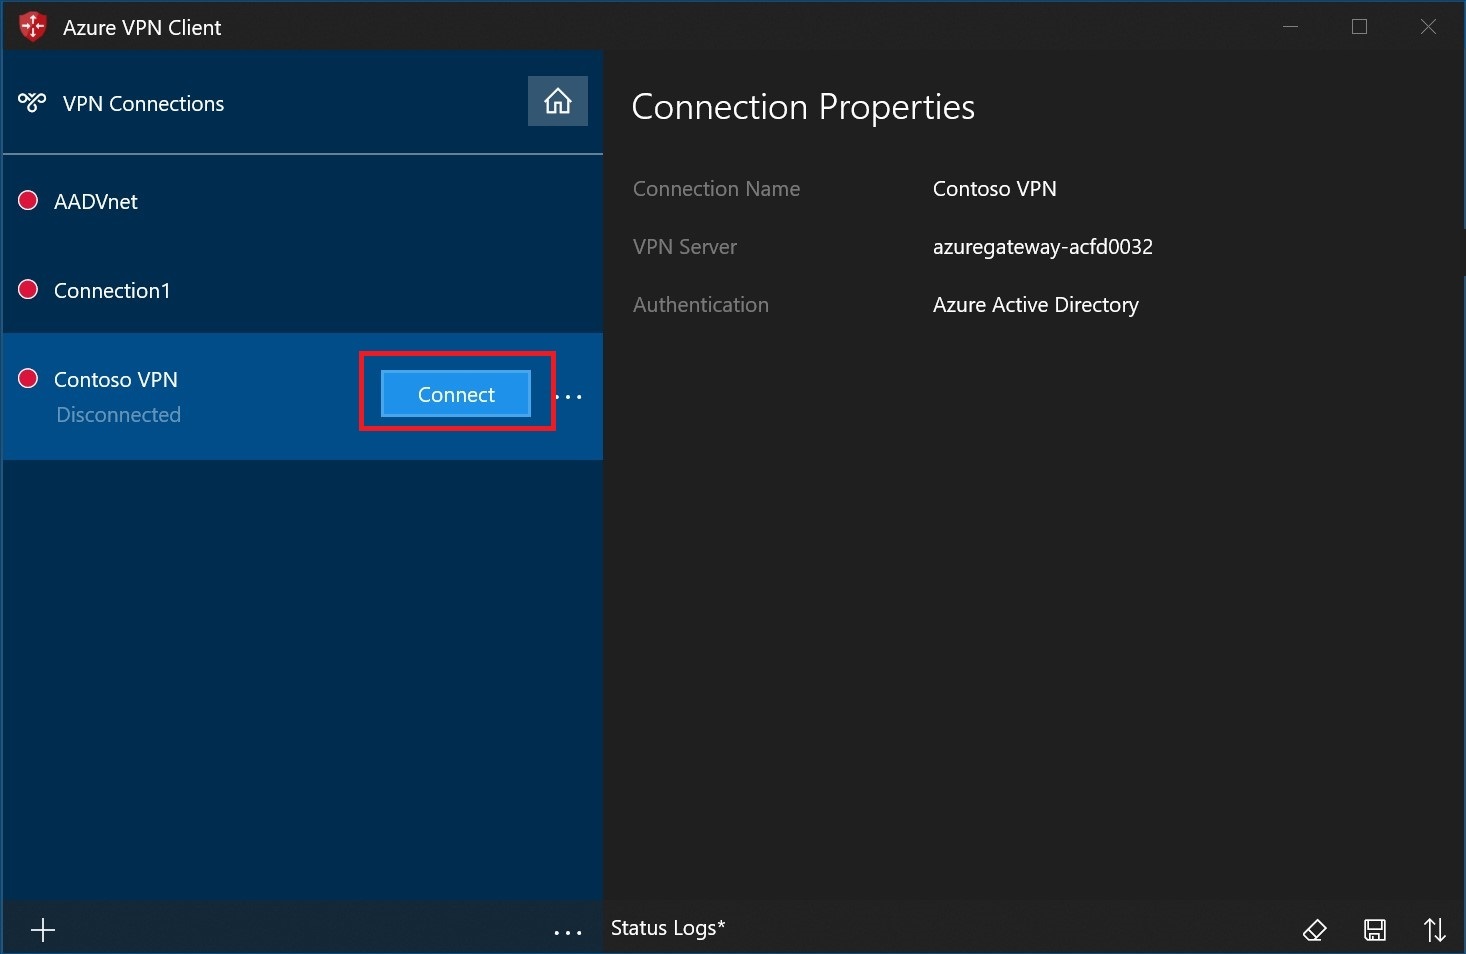
Select Connect to connect to the VPN.
Once connected, the icon will turn green and say Connected.
Create a connection
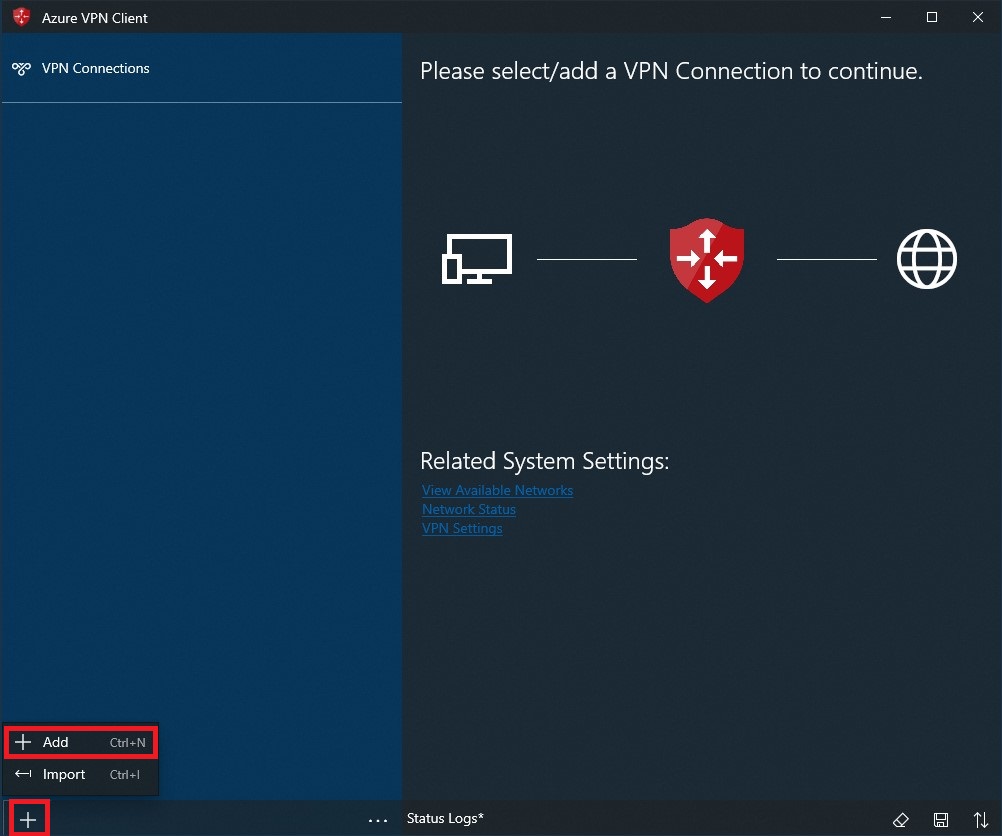
On the page, select +, then + Add.
Fill out the connection information. If you're unsure of the values, contact your administrator. After filling out the values, select Save.
Select Connect to connect to the VPN.
Select the proper credentials, then select Continue.
Once successfully connected, the icon will turn green and say Connected.
To connect automatically
These steps help you configure your connection to connect automatically with Always-on.
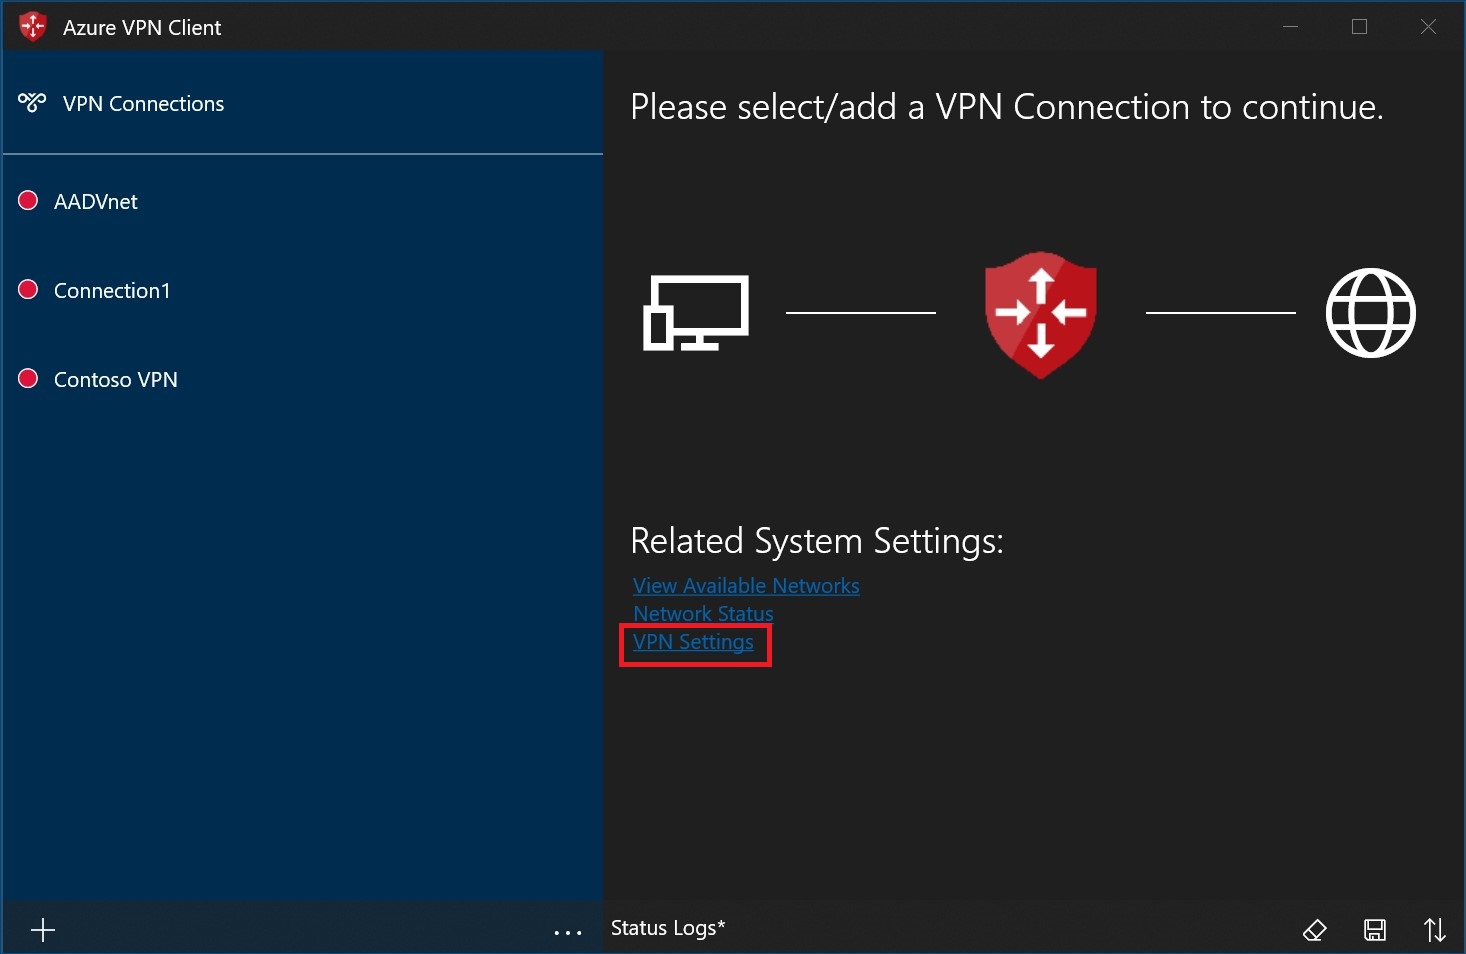
On the home page for your VPN client, select VPN Settings.
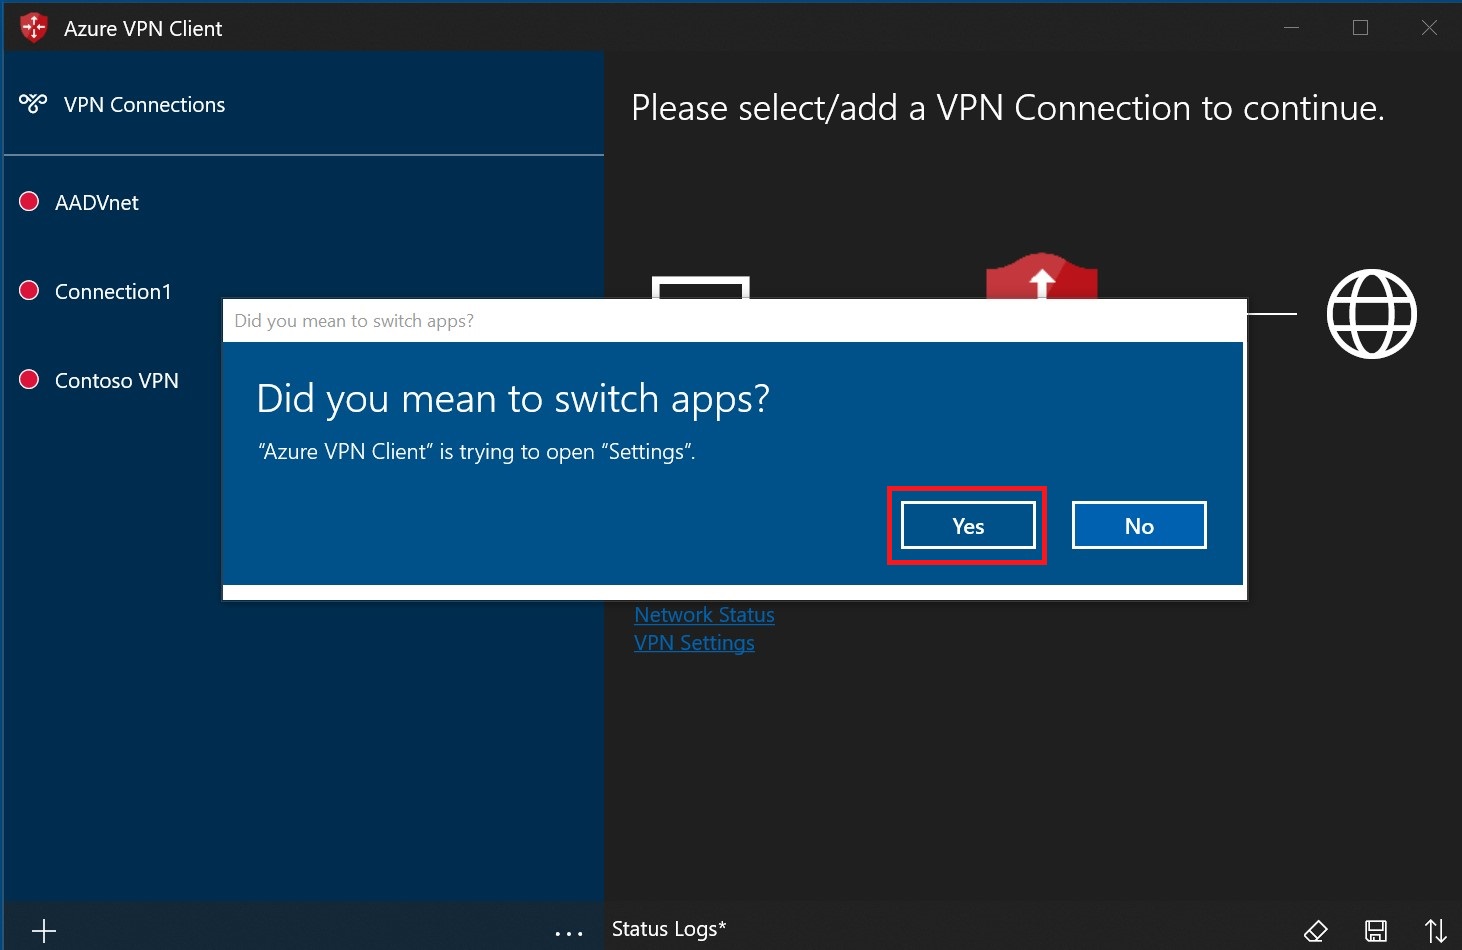
Select Yes on the switch apps dialogue box.
Make sure the connection that you want to set isn't already connected, then highlight the profile and check the Connect automatically check box.
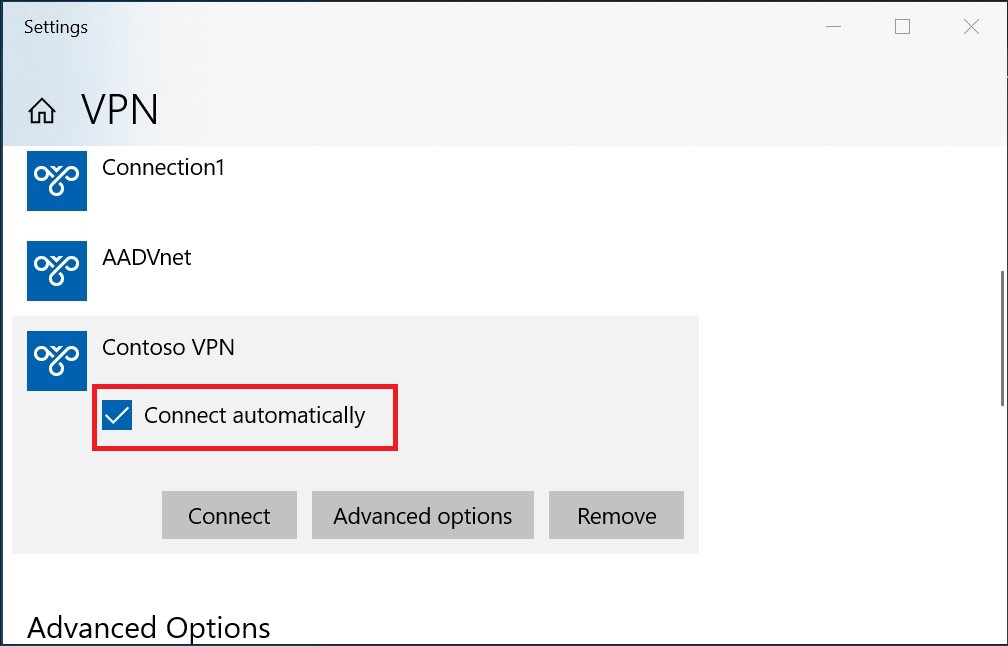
Select Connect to initiate the VPN connection.
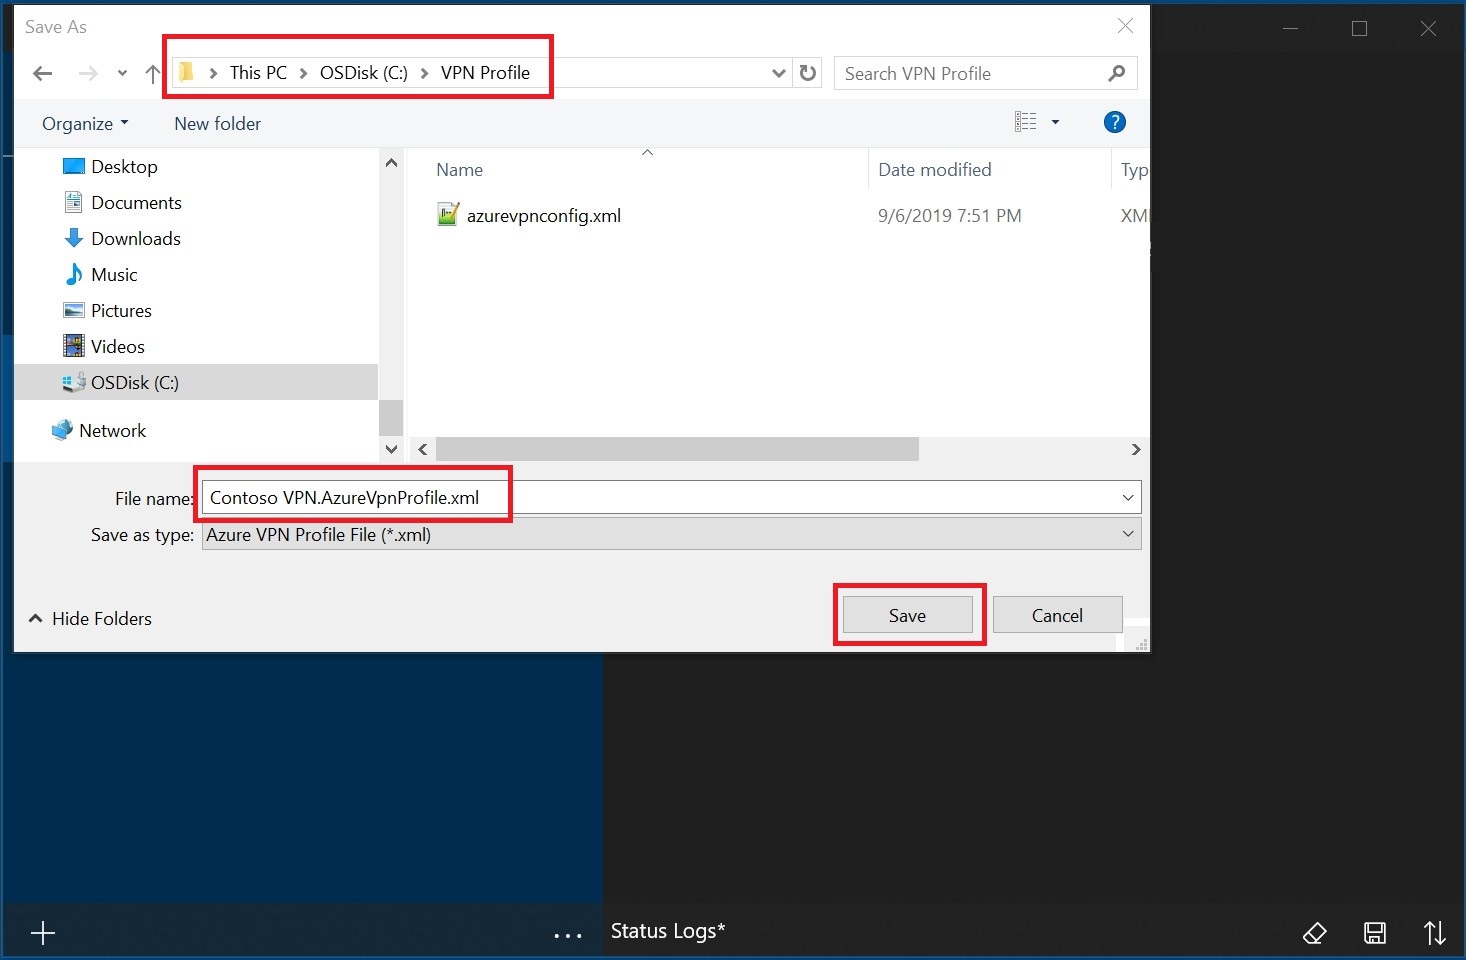
Export and distribute a client profile
Once you have a working profile and need to distribute it to other users, you can export it using the following steps:
Highlight the VPN client profile that you want to export, select the ..., then select Export.

Select the location that you want to save this profile to, leave the file name as is, then select Save to save the xml file.
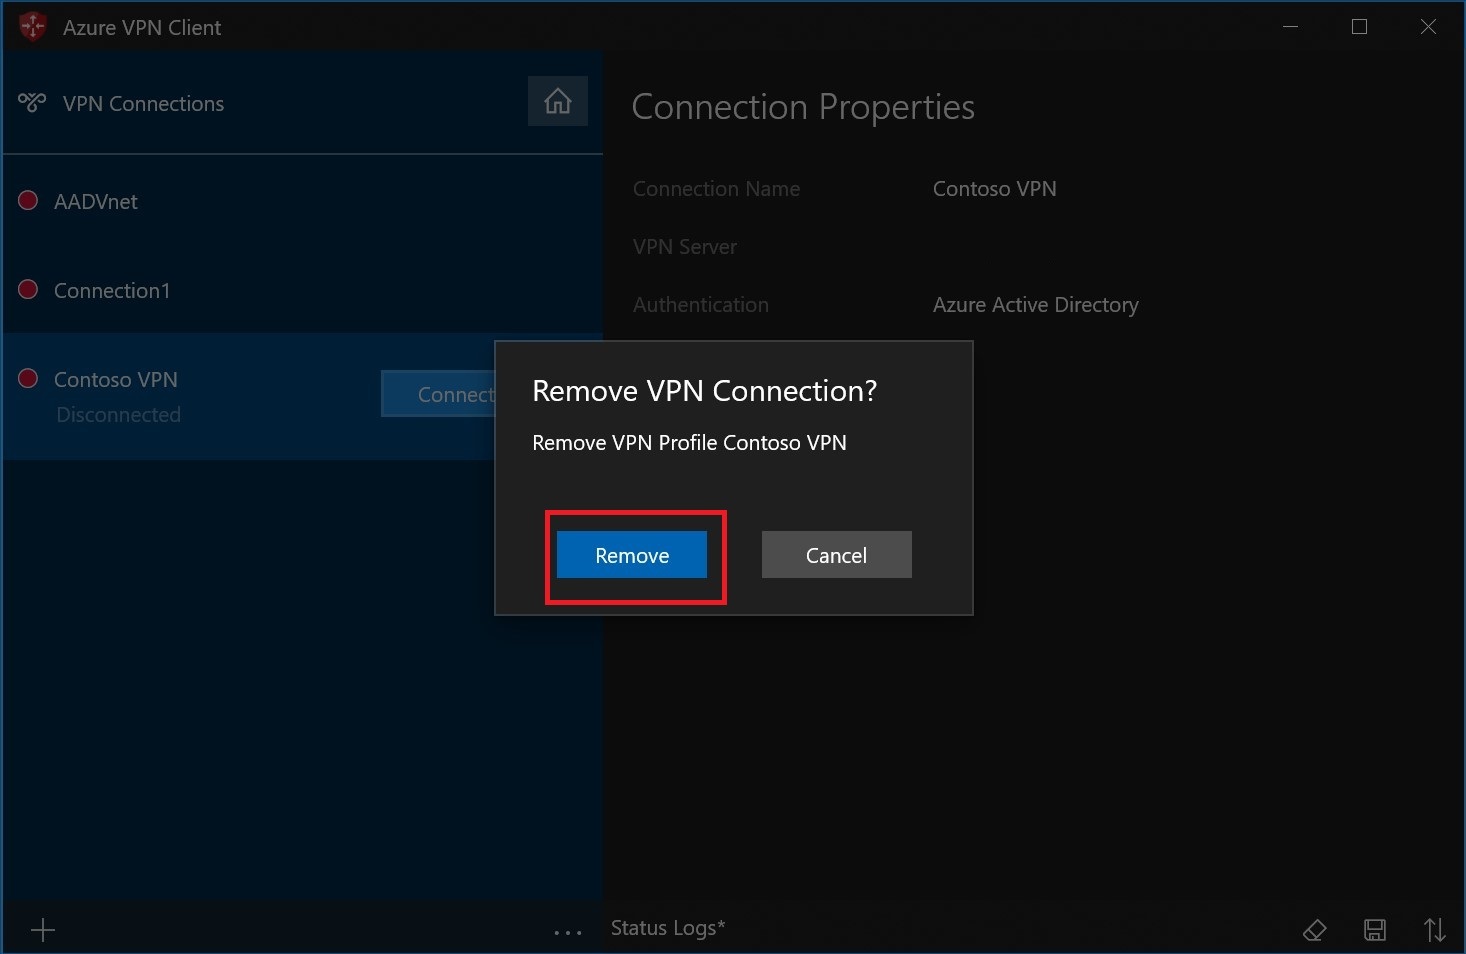
Delete a client profile
Select the ellipses next to the client profile that you want to delete. Then, select Remove.

Select Remove to delete.
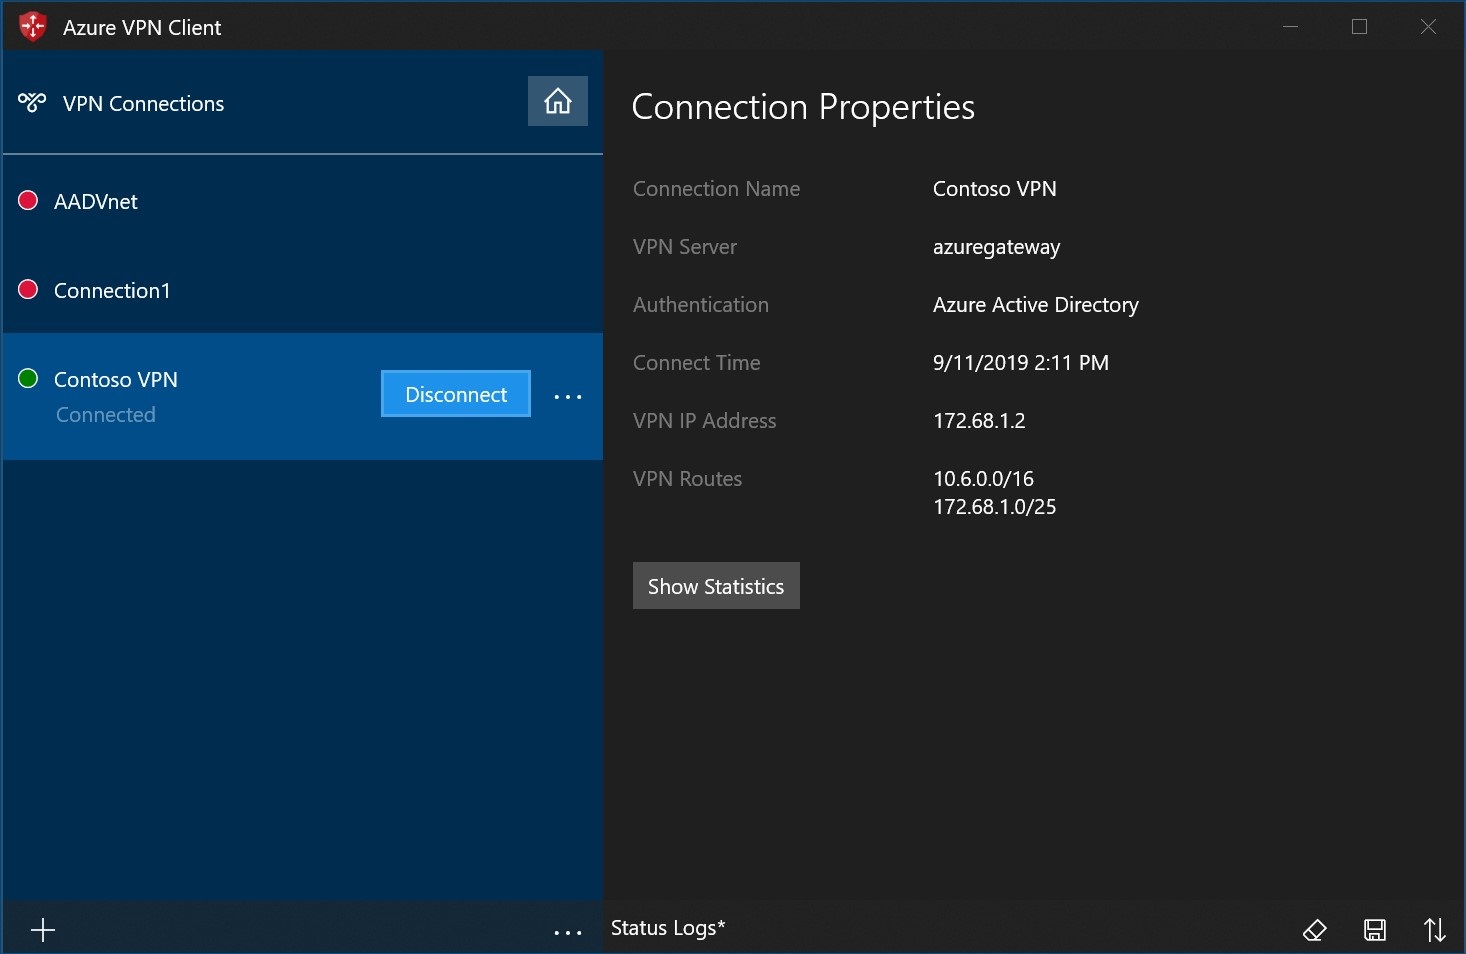
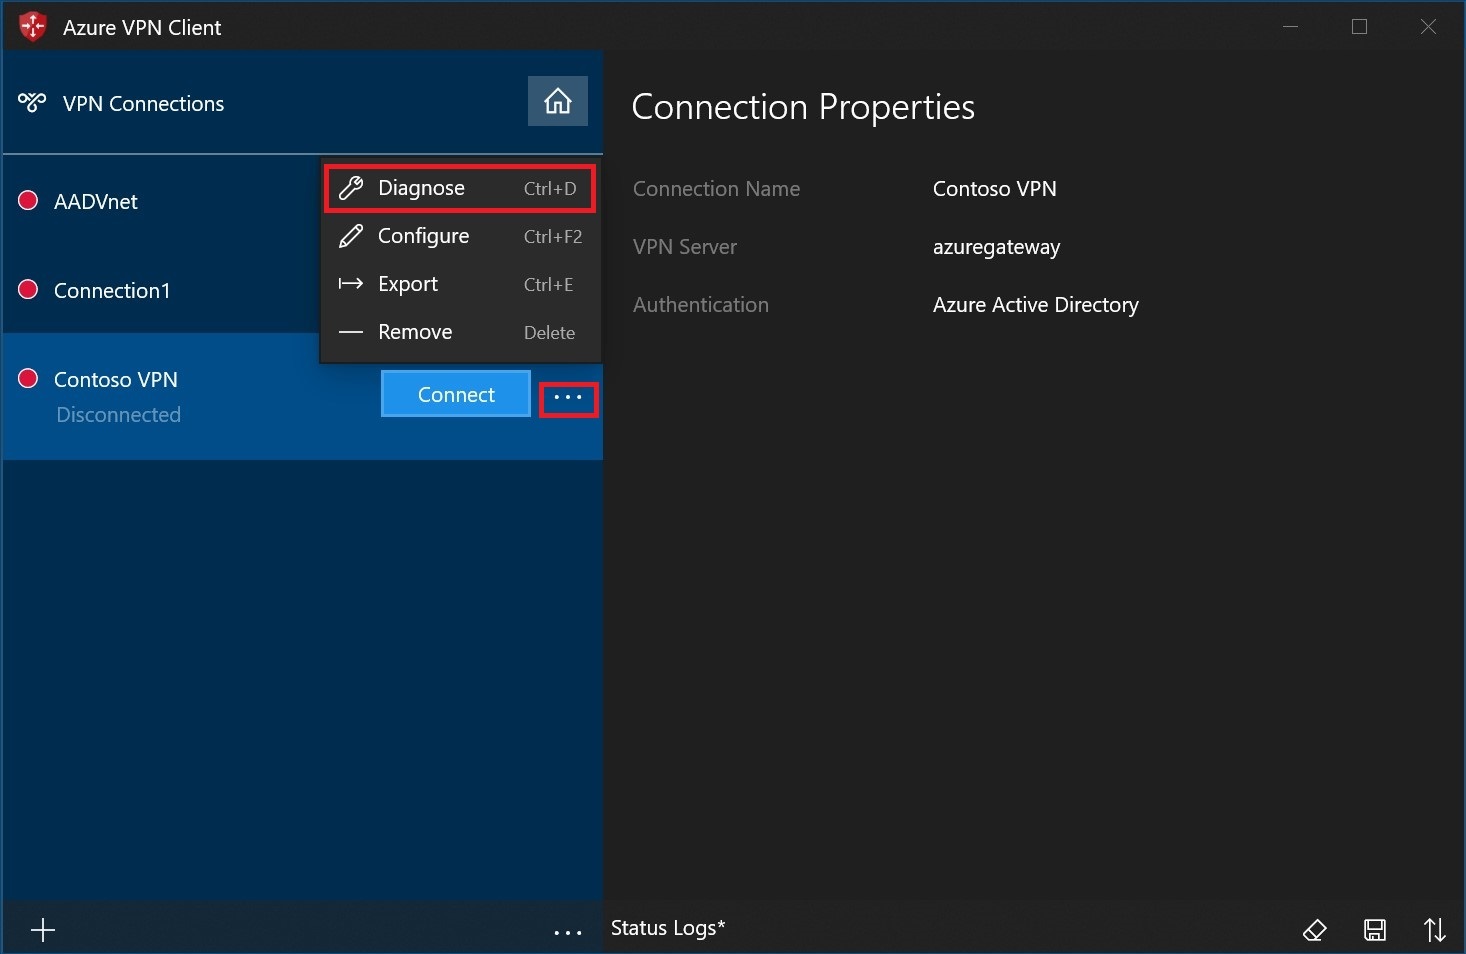
Diagnose connection issues
To diagnose connection issues, you can use the Diagnose tool. Select the ... next to the VPN connection that you want to diagnose to reveal the menu. Then select Diagnose.
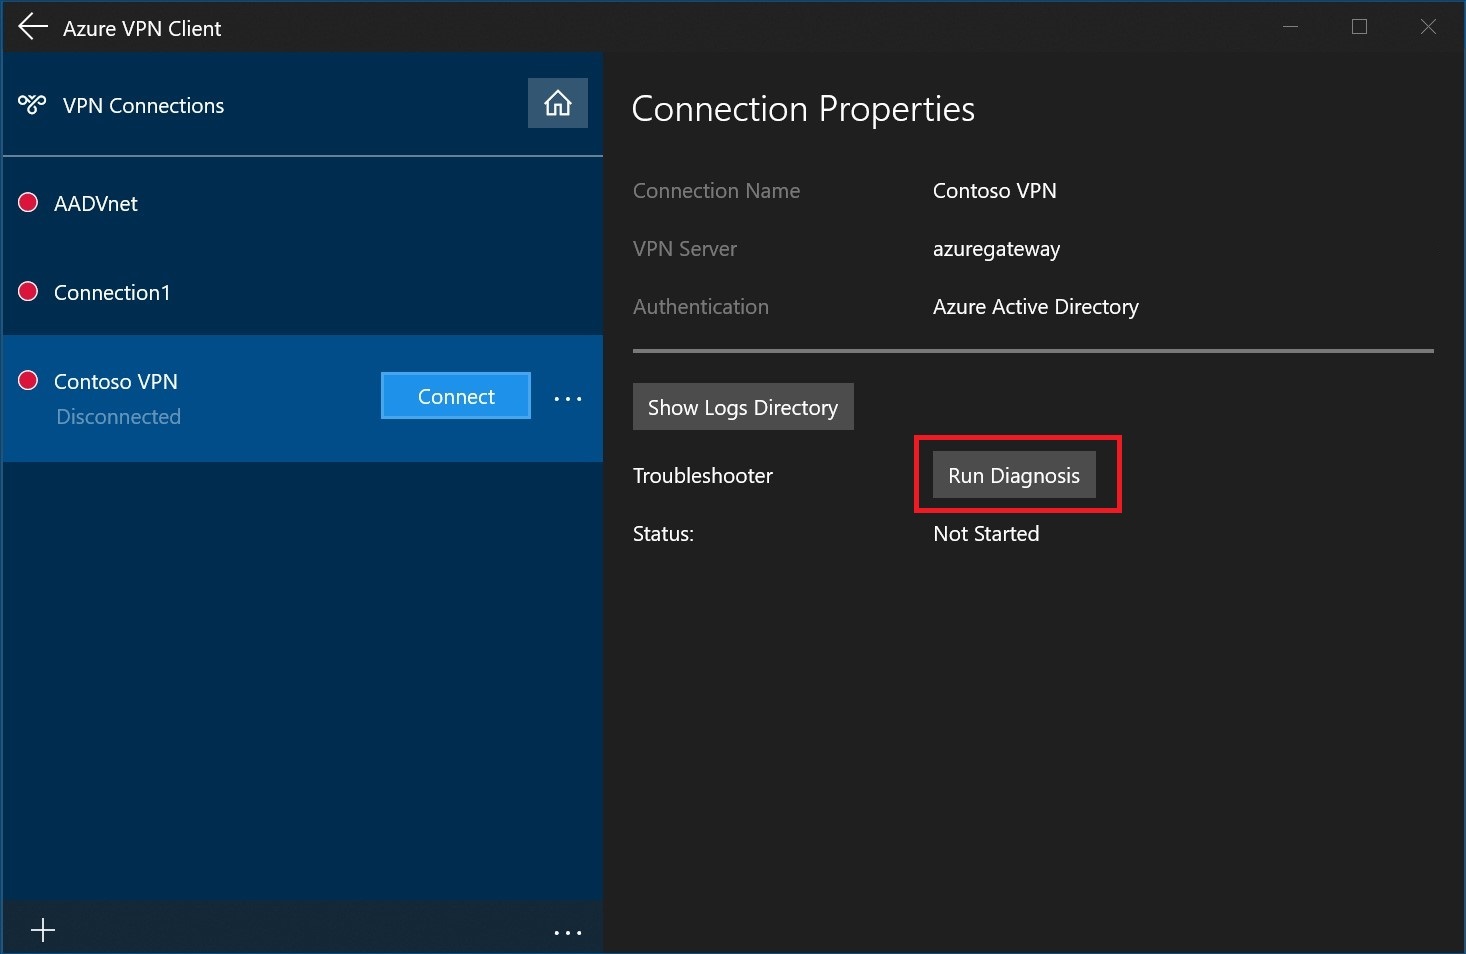
On the Connection Properties page, select Run Diagnosis.
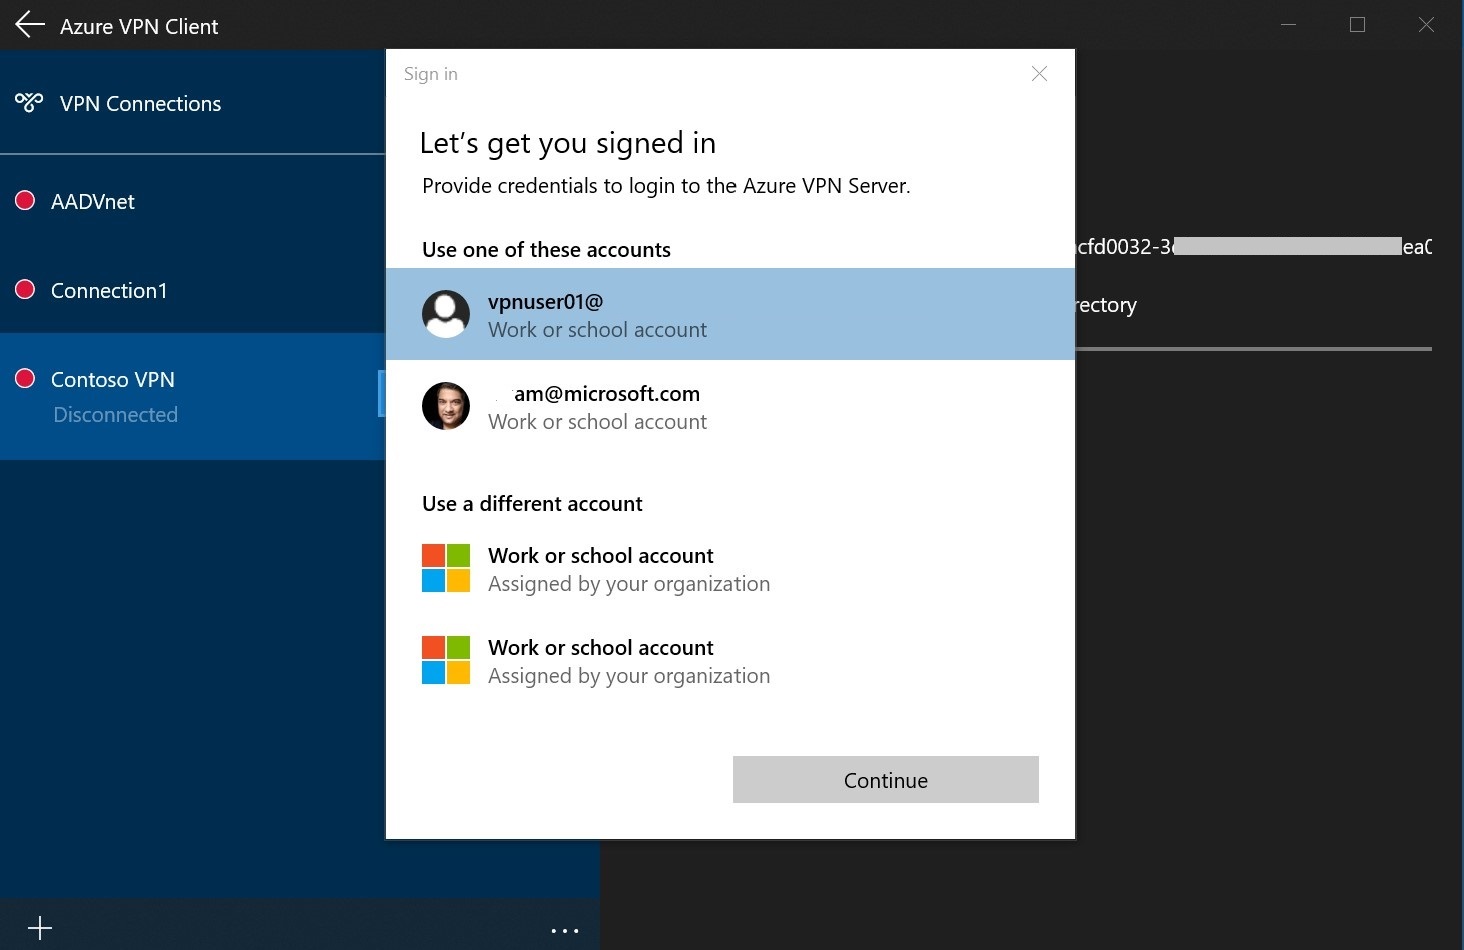
Sign in with your credentials.
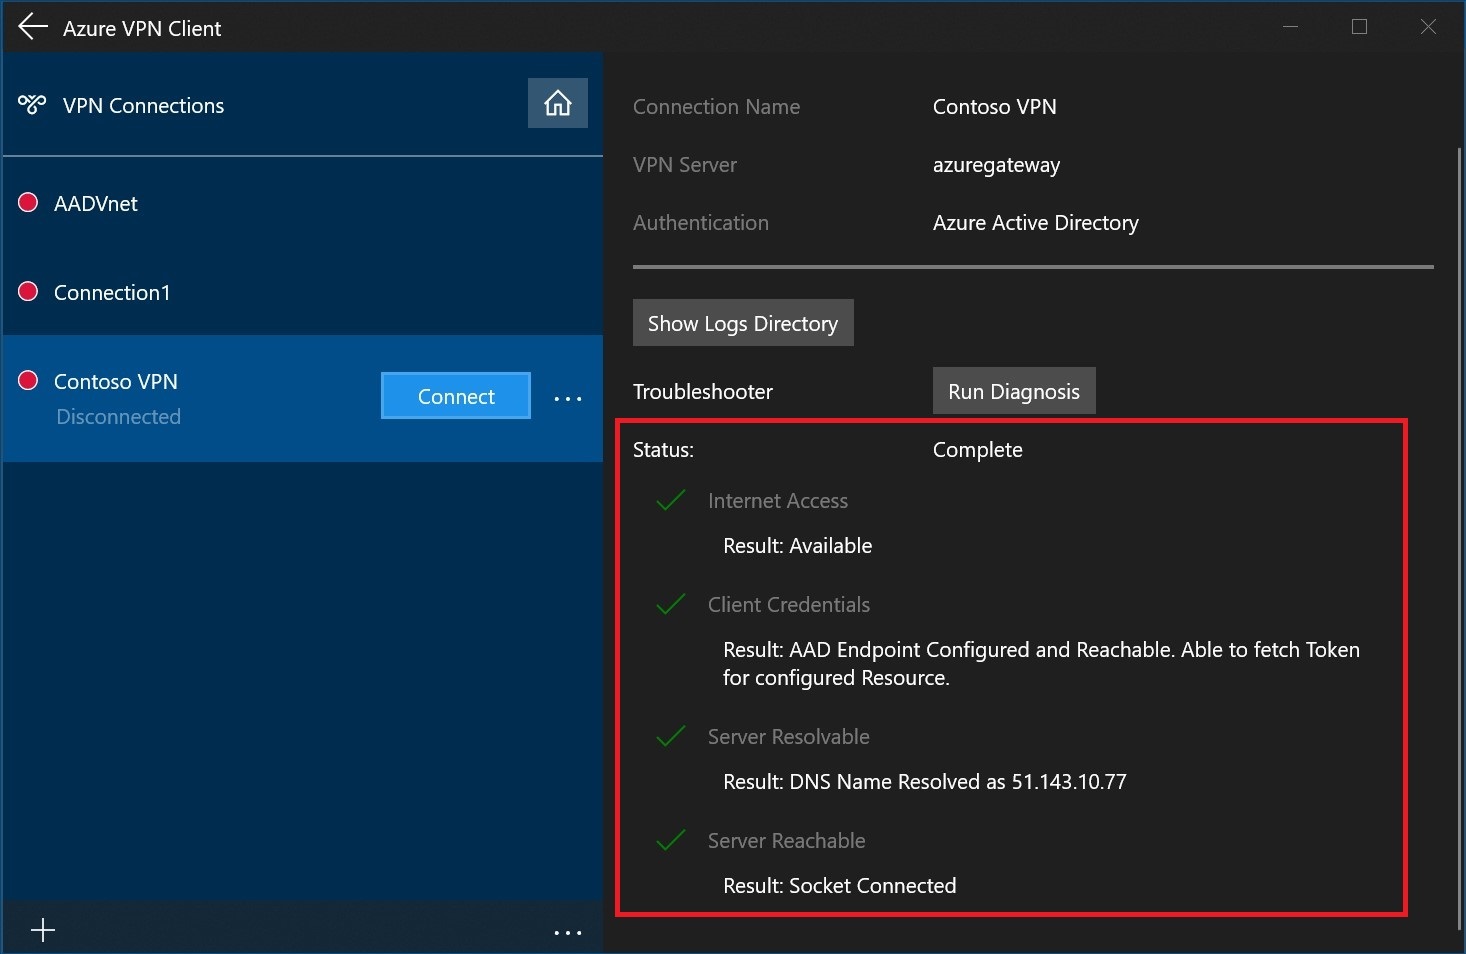
View the diagnosis results.
Optional Azure VPN Client configuration settings
You can configure the Azure VPN Client with optional configuration settings such as additional DNS servers, custom DNS, forced tunneling, custom routes, and other additional settings. For a description of the available optional settings and configuration steps, see Azure VPN Client optional settings.
Azure VPN Client version information
For Azure VPN Client version information, see Azure VPN Client versions.
Next steps
For more information, see Create a Microsoft Entra tenant for P2S Open VPN connections that use Microsoft Entra authentication.
คำติชม
เร็วๆ นี้: ตลอดปี 2024 เราจะขจัดปัญหา GitHub เพื่อเป็นกลไกคำติชมสำหรับเนื้อหา และแทนที่ด้วยระบบคำติชมใหม่ สำหรับข้อมูลเพิ่มเติม ให้ดู: https://aka.ms/ContentUserFeedback
ส่งและดูข้อคิดเห็นสำหรับ