Copy and paste flow actions (Public Preview)
Important
This content is archived and is not being updated. For the latest documentation, see Microsoft Dynamics 365 product documentation. For the latest release plans, see Dynamics 365 and Microsoft Power Platform release plans.
If you want to duplicate actions inside of the flow designer, you can now copy and paste them. For example, if you are building a condition and want similar actions in the If yes side and the If no side, instead of creating both actions from scratch you can build the first action in one side and then copy it to the other side.
How it works
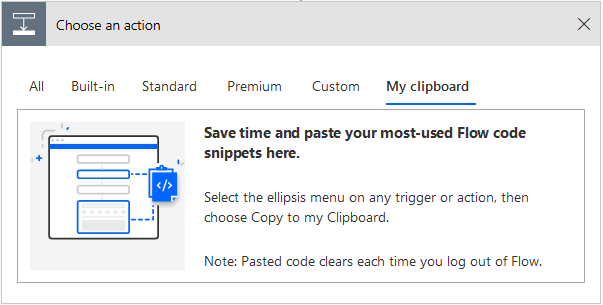
In the flow designer, you will notice when you add a step there is a new tab called My clipboard. This is where all the actions you copy will be stored.

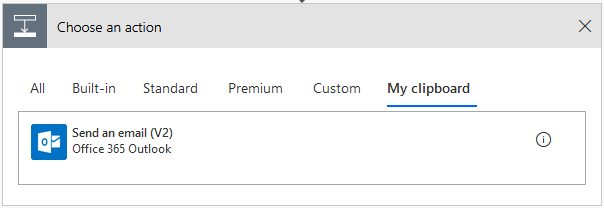
To add any action to the clipboard – click on the action menu (the “…” icon at the top-right of the action) and select Copy to my clipboard (Preview).

To paste or duplicate the action – simply add the action, as you would add any other action, by selecting the My clipboard tab and selecting the copied action.

Tip
You can also paste or duplicate actions across flows!
Additional tips and tricks
Use Scope to copy multiple actions at a time:
- Add a Scope step to your flow.
- Drag and drop the actions you’d like to copy into the Scope step.
- Copy the Scope to the clipboard.
Peek at the code using info bubble — If you’re an advanced user and would like to view the code of your copied action, hover on the info bubble to see what’s in the copied action.
Copy-paste code — There is another feature built into My clipboard for flow makers who want to work with action code in their flow. You can access the code snippet of an action by opening any text editor and pressing Control+V, after your have copied it to a clipboard. Then click on My clipboard and press Control+V and watch as your “code” snippet gets automatically converted to a step you can use in any of your flows.
Here is a sample for you to try out. Copy the below code and navigate to My Clipboard and press Control+V (or Command-V on a Mac):
  {
	"id": "00000000-0000-0000-0000-0000-00000000",
	"connectionReferences": {
		"shared_office365": {
			"connection": {
				"id": ""
			}
		}
	},
	"connectorDisplayName": "Office 365 Outlook",
	"icon": "https://connectoricons-prod.azureedge.net/office365/icon_1.0.1227.1634.png",
	"isTrigger": false,
	"operationName": "Email_Copy",
	"operationDefinition": {
		"type": "ApiConnection",
		"inputs": {
			"host": {
				"connection": {
					"name": "@parameters('$connections')['shared_office365']['connectionId']"
				}
			},
			"method": "post",
			"body": {
				"To": "",
				"Subject": "Test Subject",
				"Body": "<p>Test email body</p>"
			},
			"path": "/v2/Mail",
			"authentication": "@parameters('$authentication')"

		},
		"runAfter": {
			"Send_an_email_(V2)": ["Succeeded"]
		}
	}
}
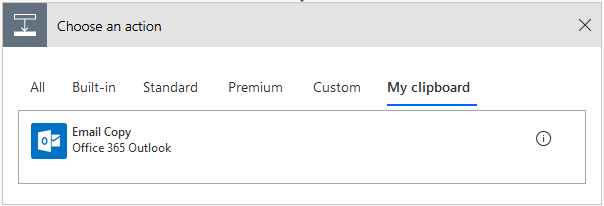
You should see the following action show up in your clipboard:
