หมายเหตุ
การเข้าถึงหน้านี้ต้องได้รับการอนุญาต คุณสามารถลอง ลงชื่อเข้าใช้หรือเปลี่ยนไดเรกทอรีได้
การเข้าถึงหน้านี้ต้องได้รับการอนุญาต คุณสามารถลองเปลี่ยนไดเรกทอรีได้
บทความนี้อธิบายวิธีการเพิ่ม MySQL Database Change Data Capture (CDC) เป็นแหล่งข้อมูลเหตุการณ์ใน Fabric Real-Time hub
ตัวเชื่อมต่อ Azure MySQL Database Change Data Capture (CDC) ช่วยให้คุณสามารถจับภาพสแนปช็อตของข้อมูลปัจจุบันในฐานข้อมูล Azure MySQL ได้ คุณระบุตารางที่จะตรวจสอบและรับการแจ้งเตือนเมื่อมีการเปลี่ยนแปลงระดับแถวต่อมาใดๆ กับตาราง เมื่อการเปลี่ยนแปลงถูกบันทึกไว้ในสตรีม คุณสามารถประมวลผลข้อมูล CDC นี้ในแบบเรียลไทม์ และส่งไปยังปลายทางอื่นภายใน Fabric เพื่อประมวลผลหรือวิเคราะห์เพิ่มเติม
Prerequisites
- เข้าถึงพื้นที่ทํางานในโหมดสิทธิ์การใช้งาน Fabric capacity (หรือ) โหมดสิทธิ์การใช้งานรุ่นทดลองใช้ที่มีสิทธิ์ผู้สนับสนุนหรือสูงกว่า
- สร้างอินสแตนซ์ของ ฐานข้อมูล Azure สําหรับ MySQL – เซิร์ฟเวอร์ที่ยืดหยุ่น
ตั้งค่าฐานข้อมูล MySQL
ตัวเชื่อมต่อฐานข้อมูล Azure MySQL ใช้ตัวเชื่อมต่อ Debezium MySQL เพื่อจับการเปลี่ยนแปลงในฐานข้อมูล MySQL ของคุณ คุณต้องกําหนดผู้ใช้ MySQL ที่มีสิทธิ์บนฐานข้อมูลทั้งหมดที่ตัวเชื่อมต่อตรวจสอบ สําหรับคําแนะนําทีละขั้นตอน ดู ตั้งค่าฐานข้อมูล MySQL (DB)
เปิดใช้งาน binlog
คุณต้องเปิดใช้งานการบันทึกไบนารีสําหรับการจําลอง MySQL แฟ้มบันทึกไบนารีบันทึกการปรับปรุงทรานแซคชันสําหรับเครื่องมือการจําลองแบบเพื่อเผยแพร่การเปลี่ยนแปลง ตัวอย่างเช่น ฐานข้อมูล Azure สําหรับ MySQL
ใน พอร์ทัล Azure ให้นําทางไปยังฐานข้อมูล Azure MySQL ของคุณ
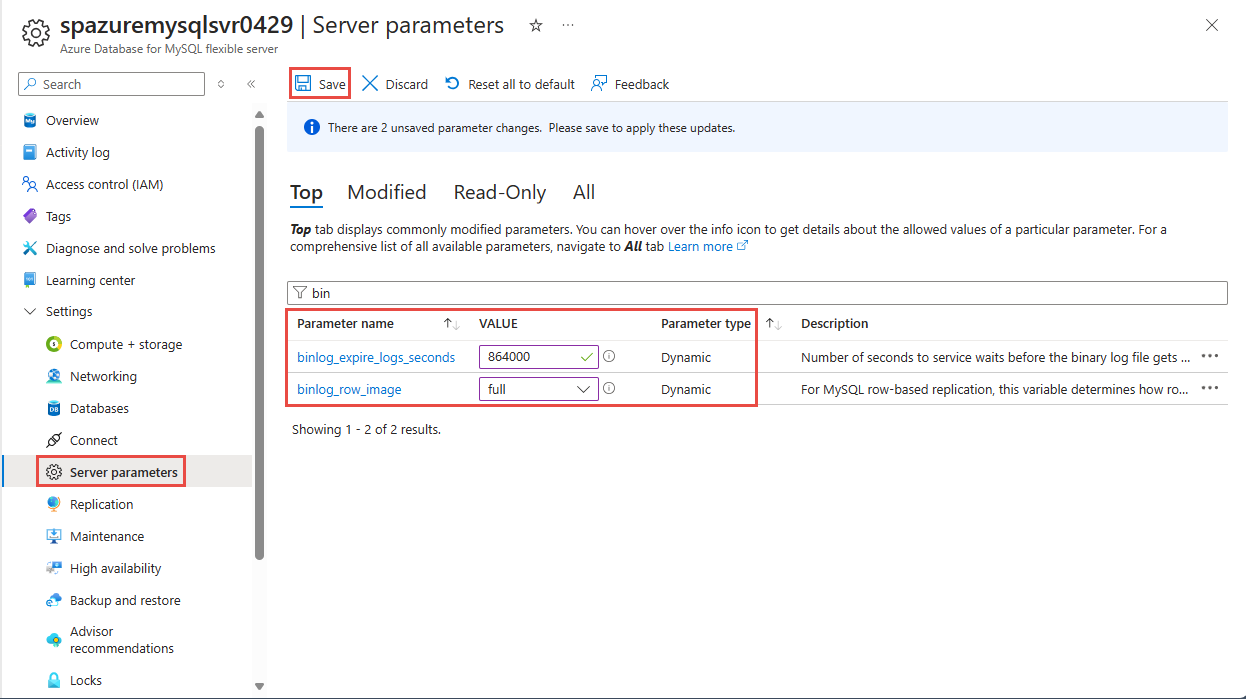
ในเมนูการนําทางด้านซ้าย ให้เลือก พารามิเตอร์เซิร์ฟเวอร์
กําหนดค่าเซิร์ฟเวอร์ MySQL ของคุณด้วยคุณสมบัติต่อไปนี้
- binlog_row_image: ตั้งค่าเป็นเต็ม
- binlog_expire_logs_seconds: จํานวนวินาทีสําหรับการลบไฟล์ binlog อัตโนมัติ ตั้งค่าเพื่อให้ตรงกับความต้องการของสภาพแวดล้อมของคุณ ตัวอย่างเช่น 86400

รับเหตุการณ์จาก Azure MySQL Database (CDC)
คุณสามารถรับเหตุการณ์จาก CDC ฐานข้อมูล Azure MySQL ลงในฮับเรียลไทม์ด้วยหนึ่งในวิธีต่อไปนี้:
หน้าแหล่งข้อมูล
ลงชื่อเข้าใช้ Microsoft Fabric
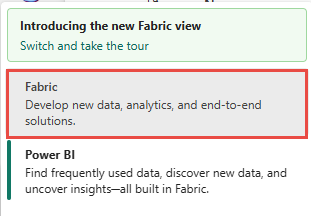
ถ้าคุณเห็น Power BI ที่ด้านล่างซ้ายของหน้า ให้สลับไปยังปริมาณงาน Fabric โดยเลือก Power BI แล้วเลือก Fabric
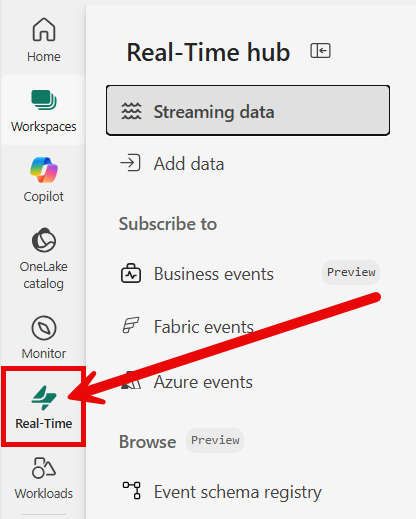
เลือก เรียลไทม์ บนแถบนําทางด้านซ้าย
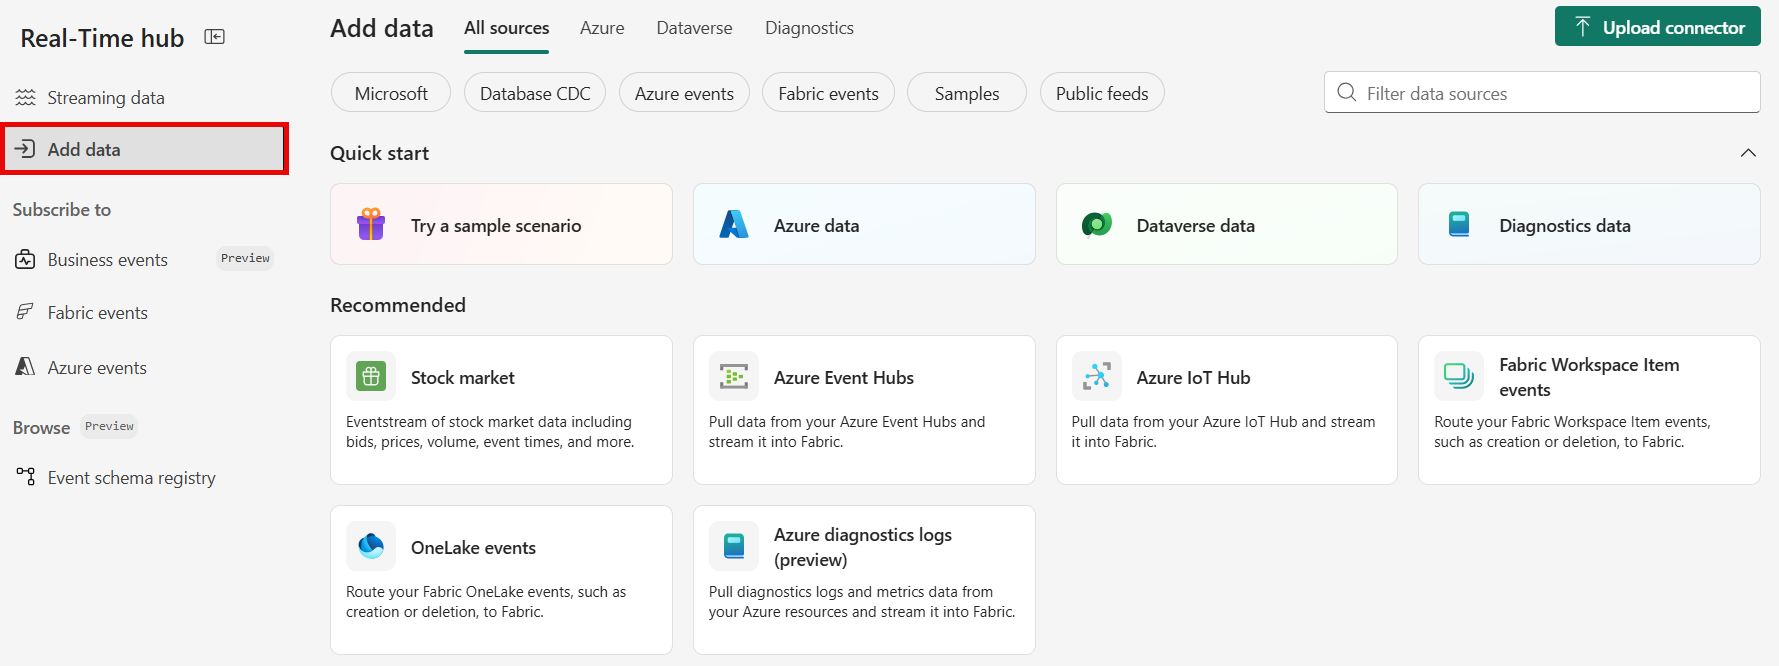
หน้า ข้อมูลสตรีมมิง จะเปิดขึ้นตามค่าเริ่มต้น คลิกที่ปุ่มเพิ่มข้อมูลเพื่อไปที่หน้าแหล่งข้อมูล
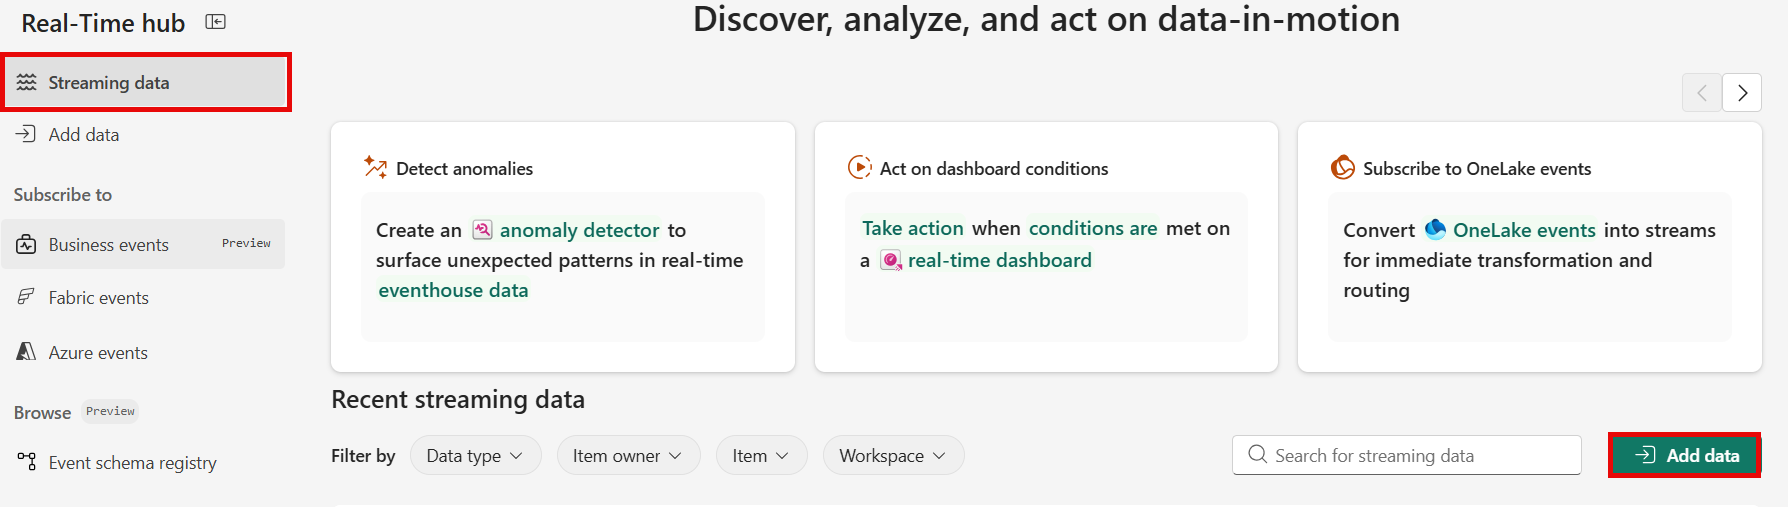
คุณยังสามารถไปที่หน้า แหล่งข้อมูล ได้โดยตรงโดยเลือกตัวเลือก เพิ่มข้อมูล ในแถบนําทางด้านซ้าย


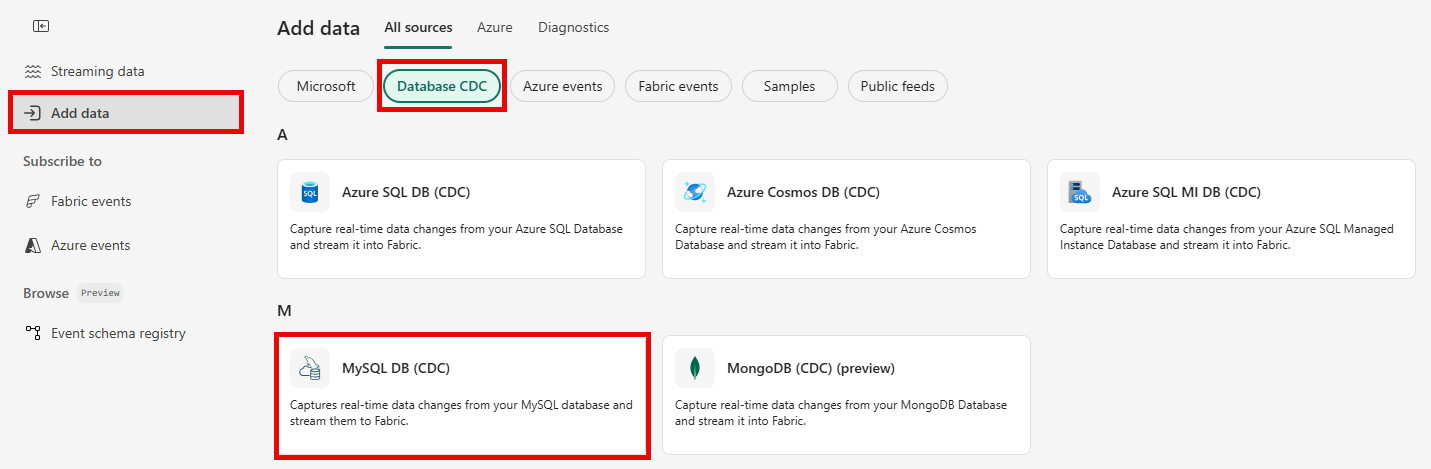
บนหน้า แหล่งข้อมูล ให้เลือกประเภท CDC ฐานข้อมูลที่ด้านบน แล้วเลือก เชื่อมต่อ บนไทล์ MySQL DB (CDC)
ใช้คําแนะนําจากเพิ่ม Azure MySQL Database CDC เป็นส่วนแหล่งที่มา

หน้าแหล่งที่มาของ Microsoft
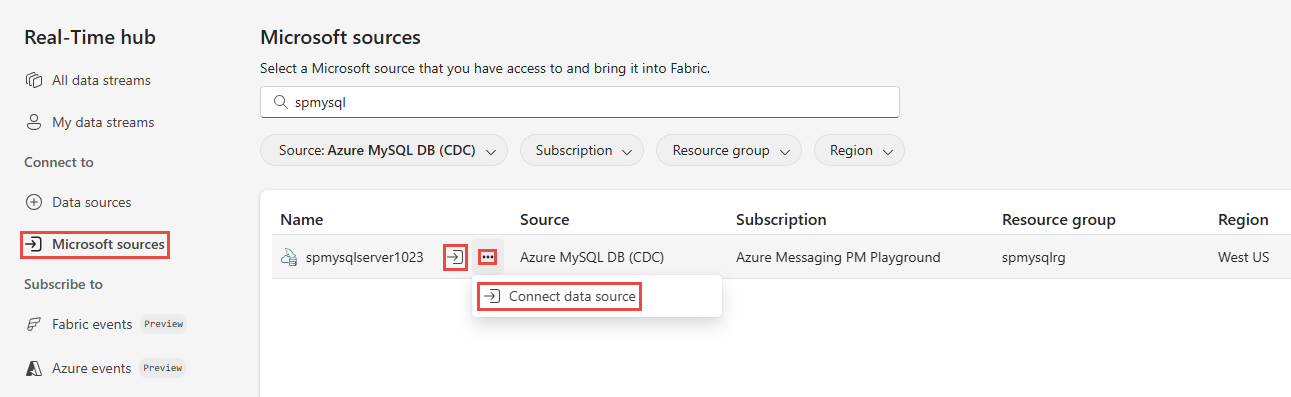
ในฮับ Real-Time ให้เลือก แหล่งข้อมูลของ Microsoft
ในรายการดรอปดาวน์ แหล่งที่มา ให้เลือก Azure MySQL DB (CDC)
สําหรับ การสมัครใช้งานให้เลือกการสมัครใช้งาน Azure ที่มีกลุ่มทรัพยากรกับบัญชีฐานข้อมูล Azure MySQL ของคุณ
สําหรับ กลุ่มทรัพยากร ให้เลือก กลุ่มทรัพยากร ที่มีฐานข้อมูล
สําหรับ ภูมิภาค ให้เลือกตําแหน่งที่ตั้งของฐานข้อมูลของคุณ
ตอนนี้ ให้เลื่อนเมาส์ไปเหนือชื่อของแหล่งข้อมูล Azure MySQL DB CDC ที่คุณต้องการเชื่อมต่อกับฮับ Real-Time ในรายการฐานข้อมูล แล้วเลือกปุ่ม เชื่อมต่อ หรือเลือก ... (จุดไข่ปลา) แล้วเลือกปุ่ม เชื่อมต่อ
หากต้องการกําหนดค่าข้อมูลการเชื่อมต่อ ให้ใช้ขั้นตอนจากเพิ่ม Azure MySQL DB CDC เป็นส่วนต้นทาง

เพิ่ม CDC ฐานข้อมูล Azure MySQL เป็นแหล่งข้อมูล
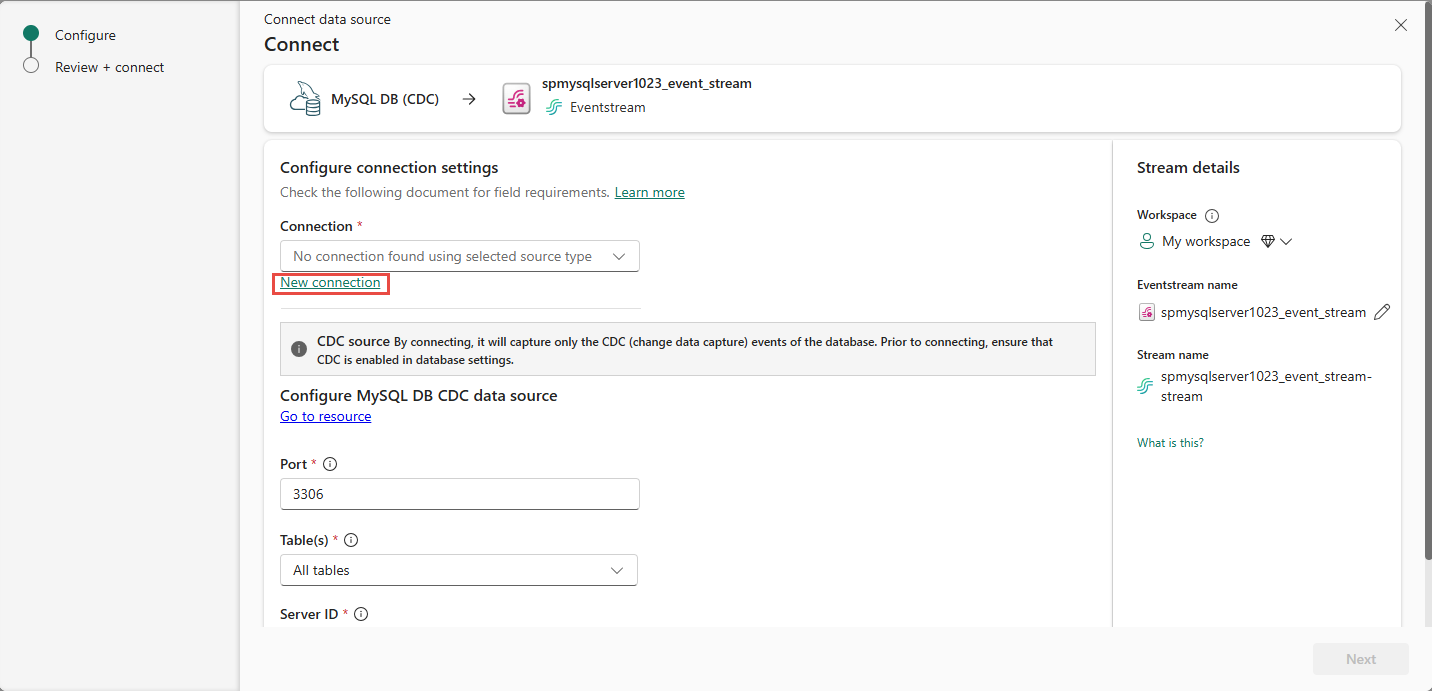
บนหน้า เชื่อมต่อ เลือก การเชื่อมต่อใหม่
ในส่วน การตั้งค่าการเชื่อมต่อ ให้ทําตามขั้นตอนเหล่านี้:
สําหรับ เซิร์ฟเวอร์ ให้ป้อน URI สําหรับเซิร์ฟเวอร์ Azure MySQL ของคุณ
สําหรับ ฐานข้อมูล ให้ใส่ชื่อของฐานข้อมูลของคุณ
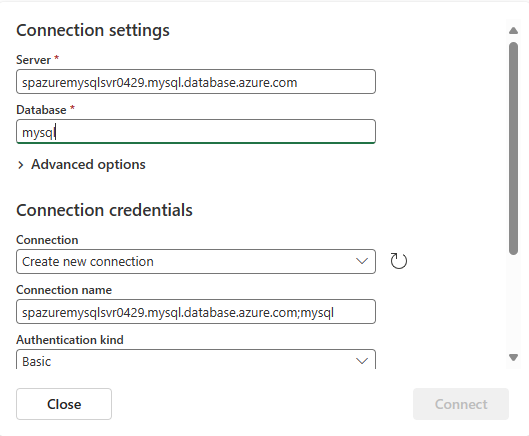
ในส่วน ข้อมูลประจําตัวการเชื่อมต่อ ให้ทําตามขั้นตอนเหล่านี้:
สําหรับ การเชื่อมต่อ ให้เลือกว่ามีการเชื่อมต่อกับฐานข้อมูล MySQL อยู่หรือไม่ หากไม่เป็นเช่นนั้น ให้เก็บค่าเริ่มต้นไว้: สร้างการเชื่อมต่อใหม่
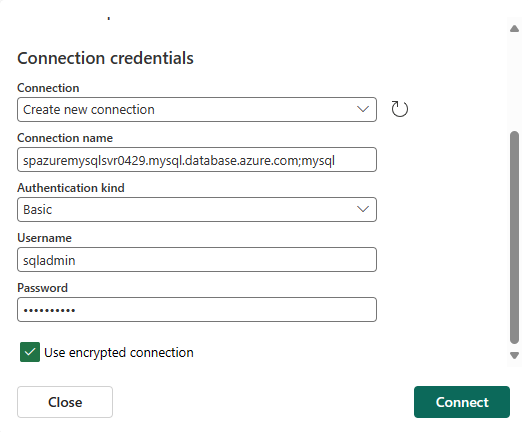
สําหรับชนิดการรับรองความถูกต้อง เลือกพื้นฐาน ปัจจุบันรองรับเฉพาะการรับรองความถูกต้อง พื้นฐาน เท่านั้น
ป้อนค่าสําหรับ ชื่อผู้ใช้ และ รหัสผ่าน
ระบุว่าคุณต้องการ ใช้การเชื่อมต่อที่เข้ารหัสลับหรือไม่
เลือก เชื่อมต่อ
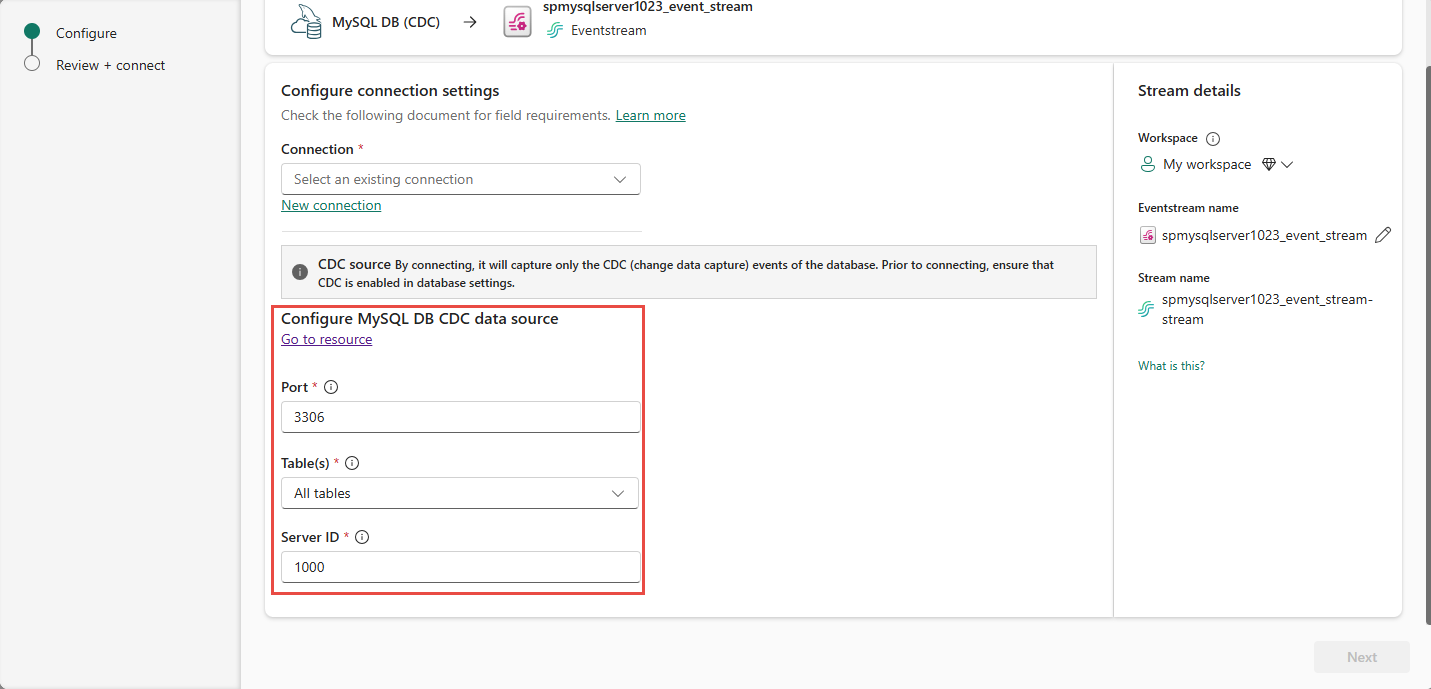
กลับไปที่หน้า Connect ให้ทําตามขั้นตอนเหล่านี้:
- ป้อนชื่อตาราง
- ป้อนรหัสเซิร์ฟเวอร์
- ป้อน หมายเลขพอร์ต หรือเก็บค่าเริ่มต้นไว้
ในส่วน รายละเอียดสตรีม ทางด้านขวา ให้ทําตามขั้นตอนเหล่านี้
เลือก พื้นที่ทํางาน Fabric ที่คุณต้องการบันทึกการเชื่อมต่อนี้และสตรีมเหตุการณ์ที่ตัวช่วยสร้างสร้างขึ้น
ใส่ชื่อสําหรับเหตุการณ์สตรีม
ชื่อของสตรีมในฮับเวลาจริงจะถูกสร้างขึ้นสําหรับคุณโดยอัตโนมัติ
ตอนนี้เลือก ถัดไป ที่ด้านล่างของหน้า
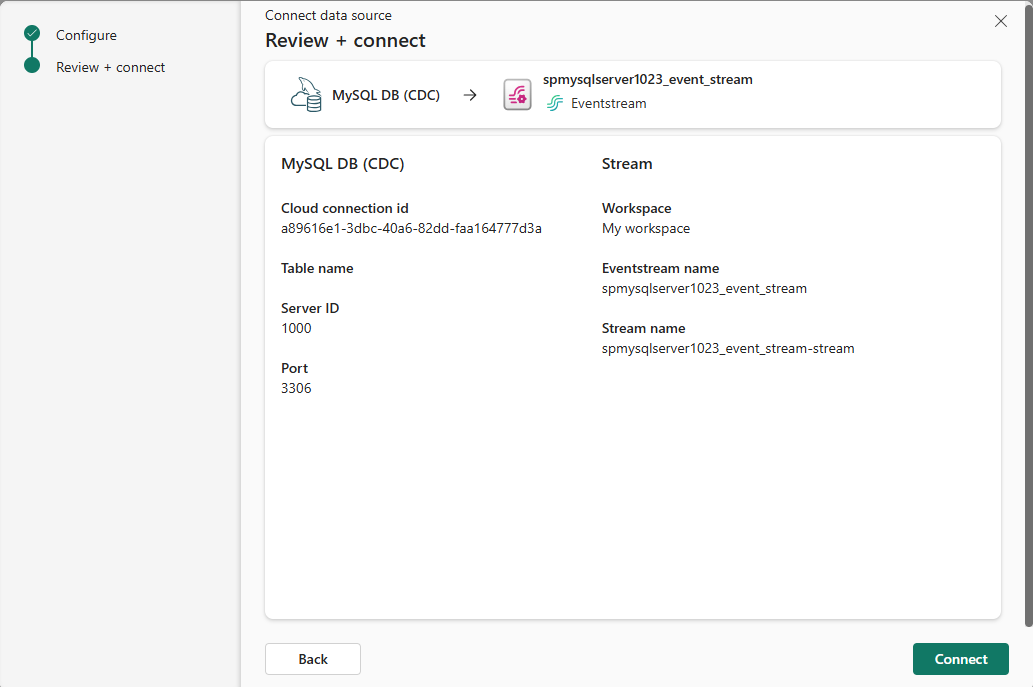
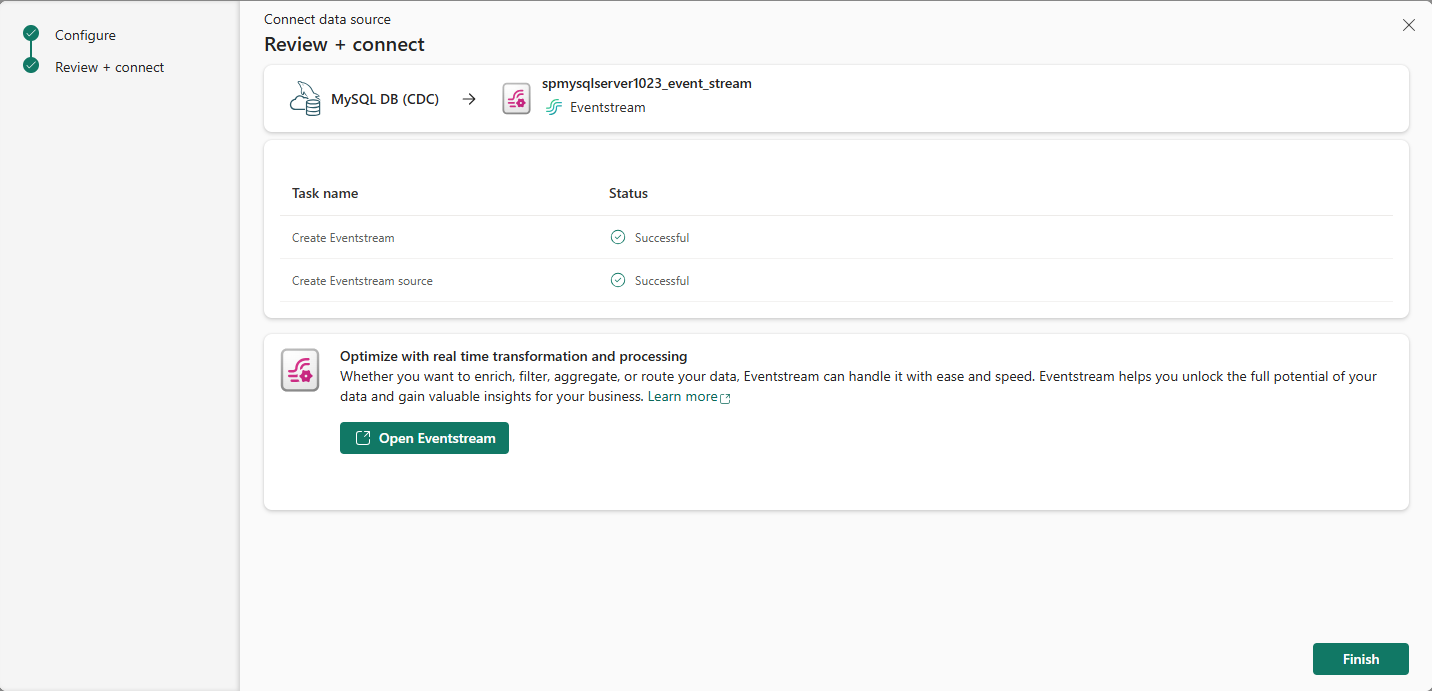
บน ตรวจสอบ + เชื่อมต่อ ให้ตรวจสอบการตั้งค่า และเลือก สร้างแหล่งข้อมูล
บนหน้า เชื่อมต่อ ให้เลือก ไปที่ทรัพยากร เพื่อนําทางไปยังฐานข้อมูล Azure PostgreSQL จดชื่อเซิร์ฟเวอร์ในหน้า ภาพรวม ซึ่งอยู่ในรูปแบบต่อไปนี้:
mysqlserver.mysql.database.azure.com


ดูรายละเอียดสตรีมข้อมูล
บนหน้า ตรวจสอบ + เชื่อมต่อ ถ้าคุณเลือก เปิดเหตุการณ์สตรีม ตัวช่วยสร้างจะเปิดเหตุการณ์ที่สร้างขึ้นให้คุณด้วย Azure MySQL DB CDC ที่เลือกเป็นแหล่งข้อมูล เมื่อต้องการปิดตัวช่วยสร้าง ให้เลือก เสร็จสิ้น หรือ X* ที่มุมบนขวาของหน้า
คุณควรเห็นสตรีมในส่วนข้อมูลการสตรีมล่าสุดของโฮมเพจฮับReal-Time สําหรับขั้นตอนโดยละเอียด ดูรายละเอียดของสตรีมข้อมูลใน Fabric Real-Time hub

.
เนื้อหาที่เกี่ยวข้อง
หากต้องการเรียนรู้เกี่ยวกับการใช้สตรีมข้อมูล โปรดดูบทความต่อไปนี้: