Not
Bu sayfaya erişim yetkilendirme gerektiriyor. Oturum açmayı veya dizinleri değiştirmeyi deneyebilirsiniz.
Bu sayfaya erişim yetkilendirme gerektiriyor. Dizinleri değiştirmeyi deneyebilirsiniz.
Şunlar için geçerlidir: ✔️ Linux VM'leri
To secure web servers, a Transport Layer Security (TLS), previously known as Secure Sockets Layer (SSL), certificate can be used to encrypt web traffic. These TLS/SSL certificates can be stored in Azure Key Vault, and allow secure deployments of certificates to Linux virtual machines (VMs) in Azure. Bu öğreticide şunların nasıl yapılacağını öğreneceksiniz:
- Azure Key Vault oluşturma
- Generate or upload a certificate to the Key Vault
- Create a VM and install the NGINX web server
- Inject the certificate into the VM and configure NGINX with a TLS binding
Bu öğretici, sürekli olarak en son sürüme güncellenen Azure Cloud Shell içindeki CLI'yi kullanır. Cloud Shell'i açmak için herhangi bir kod bloğunun üst kısmından Deneyin'i seçin.
If you choose to install and use the CLI locally, this tutorial requires that you're running the Azure CLI version 2.0.30 or later. Sürümü bulmak için az --version komutunu çalıştırın. Yüklemeniz veya yükseltmeniz gerekirse, bkz. Azure CLI yükleme.
Genel Bakış
Azure Key Vault, sertifikalar veya parolalar gibi şifreleme anahtarları ile gizli dizilerin güvenliğini sağlar. Key Vault, sertifika yönetimi işlemini kolaylaştırır ve bu sertifikalara erişen anahtarları denetiminizde tutmanıza olanak sağlar. You can create a self-signed certificate inside Key Vault, or upload an existing, trusted certificate that you already own.
Rather than using a custom VM image that includes certificates baked-in, you inject certificates into a running VM. Bu işlem, dağıtım sırasında web sunucusuna en güncel sertifikaların yüklenip yüklenmediğini kontrol eder. Ayrıca, bir sertifikayı yeniler veya değiştirirseniz yeni ve özel bir VM görüntüsü oluşturmanız da gerekmez. Siz daha fazla VM oluştururken en son sertifikalar otomatik olarak eklenir. Bu işlem sırasında, sertifikalar Azure platformundan ayrılmaz veya bir betikte, komut satırı geçmişinde ya da şablonda görünmez.
Azure Key Vault oluşturma
Before you can create a Key Vault and certificates, create a resource group with az group create. The following example creates a resource group named myResourceGroupSecureWeb in the eastus location:
az group create --name myResourceGroupSecureWeb --location eastus
Next, create a Key Vault with az keyvault create and enable it for use when you deploy a VM. Each Key Vault requires a unique name, and should be all lowercase. Replace <mykeyvault> in the following example with your own unique Key Vault name:
keyvault_name=<mykeyvault>
az keyvault create \
    --resource-group myResourceGroupSecureWeb \
    --name $keyvault_name \
    --enabled-for-deployment
Generate a certificate and store in Key Vault
For production use, you should import a valid certificate signed by trusted provider with az keyvault certificate import. For this tutorial, the following example shows how you can generate a self-signed certificate with az keyvault certificate create that uses the default certificate policy:
az keyvault certificate create \
    --vault-name $keyvault_name \
    --name mycert \
    --policy "$(az keyvault certificate get-default-policy)"
Prepare a certificate for use with a VM
To use the certificate during the VM create process, obtain the ID of your certificate with az keyvault secret list-versions. Convert the certificate with az vm secret format. The following example assigns the output of these commands to variables for ease of use in the next steps:
secret=$(az keyvault secret list-versions \
          --vault-name $keyvault_name \
          --name mycert \
          --query "[?attributes.enabled].id" --output tsv)
vm_secret=$(az vm secret format --secrets "$secret" -g myResourceGroupSecureWeb --keyvault $keyvault_name)
Create a cloud-init config to secure NGINX
Cloud-init is a widely used approach to customize a Linux VM as it boots for the first time. cloud-init’i paket yükleme, dosyalara yazma ve kullanıcılar ile güvenliği yapılandırma işlemleri için kullanabilirsiniz. As cloud-init runs during the initial boot process, there are no extra steps or required agents to apply your configuration.
When you create a VM, certificates and keys are stored in the protected /var/lib/waagent/ directory. To automate adding the certificate to the VM and configuring the web server, use cloud-init. In this example, you install and configure the NGINX web server. You can use the same process to install and configure Apache.
Create a file named cloud-init-web-server.txt and paste the following configuration:
#cloud-config
package_upgrade: true
packages:
  - nginx
write_files:
  - owner: www-data:www-data
  - path: /etc/nginx/sites-available/default
    content: |
      server {
        listen 443 ssl;
        ssl_certificate /etc/nginx/ssl/mycert.cert;
        ssl_certificate_key /etc/nginx/ssl/mycert.prv;
      }
runcmd:
  - secretsname=$(find /var/lib/waagent/ -name "*.prv" | cut -c -57)
  - mkdir /etc/nginx/ssl
  - cp $secretsname.crt /etc/nginx/ssl/mycert.cert
  - cp $secretsname.prv /etc/nginx/ssl/mycert.prv
  - service nginx restart
Create a secure VM
Now create a VM with az vm create. The certificate data is injected from Key Vault with the --secrets parameter. You pass in the cloud-init config with the --custom-data parameter:
az vm create \
    --resource-group myResourceGroupSecureWeb \
    --name myVM \
    --image Ubuntu2204 \
    --admin-username azureuser \
    --generate-ssh-keys \
    --custom-data cloud-init-web-server.txt \
    --secrets "$vm_secret"
VM'nin oluşturulması, paketlerin yüklenmesi ve uygulamanın başlatılması birkaç dakika sürer. When the VM has been created, take note of the publicIpAddress displayed by the Azure CLI. This address is used to access your site in a web browser.
To allow secure web traffic to reach your VM, open port 443 from the Internet with az vm open-port:
az vm open-port \
    --resource-group myResourceGroupSecureWeb \
    --name myVM \
    --port 443
Güvenli web uygulamasını sınama
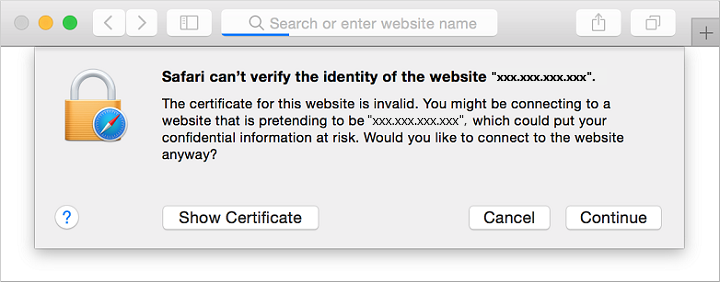
Now you can open a web browser and enter https://<publicIpAddress> in the address bar. VM oluşturma işleminden kendi herkese açık IP adresinizi sağlayın. Accept the security warning if you used a self-signed certificate:
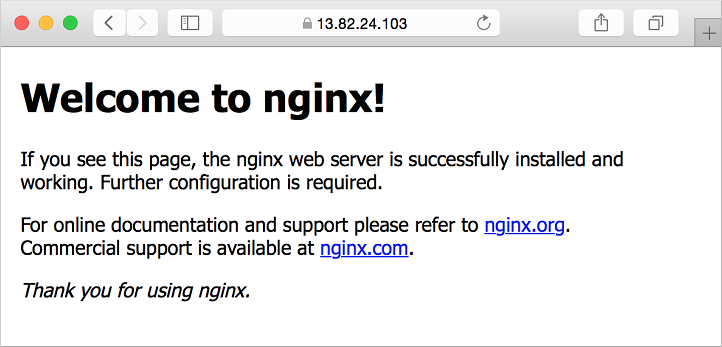
Your secured NGINX site is then displayed as in the following example:
Sonraki adımlar
In this tutorial, you secured an NGINX web server with a TLS/SSL certificate stored in Azure Key Vault. Nasıl yapılacağını öğrendinsiniz:
- Azure Key Vault oluşturma
- Generate or upload a certificate to the Key Vault
- Create a VM and install the NGINX web server
- Inject the certificate into the VM and configure NGINX with a TLS binding
Follow this link to see pre-built virtual machine script samples.