Power Apps portal-hosted in outbound marketing
Note
Dynamics 365 Marketing and Dynamics 365 Customer Insights are now Customer Insights - Journeys and Customer Insights - Data. For more information, see Dynamics 365 Customer Insights FAQs
New Customer Insights - Journeys customers receive real-time journeys features only. For more information, see Default real-time journeys installation.
Important
This article only applies to outbound marketing, which will be removed from the product on June 30, 2025. To avoid interruptions, transition to real-time journeys before this date. More information: Transition overview
Before you start hosting a custom event website, complete the actions mentioned in the Prerequisites topic. The custom event website comes as a Power Apps portal hosted web application when you install the Event Management solution.
The frontend part of the application is bundled into two resource files that are stored as Power Apps portal web files. The main single page application entry-point is stored as Power Apps portal web template.
Although the frontend definition is hosted on Power Apps portals, you can still fully customize it. The backend part of the web application is not customizable since the REST API endpoints are hosted on Power Apps portal as a set of web pages. The code containing the business logic behind it resides in Event Management plugins which are not customizable.

Additional project setup
Environment configuration
Duplicate the
environment.d365.tsconfiguration file located in the \src\environments folder and name it as environment.ts.Open the environment.ts configuration file in the developer environment of your choice.
Change the
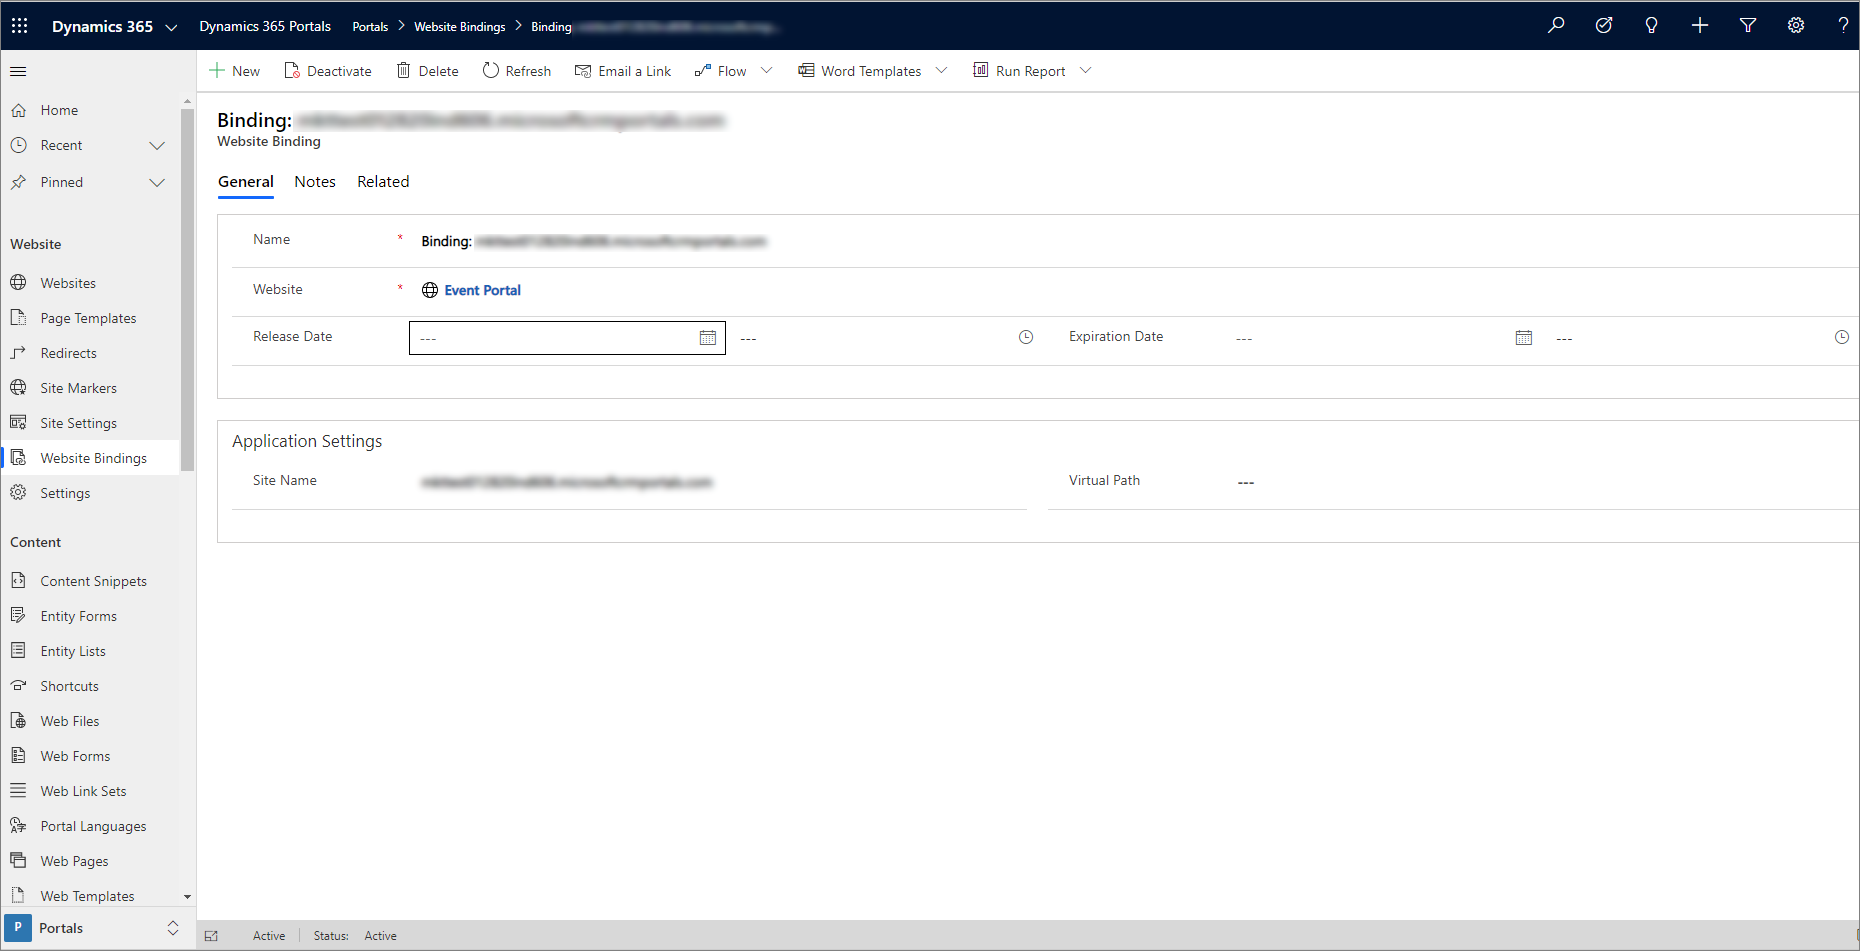
apiEndpointvariable to point to the Website Bindings value.
Note
You need to add a trailing slash at the end of the URL.
Make sure that the
useRestStackvariable is set to false.
Local Development
Bypass CSRF
You need to bypass the anti-CSRF token for local development. To do that, navigate to Dynamics 365 > Portals > Web Templates and open the PortalAPI web template and flip the flag bypassTokenVerification to true. Restart Portals to make sure that the settings are applied.
Note
The PortalAPI web template is added by default when you install the Event Management data.
Serving page locally
To serve the application locally, you need to follow the steps below:
Open Command Prompt or Windows PowerShell.
Run the command to install all the dependencies.
npm installRun the command to generate the style.css file
ng build --prod --output-hashing noneRun the command to start the local development server to see the changes immediately.
ng serveNote
You can find more information on serving an Angular application locally here Serving an Angular application locally
Deployment
To make your customizations visible in the event website, update the web files in Portals. This can be done automatically by using the provided script DeployToDynamics365Instance.ps1.
Automatic Deployment
To deploy the customized Angular application, run the PowerShell script DeployToDynamics365Instance.ps1 located under the Scripts directory. The script builds the application, prepares the output files suitable for hosting under the Power Apps portal instance. It takes the localization files from the Localization folder and prepares them for hosting.
After all the files are built, it asks you to sign in to your Dynamics 365 Customer Insights - Journeys instance that you want to use to host your application. After you sign in, it pushes the files to the instance. If you don't see your changes, clear the browser cache and restart your Portals.
If you want to deploy some specific files rather than all the files at once, you can specify the list of files as a parameter for the script: .\DeployToDynamics365Instance.ps1 -inputFiles main.es. You can find the list with all the supported files in the scripts content.
Note
- If you can't run the Powershell script because of your execution policy, then you need to disable or bypass the execution policy.
- We recommend not to upload files manually becuase of the accessibility issues. Use the
DeployToDynamics365Instance.ps1script to bring your customizations automatically in to your instance.
Configuring cross-origin resource sharing (CORS)
If you want to serve the custom event website from a custom domain, you need to configure CORS to allow that custom domain, to do that:
Go to Dynamics 365—custom > Portals > Site Settings and select New to create a Site Settings record.
Insert
HTTP/Access-Control-Allow-Originin the name field.Select your website.
Add the custom origin that should be allowed. For example, if the custom event website is hosted on
https://contoso.com/custom domain than the value field must be set tohttps://contoso.com/.Select Save.
Restart Portals to make sure that the settings are applied.

Note
More information about CORS can be found here CORS Access-Control-Allow-Origin
Manually overwriting sample website
If you want to overwrite the sample website to match the version of event management that you have currently, see Manually overwriting sample website