Exercise - Create an approval flow with Copilot in Power Automate
In this exercise, you'll create an automation by using Copilot in Power Automate to automate the approval process for a real estate showing. You'll use Copilot to create a flow that sends an email to the real estate agent when a new showing is requested. Then, the agent can approve or reject the showing request from within the email.
Follow these steps to create a flow by using Copilot.
Sign in to Power Automate.
In the center of the Home page within Power Automate, in the text field on Start building your flow with Copilot, enter the following prompt:
request approval when a Dataverse record is createdSelect the Submit button.
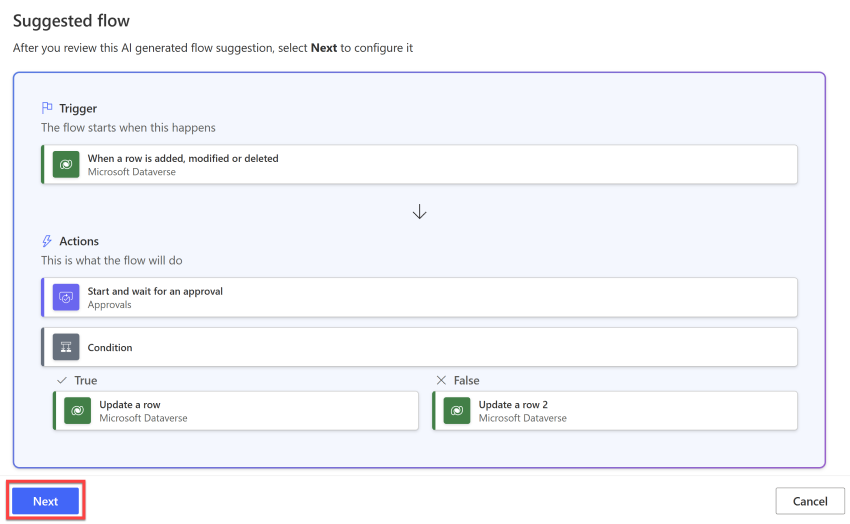
From the prompt, Copilot provides the outline for a suggested flow that you can review. Expect your flow to have two basic steps, the Dataverse When a row is added, modified, or deleted trigger and the Start and wait for an approval step. To accept the flow, select Next, alternatively, you can select Show a different suggestion. See if Copilot will suggest a flow similar to the image below.
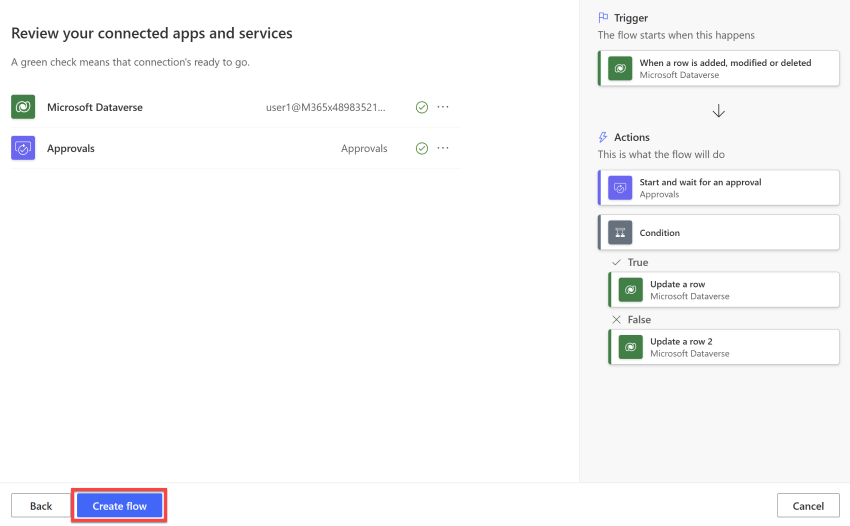
Review the connected apps and services. If a connection hasn't been made, edit or fix it and then select Create flow.
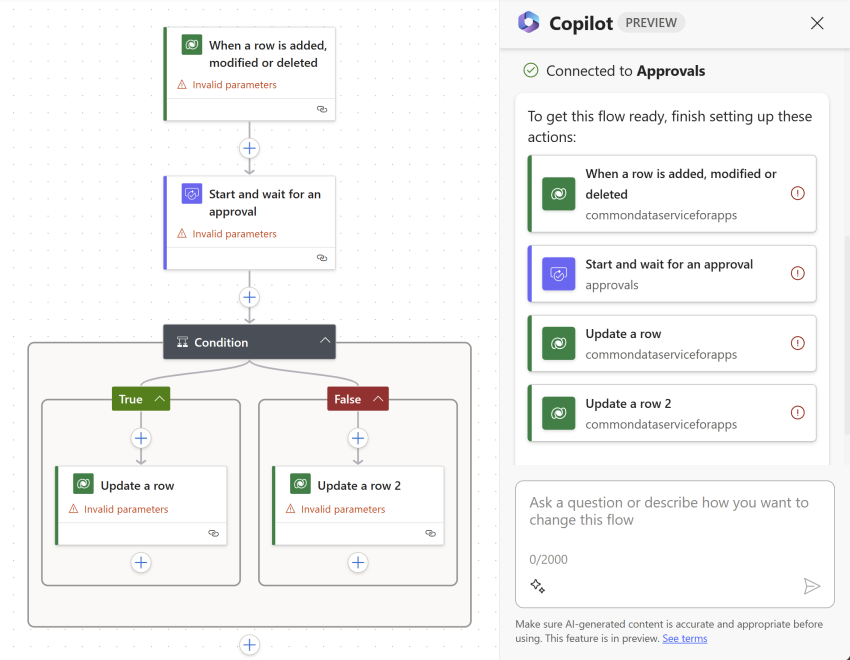
The Edit with Copilot designer opens with your flow along with a Copilot chat window on the right.
Set up some parameters by selecting the When a row is added, modified, or deleted trigger.
A panel on the left side of the screen shows the trigger details, including an empty Table Name parameter that's required.
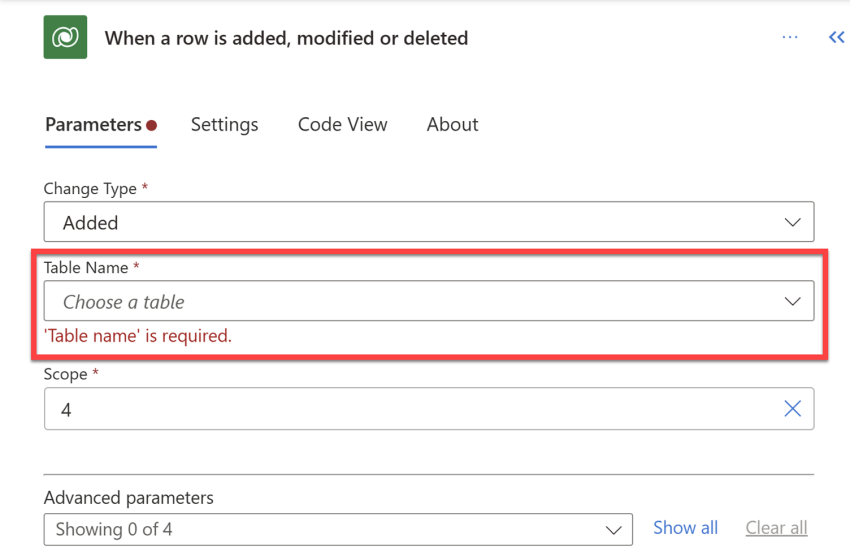
From the Table Name dropdown menu, search for and select Real Estate Showings.
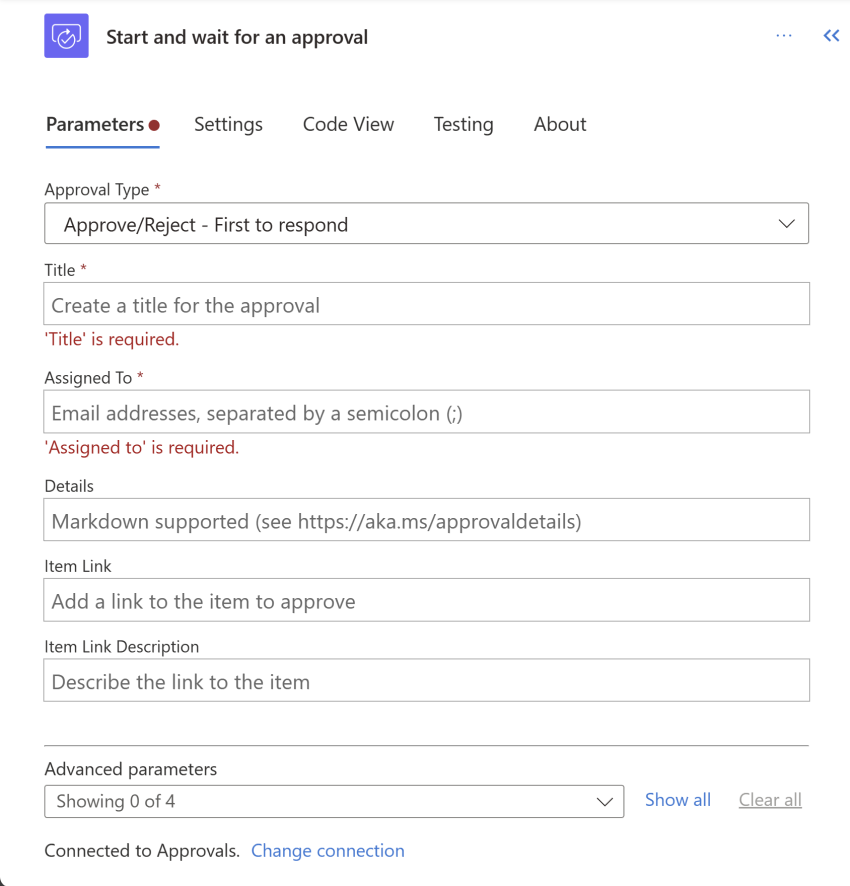
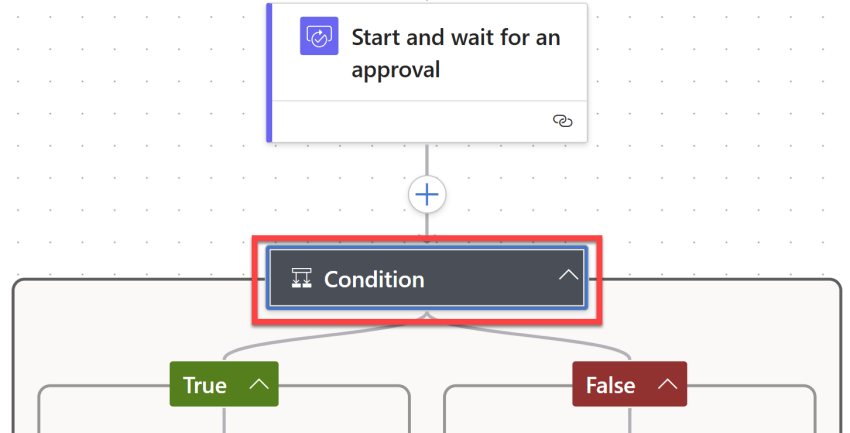
Select the Start and wait for an approval action.
Notice that the Approval Type parameter is missing.
From the Approval Type dropdown menu, select Approve/Reject - First to respond.
After you select the Approval Type, more parameters are now available.
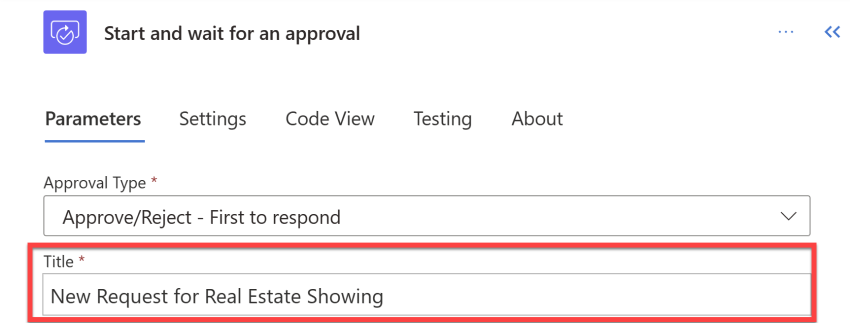
In the Copilot chat window, enter the following prompt:
Add "New Request for Real Estate Showing" as the Title parameter for the Start and wait for an approval action
It takes a few seconds for Copilot to process the prompt. When processing is complete, the Title parameter is populated with the prompt text.
For the Assigned To parameter, enter the email address that you're using for this lab. This email address is the one that receives the approval request.
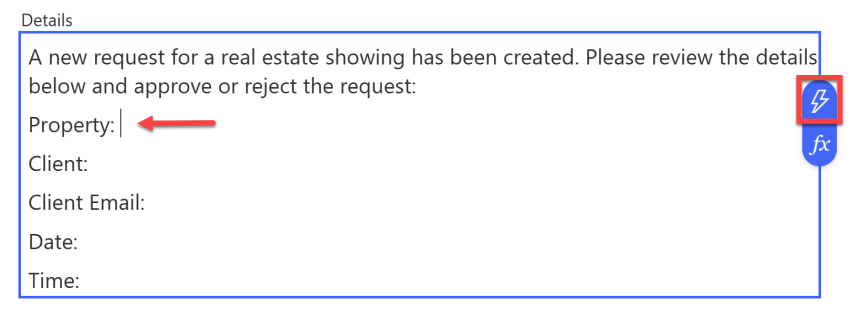
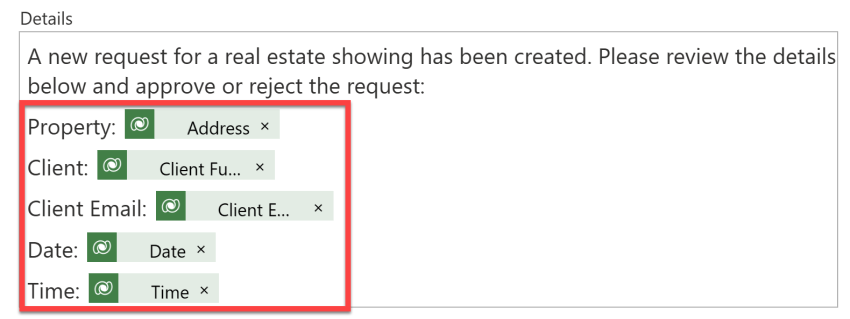
For the Details parameter, enter the following text:
A new request for a real estate showing has been created. Please review the details below and approve or reject the request:
Property: Client: Client Email: Date: Time:
Place your curser next to Property: in the Details parameter and then, select the lightning icon to open the Dynamic content pane.
In the Dynamic content pane, you can select See More to expand the list of available dynamic content.
Scroll down until you find the Address field and then select it. You can also type Address in the search field to find it quickly.
The Address dynamic content field is now added to the Details parameter.
Complete the same steps for the Client, Client Email , Date, and Time fields.
When you're done with the rest of the fields, the values should resemble the following image.
Select the Condition action. If your flow doesn't have a Condition action, go ahead and add it now by selecting the Insert a new step... (+) button under the approval step.
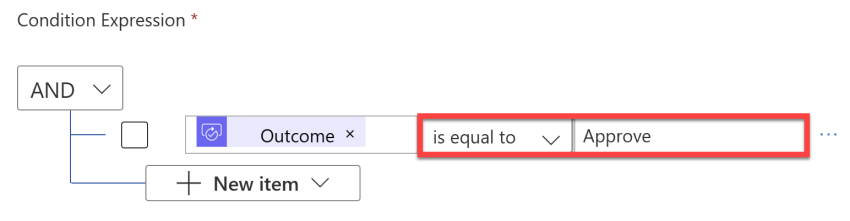
Select the Choose a value box and then select Outcome from the Dynamic content pane.
Select is equal to for the condition and then enter Approve for Value.
Ensure that you have an Update a row action from Dataverse under both the True and False branches of the condition. You might need to add it to your flow if Copilot hasn't already put it there.
From the Table Name dropdown, search for and select Real Estate Showings.
Select the Row ID field and then select the Real Estate Showings unique identifier field from the Dynamic content pane.
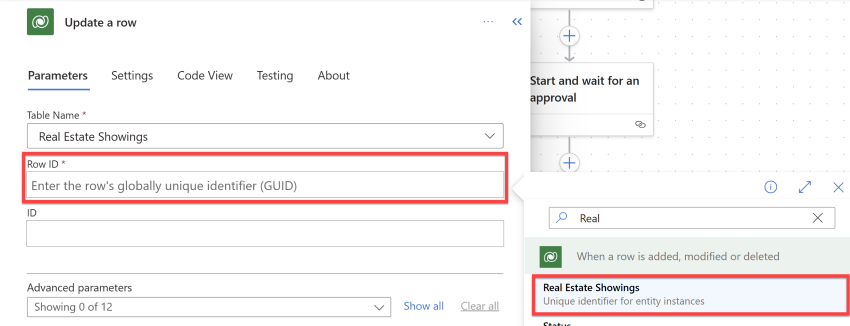
Whenever you create a table in Microsoft Dataverse, a column is automatically created with the same name of the table. This column serves as the unique lookup ID for the record (or row) that was created.
Select Show all under Advanced parameters.
Select Confirmed from the Status dropdown menu.
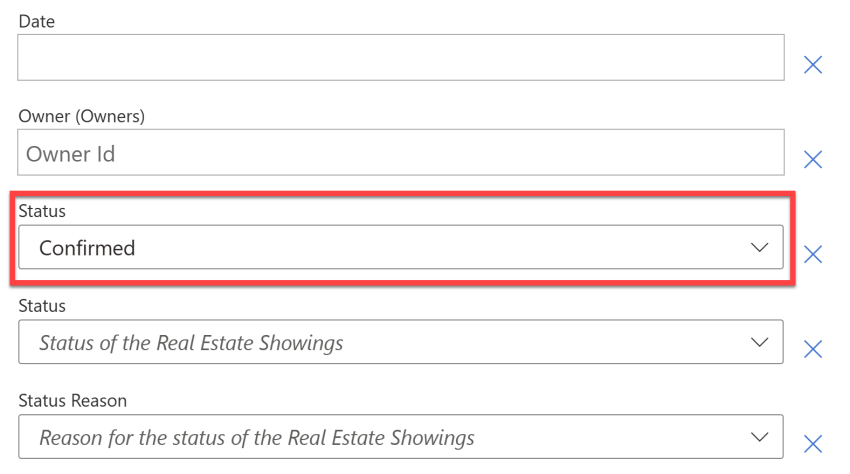
When a showing is approved, the Status field in the Real Estate Showings table is updated to Confirmed.
Select your Update a row action for Dataverse under the False branch of the condition. (Add this action if it's missing.)
From the Table Name dropdown menu, search for and select Real Estate Showings.
Select the Row ID field and then select the Real Estate Showings unique identifier field from the Dynamic content pane.
Select Show all under Advanced parameters.
Select Canceled from the Status dropdown menu.
When a showing is rejected, the Status field in the Real Estate Showings table is updated to Canceled.
In the Copilot chat window, enter the following prompt and then submit:
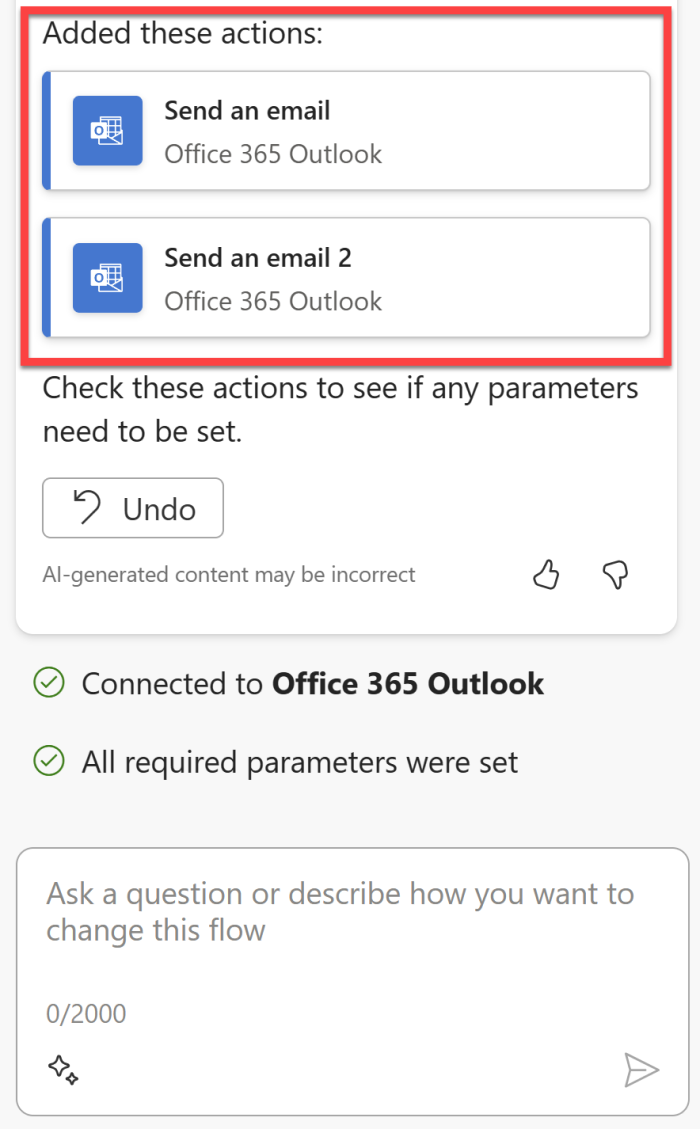
Under the "Update a row" action for both branches in the condition, add a new "Send an email (V2)" action
After a few seconds, Copilot should explain what it did, as shown in the following image.
The updated flow should display. You might need to fix a connection in a previous step to continue. Go ahead and fix any errors before continuing.

Select the Send an email action under the True branch of the condition.
Select the To field, remove the
example@example.comemail address, and then select the Client Email field from the Dynamic content pane.For the Subject field, enter the following text into the Copilot chat window and then press the Enter key on your keyboard:
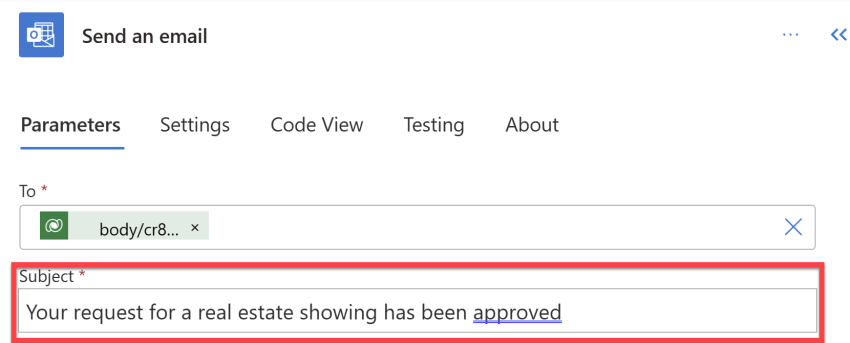
Add "Your request for a real estate showing has been approved" as the Subject parameter for the Send an email action
The Subject field should populate with the prompt text.
For the Body field, enter the following text into the Copilot chat window and then press the Enter key on your keyboard:
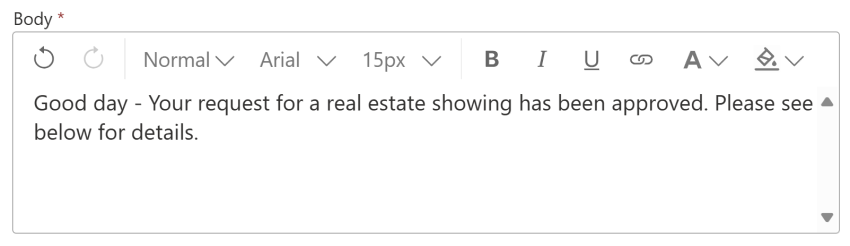
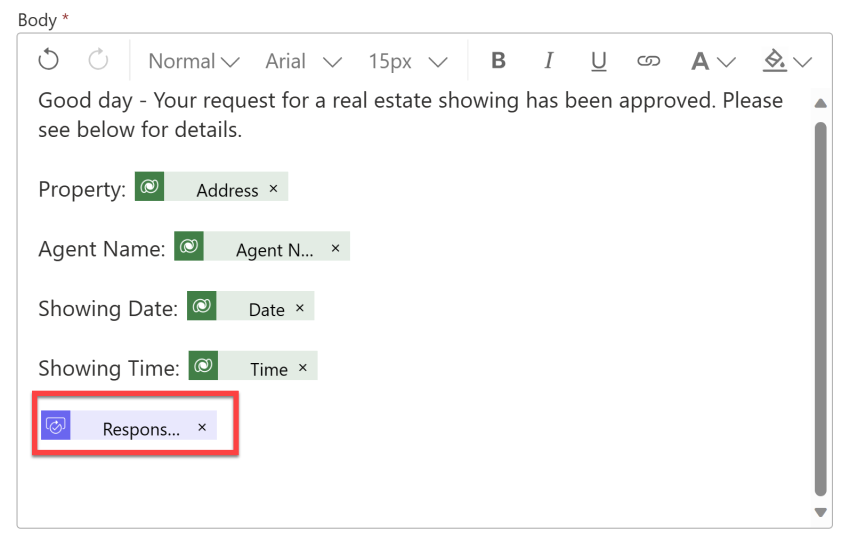
Add "Good day - Your request for a real estate showing has been approved. Please see below for details." as the Body parameter for the Send an email action
The Body field should populate with the prompt text.
Enter the following content after the Body text:
Property:
Agent Name:
Showing Date:
Showing Time:
Add the Address, Agent Name, Date, and Time fields from the Dynamic content pane to the appropriate lines in the Body text.
Add the Response summary field from the Dynamic content pane to the end of the Body text.
Select the Send an email action under the False branch of the condition.
Select the To field, remove the
example@example.comemail address, and then select the Client Email field from the Dynamic content pane.For the Subject field, enter the following content into the Copilot chat window and then press the Enter key on your keyboard:
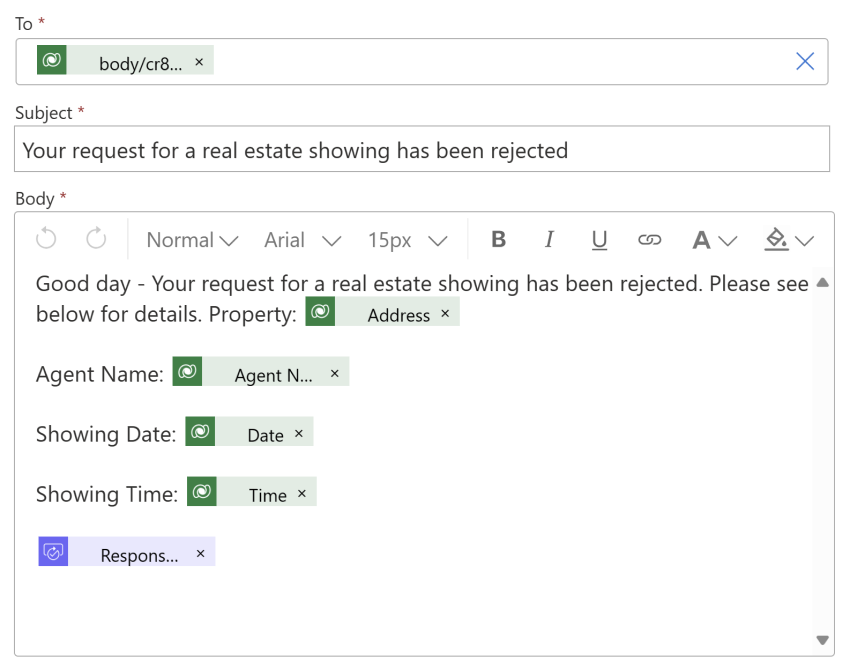
Add "Your request for a real estate showing has been rejected" as the Subject parameter for the Send an email action
Copilot doesn't always understand what you request, therefore you might not always get exactly what you're expecting, so you can choose to "undo" or you can manually add to your flow. Copilot is a collaboration tool designed to assist you, but Copilot might not always interpret correctly what you're telling it to do for you.
For the Body field, enter the following text into the Copilot chat window and then press the Enter key on your keyboard:
Add "Good day - Your request for a real estate showing has been rejected. Please see below for details." as the Body parameter for the Send an email action
If for some reason that Copilot misses this, you can undo and try again, or make the adjustment manually.
Enter the following content after the Body text:
Property:
Agent Name:
Showing Date:
Showing Time:
Add the Address, Agent Name, Date, and Time fields from the Dynamic content pane to the appropriate lines in the Body text.
Add the Response summary field from the Dynamic content pane to the end of the Body text.
Rename the flow to Request Approval for Real Estate Showing by selecting the request approval when a Dataverse record is created text in the upper-left corner of the screen.
Save the flow by selecting the Save button in the upper-right portion of the screen command bar.
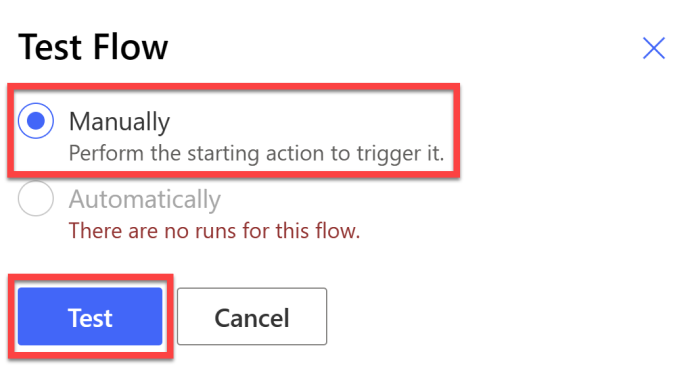
Test the flow by selecting the Test button in the upper-right corner of the screen. Select Manually and then select Test.
To submit a real estate showing request, go to the Real Estate Showings app in Power Apps.
Run the app and then select +New to create a new showing request.
Fill in the fields with the following information:
- Agent Name -
< random name > - Client Full Name -
< Your name > - Client Email -
< Your email >(the email that you're using for this lab) - Date -
< Any future date > - Time -
< Any future time > - Status - Pending
- Address - 210 Pine Road, Portland, OR 97204
Note
This address is one of the addresses from the Microsoft Excel file in Module 1; it's the same file that you uploaded and turned into the Real Estate Properties table.
Usually, you would have a lookup field to the Real Estate Properties table, but not for this lab to keep it simple.
- Agent Name -
Select the check mark in the upper-right corner of the screen.
Select the X in the upper-right corner to close out of the app.
The flow runs and sends an approval email to the email address that you provided in the flow that you built.
Sign in to the email account that you're using for this lab and then wait for the email to arrive.
Note
If the flow doesn't run immediately, make sure that you wait for it. It might take up to 10 minutes for the flow to be triggered, especially on the first try.
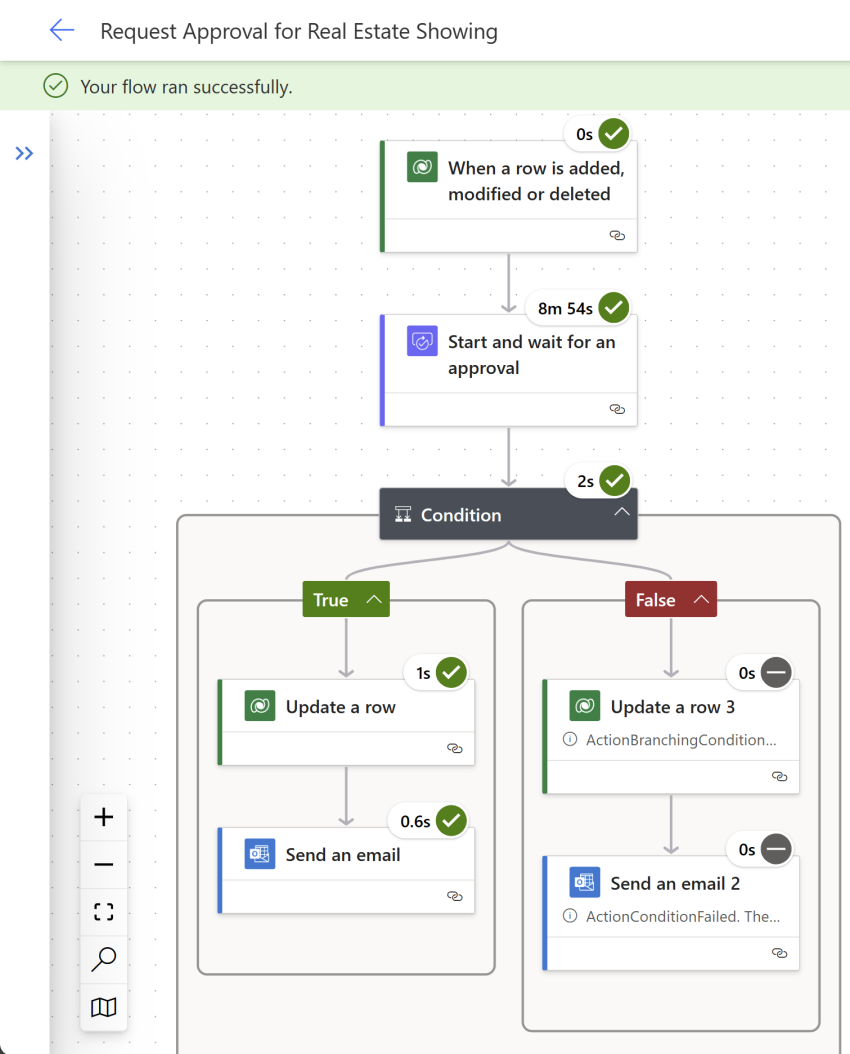
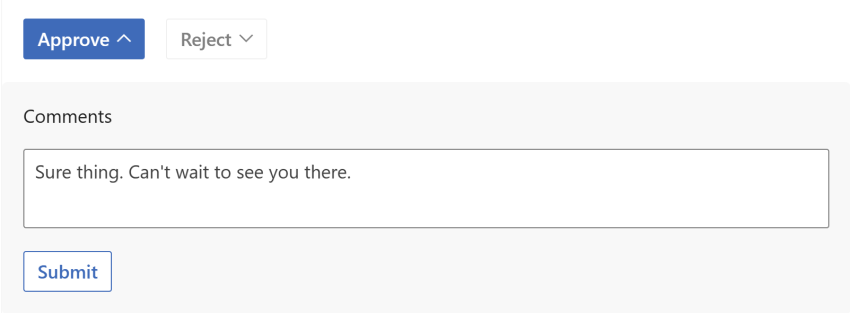
The approval should resemble the following image.
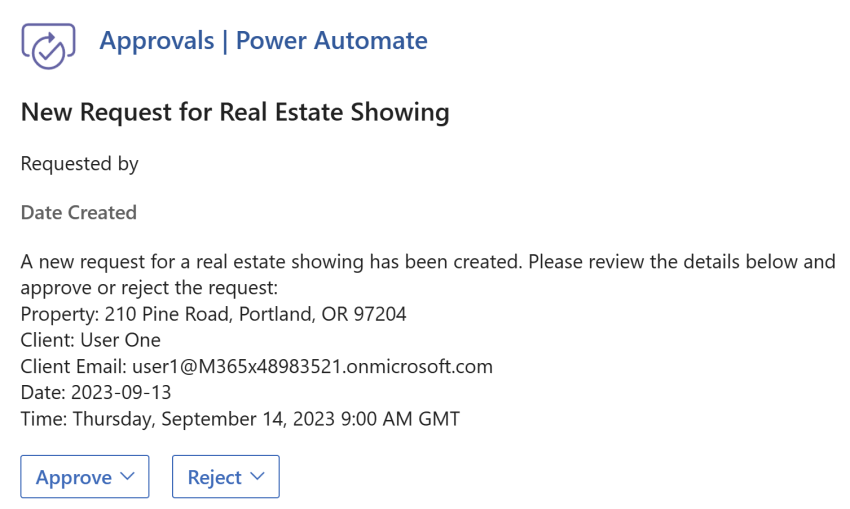
Select Approve.
Add a comment and then select Submit.
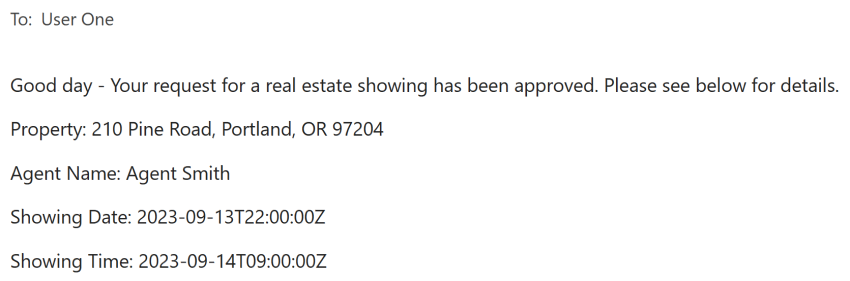
The flow continues to run; it updates the row and sends an email to the requestor. The email that's sent to the requester resembles the following image.
Check the flow and notice that the flow is now marked as Succeeded in the run history.