Exercise - Set up SSH server
You want to browse your agency's project files on a remote machine. First, you need to set up that remote machine and configure it for SSH.
In this exercise, you'll create a Linux virtual machine (VM) in Azure to host your agency's application files. You'll also generate an SSH key that will be used to set up the virtual machine for SSH connections.
We're using Azure in this exercise, but your Linux VM can exist anywhere.
Configure the virtual machine
First, you must set the initial configuration for your Linux VM.
Navigate to the Azure portal and login to your Azure account. You can create a free account if you don't currently have one.
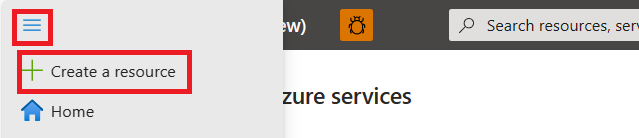
In the portal menu, click "Create a resource."
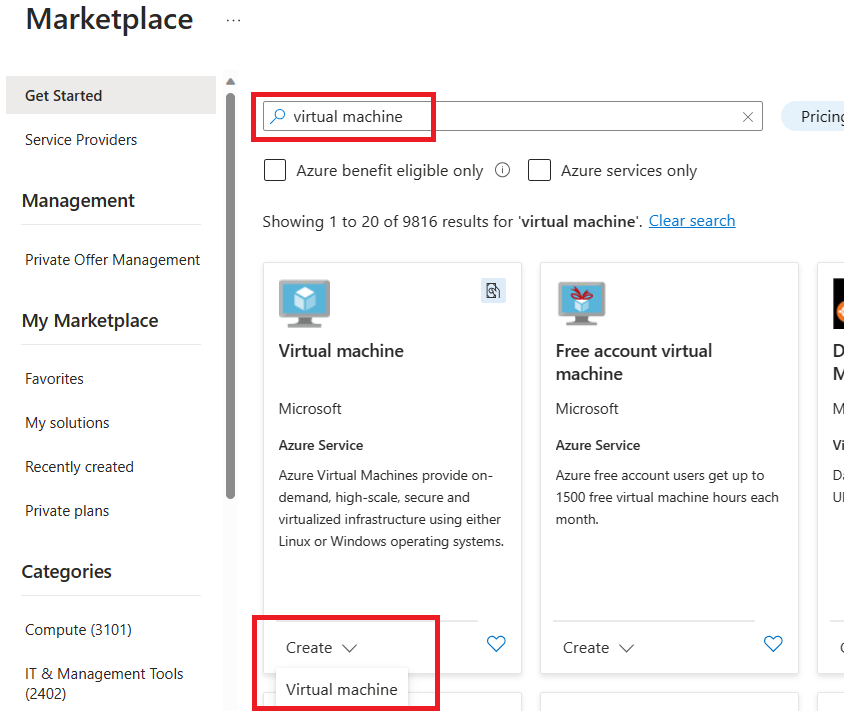
Search for "virtual machine" and click the Create Virtual machine dropdown on the Virtual machine option.
Select your Azure subscription and create a new resource group.
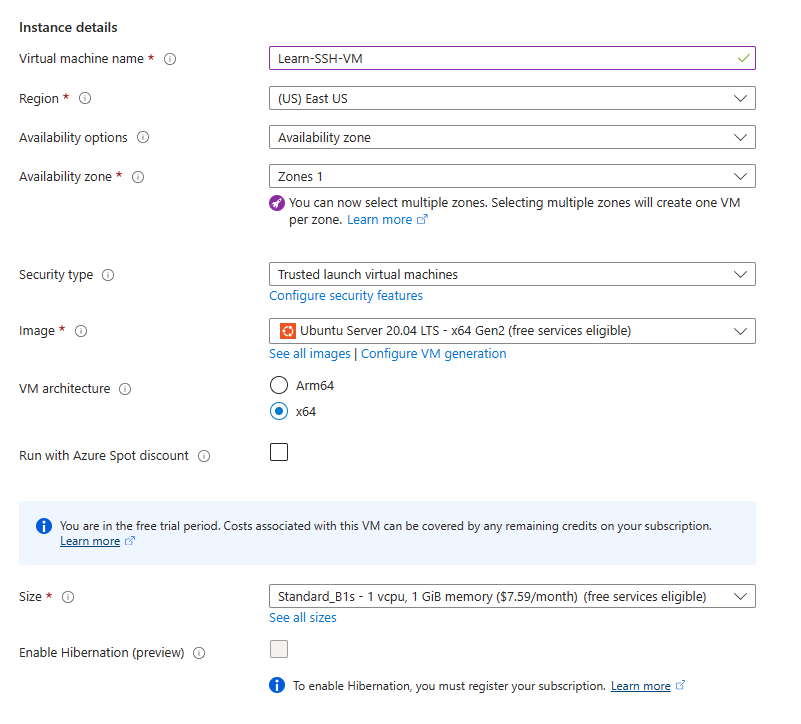
Specify the details of the VM, such as the name, size, and base image. The screenshot shows some sample details, but you can choose recent versions of other Linux distros and look at supported SSH servers.
Set up SSH
Now, you must set the SSH configuration and finalize creation of your VM so that you have a working SSH server.
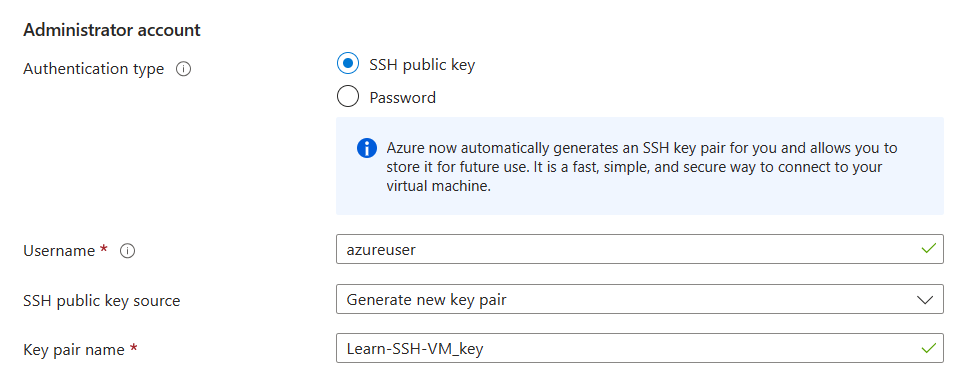
Azure automatically generates an SSH key pair for you. You can leave the Administrator account populated with the default values. The username will be used when connecting to your VM over SSH in the next exercise.
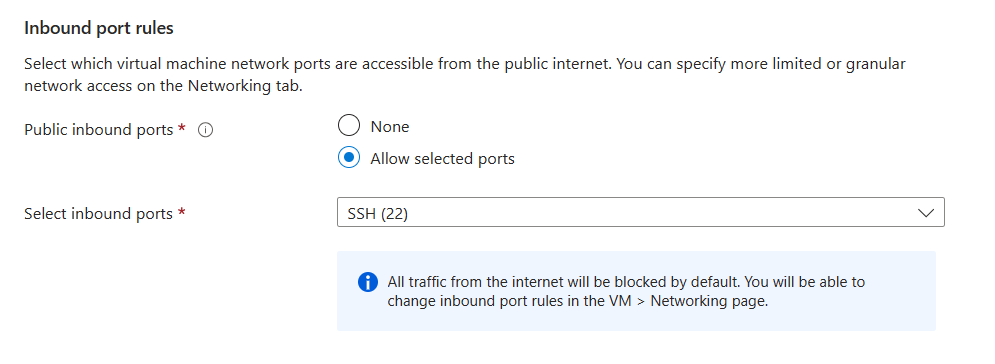
Your VM also needs to accept inbound SSH traffic through the SSH port 22. By default, Azure should have this rule specified during VM creation.
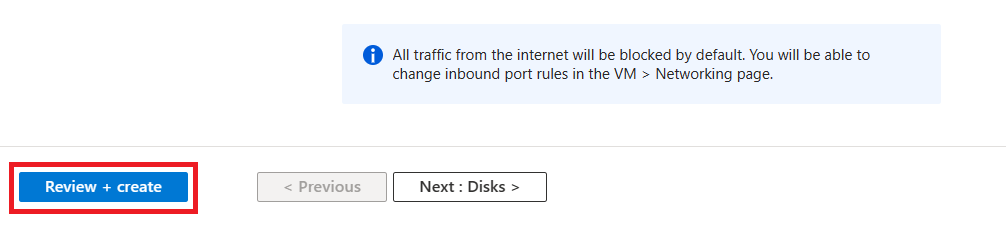
Select Review + create.
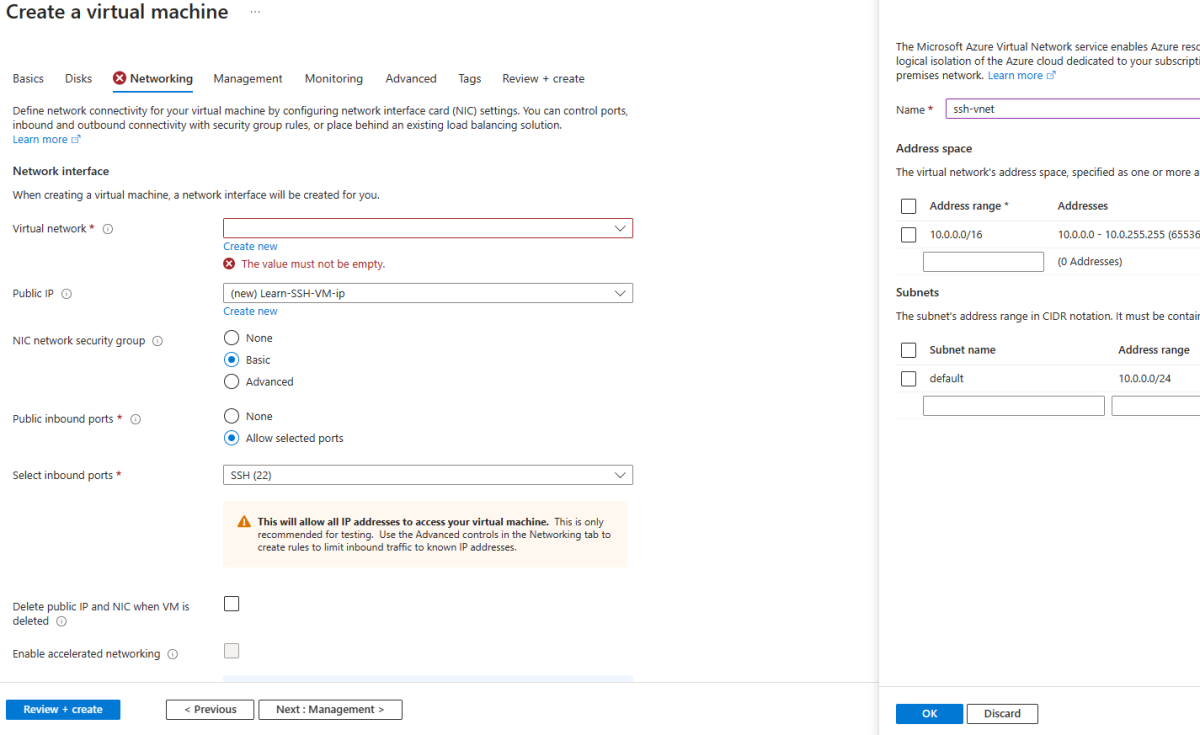
You may receive a validation error on the Networking tab – if so, click on that error, and Create a new virtual network. Click Review + create again.
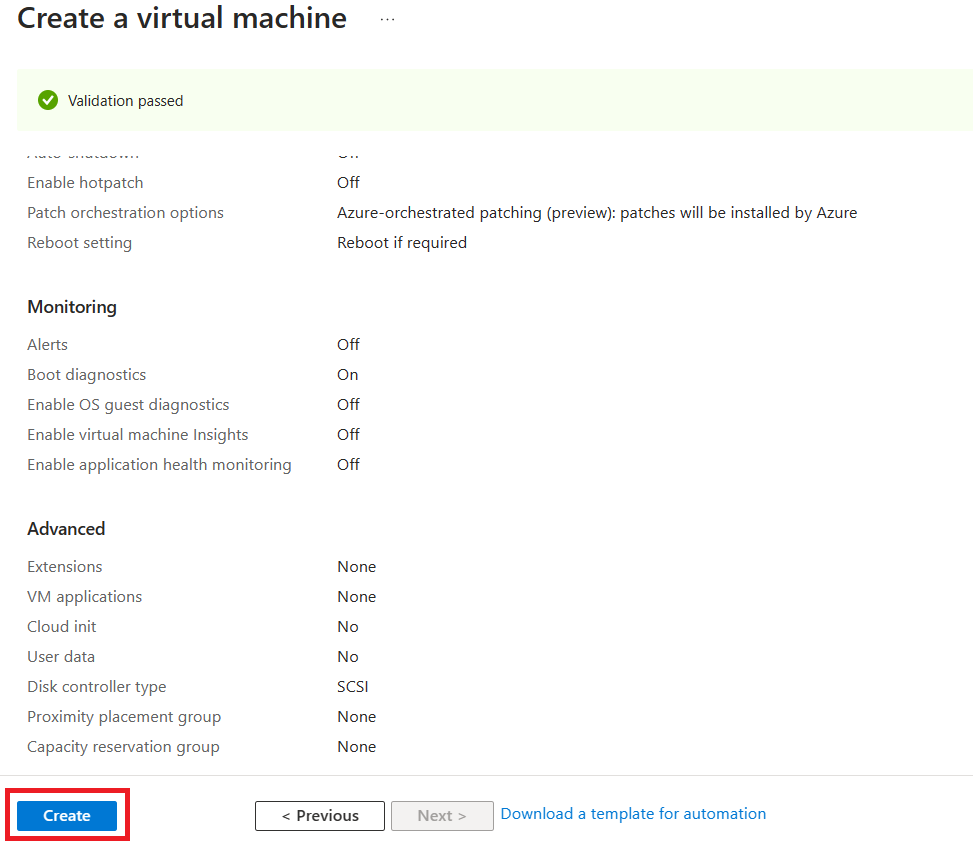
After reviewing the details, select Create, and Azure will deploy your VM. This process may take a few minutes.
When prompted with a screen for generating a new key pair, select "Download private key and create resource." This downloads a
.pemfile that contains your key. Make note of where the file is downloaded to - you'll need this file path in the next exercise!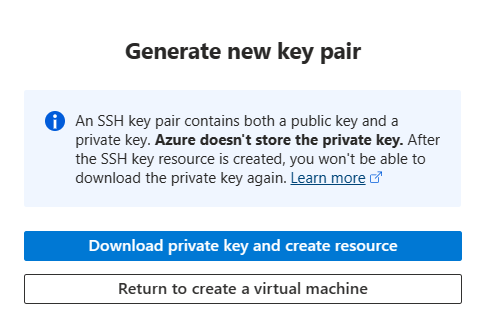
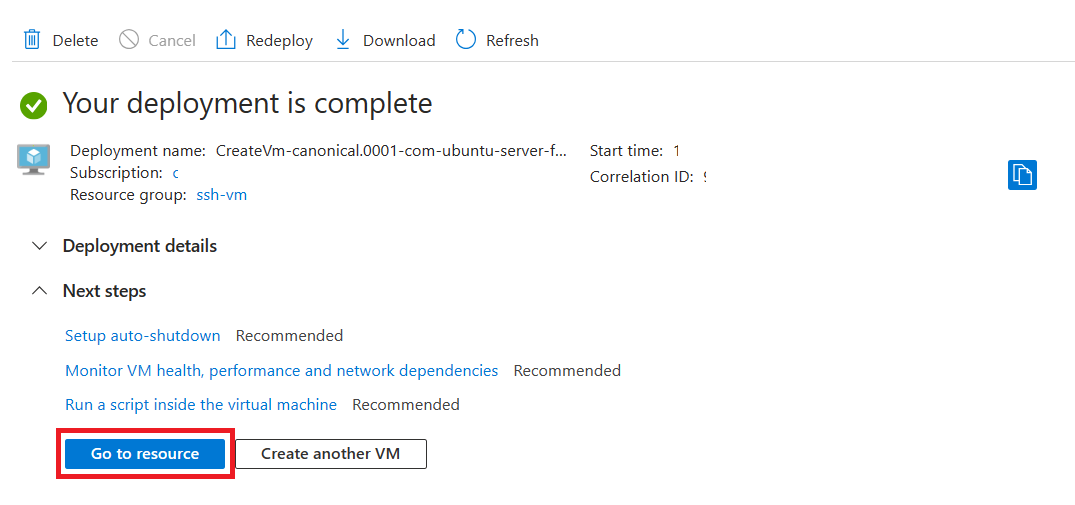
Once the resource is deployed, click "Go to resource."
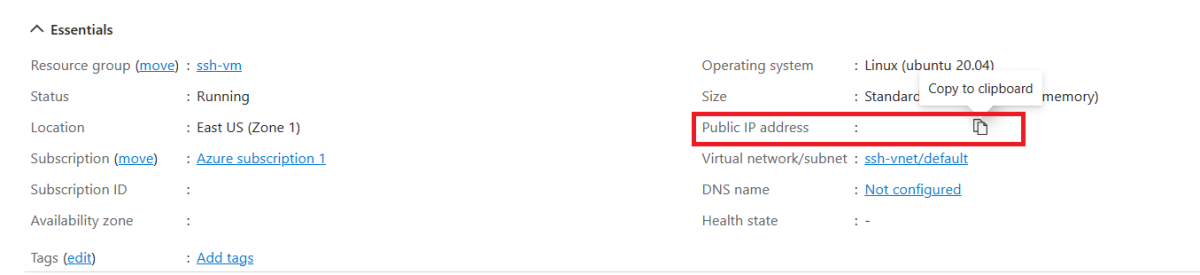
Copy the Public IP address from the properties overview of the newly created VM. You'll need this IP address in the next exercise for the hostname when connecting to your VM over SSH.
Great work! You have deployed a Linux VM that you can connect to using SSH.
In the next section, you'll learn how to use the VS Code Remote - SSH extension to connect to the VM.