Exercise - Use Swashbuckle to create an Open API document
In this exercise, you're going to add Swagger and Swagger UI to an ASP.NET Core web API application. The Swagger tooling assists you in creating the OpenAPI document that describes your web API.
Note
Download the source code to your local computer to complete this exercise. After downloading the file, you will need to unzip it.
Download: ASP.NET Core Web API Application.
- Select the download button on the middle-right of the screen.
- Unzip the
exercise.zipfile.
Add the Swagger tooling
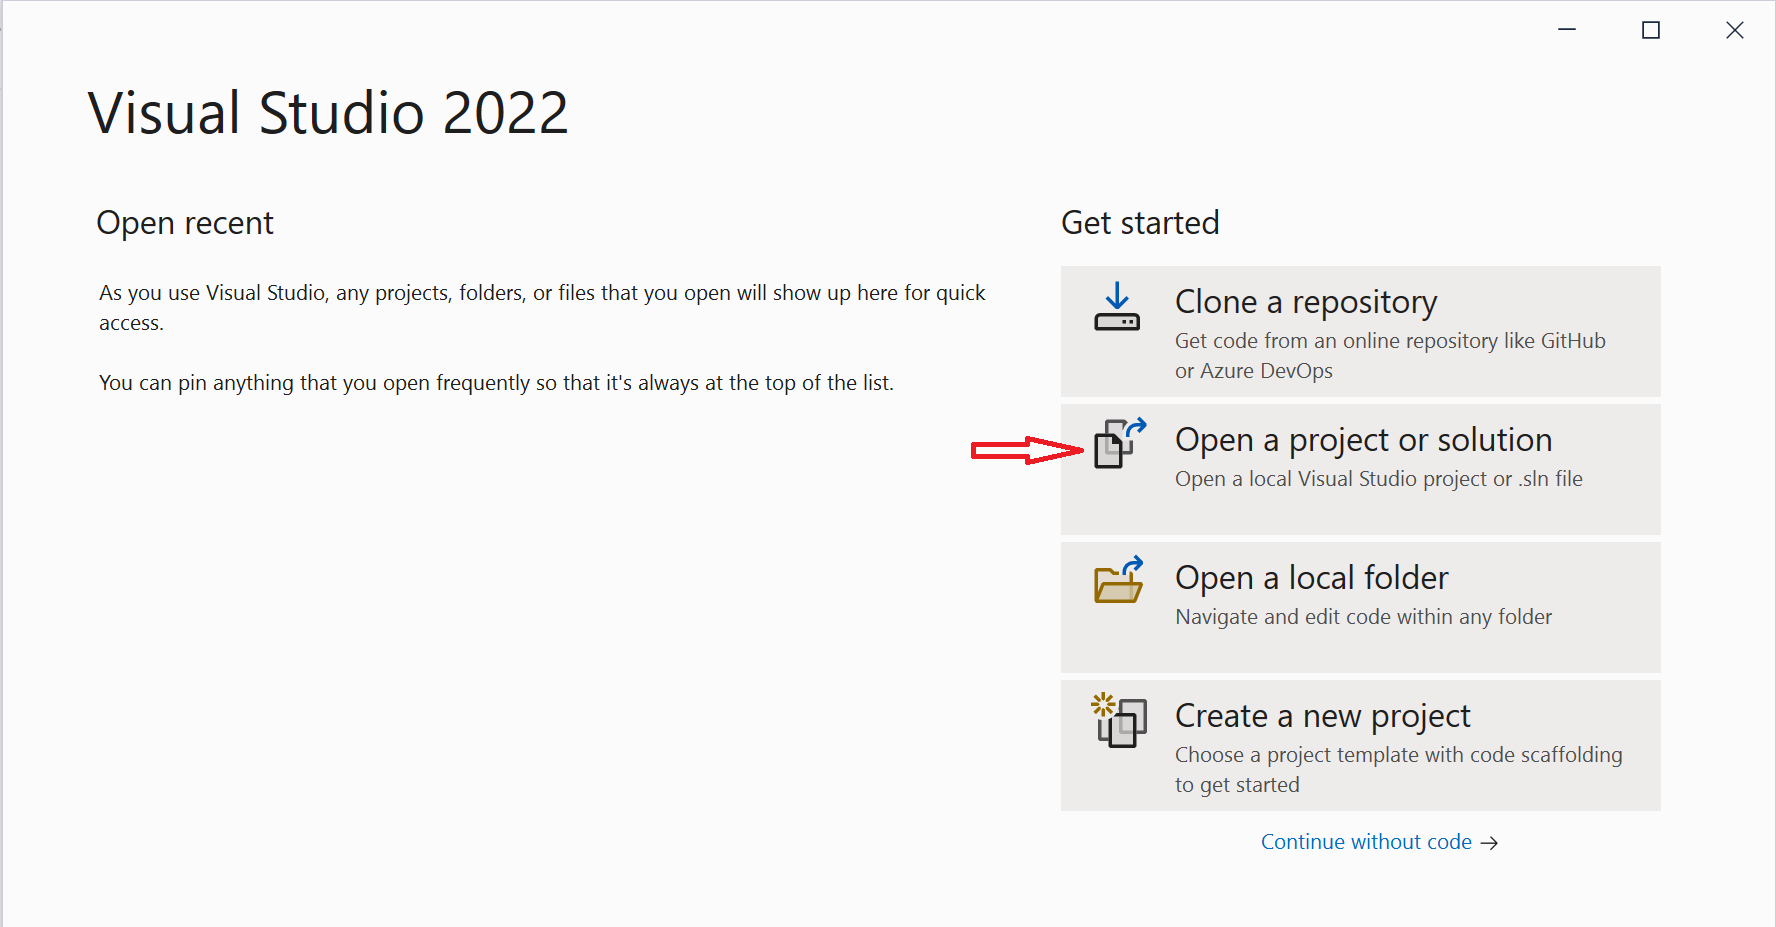
Open Visual Studio and find the ASP.NET Core Web API app.
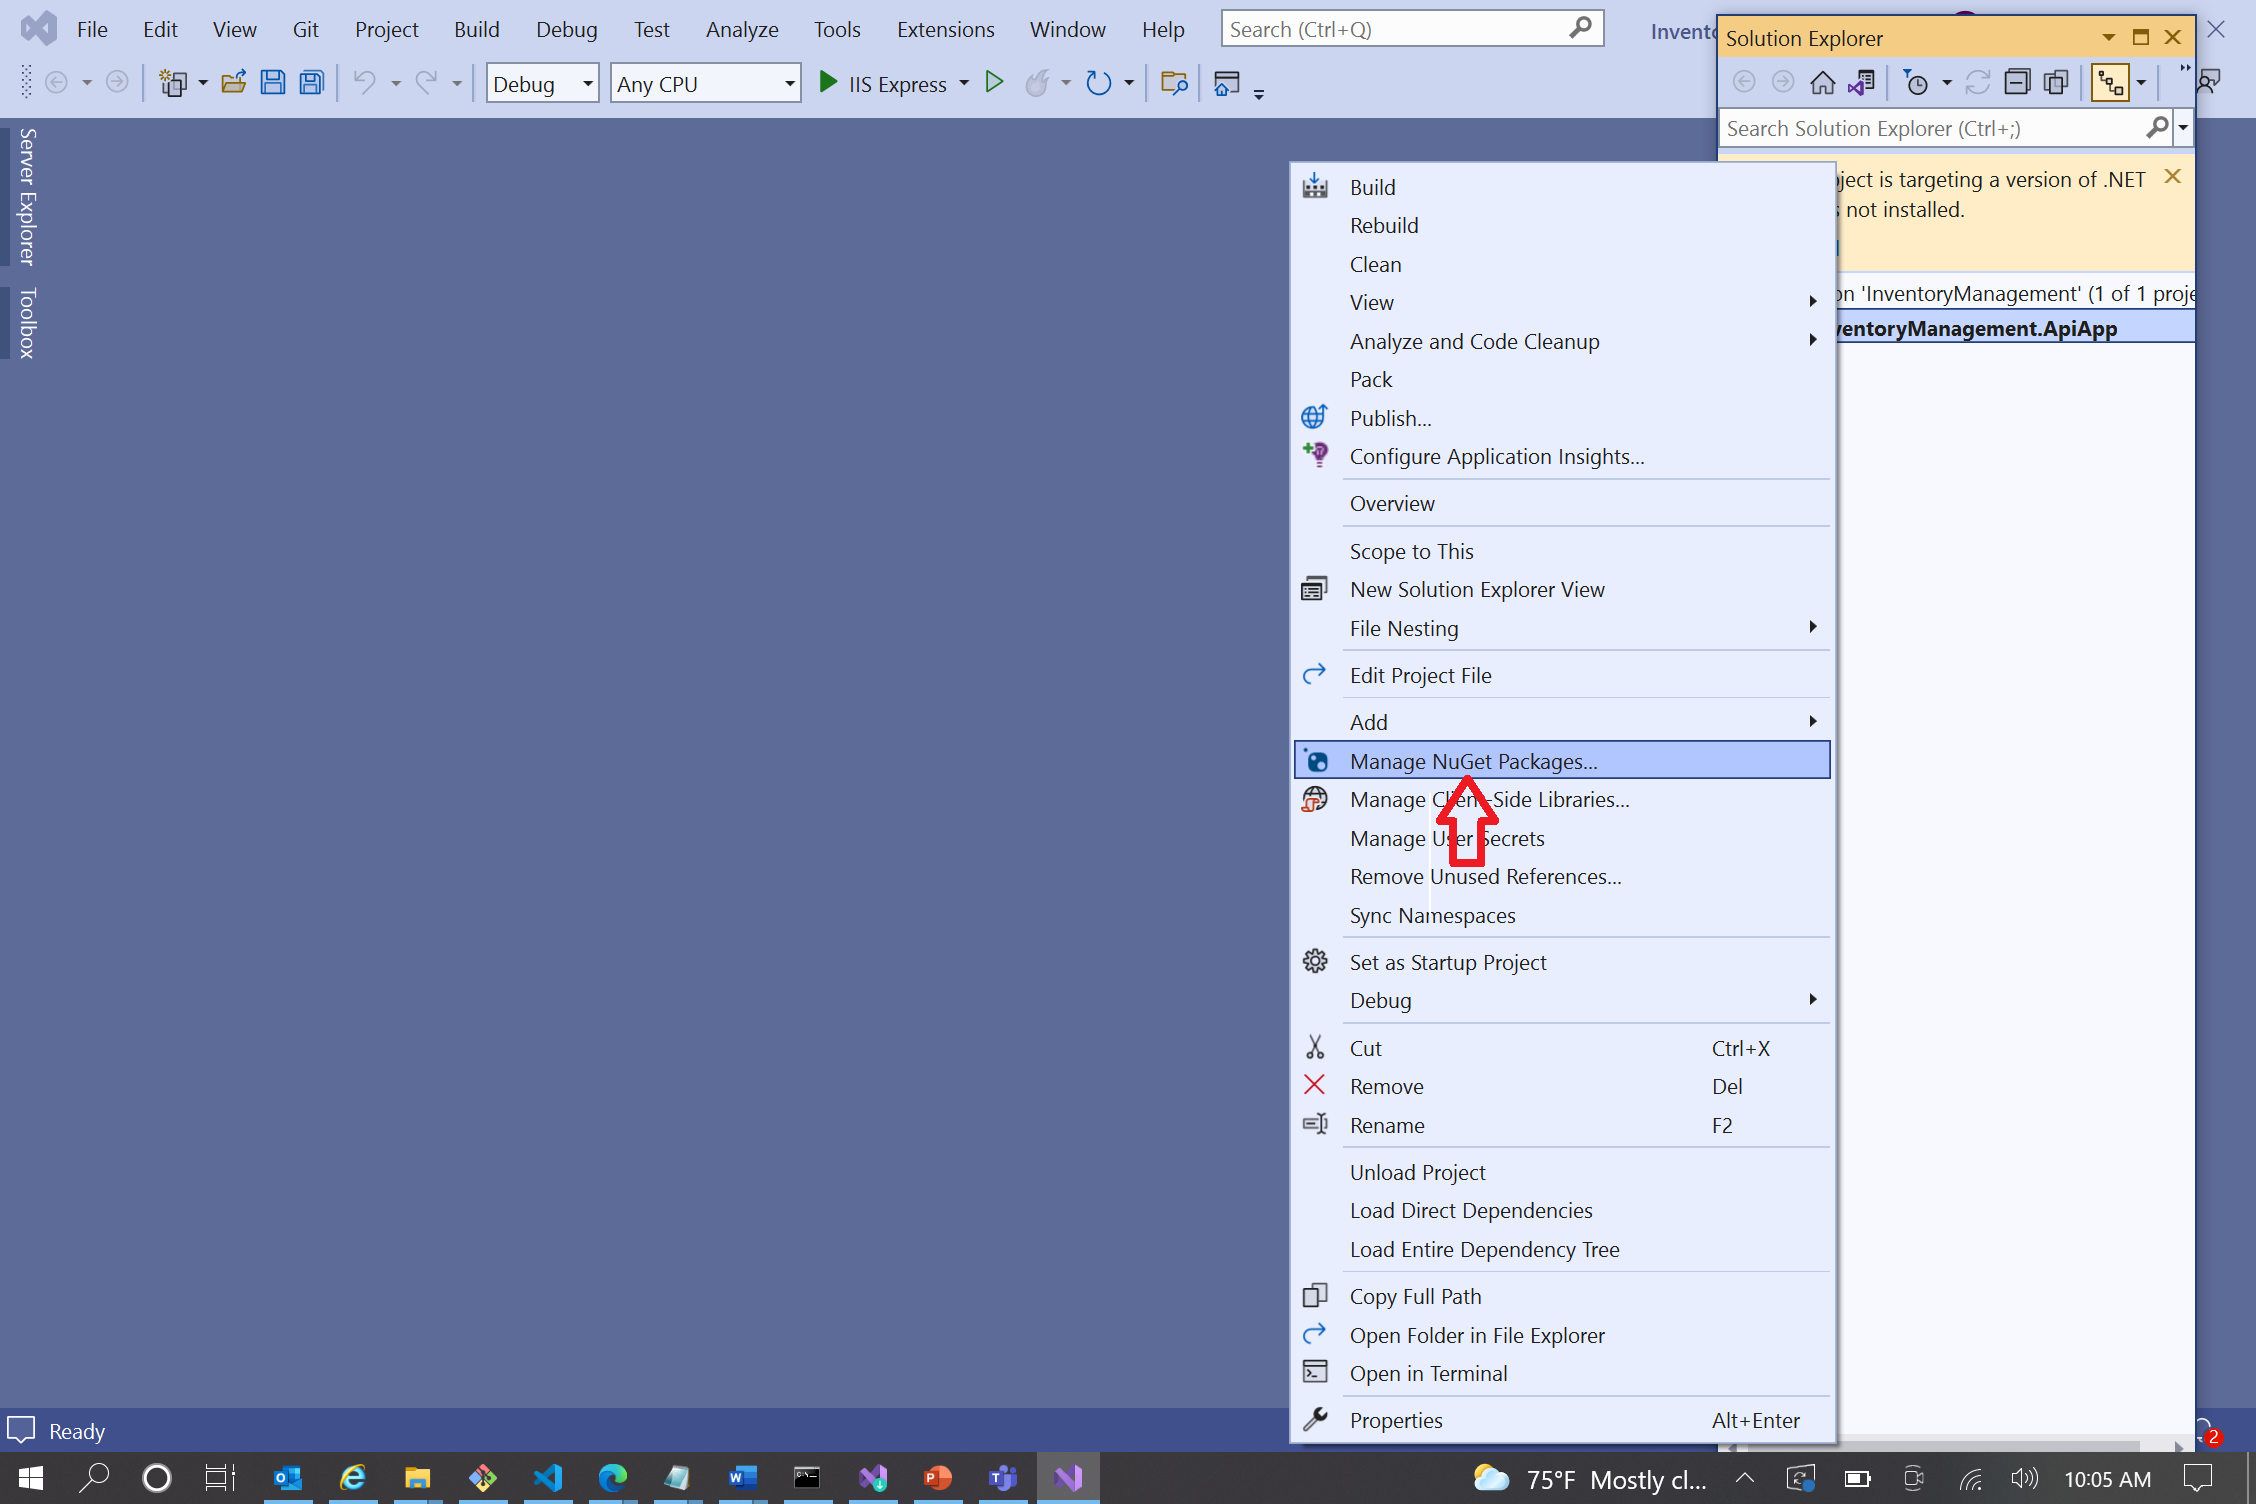
In Solution Explorer, right-click the project and select the Manage NuGet Packages menu.
In NuGet Package Manager, search
Swashbuckle.AspNetCore. Select the package and install it.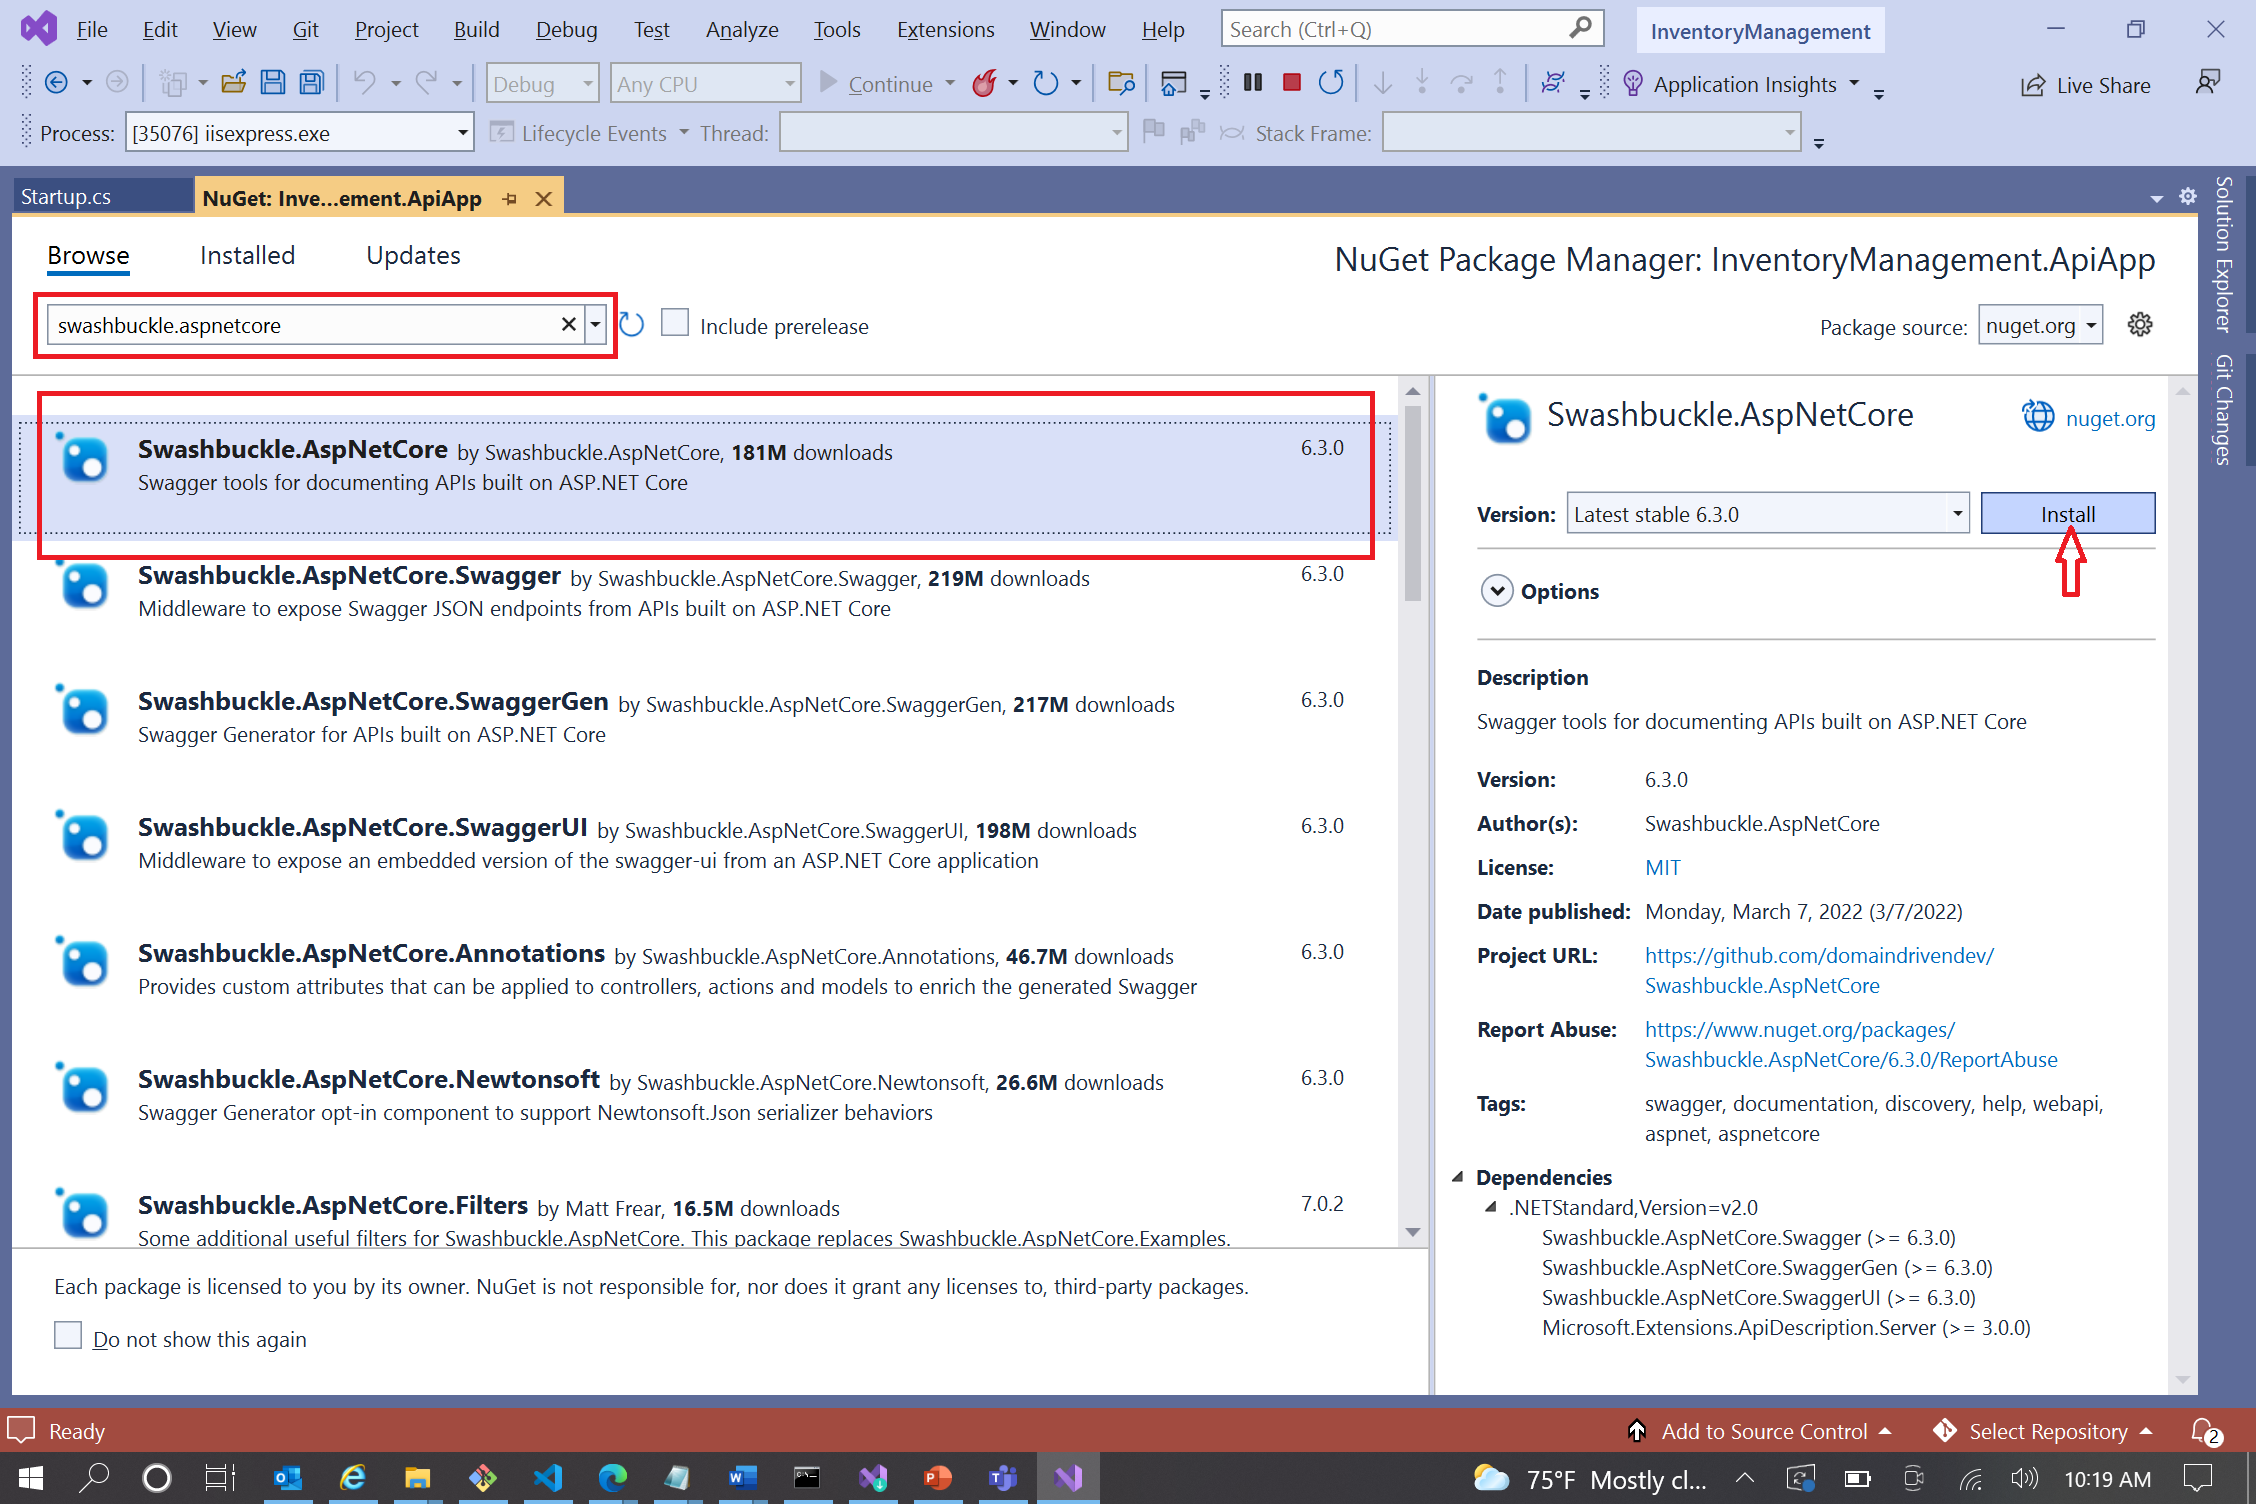
The NuGet package has now been installed. Close the NuGet Package Manager tab.
Configure Swashbuckle to generate an OpenAPI document
Open the
Startup.csfile.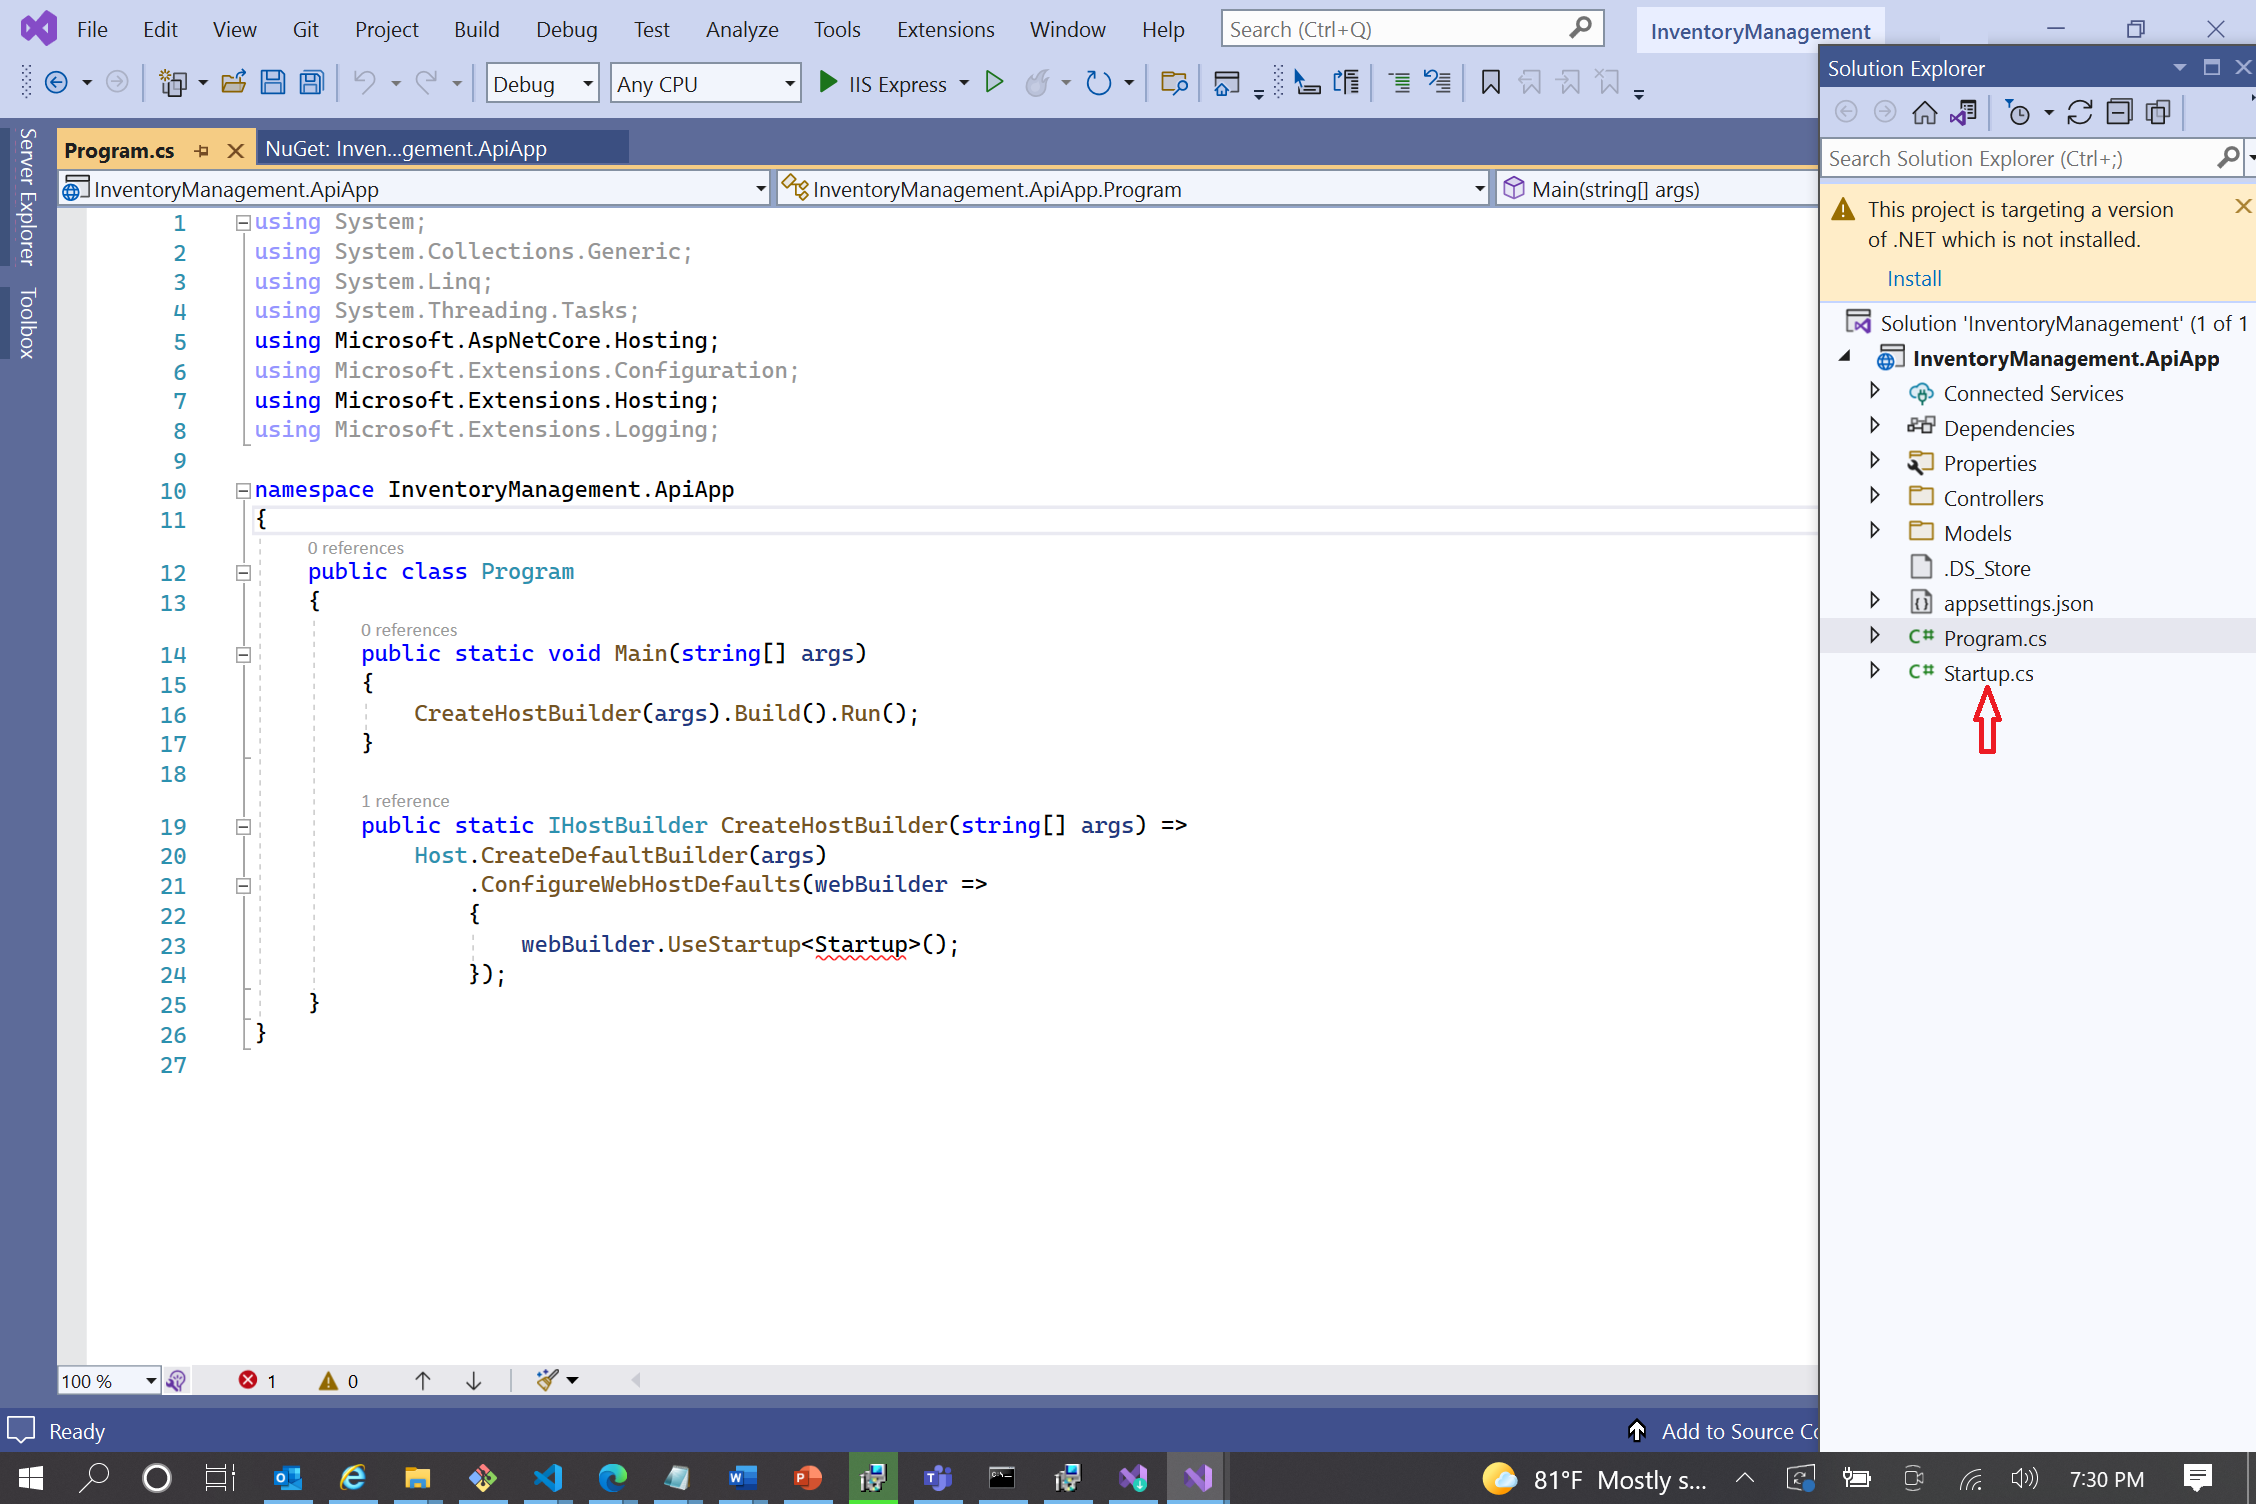
Add the following directive just above the line,
namespace InventoryManagement.ApiApp./* === using directive BEGIN === */ using Microsoft.OpenApi.Models; /* === using directive END === */Replace all of the code inside of the
ConfigureServices(IServiceCollection)method, with the following code:services.AddControllers(); /* === SwaggerGen BEGIN === */ services.AddSwaggerGen(c => { c.SwaggerDoc("v1", new OpenApiInfo { Title = "Inventory Management", Version = "v1" }); }); /* === SwaggerGen END === */Within the
Configure(IApplicationBuilder, IWebHostEnvironment)method, find theif (env.IsDevelopment())conditional statement and replace everything above that statement with the following code:/* === SwaggerUI BEGIN === */ app.UseSwagger(c => { c.PreSerializeFilters.Add((swagger, httpReq) => { var server = new OpenApiServer() { Url = $"{httpReq.Scheme}://{httpReq.Host.Value}" }; swagger.Servers = new List<OpenApiServer>() { server }; }); }); app.UseSwaggerUI(c => c.SwaggerEndpoint("/swagger/v1/swagger.json", "InventoryManagement.ApiApp v1")); /* === SwaggerUI END === */Note
It's very important that Swagger endpoints are only enabled in the development environment. Otherwise, it could expose your API to the public.
You've now completed activating the OpenAPI document feature to your ASP.NET Core Web API app. Save the
Startup.csfile. Your changes might look like the following screenshot.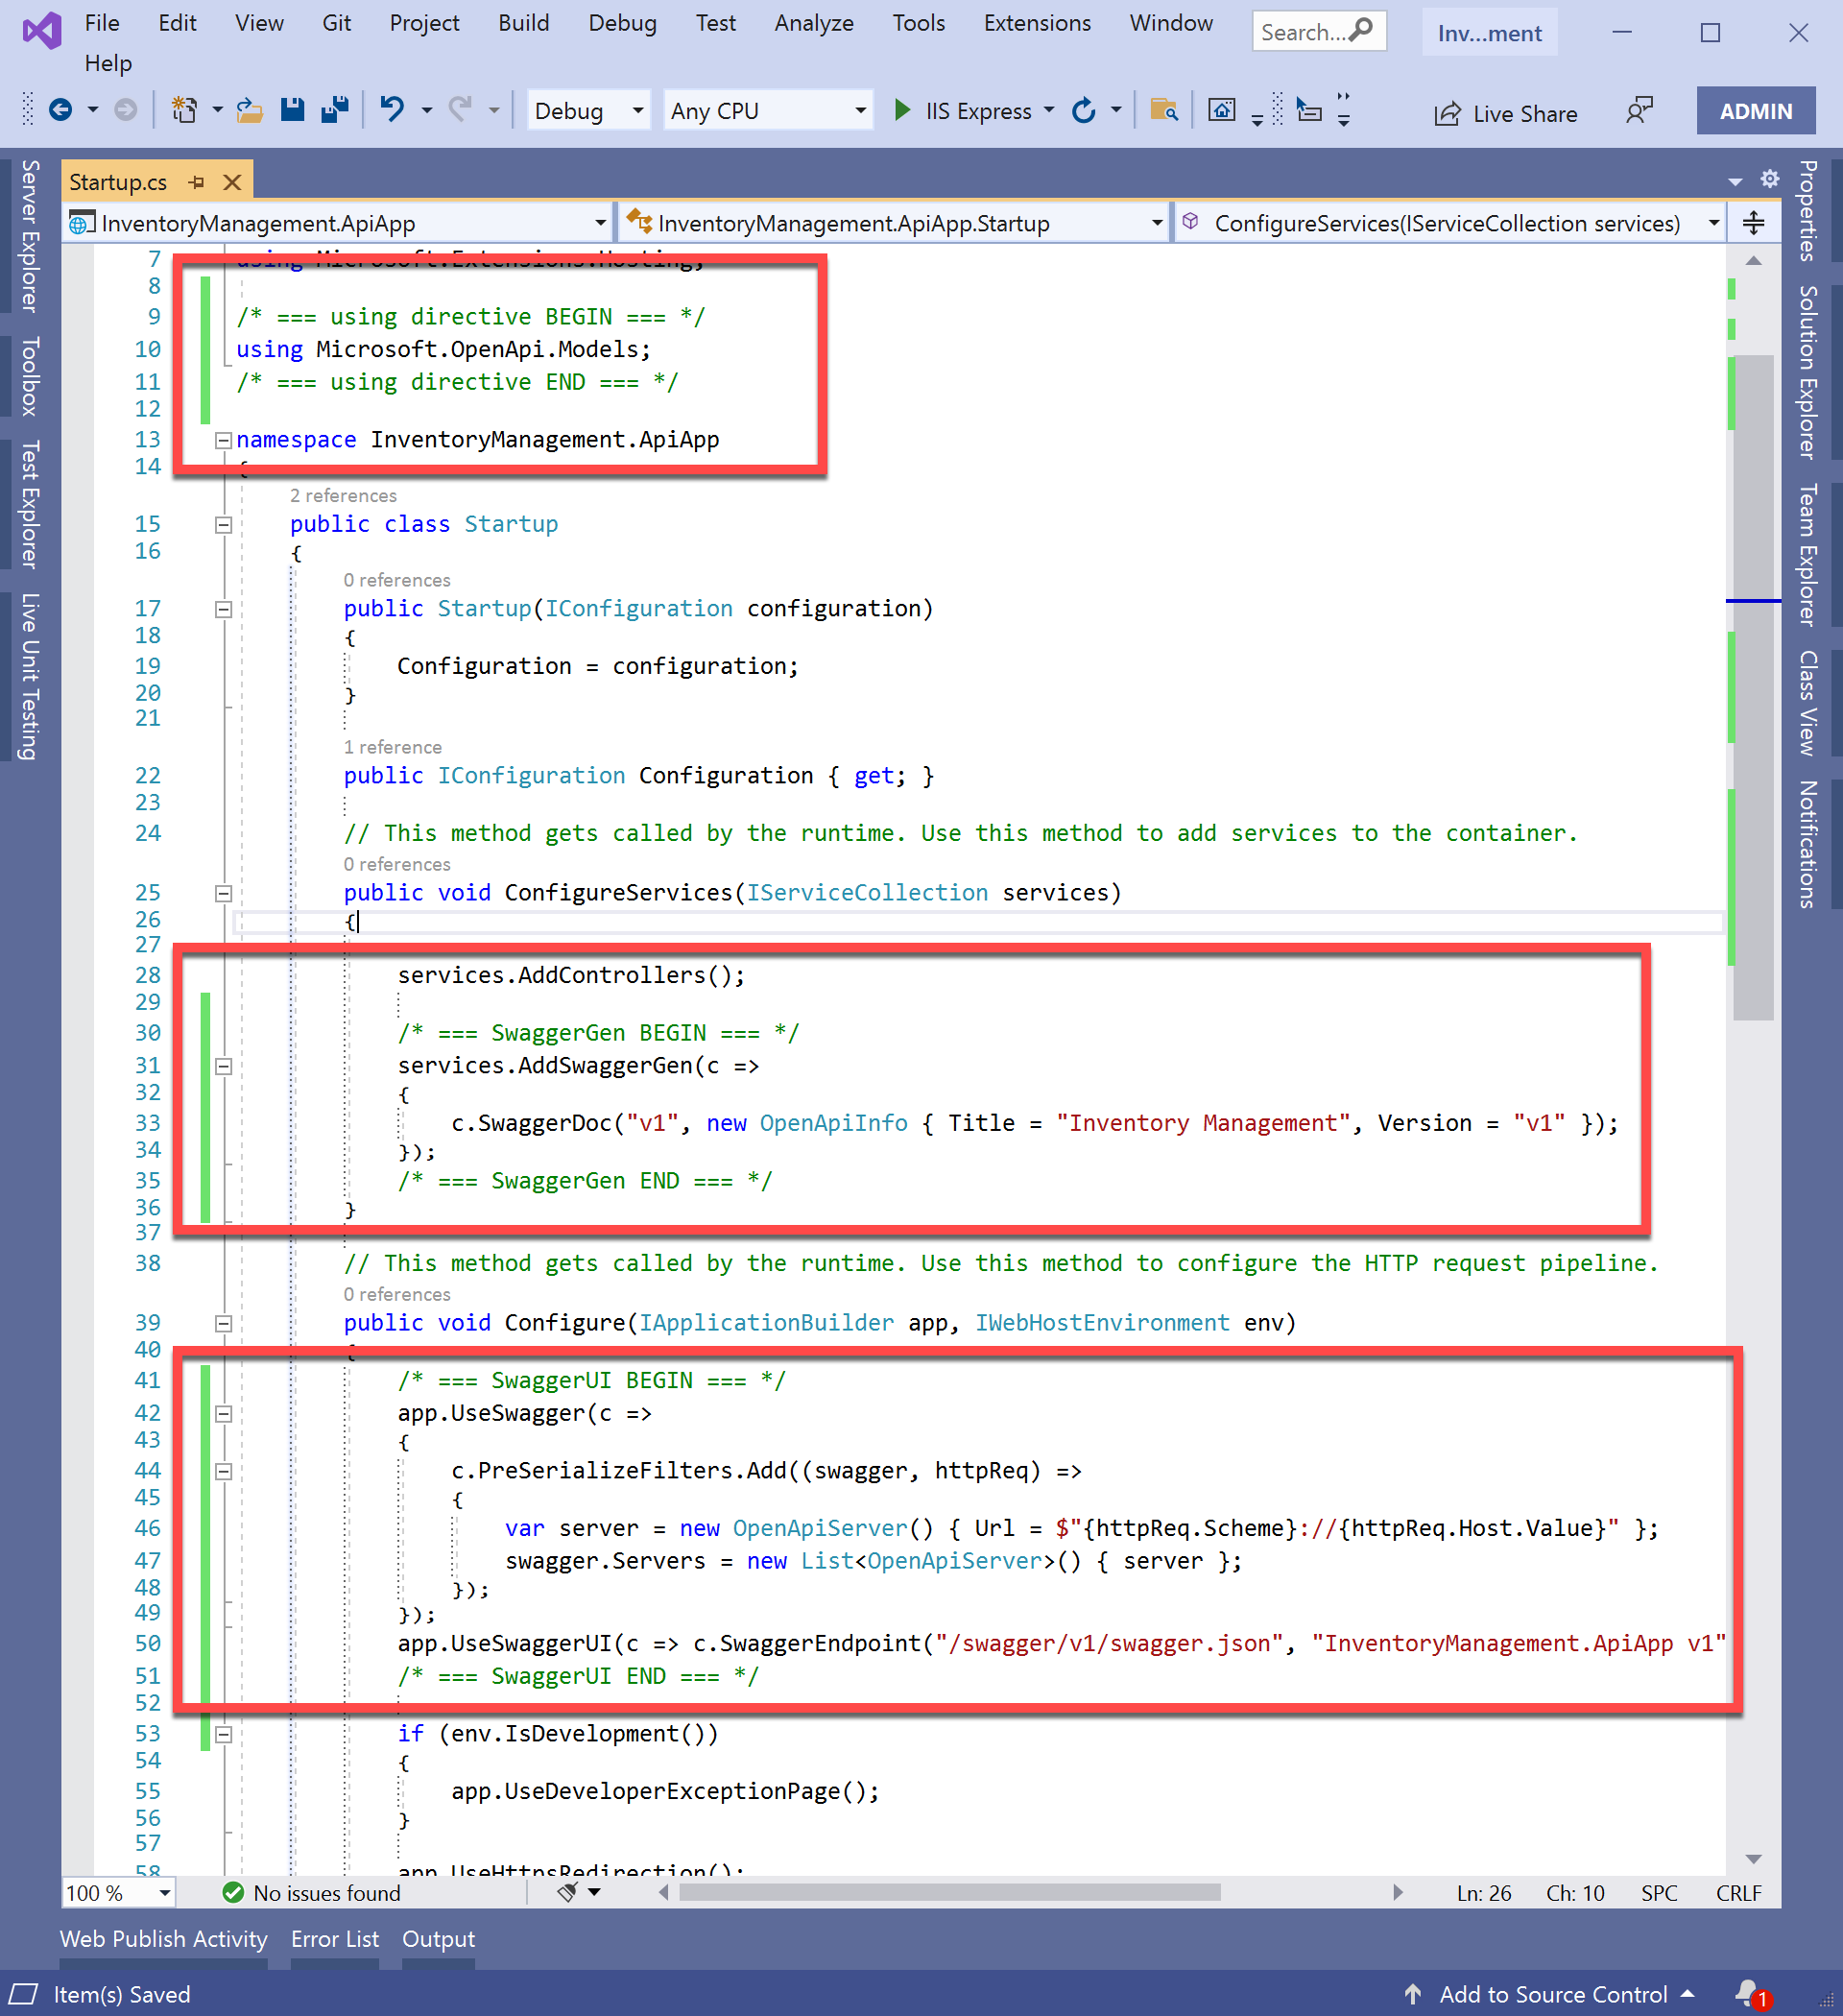
Generate the OpenAPI document file
Select the debug button at the top-middle of Visual Studio.

It automatically opens your web browser and shows the Swagger UI page.
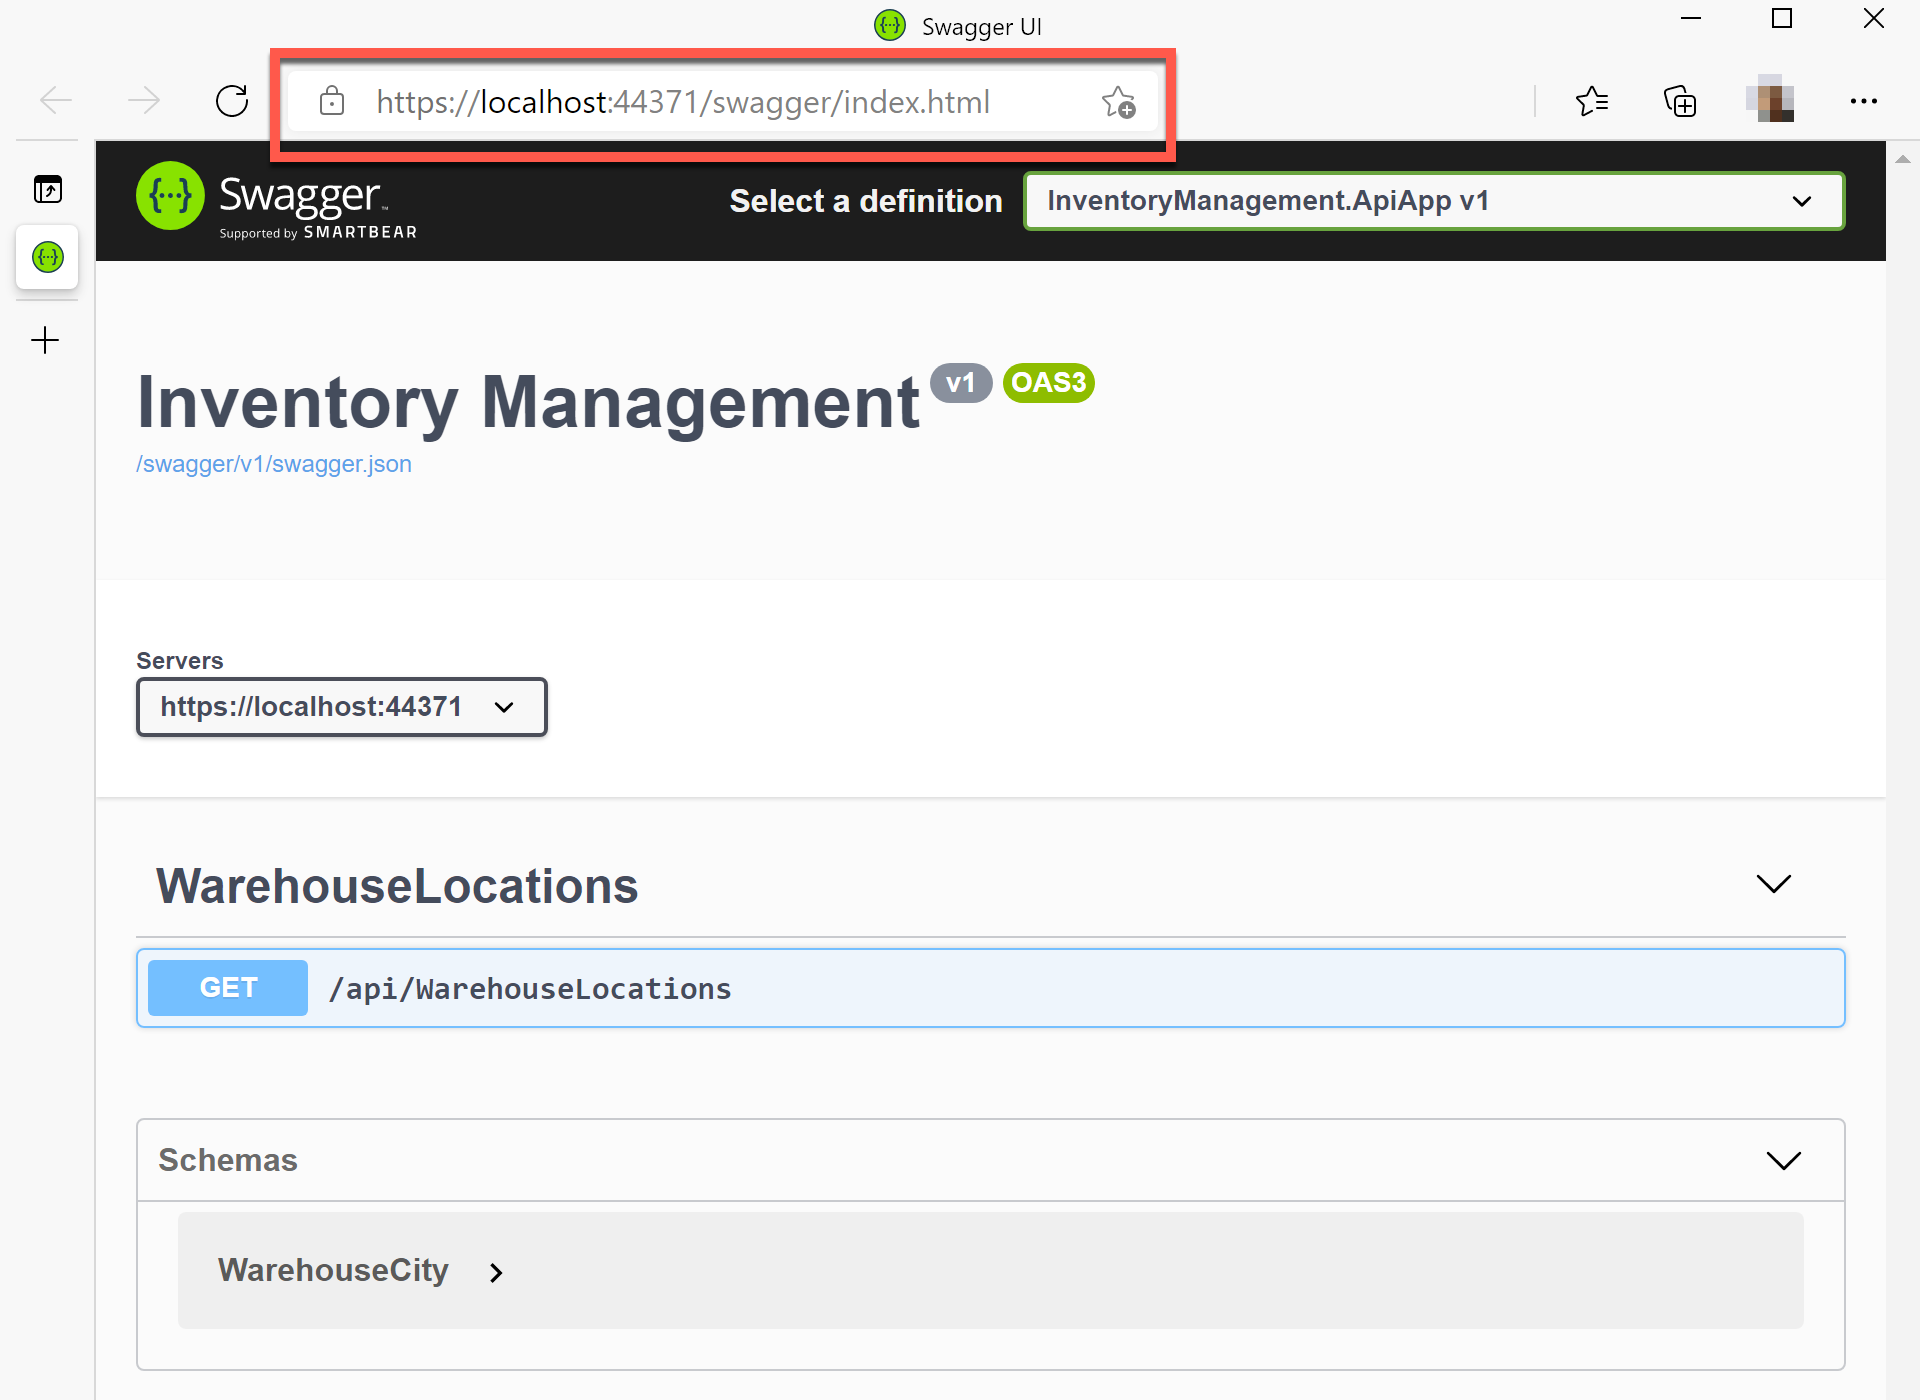
You may see the 404 error page. In this case, enter the URL,
https://localhost:<port_number>/swagger, to your browser's address bar. In the following screenshot, the URL ishttps://localhost:44371/swagger, for example.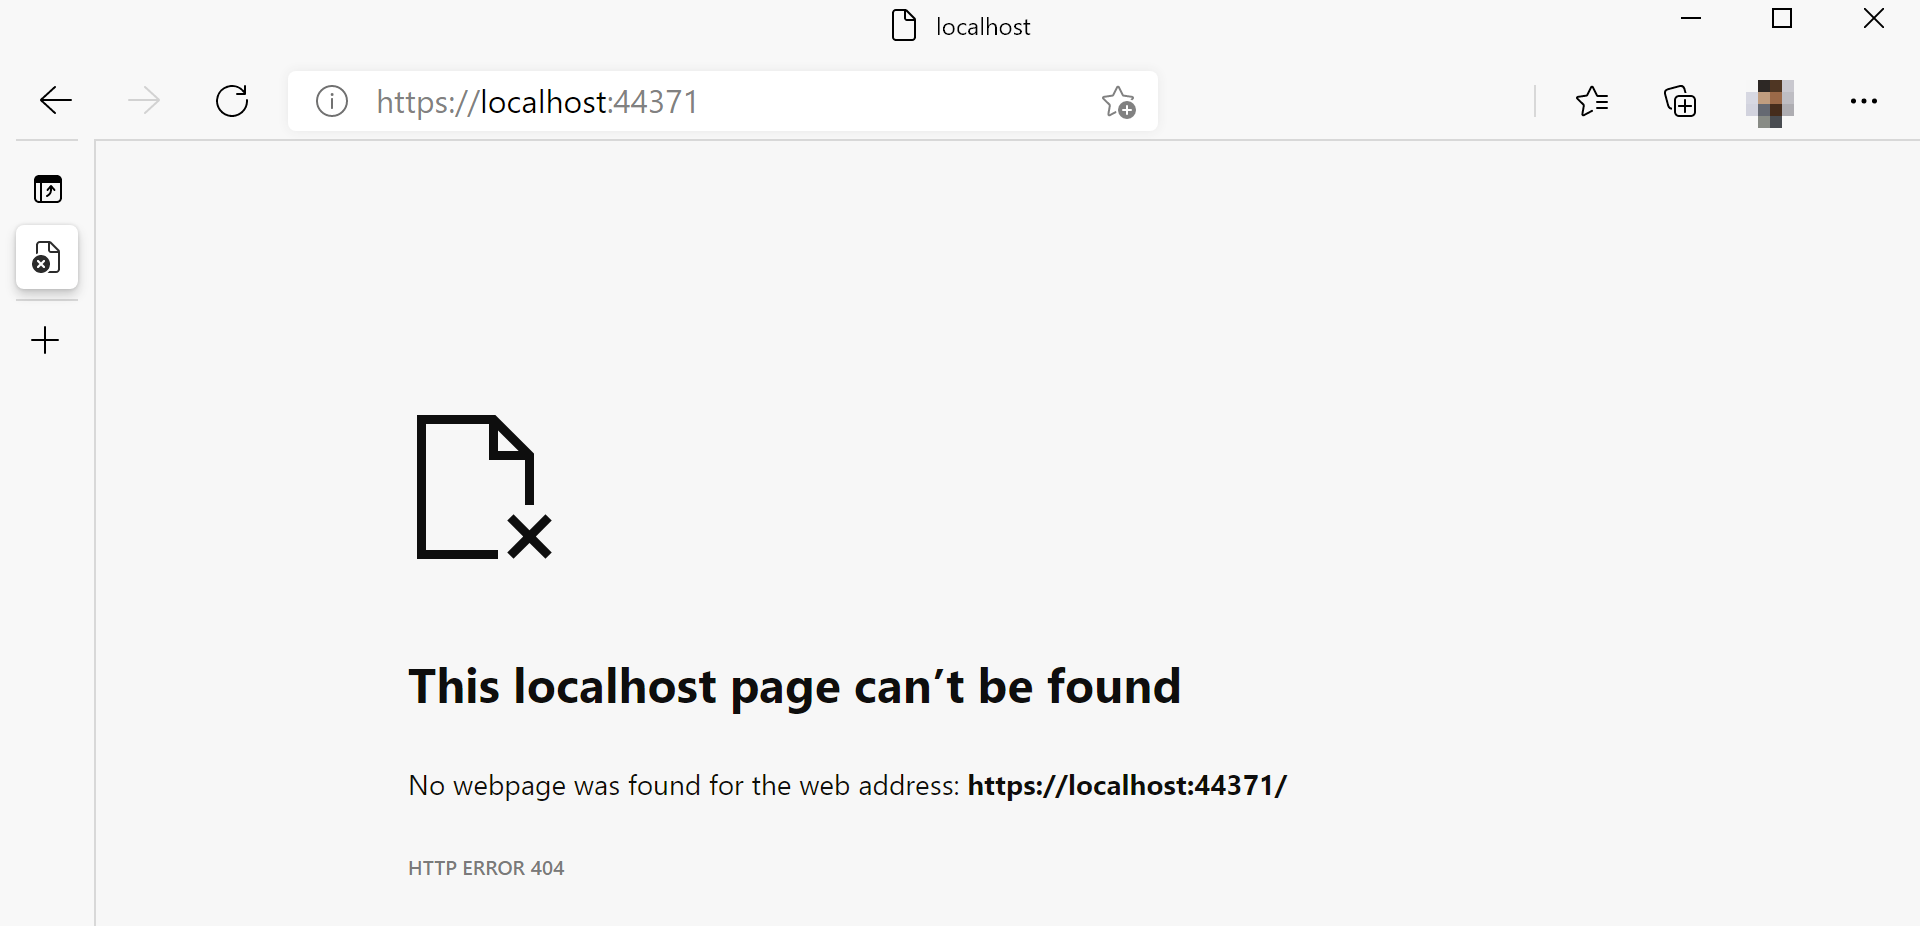
Select the link to open the OpenAPI document page.
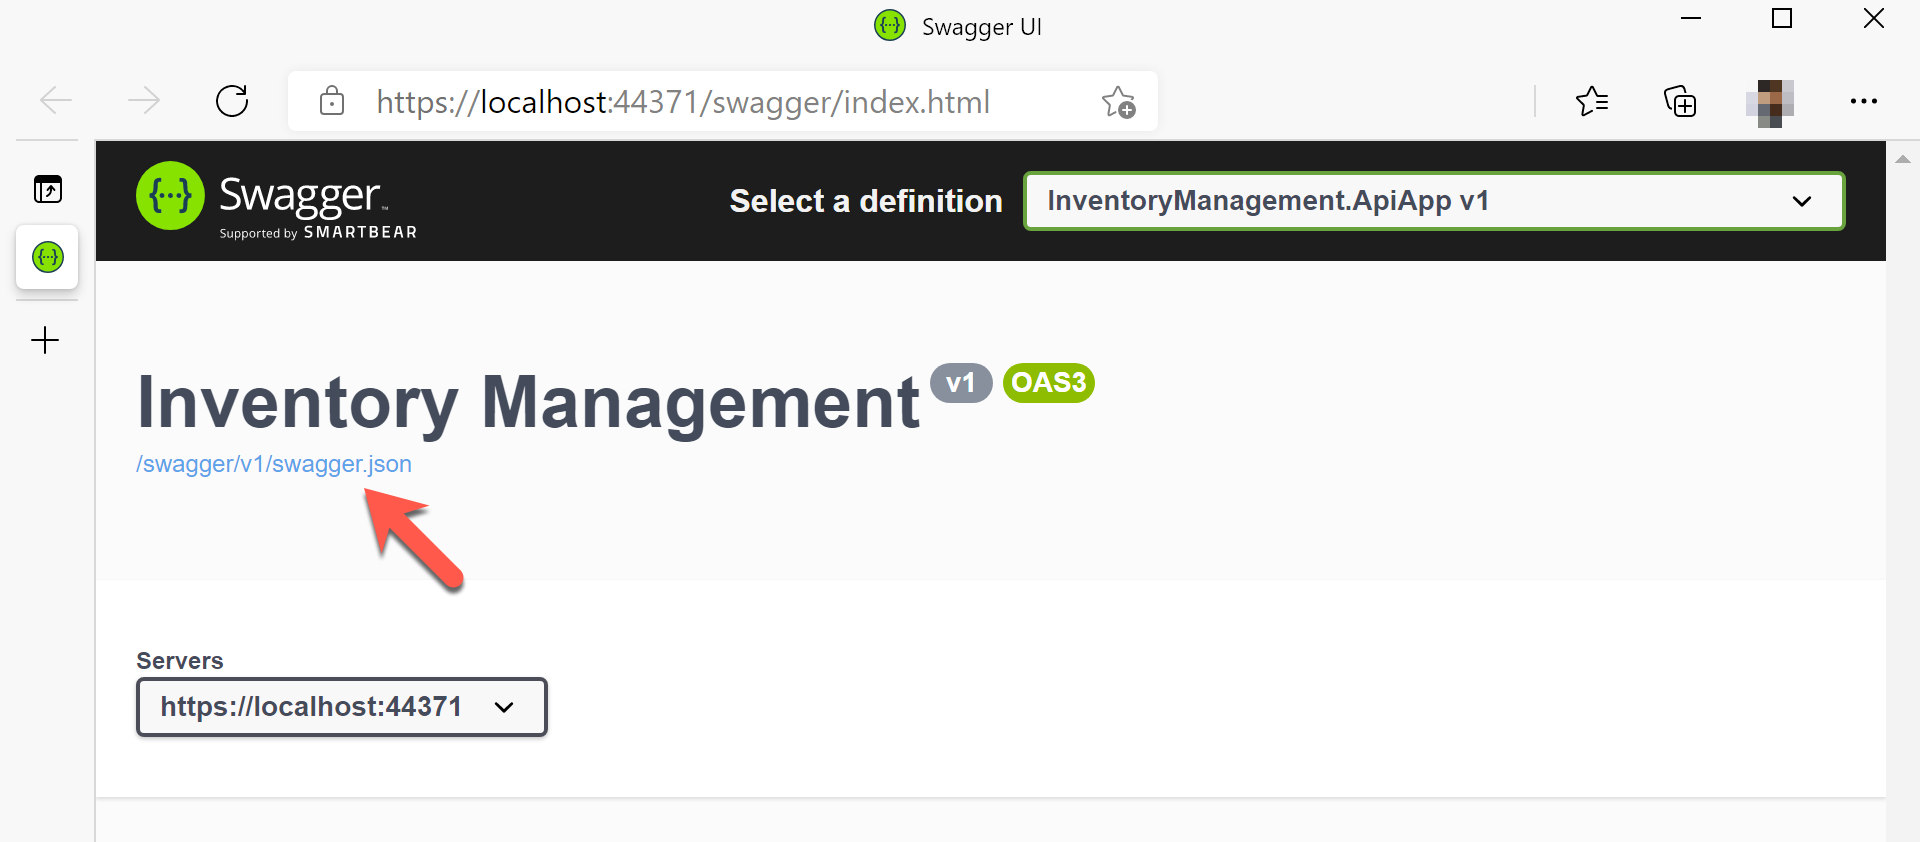
The OpenAPI document is rendered on-the-fly.
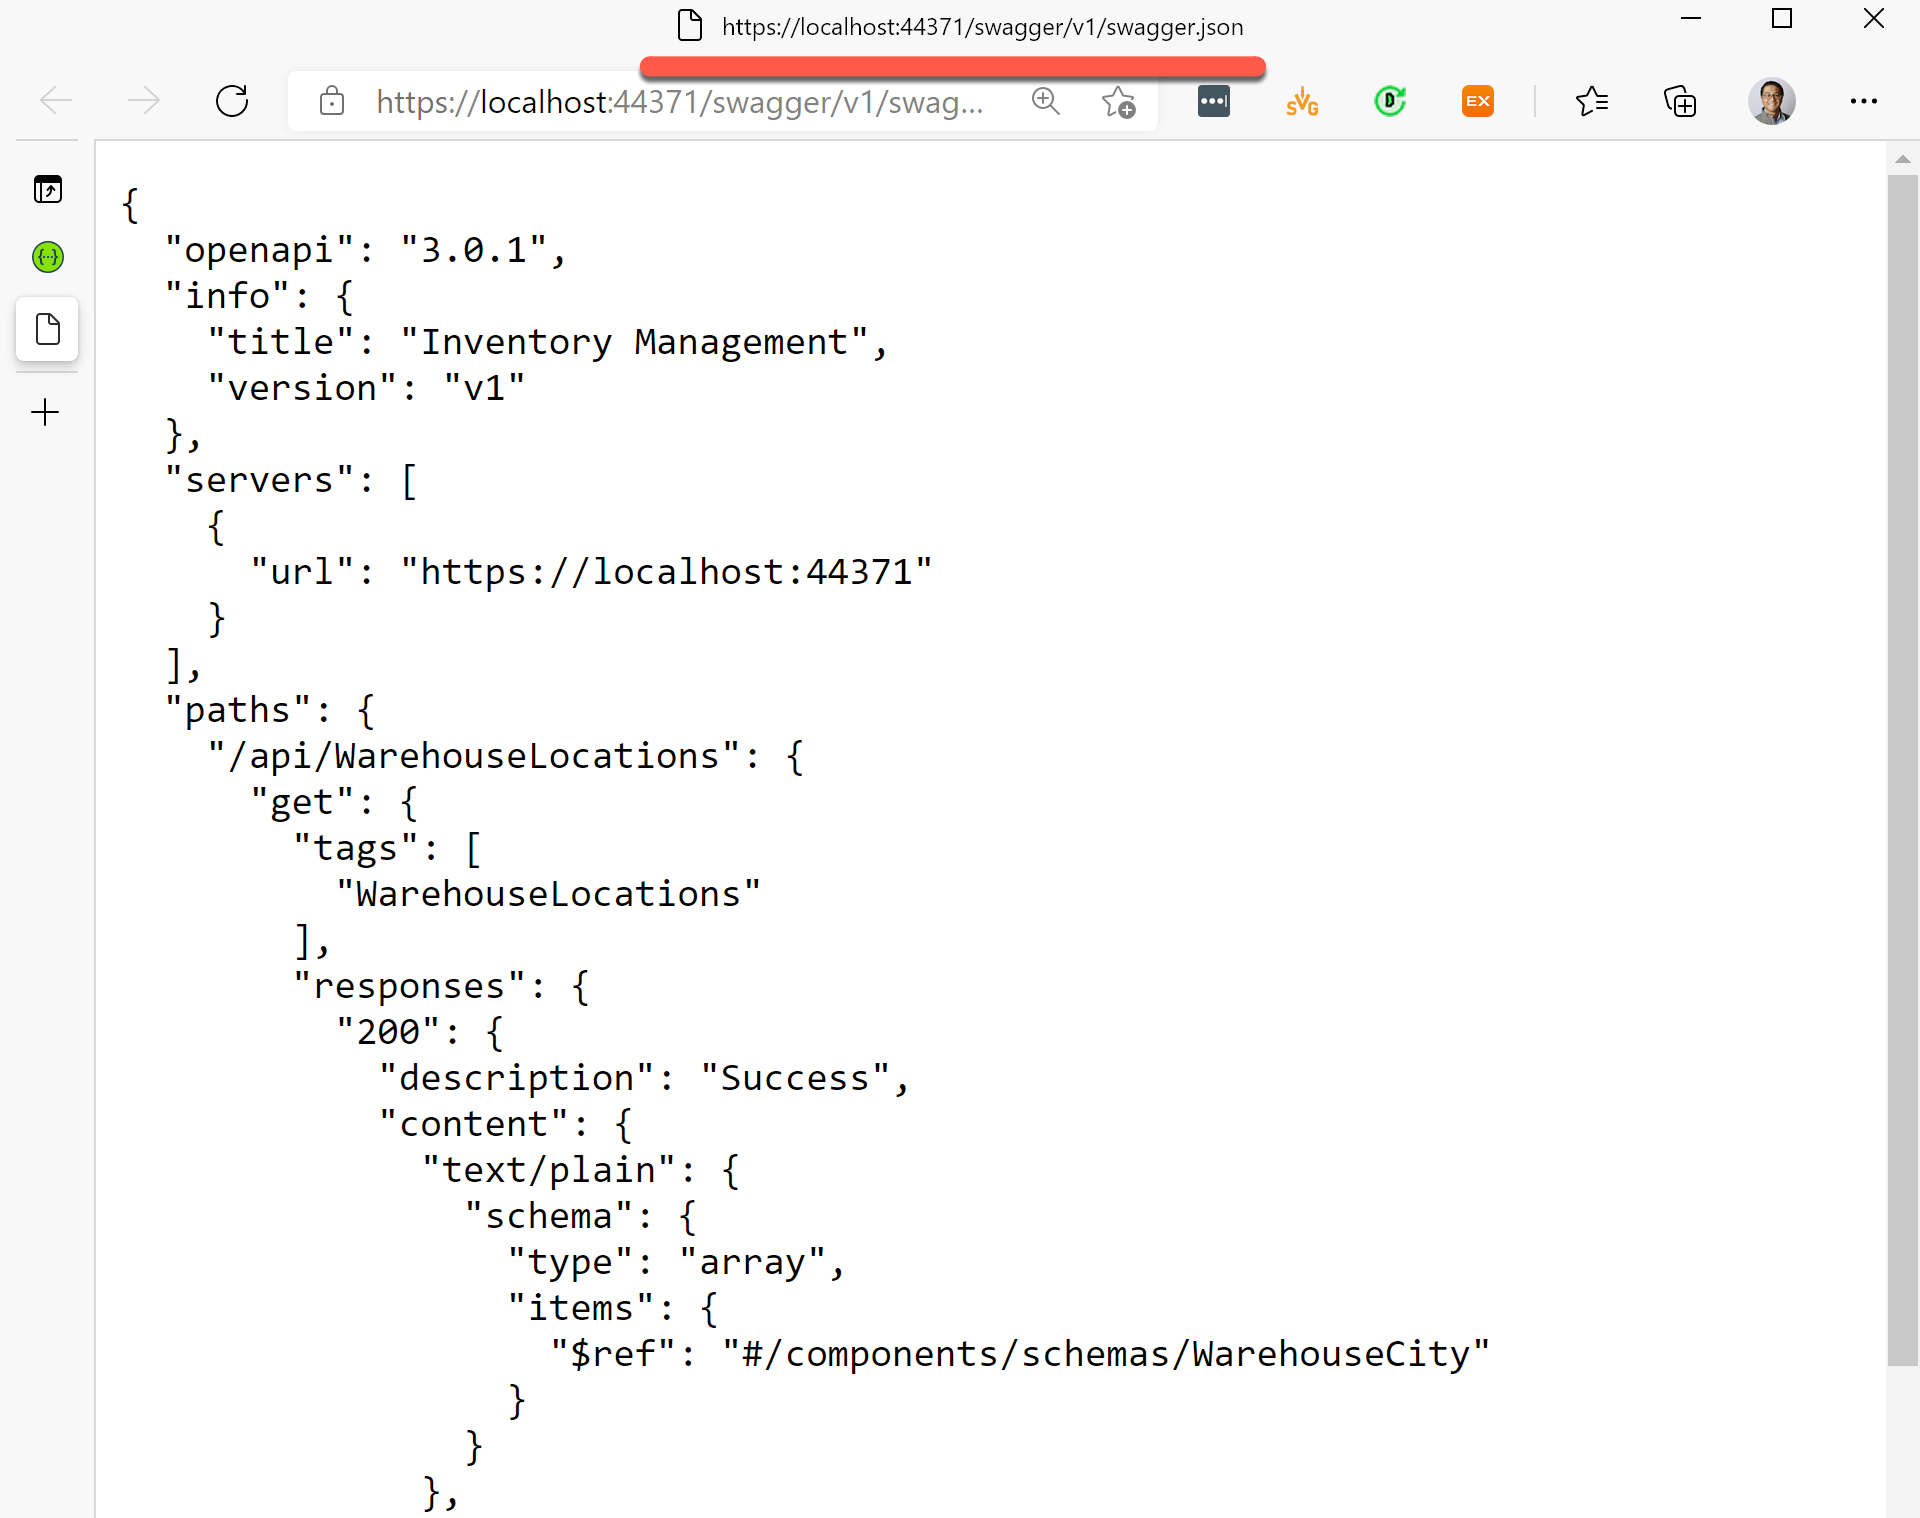
Your ASP.NET Core Web API app is now ready to produce the OpenAPI document.