Exercise - Retrieve an access token by using MSAL
Now it's time to build something by using all the concepts you've learned up to this point.
In this exercise, you'll set up your own application. The application will call Microsoft Graph to get a signed-in user's profile information.
Set up the app
This exercise gets you started with running an application that signs in a user to Microsoft Entra ID and makes a call to Microsoft Graph. You'll access a GitHub repository and then configure the application to run locally on your machine.
Open a console on your computer and go to the folder where you want to save the app.
To get the source code, visit the GitHub repository and choose one of the following options:
If you use Git, clone the project by using the
git clonecommand:git clone https://github.com/MicrosoftDocs/mslearn-retrieve-m365-data-with-msgraph-quickstart.gitIf you don't use Git, select the Code button followed by Download ZIP. Extract the *.zip file to your machine.
Open the downloaded or cloned project's root folder, mslearn-retrieve-m365-data-with-msgraph-quickstart, in your favorite editor.
The application contains the following files:
- index.html: Defines the user interface that appears to a user when they access the website. It loads the Microsoft Authentication Library (MSAL) script and custom application scripts, provides a way for a user to sign in, and displays the user's name after they sign in.
- auth.js: Defines the MSAL configuration to associate the application with Microsoft Entra ID, signs in a user to the application, and handles retrieving an access token that Microsoft Graph can use.
- graph.js: Calls in to Microsoft 365 to access the signed-in
/meprofile. It relies on auth.js to retrieve the access token that's used for the Microsoft Graph API call. - ui.js: Handles user interface elements defined in index.html.
Open the auth.js file and find the constant
msalConfig:const msalConfig = { auth: { .. } }Replace the value of the
clientIdproperty with the copied Application (client) ID value from the Microsoft Entra application (spa-aad-app) that you registered earlier. You can get this value from the overview page of the Microsoft Entra application (spa-aad-app).In the same auth.js file, find the
msalConfig.auth.authorityproperty. Replace the<your directory ID here>value with the Directory (tenant) ID value of the Microsoft Entra application (spa-aad-app) that you registered earlier. You can get this value from the overview page of the Microsoft Entra application (spa-aad-app).The
msalConfigconstant should look similar to the following code, with the unique ID's from your Microsoft Entra tenant and registered application:const msalConfig = { auth: { clientId: 'b1a37248-53b5-430c-b946-ef83521af70c', authority: 'https://login.microsoftonline.com/b930540b-a147-45bb-8f24-bfbed091aa25', redirectUri: 'http://localhost:8080' } };Now that you've added the appropriate Microsoft Entra IDs into auth.js, take a moment to explore the code in the file. Notice that it contains the following functions:
signIn(): Signs in the user.getToken(): Handles getting an access token that Microsoft Graph can use.
Open the graph.js file and note that it grabs an access token, calls the Microsoft Graph
/meAPI, and selects the user'sIDanddisplayNamevalues. Notice how the access token is retrieved and added to the authorization header that's sent with the request to/me.Finally, open ui.js and take a moment to explore the
displayUI()function. It's responsible for showing and hiding elements in index.html and displaying the user's name after they sign in.
Run the app
For this procedure, make sure you have Node.js installed on your machine.
It's time to see your application run locally.
In the console, go to the project folder where the source code is located.
Run the following script on the command line. The script will start your app locally and open
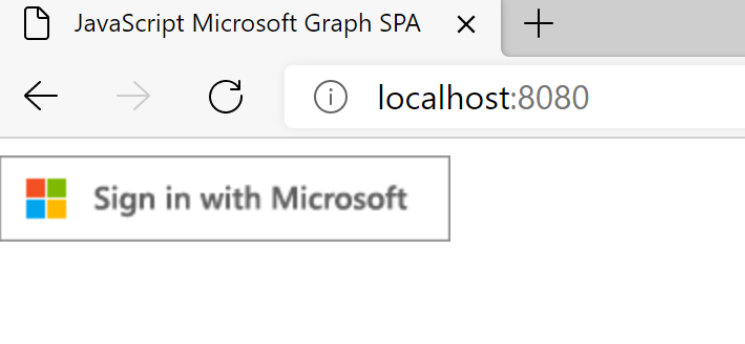
http://localhost:8080in the browser.npm startIf the app is configured correctly, a sign in button appears.
Sign in by using an account in the same Microsoft 365 developer tenant that you used a previous unit when you registered the Microsoft Entra application.
After you successfully sign in, you're prompted to give consent.
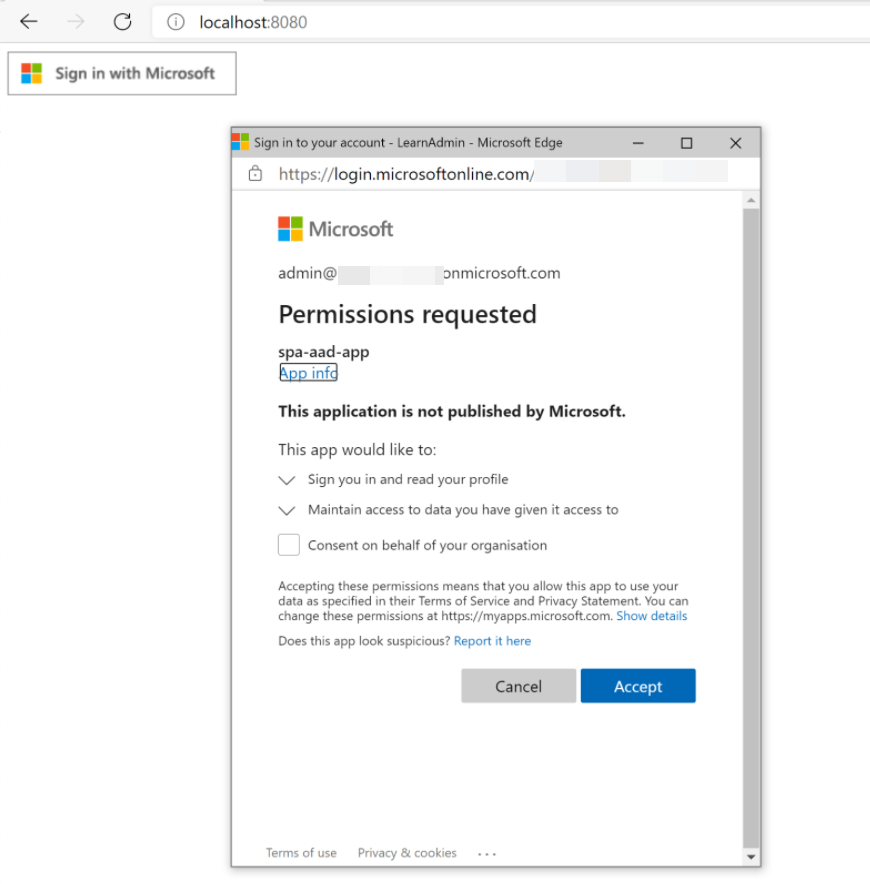
Select Accept to give consent for the application to do operations on behalf of the user.
After you've consented, the application tries to get an access token by using the validated account information. The MSAL library handles this for you.
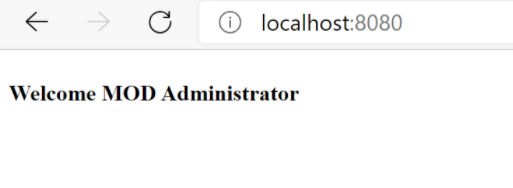
After the token returns to the application, a GET request is made to the Microsoft Graph
/meendpoint and the access token is passed in the authorization header. The call to/methen retrieves the data securely from the service.After the response is received from Microsoft Graph, the name of the signed-in user appears in the browser.
You've successfully built an application that uses Microsoft Graph to retrieve Microsoft 365 data!