Manage Azure storage accounts for DevTest Labs
This article explains how to view and manage the Azure storage accounts associated with your Azure DevTest Labs resources.
View storage account contents
When you create a new lab, an Azure storage account is automatically created for the resource.
To see a lab's storage account and the information it holds, follow these steps:
In the Azure portal, go to your DevTest Labs resource.
On the lab Overview page, select the Resource group:

On the Overview page, in the Resources list, select the lab's storage account:
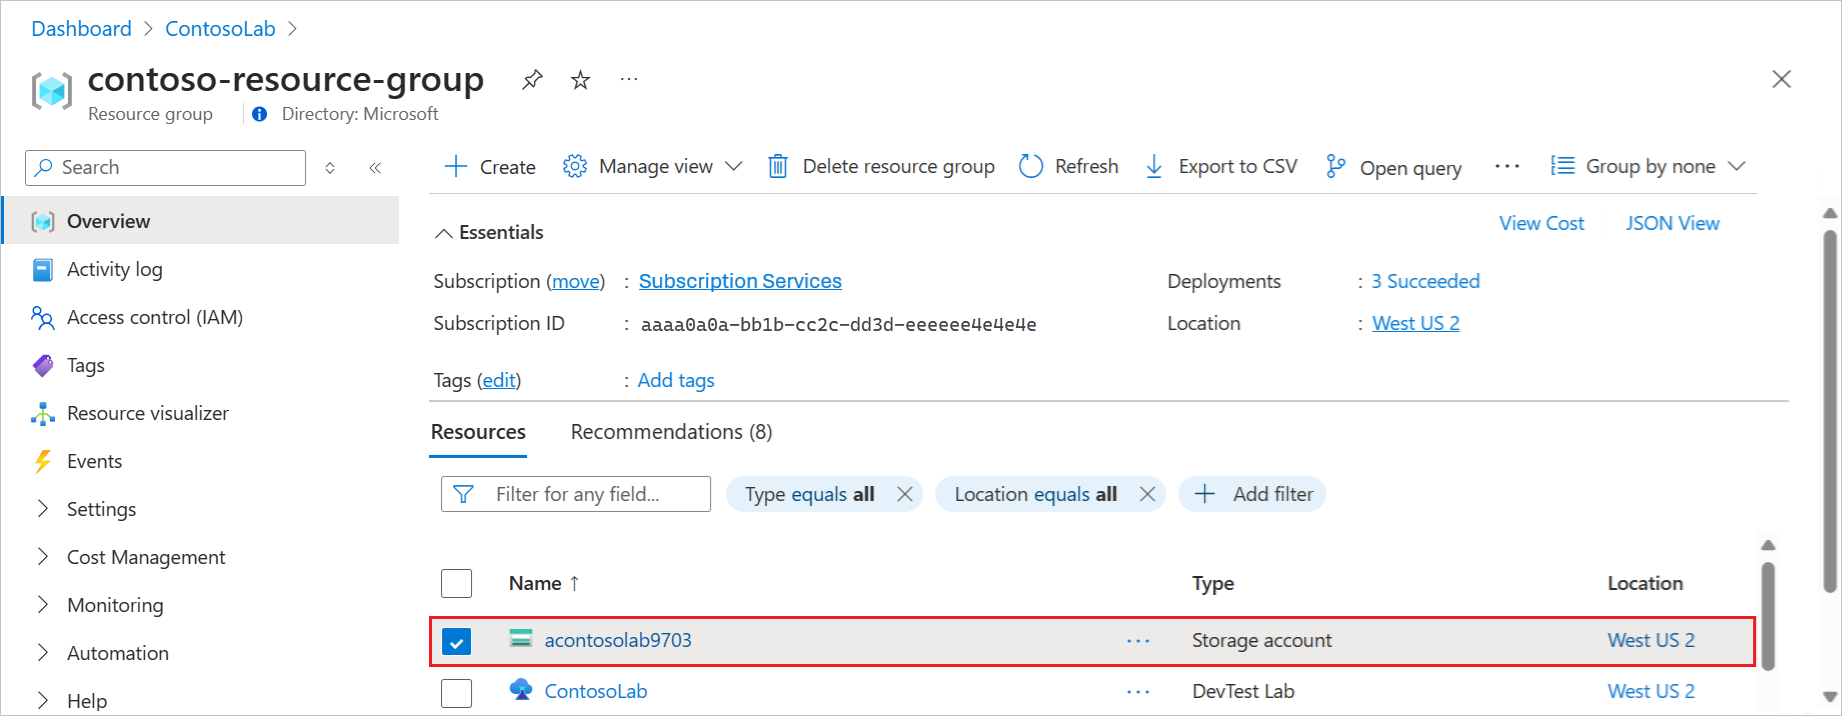
The naming convention for the lab storage account is
a<labName><4-digit number>. If the lab name iscontosolab, an example storage account name isacontosolab5237. If your lab name includes special characters like the hyphen-, these characters aren't included in the storage account name.On the Storage account page, select Storage browser, and then select Blob containers to see relevant lab-related content:


Manage Azure Storage lifecycle
The lab storage account stores the following information:
- Formula documents to use for creating a lab virtual machine (VM)
- Virtual hard disks (VHDs) (uploaded to DevTest Labs) to use for creating custom VM images
- Artifact and Azure Resource Manager (ARM) template caches for faster retrieval during VM and environment creation
- Artifact results, which are deployment and extension logs generated from applying artifacts
The information in the lab storage account persists for the life of the lab and its resources, unless explicitly deleted. Most of this information is critical for the lab to operate. Manually deleting storage account information can cause data corruption or VM creation errors.
As you interact with the storage account information, keep in mind the following behavior:
- Removing uploaded VHDs makes it no longer possible to create custom images from the VHDs.
- Deleting formula documents can lead to errors when creating VMs from formulas, updating formulas, or creating new formulas.
- Connecting the lab to artifact or template repositories refreshes the artifact and ARM template caches. If you remove the caches manually, DevTest Labs recreates the caches the next time the lab connects to the repositories.
Set expiration for artifact results
The artifact results size can increase over time as artifacts are applied. You can set an expiration rule for artifact results to regularly delete older results from the storage account. This practice reduces storage account size and helps control costs.
The following rule sets a 90-day expiration specifically for artifact results:
{
  "rules": [
    {
      "name": "expirationRule",
      "enabled": true,
      "type": "Lifecycle",
      "definition": {
        "filters": {
          "blobTypes": [ "blockBlob" ],
          "prefixMatch": [ "artifacts/results" ]
        },
        "actions": {
          "baseBlob": {
            "delete": { "daysAfterModificationGreaterThan": 90 }
          },
          "snapshot": {
            "delete": { "daysAfterCreationGreaterThan": 90 }
          }
        }
      }
    }
  ]
}
Set storage encryption and customer-managed keys
Azure Storage automatically encrypts all data in the lab storage account. Azure Storage encryption protects your data and helps meet organizational security and compliance commitments. For more information, see Azure Storage encryption for data at rest.
Azure Storage encrypts lab data with a Microsoft-managed key. Optionally, you can manage encryption with your own keys. If you choose to manage lab storage account encryption with your own key, you can use Azure Key Vault to specify a customer-managed key for encrypting and decrypting data.
For more information and instructions on configuring customer-managed keys for Azure Storage encryption, see:
- Manage Azure Storage encryption by using customer-managed keys with Azure Key Vault
- Configure encryption with customer-managed keys stored in Azure Key Vault
Related content
Phản hồi
Sắp ra mắt: Trong năm 2024, chúng tôi sẽ dần gỡ bỏ Sự cố với GitHub dưới dạng cơ chế phản hồi cho nội dung và thay thế bằng hệ thống phản hồi mới. Để biết thêm thông tin, hãy xem: https://aka.ms/ContentUserFeedback.
Gửi và xem ý kiến phản hồi dành cho